
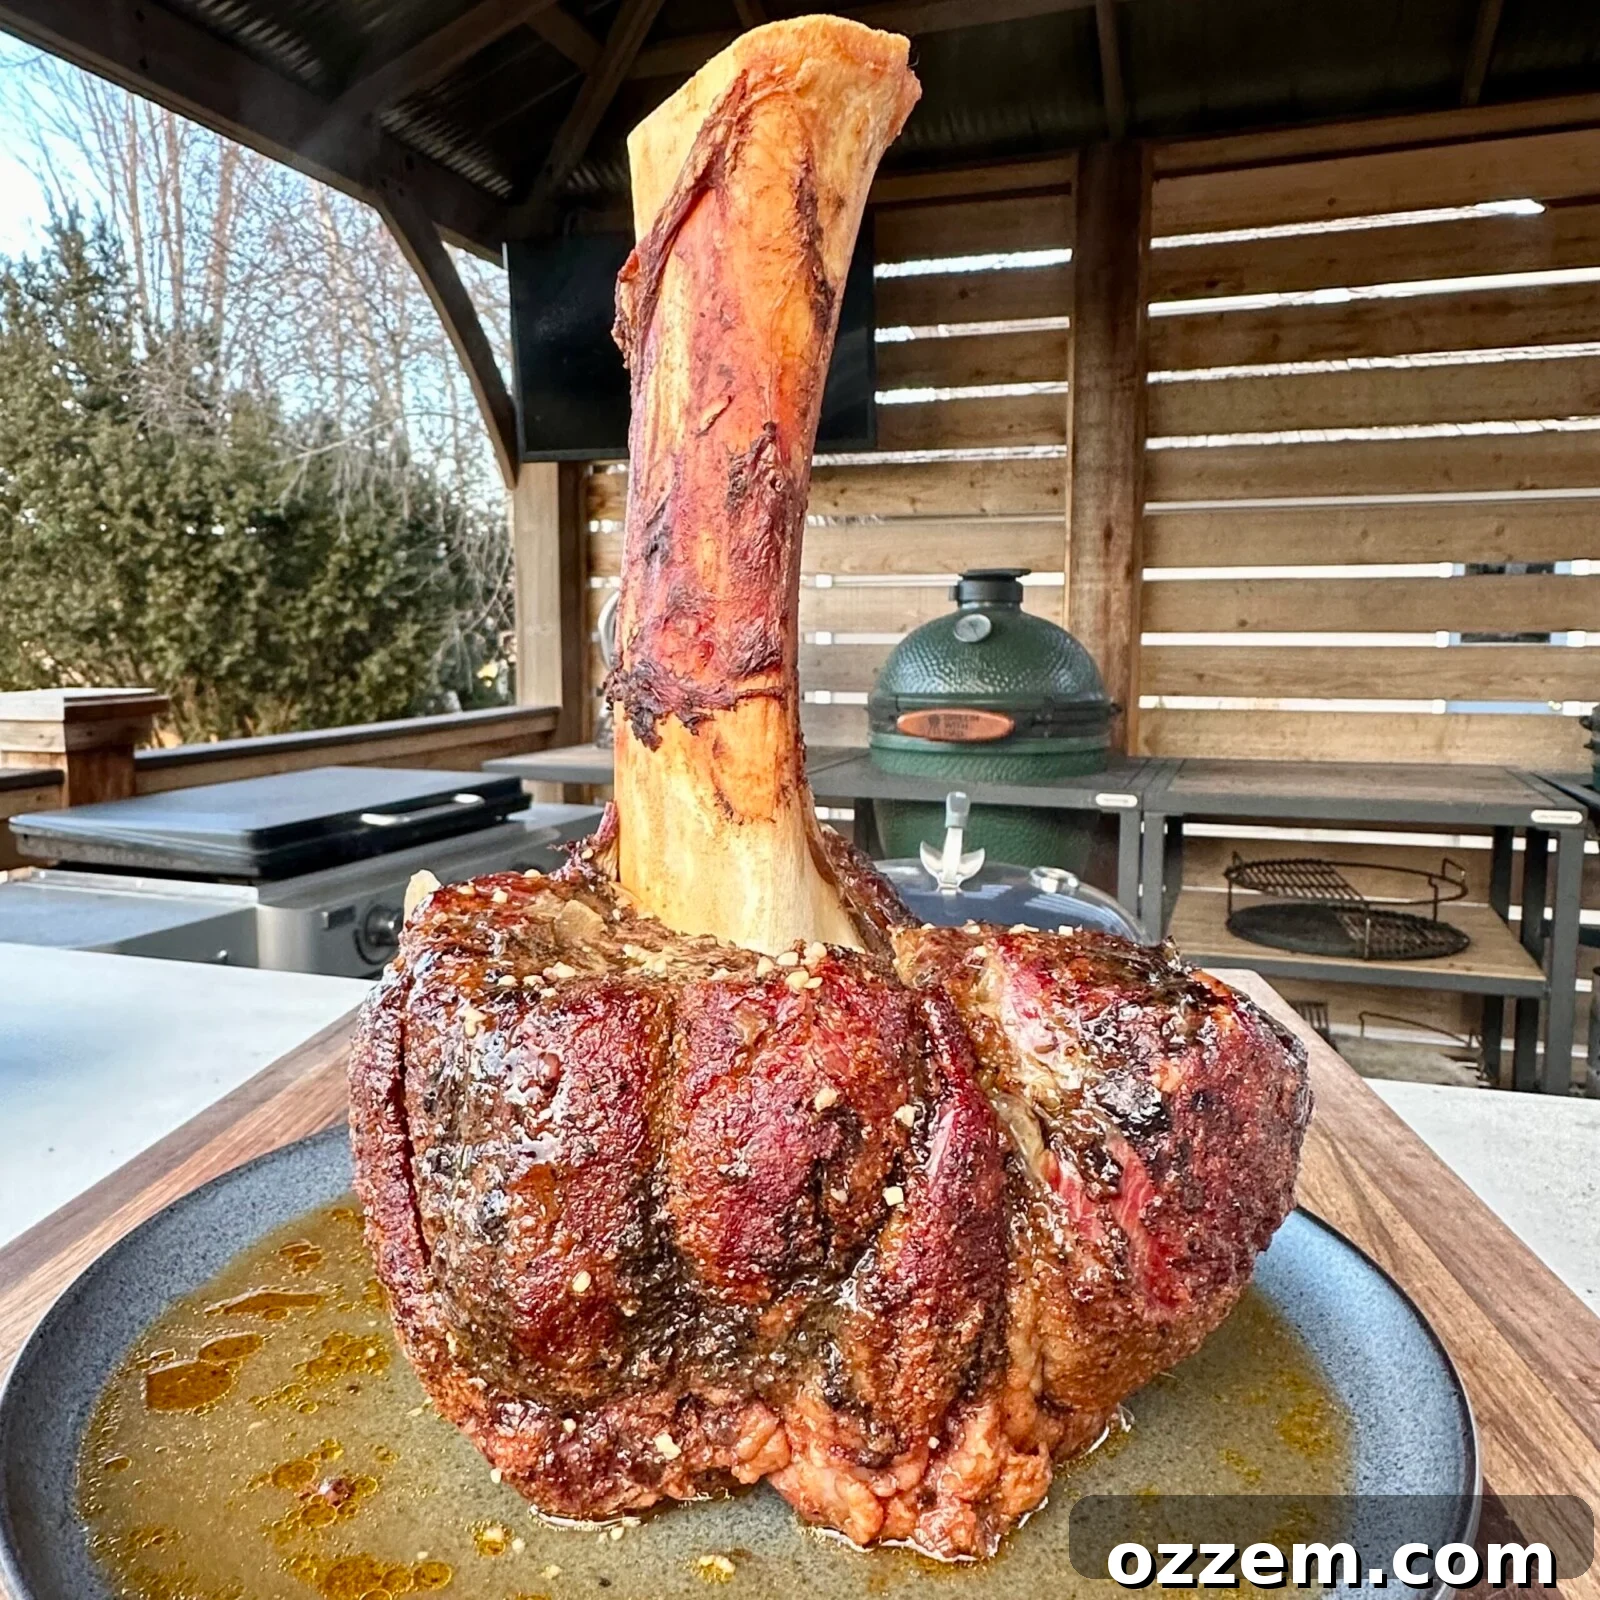
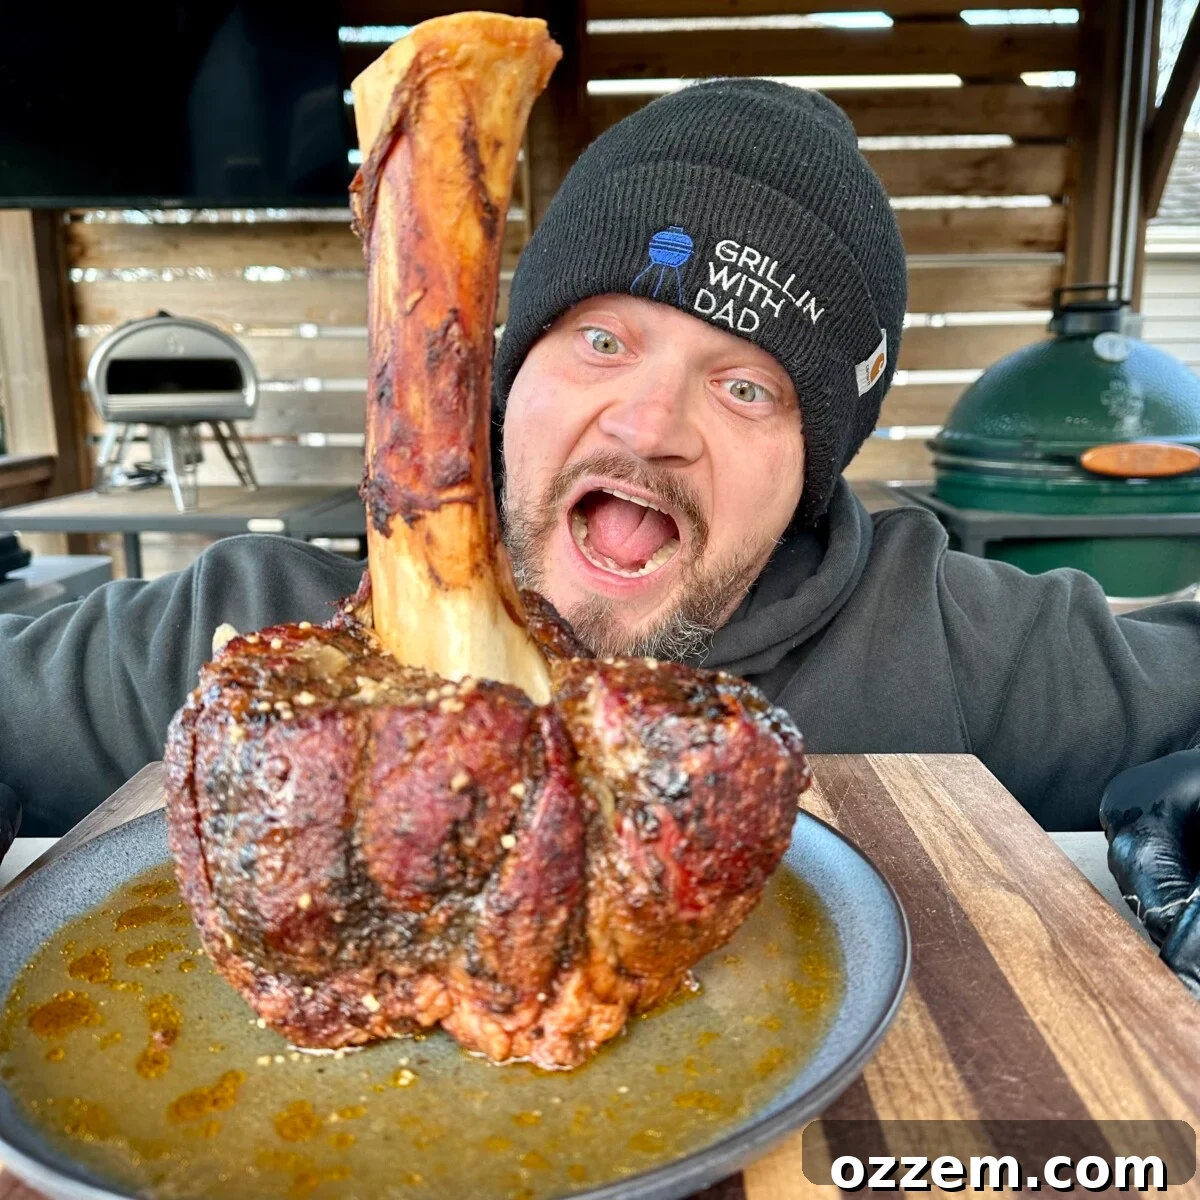
Prepare to truly impress with a perfectly smoked Beef Shank, affectionately dubbed “Thor’s Hammer.” This magnificent cut, when prepared with care and patience, transforms from a tough, often overlooked piece of meat into an incredibly tender, fall-off-the-bone masterpiece. Ideal for shredding into tacos, sandwiches, or simply savoring on its own, a well-smoked beef shank promises a culinary experience unlike any other BBQ offering.
Originating from the leg of the cow, beef shank is typically a more economical cut due to its inherent toughness and abundant connective tissue. However, its recent surge in popularity stems from innovative butchers who skillfully trim it to resemble a massive hammer, with a substantial bone protruding from a generous portion of meat. This striking presentation, combined with the rich, beefy flavor developed through hours of low and slow smoking and braising, makes Thor’s Hammer an undeniable centerpiece at any gathering.
Beyond its impressive appearance, the beef shank offers a deep, robust flavor that truly shines through the smoking process. The long cooking time breaks down collagen, rendering the meat incredibly succulent and juicy, making it a rewarding endeavor for any pitmaster seeking a unique challenge and an unforgettable result.
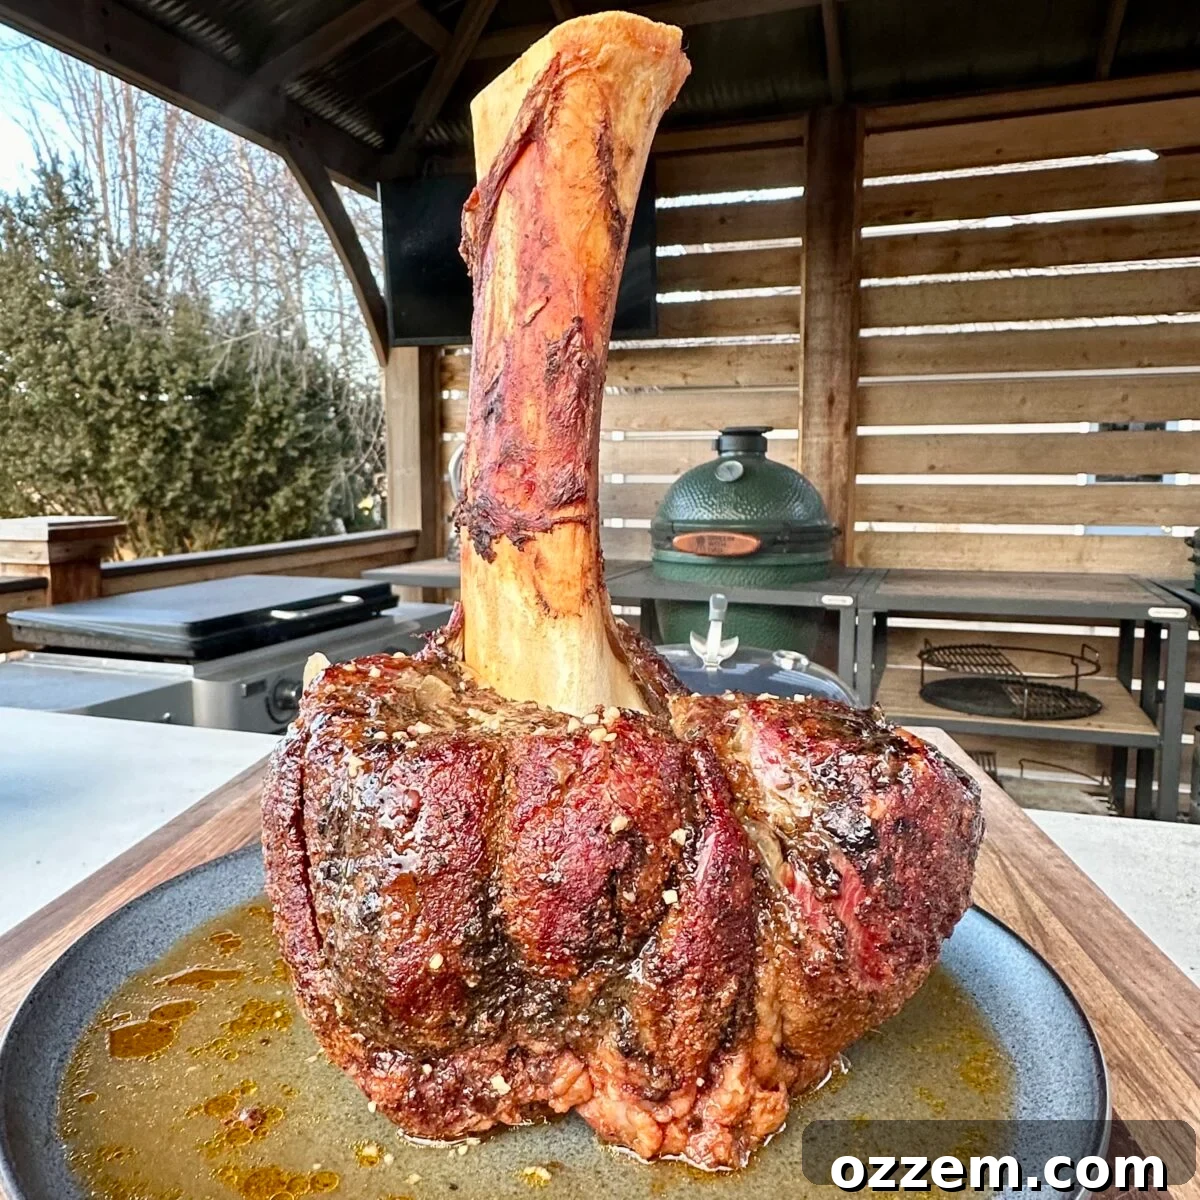
Table of Contents
- Understanding Beef Shank: The Cut and Its Potential
- Step 1: Preparing Your Thor’s Hammer
- Step 2: The Low and Slow Smoke
- Step 3: Braising for Ultimate Tenderness
- Step 4: Rest, Shred, and Savor
- Frequently Asked Questions About Smoked Beef Shank
- More Delicious Beef & BBQ Recipes
- Smoked Beef Shank (Thor’s Hammer) Recipe Card
Understanding Beef Shank: The Cut and Its Potential
The beef shank is essentially the lower shin portion of a cow, a muscle that gets a significant workout throughout the animal’s life. This constant use results in a cut rich in muscle fibers and, more importantly, a high concentration of collagen and connective tissue. While this makes it tough if cooked quickly, it also makes it an ideal candidate for slow cooking methods like smoking and braising, which meticulously break down these tissues into gelatin, yielding an incredibly succulent and rich texture.
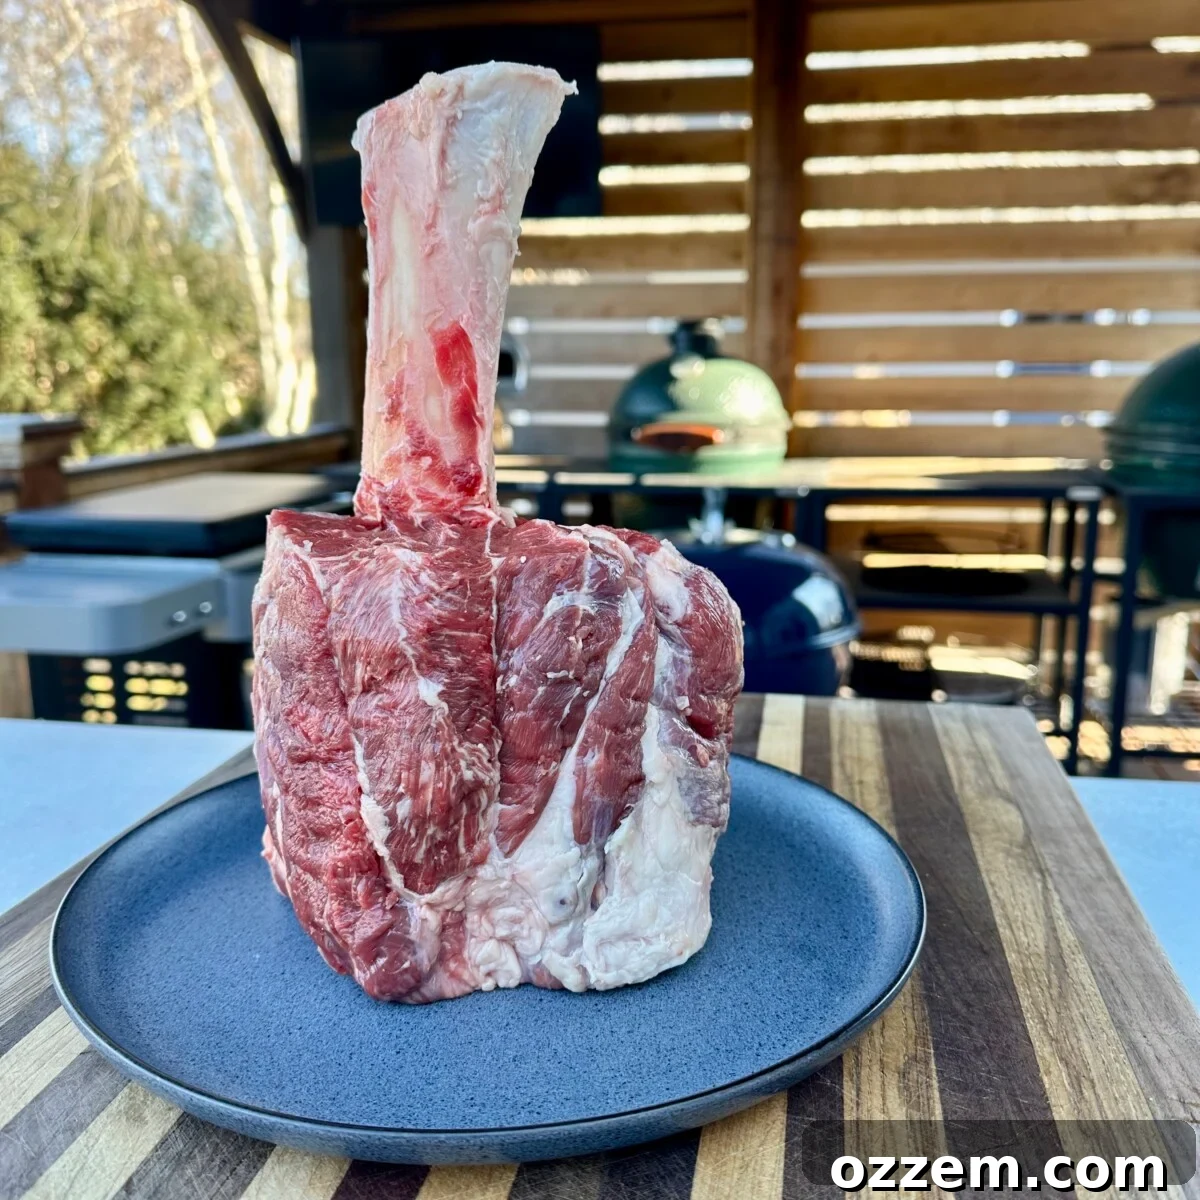
Historically, beef shank was often sold cross-cut (osso buco style) or with the bone trimmed flush with the meat. However, a growing trend has seen butchers shaping the shank into the impressive “Thor’s Hammer” presentation, where a long bone extends from a substantial meat cap. This not only creates a visually stunning centerpiece but also provides a natural handle for carving and serving. Don’t let the toughness deter you; with the right technique, this beef hammer is destined to be a triumph on your grill.
Step 1: Preparing Your Thor’s Hammer
Proper preparation is the foundation for an epic smoked beef shank. Even though this cut is forgiving in its ability to tenderize over time, setting it up correctly ensures maximum flavor penetration and a desirable bark. Unlike a delicate ribeye or a quick-cooking NY strip, the beef shank thrives on a lengthy, patient approach, making every minute of preparation worthwhile.
Choosing and Trimming Your Shank
When selecting your beef shank, look for one with a good meat-to-bone ratio and minimal excess silver skin. While some fat is desirable for moisture, trim off any large, hard pieces of fat or silver skin that won’t render down during cooking. The iconic “Thor’s Hammer” shape often means the shank comes pre-trimmed, but a quick inspection for any loose bits or stringy membrane is always a good practice.
Applying the Binder and Rub
To begin, apply your chosen binder to the entire meat surface. A binder acts as an adhesive, helping your seasoning stick uniformly. While many pitmasters opt for yellow mustard or olive oil, a splash of hot sauce adds a subtle zing and a fantastic base layer, creating an interesting depth of flavor that complements the beef beautifully. Whichever binder you choose, ensure the entire meat cap is lightly coated.
Next, it’s time for the seasoning – and here, generosity is key. For this recipe, we recommend a liberal application of Dad’s All Purpose rub and Dad’s Steak seasoning. Don’t be shy; cover every inch of the beef shank’s meaty surface. Remember, this impressive cut will be smoking for several hours, and some of the seasoning will naturally fall off or be absorbed. A robust layer of seasoning not only builds a fantastic “bark” – that flavorful, crusty exterior – but also ensures the deep beefy flavor is enhanced throughout the long cooking process. This generous seasoning is paramount to achieving that mouth-watering finish.
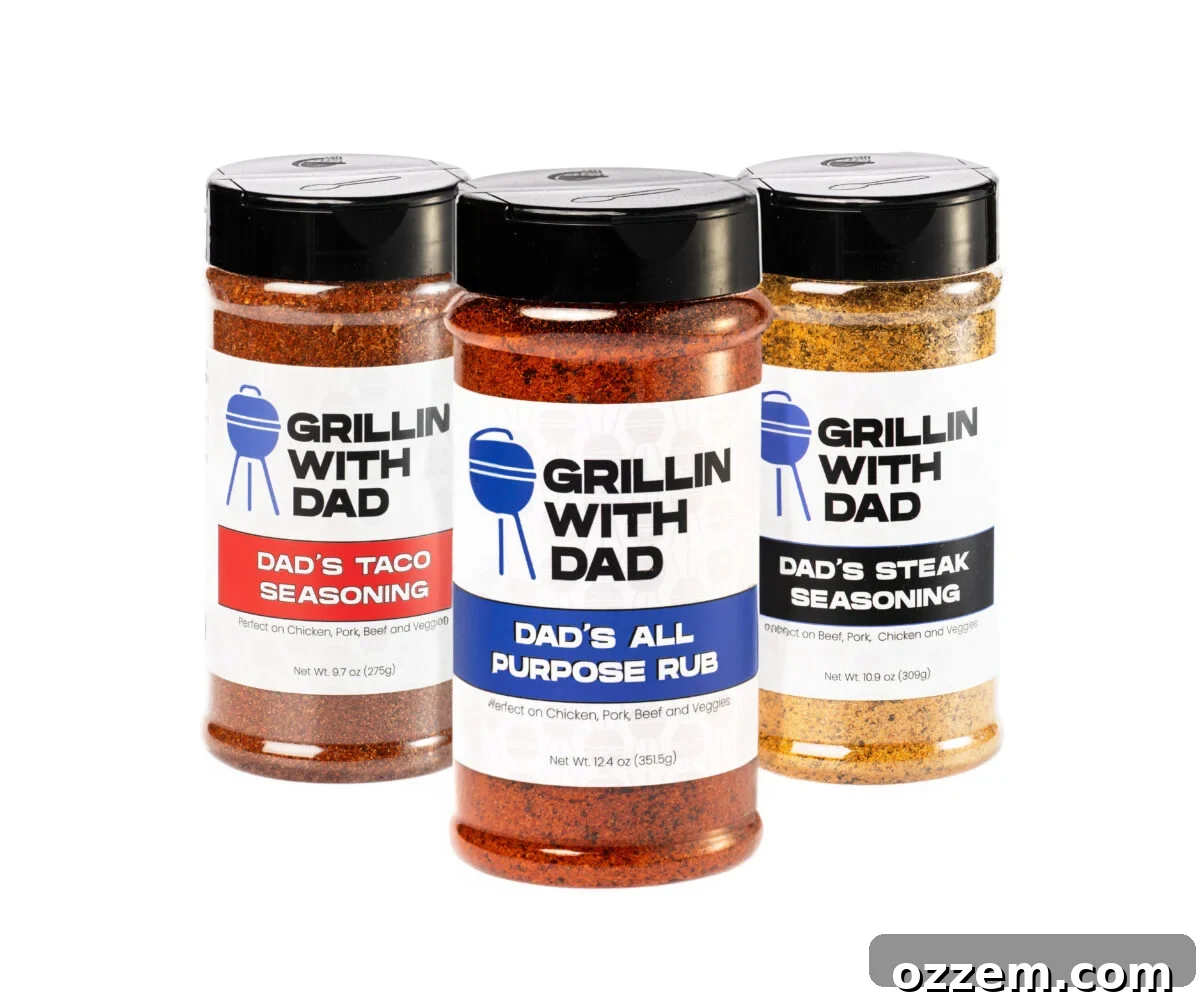
Dad’s Seasonings
Must-have grilling seasonings for your BBQ adventures!
Step 2: The Low and Slow Smoke
The magic of Thor’s Hammer truly begins in the smoker. This initial low and slow phase is crucial for developing that incredible smoky flavor and a beautiful, dark bark on the beef shank. Patience is your most important ingredient here, as the long exposure to smoke tenderizes the outer layers and infuses the meat with a profound BBQ essence.
Setting Up Your Grill or Smoker
To start, preheat your grill or smoker to a consistent 275 degrees Fahrenheit (approximately 135 degrees Celsius) and set it up for indirect heat. This temperature is ideal for slowly breaking down the tough fibers without drying out the meat. For this recipe, an XL Big Green Egg was used, allowing the entire shank to be placed vertically, which can help with even smoke distribution and bark formation. If you’re using a different type of smoker or grill, ensure you maintain a stable temperature. Add your favorite wood chunks – hickory, oak, or cherry all impart fantastic flavor profiles that complement beef.
The Initial Smoke Phase
Carefully place the generously seasoned beef shank vertically onto the grill grates. Let it smoke undisturbed for approximately 3 hours. During this time, the smoke will penetrate the meat, and the bark will begin to form, deepening in color and flavor. Resist the urge to frequently open the lid, as this causes temperature fluctuations and prolongs the cooking process. Trust the process and allow the smoke to work its wonders.
Step 3: Braising for Ultimate Tenderness
After its initial smoke bath, the beef shank is ready for the braising stage. This step is essential for converting the remaining tough connective tissues into succulent, melt-in-your-mouth gelatin, ensuring your Thor’s Hammer is supremely tender and juicy. The braising liquid also infuses the meat with additional layers of flavor, creating a rich and complex profile.
Crafting Your Flavorful Braising Liquid
While the beef shank is developing its bark in the smoker, prepare your braising liquid. In a large, sturdy foil pan, combine thinly sliced onion, aromatic minced garlic, a generous amount of high-quality beef broth (which forms the savory base), a dash of Worcestershire sauce for umami depth, and a touch more hot sauce to keep that initial kick present. These ingredients will simmer together, creating a deeply flavorful environment for the beef to finish cooking.
The Braise and Final Cook
Once the beef shank has completed its 3-hour smoke, transfer it carefully into the foil pan containing your braising mixture. Now for a secret ingredient: pour an entire can of your favorite beer over the shank. The malty, hoppy notes from the beer will add another dimension of flavor and acidity, further aiding in the tenderization process. Tightly cover the entire pan with heavy-duty aluminum foil, creating a sealed environment that will steam and braise the meat. This ensures all the moisture and flavor stay locked in.
Return the foil-covered pan to the grill, maintaining the 275-degree Fahrenheit temperature. This braising process will continue for another 3 hours, or until the beef shank reaches optimal tenderness. The goal here is “fork tender” – meaning a fork can easily slide into and pull away strands of meat with minimal resistance. This indicates that the collagen has fully broken down, yielding that coveted silky texture.
Step 4: Rest, Shred, and Savor
The journey to culinary greatness isn’t over yet! The final steps are crucial for locking in all the juices and flavors you’ve worked so hard to develop.
The Critical Resting Period
Once the beef shank is fork tender, remove the foil pan from the grill. It’s imperative to let the meat rest, still covered, for at least 10-15 minutes. This resting period allows the muscle fibers to relax and reabsorb the juices, ensuring a moist and flavorful result when you finally shred it. Rushing this step can lead to dry meat, diminishing all your efforts.
Shredding and Serving Your Masterpiece
After resting, uncover the pan and, using two forks or meat claws, begin to shred the beef directly in the rich braising liquid. This allows the meat to soak up all the flavorful juices, keeping it incredibly moist and adding another layer of savory goodness. The meat should pull apart effortlessly. Serve your magnificent Thor’s Hammer beef shank proudly, whether piled high on a bun, tucked into tortillas, or simply enjoyed as the star of your plate. This tender, flavorful beef is a testament to the power of low and slow BBQ.

Frequently Asked Questions About Smoked Beef Shank
Unlike steak, which is often cooked to specific doneness levels (rare, medium-rare, etc.), beef shank cooked “low and slow” is all about tenderness. You’re aiming to break down tough connective tissues into gelatin. Therefore, it’s less about a specific internal temperature and more about texture. You should remove the beef shank when it is truly “fork tender,” meaning a fork can easily twist and pull away strands of meat with little to no resistance. This typically occurs anywhere between 195-205°F (90-96°C) internal temperature, but always prioritize tenderness over a specific number. Remember to always rest the meat for 10-15 minutes before shredding to allow juices to redistribute.
Beef shank is a cut of meat from the leg of a cow, specifically the part above the knee, below the hip. It’s a hardworking muscle, which makes it very tough but also rich in connective tissue (collagen). When cooked slowly, this collagen breaks down into gelatin, making the meat incredibly tender and flavorful. It’s called “Thor’s Hammer” when butchers trim it in a way that leaves a long, prominent bone sticking out from a large, rounded chunk of meat, visually resembling the mythical hammer Mjolnir.
Absolutely! While beer adds a wonderful depth and unique flavor, you can substitute it with other liquids. Good alternatives include additional beef broth, red wine (a dry Cabernet Sauvignon or Merlot works well), or even a dark, non-alcoholic stout or root beer for a similar malty sweetness without the alcohol. The key is to have enough liquid to partially submerge the shank and contribute to the tenderizing process.
The choice of wood greatly influences the final smoke flavor. For beef shank, strong, robust woods are typically recommended to stand up to the rich beef flavor and long cooking time. Popular choices include hickory, known for its strong, bacon-like flavor; oak, which provides a classic, medium-strength smoke; and mesquite, offering a very bold and intense flavor. For a slightly milder but still delicious option, cherry wood can impart a beautiful color and a fruity smoke profile. Experiment with different woods to find your personal preference!
More Delicious Beef & BBQ Recipes
Beef
Smoked Chili Hot Dog
Beef
Cornbread Cowboy Casserole
Beef
Chuck Roast Burnt Ends
Beef
Smoked Short Ribs
Save
Pin
Smoked Beef Shank (Thor’s Hammer)
Maciek Zurawski
5 minutes
6 hours
4
People
Ingredients
- 1 Trimmed beef shank
- 4 tbsp Dad’s All Purpose rub
- 4 tbsp Dad’s Steak seasoning
- 2 tbsp Hot sauce (as binder)
- 1 White onion, sliced
- 2 tbsp Minced garlic
- 1 can Beer (for braising)
- 1 cup Beef broth
- 1 tbsp Worcestershire sauce
Instructions
-
Lightly coat the entire meat cap of the beef shank with hot sauce or your binder of choice.
-
Generously season the meat with Dad’s All Purpose rub and Dad’s Steak seasoning, ensuring full coverage for a rich bark.
-
Preheat your grill or smoker to a stable 275 degrees Fahrenheit (135°C) and set for indirect heat. Place the seasoned beef shank vertically on the grates and smoke for approximately 3 hours.
-
While the beef smokes, prepare the braising liquid: in a large foil pan, combine sliced onion, minced garlic, beef broth, Worcestershire sauce, and a touch more hot sauce.
-
After 3 hours of smoking, transfer the beef shank vertically into the foil pan with the braising liquid. Pour an entire can of beer over the shank. Cover the pan tightly with foil and return it to the grill.
-
Continue cooking for another 3 hours, or until the beef is incredibly fork tender. Remove from grill, rest for 10-15 minutes, then shred the meat directly in the liquid and serve warm.
Video
Nutrition
Calories:
95
kcal
|
Carbohydrates:
8
g
|
Protein:
7
g
|
Fat:
1
g
|
Saturated Fat:
0.4
g
|
Polyunsaturated Fat:
0.1
g
|
Monounsaturated Fat:
1
g
|
Cholesterol:
10
mg
|
Sodium:
530
mg
|
Potassium:
245
mg
|
Fiber:
1
g
|
Sugar:
2
g
|
Vitamin A:
4
IU
|
Vitamin C:
4
mg
|
Calcium:
30
mg
|
Iron:
1
mg
Like this recipe? Rate and comment below!
Explore More Delicious Recipes:
Beef
Steak Pinwheel
Beef
Grilled Tomahawk Steak
Beef
Steak and Shrimp Dinner
Beef
Beef Tataki