
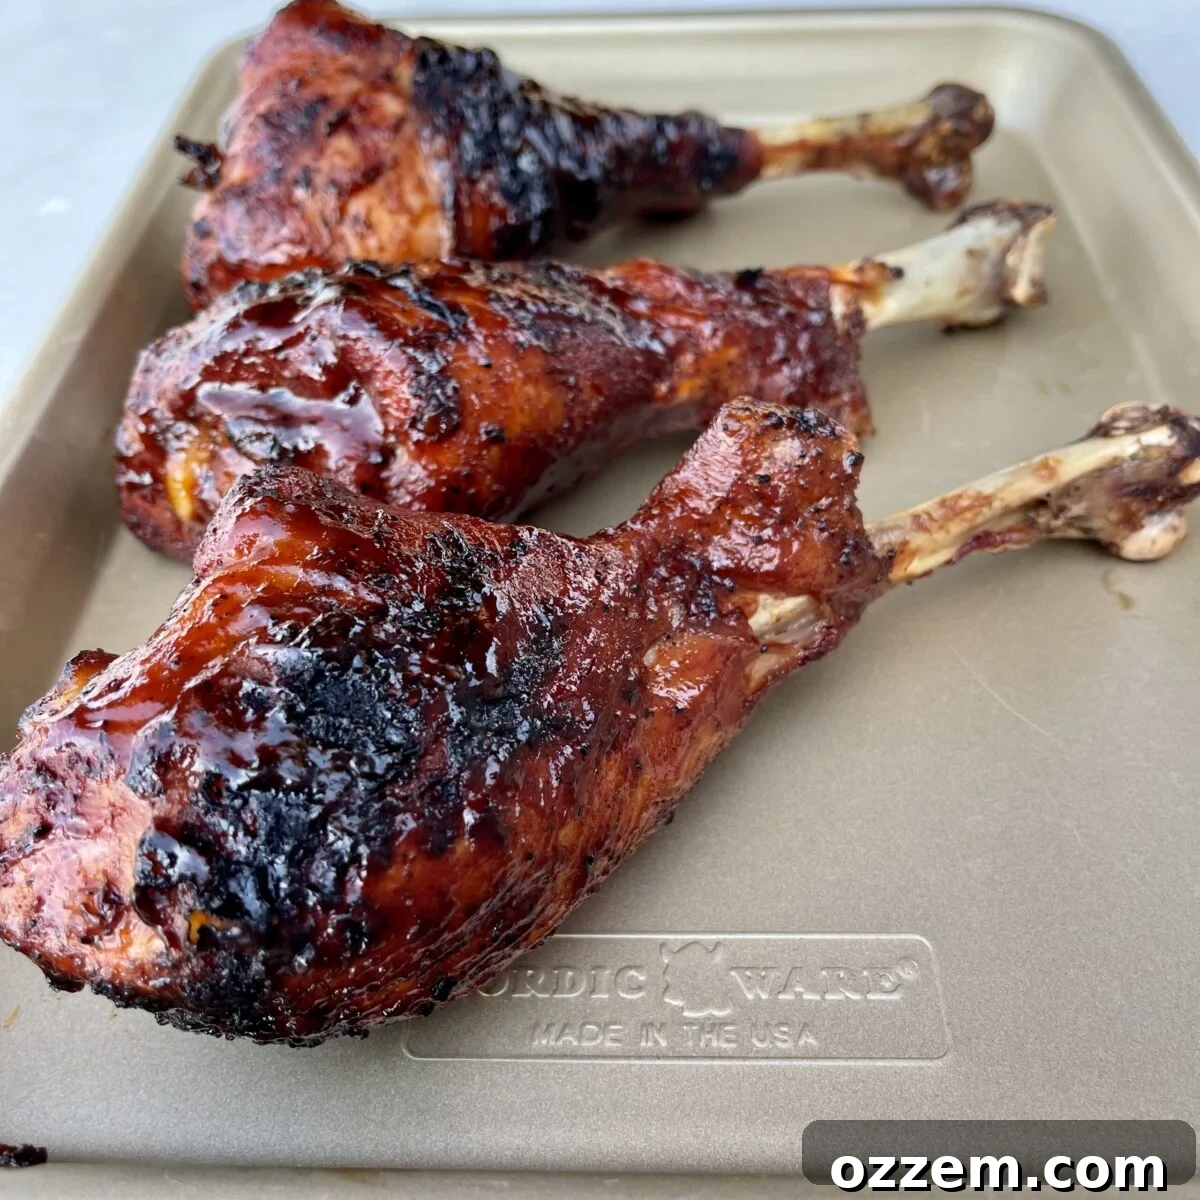
Ultimate BBQ Turkey Legs: A Fred Flintstone Feast
Get ready to impress with these show-stopping **BBQ Turkey Legs** that are as delicious as they are visually striking. Often dubbed “Fred Flintstone style” drumsticks, these giant, flavorful turkey legs are a guaranteed crowd-pleaser for both adults and kids. Smothered in a rich, tangy, and perfectly balanced homemade BBQ sauce, this recipe transforms a simple cut of poultry into an unforgettable culinary experience. Follow our easy guide to unlock the secrets to juicy, tender turkey with irresistible crispy skin, making your next outdoor cooking adventure a huge success.
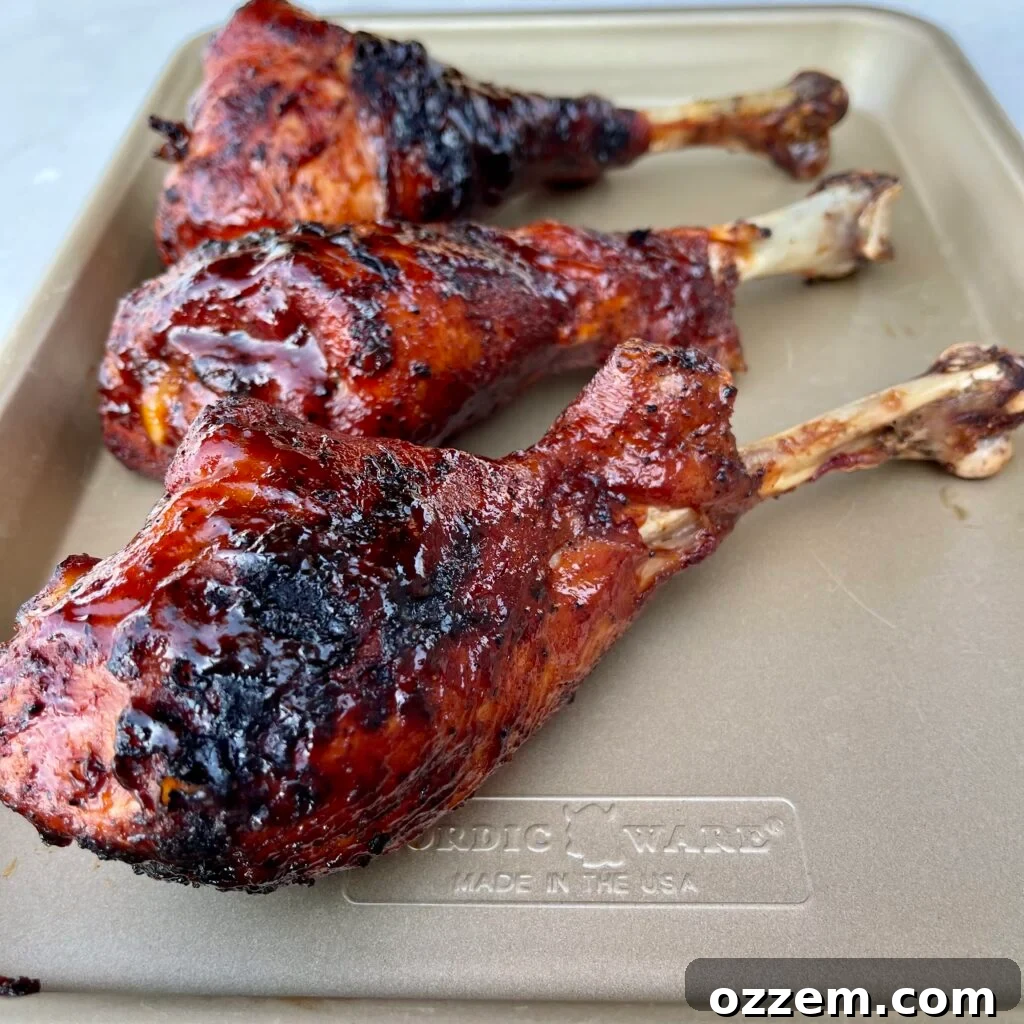
Table of Contents
- Why You’ll Love BBQ Turkey Legs
- Step 1: Prepare and Season Turkey Legs for Maximum Flavor
- Step 2: Craft the Perfect Homemade BBQ Sauce
- Step 3: Grill to Perfection: BBQ Turkey Legs
- Tips for Success
- Frequently Asked Questions
- Similar Recipe Ideas
- BBQ Turkey Legs Recipe Card
Why You’ll Love BBQ Turkey Legs
There’s something undeniably primal and satisfying about a generously sized turkey leg, especially when it’s slow-cooked and glazed to perfection on the grill. These aren’t just any drumsticks; they’re a centerpiece! Here’s why BBQ turkey legs deserve a spot on your grilling roster:
- **Impressive Presentation:** Their size alone makes them a feast for the eyes, perfect for parties, gatherings, or a memorable family meal.
- **Rich Flavor:** Turkey legs, being dark meat, are inherently more flavorful and forgiving to cook than white meat. They absorb marinades and rubs beautifully.
- **Versatile:** While fantastic on their own, they pair wonderfully with a variety of side dishes, from classic coleslaw to corn on the cob.
- **Fun to Eat:** There’s a certain joy in eating a turkey leg straight off the bone, evoking a playful, rustic dining experience.
- **Economical:** Often more affordable than other large cuts of meat, turkey legs offer great value for a significant meal.
Whether you’re looking for a new grilling challenge or a crowd-pleasing alternative to ribs or chicken, these **BBQ Turkey Legs** are your answer.
Step 1: Prepare and Season Turkey Legs for Maximum Flavor
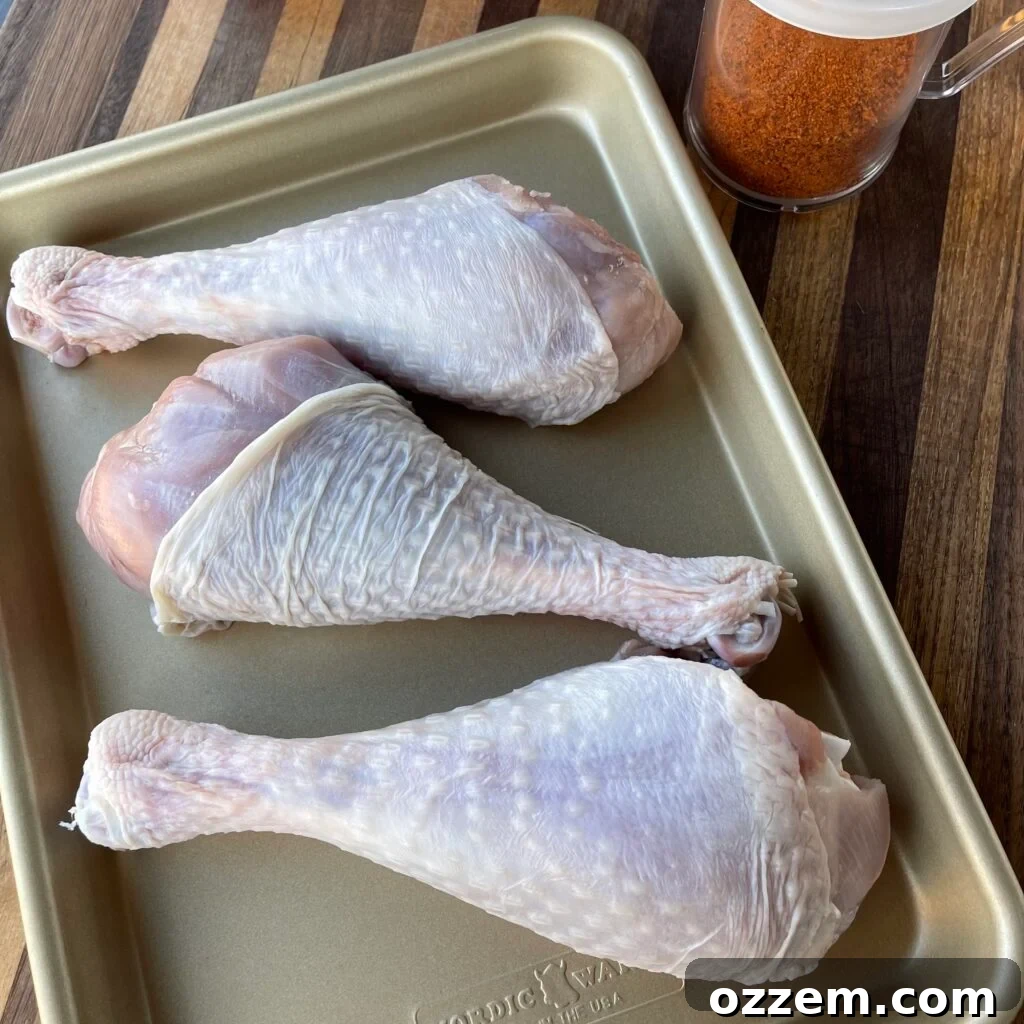
The foundation of truly exceptional **BBQ turkey legs** lies in proper preparation and seasoning. Don’t underestimate this crucial first step, as it sets the stage for deep, mouth-watering flavor.
Defrosting Turkey Legs Safely and Effectively
Many stores only offer frozen turkey legs. If this is the case for you, it’s absolutely essential to completely defrost them before seasoning and grilling. Proper defrosting ensures even cooking and allows the seasonings to penetrate the meat thoroughly. The safest method is to transfer the frozen turkey legs to your refrigerator the night before, allowing them to thaw slowly. For faster defrosting, you can place them in a sealed bag in a sink filled with cold water, changing the water every 30 minutes. Avoid using hot water, as this can encourage bacterial growth.
The Art of Seasoning: Binder and Rub
Once your turkey legs are fully thawed and patted dry (this helps with crispy skin!), it’s time to build that flavor profile. A good binder helps the seasoning adhere to the meat, creating a delicious crust. I recommend a light coating of olive oil, but a thin layer of yellow mustard also works wonderfully without imparting a strong mustard flavor.
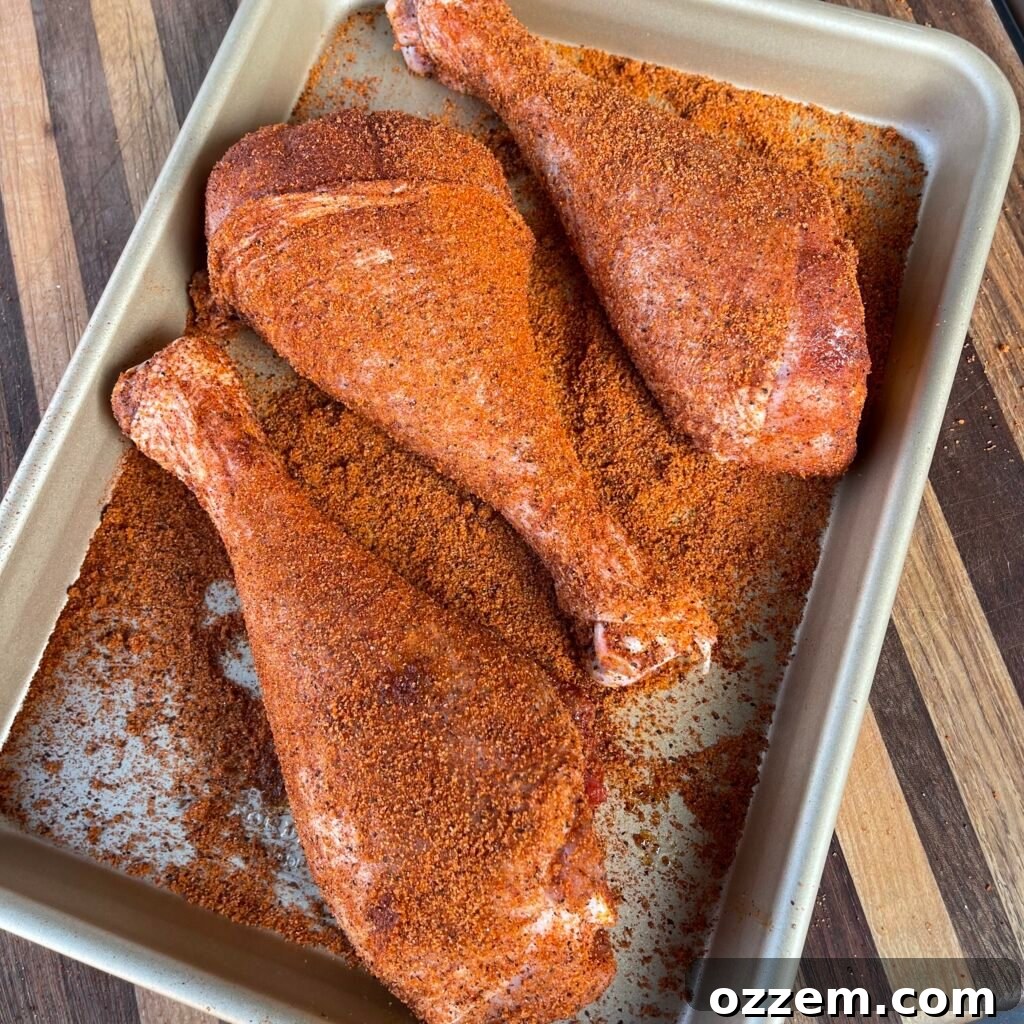
Next, apply your chosen rub generously. Turkey legs are a substantial cut of meat, so they can handle, and indeed benefit from, a robust amount of seasoning. Make sure to cover every inch of the leg, getting into all the crevices. For this recipe, we recommend Dad’s All Purpose Rub, which offers a perfectly balanced blend of spices. If you prefer to mix your own, a classic BBQ rub typically includes:
- Smoked Paprika
- Brown Sugar (for sweetness and caramelization)
- Garlic Powder
- Onion Powder
- Salt and Black Pepper
- Cayenne Pepper (for a touch of heat, optional)
- Chili Powder
Don’t be shy with the rub – this meat can take all the extra flavor you give it! For best results, let the seasoned turkey legs rest in the refrigerator for at least 30 minutes, or even a few hours, to allow the flavors to meld into the meat. This brining-like effect contributes to a juicier final product.
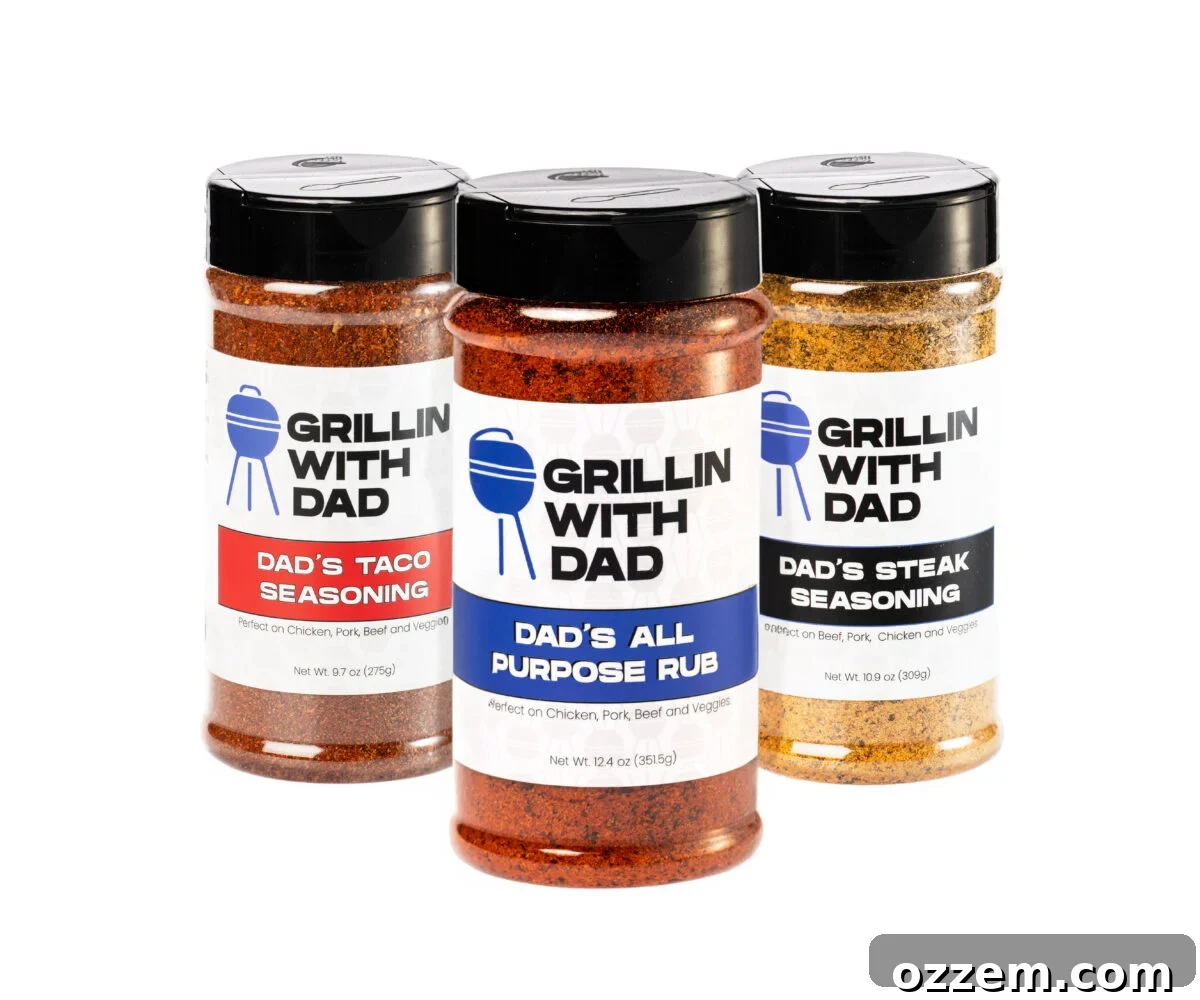
Dad’s Seasonings
Must have grillin seasonings!
Step 2: Craft the Perfect Homemade BBQ Sauce
While a good quality store-bought BBQ sauce can certainly work in a pinch, there’s an undeniable magic to a homemade sauce. Making your own allows for complete customization, letting you tailor the sweetness, tang, and spice to your exact preference. Plus, you have full control over ingredients and sugar levels, which is a significant benefit for health-conscious cooks.
Building Layers of Flavor
Our homemade **BBQ sauce for turkey legs** is designed to complement the rich turkey flavor without overpowering it. In a saucepan, combine the following ingredients:
- **Brown Sugar:** Provides deep, molasses-like sweetness and helps with caramelization.
- **Ketchup:** Forms the savory and tangy base of the sauce.
- **Hot Sauce:** Adds a touch of heat and complexity, balancing the sweetness. Adjust to your desired spice level.
- **Worcestershire Sauce:** Delivers a crucial umami depth, enhancing all the other flavors.
- **BBQ Seasoning:** Further reinforces the BBQ profile, adding layers of savory spices.
- **Sparkling Ice Cranberry Frost:** This is our secret ingredient! I frequently use this carbonated drink in my sauces. It brings a unique, subtle fruity tang, and because it’s zero sugar, it brilliantly counterbalances the sweetness from the brown sugar and ketchup without adding extra calories. The fizziness also helps in emulsifying the sauce as it simmers, contributing to a smooth texture.
Simmering to Perfection
Combine all the ingredients in a saucepan and bring them to a gentle simmer over low heat. Stir frequently to prevent sticking and ensure all components are well incorporated. The key is to let it simmer slowly, allowing the flavors to meld and the sauce to thicken to a glossy, brushable consistency. This usually takes about 10-15 minutes. Once it reaches your desired thickness, remove it from the heat and set it aside to cool. Cooling will allow it to thicken even further. Having a slightly cooled sauce is beneficial for brushing onto hot turkey legs as it won’t run off immediately.
**Pro Tip:** For an extra smoky flavor, consider adding a dash of liquid smoke or a pinch of smoked paprika to your sauce during simmering. If you prefer a thicker sauce, you can add a cornstarch slurry (1 tsp cornstarch mixed with 1 tsp cold water) during the last few minutes of simmering, stirring constantly until thickened.
Step 3: Grill to Perfection: BBQ Turkey Legs
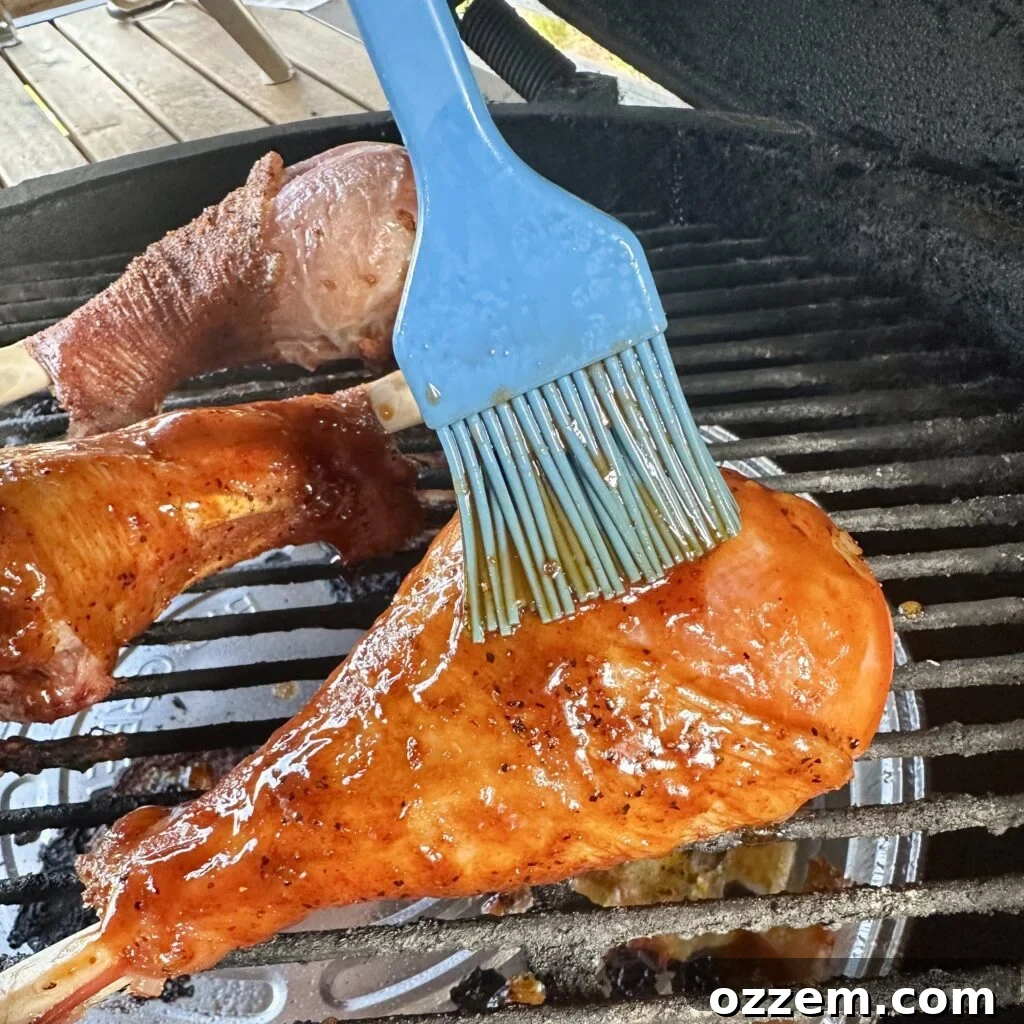
Grilling **BBQ turkey legs** requires a strategic approach to ensure they are both tender on the inside and deliciously crispy on the outside. Dual-zone grilling is the technique of choice here, offering precise temperature control essential for large cuts of meat.
Setting Up Your Grill for Dual-Zone Cooking
Whether you’re using a gas or charcoal grill, setting up for dual-zone grilling is straightforward:
- **Gas Grill:** Preheat your grill to 350°F (175°C). Turn off the burners on one side to create an indirect heat zone, keeping the other burners on to maintain the target temperature.
- **Charcoal Grill:** Arrange your hot charcoal briquettes on one side of the grill, leaving the other side empty. This creates a hot direct zone and a cooler indirect zone.
The indirect zone is where the turkey legs will slowly cook through, becoming tender without burning, while the direct zone is reserved for that final, crucial sear to crisp up the skin and caramelize the BBQ sauce.
The Grilling Process: Low and Slow, Then Sear
- **Indirect Cooking (Tenderness Phase):** Place the seasoned turkey legs on the indirect side of the grill. Close the lid and let them cook for approximately 25-30 minutes. Use a reliable meat thermometer to monitor their internal temperature. You’re aiming for an internal temperature of 160°F (71°C) in the thickest part of the leg, avoiding the bone. This slow cook ensures the meat becomes incredibly tender and juicy without drying out.
- **Direct Searing (Crispy Skin Phase):** Once the turkey legs reach 160°F (71°C), move them over to the direct heat side of the grill. Sear them for about 5 minutes per side. This step is vital for achieving that coveted crispy skin and a beautiful char. Watch carefully to prevent burning, especially if you have high heat.
- **Saucing and Finishing:** For the grand finale, generously brush your homemade BBQ sauce over the grilled turkey legs. Flip them every couple of minutes, applying more sauce, allowing it to caramelize and form a sticky, flavorful glaze. Continue this for about 5-10 minutes, or until the internal temperature reaches the safe final temperature of 165°F (74°C). The sauce should be bubbling and slightly tacky.
Resting for Juiciness
Once your **BBQ turkey legs** are beautifully glazed and cooked through, remove them from the grill and let them rest for at least 10 minutes. You can lightly tent them with aluminum foil. This resting period is critical; it allows the juices to redistribute throughout the meat, ensuring every bite is moist and flavorful. Skipping this step often results in dry turkey.
Serve your magnificent BBQ turkey legs with your favorite sides, such as coleslaw, potato salad, baked beans, or grilled corn. Prepare for rave reviews!
Tips for Success
- **Temperature Control is Key:** Always use a good quality meat thermometer to ensure the turkey legs are cooked safely and to prevent overcooking.
- **Don’t Rush the Defrost:** A fully thawed turkey leg cooks more evenly.
- **Pat Dry for Crispy Skin:** Excess moisture on the skin prevents it from crisping up. Patting the turkey legs thoroughly with paper towels before seasoning makes a big difference.
- **Experiment with Rubs:** While our recommended rub is fantastic, feel free to try different spice blends to customize the flavor.
- **Monitor Sauce Application:** Apply the BBQ sauce towards the end of the cooking process to prevent it from burning due to its sugar content.
- **Consider Brining:** For an extra layer of moisture and flavor, consider a simple salt brine (1 gallon water, 1 cup salt) for a few hours before seasoning.
- **Smoking Option:** For truly epic **smoked turkey legs**, you can follow the same seasoning and saucing steps, but cook them entirely on a smoker at 250-275°F (120-135°C) until they reach 165°F (74°C) internal temperature, basting with sauce in the last 30-45 minutes. This will take significantly longer, typically 2.5-4 hours depending on leg size.
Frequently Asked Questions
On a grill preheated to 350°F (175°C) using a dual-zone setup, turkey legs typically take about 30-40 minutes total. This includes 25-30 minutes on indirect heat until they reach 160°F (71°C) internally, followed by 5-10 minutes on direct heat for searing and saucing until they reach 165°F (74°C).
Turkey legs are safe to eat when they reach an internal temperature of 165°F (74°C) in the thickest part of the meat, away from the bone. It’s best to cook them to 160°F on indirect heat and then finish on direct heat, allowing the temperature to climb to 165°F while crisping the skin and caramelizing the sauce.
Absolutely! While grilling provides a unique smoky flavor and crispy skin, you can replicate this recipe in the oven. Preheat your oven to 375°F (190°C). Place the seasoned turkey legs on a baking sheet with a wire rack. Roast for 45-60 minutes, or until the internal temperature reaches 160°F. Then, brush with BBQ sauce and continue roasting for another 10-15 minutes until the sauce is caramelized and the internal temperature hits 165°F. You might want to broil for the last few minutes for extra crispy skin, watching carefully.
BBQ turkey legs pair wonderfully with classic BBQ sides. Some popular choices include creamy coleslaw, baked beans, corn on the cob (grilled or boiled), potato salad, macaroni and cheese, or even a fresh green salad to balance the richness.
Similar Recipe Ideas:
Beef
Chuck Roast Burnt Ends
Pork
Grilled Country Style Ribs
Pork
Dr. Pepper Pulled Pork
Chicken & Turkey
Grilled Chicken Lollipops
Printer Friendly Recipe
BBQ Turkey Legs
Maciek Zurawski
10
35
4 People
Ingredients
- 4 Turkey Legs
- 2 tbsp BBQ Seasoning (like Dad’s All Purpose Rub)
- 1-2 tbsp Olive Oil (as a binder)
BBQ Sauce:
- 1/4 cup Sparkling Ice Cranberry Frost
- 1/4 cup Brown sugar
- 1/4 cup Ketchup
- 2 tbsp Hot sauce
- 2 tbsp Worcestershire sauce
- 1 tbsp BBQ Seasoning
Instructions
Preparation
- Completely defrost turkey legs if frozen, preferably overnight in the refrigerator. Pat them thoroughly dry with paper towels.
- Lightly coat the defrosted turkey legs with olive oil to act as a binder for the seasoning.
- Season generously with your choice of BBQ rub, ensuring all sides of the leg are covered. Let them rest for at least 15-30 minutes while you prepare the grill.
Homemade BBQ Sauce Instructions
- In a saucepan, combine brown sugar, ketchup, hot sauce, Worcestershire sauce, BBQ seasoning, and Sparkling Ice Cranberry Frost.
- Simmer the ingredients over low heat, stirring occasionally, until the sauce thickens to your desired consistency (about 10-15 minutes). Set aside to cool.
Grilling Turkey Legs
- Preheat your grill to 350°F (175°C) and set it up for dual-zone grilling (one side for indirect heat, one side for direct heat).
- Place the seasoned turkey legs on the indirect side of the grill. Close the lid and let them cook for 25-30 minutes, or until they reach an internal temperature of 160°F (71°C).
- Move the turkey legs to the direct heat side of the grill for a final sear to crisp up the skin. Grill for approximately 5 minutes per side, watching closely for flare-ups.
- For the final touch, generously brush the homemade BBQ sauce over the grilled turkey legs. Flip and re-apply sauce every couple of minutes for about 5-10 minutes, allowing the sauce to caramelize and ensuring the internal temperature reaches 165°F (74°C).
- Remove the BBQ turkey legs from the grill and let them rest for 10 minutes, lightly tented with foil, before serving. Enjoy your Fred Flintstone feast!
Nutrition
Carbohydrates: 27g |
Protein: 134g |
Fat: 46g |
Saturated Fat: 14g |
Polyunsaturated Fat: 13g |
Monounsaturated Fat: 14g |
Cholesterol: 481mg |
Sodium: 985mg |
Potassium: 2053mg |
Fiber: 1g |
Sugar: 18g |
Vitamin A: 396IU |
Vitamin C: 3mg |
Calcium: 248mg |
Iron: 16mg
Like this recipe? Rate and comment below!
Check out the Recipes Pagefor other tasty ideas!