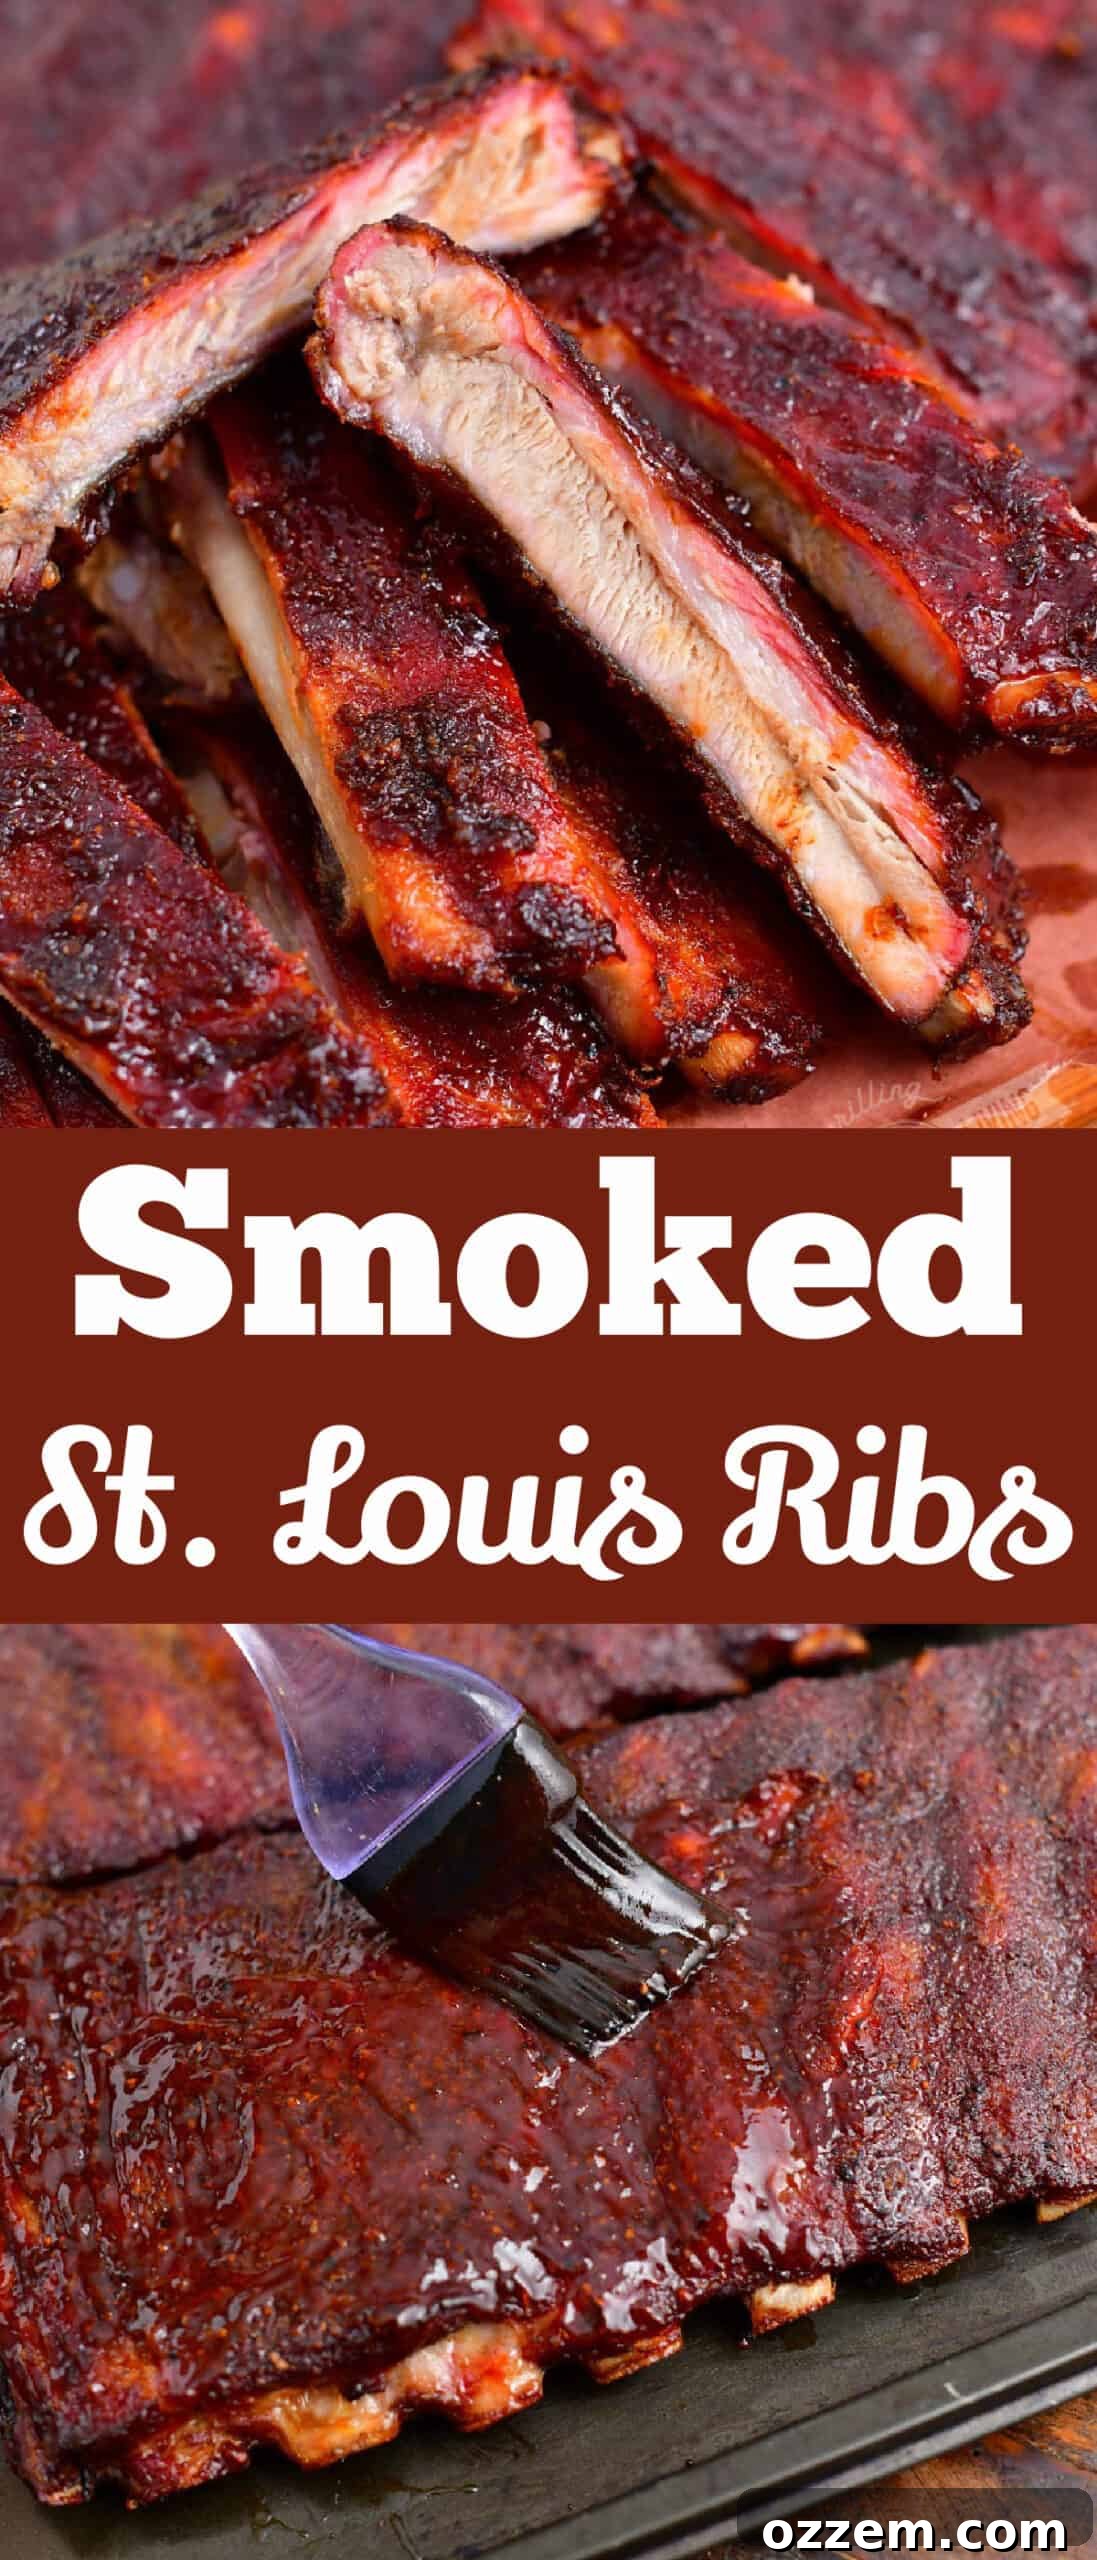
St. Louis ribs are undeniably one of the most beloved cuts for smoking, celebrated for their rich flavor and succulent texture. Mastering the art of smoking these amazing St. Louis style ribs at home will not only elevate your barbecue game but also make you the envy of every gathering. Prepare to impress with tender, juicy ribs that boast a perfect smoky char and a delightful bark.
Delve deeper into the world of pork ribs here, or if you’re curious about another popular cut, learn how to make smoked baby back ribs. Each cut offers a unique experience, but the St. Louis style holds a special place in the hearts of pitmasters and home cooks alike.
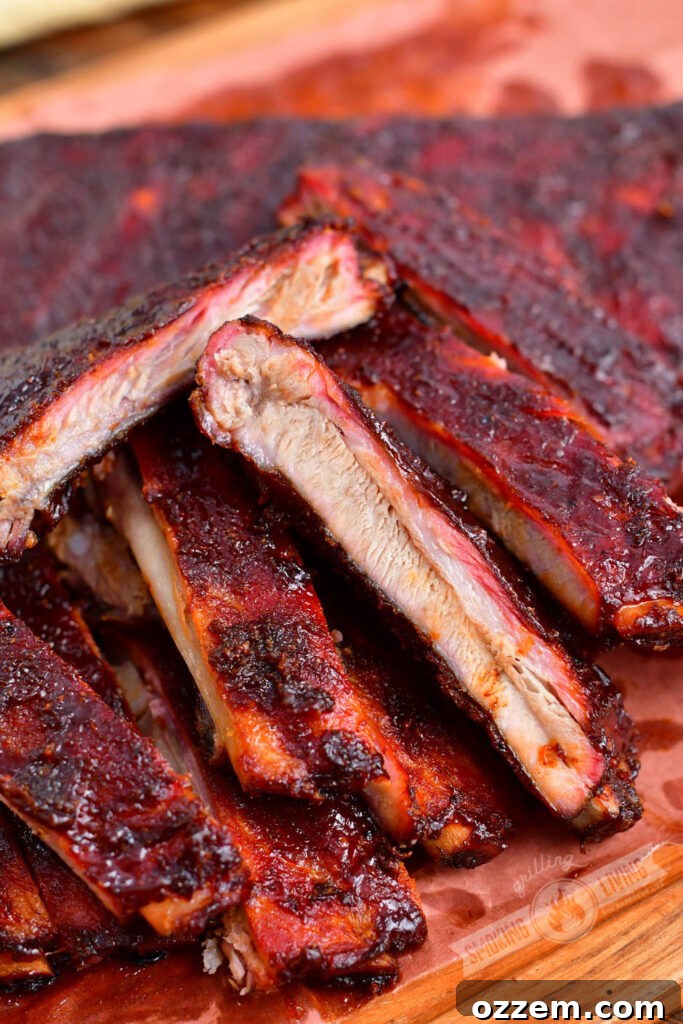
What Are St. Louis Cut Ribs? A Pitmaster’s Favorite
Don’t be fooled by their often more affordable price tag compared to baby back ribs, or their seemingly thinner appearance. St. Louis cut ribs are a true gem in the world of barbecue, frequently preferred by seasoned BBQ masters, professional chefs, and enthusiastic home cooks for their unparalleled flavor profile. If you’ve been walking past them in the butcher’s aisle, it’s time to stop and take notice.
This distinct cut originates from the side and belly portion of the hog, essentially a trimmed-down sparerib. The trimming process involves carefully removing the breastbone, cartilage, and any excess fat or flaps, resulting in a beautifully rectangular, cleaner, and more uniform rack. This meticulous preparation is what distinguishes a St. Louis cut from a full sparerib, making it easier to cook evenly and yielding a more attractive presentation.
Characteristically, St. Louis ribs are wider and flatter than their baby back counterparts, with less curvature. But their true secret lies in their higher fat content. This intramuscular fat renders slowly during the smoking process, basting the meat from within and imparting incredible moisture and an intensely savory flavor that’s hard to beat. This generous marbling is precisely what makes them so much more flavorful and forgiving to cook, delivering that quintessential “fall-off-the-bone” tenderness when done right. Because of their size and fat content, St. Louis ribs typically require a slightly longer cooking time, allowing that fat to render perfectly and develop a rich bark.
St. Louis Ribs vs. Baby Back Ribs: A Detailed Comparison
Understanding the differences between St. Louis ribs and baby back ribs is key to choosing the right cut for your barbecue ambitions. While both are delicious, they offer distinct experiences in terms of flavor, texture, and cooking time. Here’s a concise breakdown of their key distinctions:
- Origin and Location: St. Louis ribs are derived from the side and belly of the pig, below the loin, making them part of the sparerib. Baby back ribs, on the other hand, come from the top portion of the rib cage, specifically from the area connected to the backbone, just below the loin muscle.
- Size and Shape: St. Louis ribs are generally larger, wider, and flatter, presenting a more uniform rectangular shape after trimming. Baby back ribs are shorter, more curved, and typically taper at one end, resembling the shape of a baby’s back, hence the name.
- Meat Content and Fat: St. Louis ribs boast a higher fat content and more connective tissue, which, when cooked low and slow, renders into deeply flavorful, moist meat. This fat contributes significantly to their rich taste. Baby back ribs are leaner and contain more loin meat, resulting in a more tender but less fatty texture.
- Tenderness: While both can be incredibly tender when cooked correctly, baby back ribs tend to be inherently more tender due to their leaner muscle structure and position near the loin. St. Louis ribs achieve a profound tenderness that’s often described as “pull-off-the-bone” rather than “fall-off-the-bone” – meaning the meat has a slight chew but easily separates.
- Cost: Generally, baby back ribs are more expensive per pound than St. Louis ribs, largely due to their association with the more premium loin cut. St. Louis ribs offer excellent value for their flavor and size.
- Cooking Time: Due to their larger size and higher fat content, St. Louis ribs typically require a longer cooking time to achieve optimal tenderness and allow the fat to properly render. Baby back ribs cook faster because they are smaller and leaner.
Essential Smoking Notes for Perfect Ribs
Achieving perfectly smoked St. Louis ribs requires attention to a few critical details. These quick notes will guide you through the fundamental aspects of successful smoking, ensuring your ribs turn out tender, juicy, and packed with flavor.
- Smoker Temperature for Ribs: The universally acclaimed “magic number” for smoking ribs is 225°F (107°C). Maintaining a consistent temperature between 225°F and 250°F (121°C) is crucial for the low and slow cooking process. This temperature range allows connective tissues to break down, fat to render, and smoke flavor to penetrate the meat without drying it out. If you’re using a charcoal or wood smoker, vigilantly monitor and adjust your vents and fuel to keep the temperature steady.
- Types of Wood for Smoking Pork: The choice of wood significantly impacts the final flavor of your smoked ribs. For pork, a variety of woods can be used, each offering a unique aroma and taste.
- **Fruity Woods:** Apple, cherry, and peach woods are excellent choices, imparting a mild, sweet, and fruity smoke that complements pork beautifully. Cherry, in particular, also contributes a lovely reddish hue to the bark.
- **Nutty Woods:** Pecan and maple provide a slightly richer, nutty, and sweet smoke flavor that pairs wonderfully with ribs.
- **Classic BBQ Woods:** Oak is a versatile choice, offering a medium smoke flavor that’s less intense than hickory but more pronounced than fruitwoods.
- **Strong Smoke Flavor:** For those who prefer a more robust, bacon-like flavor, hickory is the go-to wood. Use it sparingly if you’re new to smoking or prefer a milder taste.
- **Specialty Blends:** Some brands offer unique blends, like Jack Daniels, which can add a distinctive character. My personal favorite for pork ribs often leans towards the fruity woods for a balanced, sweet, and smoky profile.
- How Long Does It Take to Smoke Ribs: The total smoking time for St. Louis ribs typically ranges from 6 to 8 hours. This duration can vary based on several factors, including the thickness and size of the individual rib racks, the consistency of your smoker’s temperature, and external environmental conditions (like ambient temperature and wind). Always remember that “when they’re done, they’re done” – precise timing is less important than achieving the right internal temperature and tenderness.
- How to Tell When Ribs Are Done: While time is a good estimate, relying solely on it can lead to undercooked or overcooked ribs. The best way to determine doneness is through a combination of physical tests that assess the meat’s tenderness. The “bounce test” is a popular and highly effective method, which we’ll detail further below. You’re looking for ribs that are tender but still have a slight bite, not falling completely apart.
Mastering the Art: How to Smoke St. Louis Ribs
Smoking St. Louis ribs is a rewarding experience that transforms a simple cut of pork into a culinary masterpiece. Follow these steps for perfectly tender and flavorful ribs every time.
Prepare the Ribs: The Foundation of Flavor
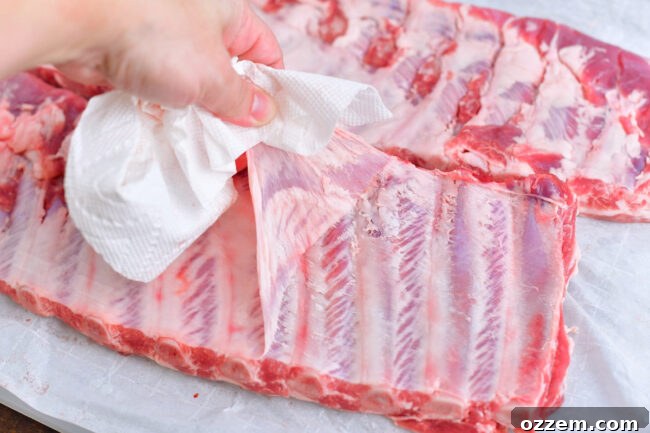
- Unpack and Pat Dry: Begin by removing the ribs from their packaging. Use paper towels to thoroughly pat the entire rack dry. This step is crucial as it helps the rub adhere better and promotes the formation of a desirable bark during smoking.
- Remove the Membrane: Flip the rib rack over so the bone side is facing up. You’ll notice a thin, silvery-white membrane covering the bones. This membrane becomes tough and chewy when cooked, preventing seasoning penetration and affecting the texture. To remove it, slide a small knife or the handle of a spoon just under the membrane at one end of the rack. Gently lift and loosen it without cutting through.
- Grip and Pull: Once you have a corner of the membrane lifted, use a paper towel for a firm grip (it can be slippery!). Slowly but firmly pull the entire membrane off the rack. It should come off in one piece, or at least large sections. This step is simple yet vital for truly tender ribs.
- Apply Oil: Lightly coat both the top and bottom of the rib rack with a thin layer of canola oil (or another neutral oil like olive oil). The oil acts as a binder, helping the dry rub stick evenly to the meat.
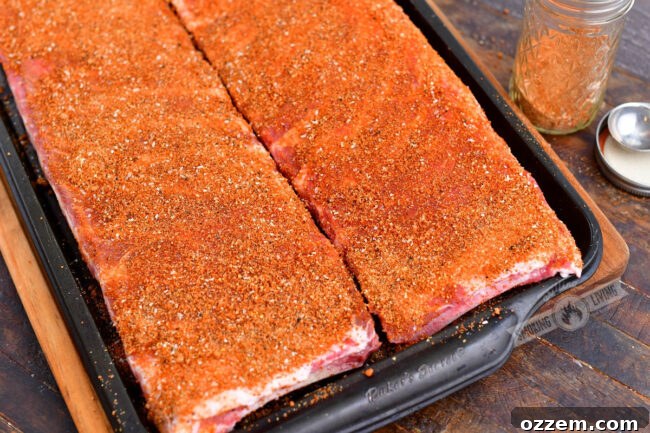
- Season with Dry Rub: In a bowl, thoroughly mix all your dry rub ingredients. Generously sprinkle the dry rub over the top side of the ribs, then gently pat and massage the seasoning into the meat, ensuring an even coating. Flip the rack and repeat the process on the bottom side. Don’t be shy with the rub – a good layer contributes significantly to the flavor and bark.
Pro Tip for Enhanced Flavor: Marination Time
While you can smoke the ribs immediately after applying the rub, allowing them time to marinate (dry brining) in the rub will dramatically enhance their flavor and tenderness. Place the seasoned ribs on a large baking sheet or into a large aluminum pan. Cover it tightly with plastic wrap or foil to prevent air exposure. Refrigerate for a minimum of 2 hours, or for optimal results, up to 24 hours. Before you start your smoker, remove the ribs from the refrigerator and let them sit at room temperature on the counter for about an hour. This allows the meat to warm up slightly and cook more evenly.
Smoking the Ribs: Low and Slow Perfection
- Set Up Your Smoker: Prepare your smoker according to the manufacturer’s instructions. Preheat it to a stable temperature of 225°F (107°C). Consistency is key here.
- Introduce Moisture (Water Pan): For most smokers, especially those relying on charcoal or wood, I highly recommend placing a water pan or a combination water/drip pan on the lower rack, directly beneath where the ribs will sit. This adds moisture to the smoking environment, helping to keep the ribs juicy and preventing them from drying out, while also stabilizing the smoker’s internal temperature.
- Monitor Temperature Accurately: Do not rely solely on the thermometer built into your smoker’s lid, as these can often be inaccurate by 20 degrees or more. Instead, use a high-quality digital oven thermometer with a probe placed directly on the grill grate where your ribs will cook. This provides a precise reading of the temperature at meat level. If using a wood or charcoal smoker, diligently maintain the temperature between 225°F and 250°F (121°C), making small adjustments to airflow as needed.
- Rib Placement: Once your smoker reaches a steady 225°F, carefully place the seasoned rib racks directly on the grates, ensuring there is adequate space between them for smoke to circulate. Close the lid promptly to avoid heat loss.
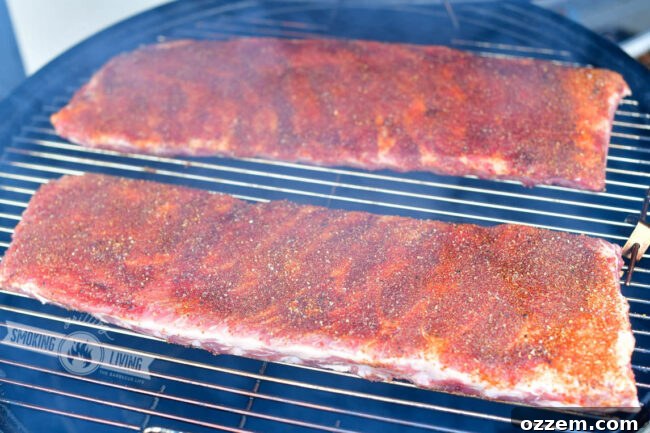
- The Smoking Process: Smoke the ribs for approximately 6 to 8 hours. The exact time will depend on the size and thickness of your racks, as well as the smoker’s performance. Larger, meatier racks may require a bit more time. If you use a rib holder and stack more than two racks, anticipate adding at least an hour to the total cook time to account for denser packing and reduced airflow. Resist the urge to frequently open the smoker lid; “if you’re lookin’, you ain’t cookin'”. Each peek extends the cooking time.
- Prepare Your BBQ Sauce: While the ribs are smoking, prepare your homemade BBQ sauce. In a medium saucepan, combine all the sauce ingredients: ketchup, chicken stock, dark brown sugar, apple cider vinegar, molasses, maple syrup, bourbon (optional), tomato paste, Worcestershire sauce, chili powder, and paprika. Whisk everything together until well combined. Bring the mixture to a gentle simmer over medium heat, then reduce the heat to low and continue to simmer for about 15 minutes, stirring occasionally, until the sauce thickens slightly. Remove from heat and set aside until ready to use. This sauce can be made ahead of time.
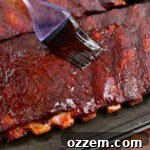
- Glazing the Ribs: Once the ribs are cooked to your desired tenderness (see the “Doneness” section below), carefully remove them from the smoker. Immediately close the smoker lid to retain heat. Generously glaze both the top and bottom of each rib rack with your prepared BBQ sauce, using a basting brush.
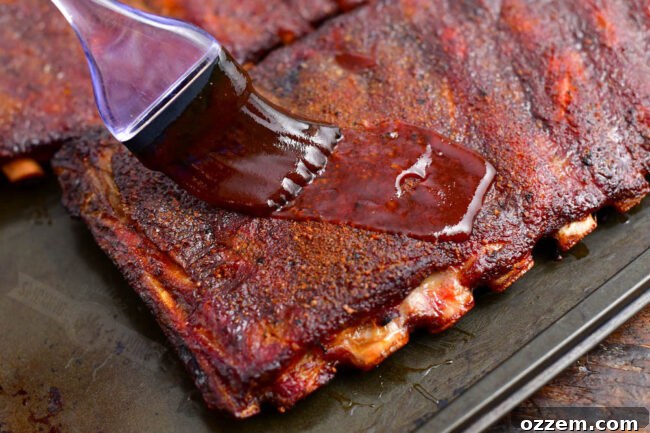
- Final Smoke (Setting the Glaze): Place the glazed ribs back onto the smoker for an additional 10-15 minutes. This brief period allows the sauce to caramelize and “set” onto the ribs, creating a beautiful, sticky finish.
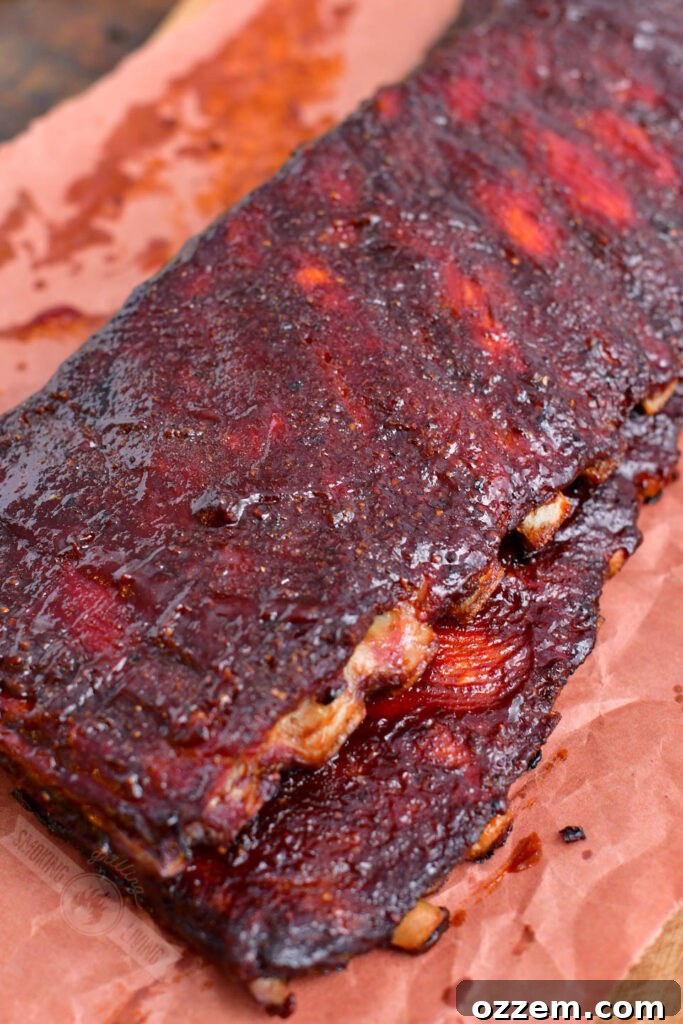
- Rest Before Serving: Remove the ribs from the smoker and let them rest on a cutting board, loosely tented with foil, for at least 15 minutes before slicing and serving. This crucial resting period allows the juices to redistribute throughout the meat, resulting in maximum tenderness and moisture. You can add more sauce just before serving if desired, or offer it on the side for dipping.
How To Tell If Ribs Are Done: The Ultimate Tenderness Check
Determining when your smoked ribs have reached peak doneness is an art as much as a science. While an internal temperature range exists, relying on touch and feel is often the most accurate way to ensure tender, flavorful ribs. Here are three reliable methods to test for doneness:
- The Bounce Test: This is a favorite among pitmasters for its simplicity and accuracy. Using long metal tongs, pick up the rib rack from about the middle. Give it a gentle bounce.
- If Undercooked: If the rack feels rigid and rubbery, and the meat on top doesn’t show any signs of cracking, the ribs are likely not ready. They will probably need another 1-2 hours of smoking.
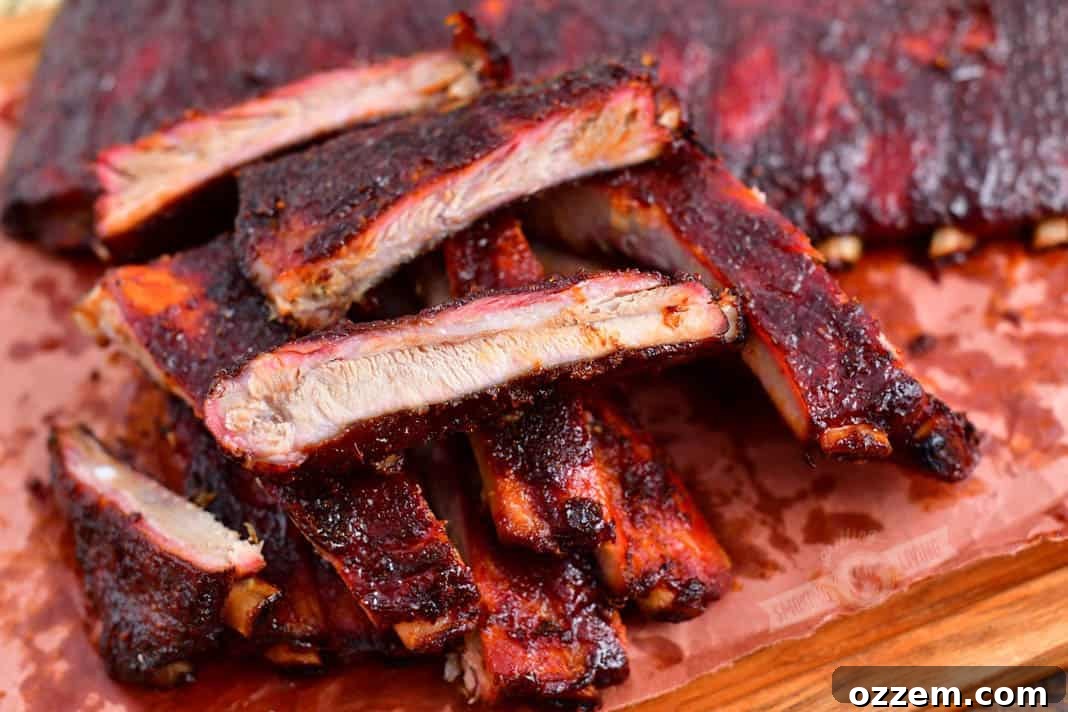
- If Perfectly Done: When the ribs are perfectly cooked, they will bend easily, almost to a 90-degree angle, and visible cracks will start to appear on the surface of the meat. The meat should feel tender and yielding, but not completely falling off the bone (unless that’s your desired texture).
- The Toothpick Test: Similar to baking a cake, the toothpick test works wonders for ribs. Take a standard wooden toothpick and gently poke it into the meat between the rib bones across various parts of the rack.
- If Undercooked: You’ll feel significant resistance when inserting the toothpick.
- If Perfectly Done: The toothpick should slide into the meat with little to no resistance, much like pushing it through soft butter. This indicates that the connective tissues have broken down sufficiently.
- Temperature (Internal): While less precise for tenderness alone, internal temperature provides a good baseline for safety and general doneness. Use a reliable instant-read thermometer to check the temperature in several thick, meaty areas between the bones.
- Food Safety: Pork is safe to eat at 145°F (63°C). However, at this temperature, the ribs will be firm and chewy, far from the desired tenderness for smoked ribs.
- Optimal Tenderness: To achieve that classic “pull-off-the-bone” or “melt-in-your-mouth” texture, you’ll want the internal temperature to reach between 190°F (88°C) and 203°F (95°C). This higher temperature range is where the tough collagen in the ribs breaks down into gelatin, resulting in incredibly tender and moist meat. If your ribs hit this temperature but don’t feel quite right with the bounce or toothpick test, give them a little more time.
What to Serve With Smoked Ribs: Complementary Sides
No barbecue feast is complete without a stellar supporting cast of side dishes. When serving magnificent smoked St. Louis ribs, think of classic pairings that offer a balance of flavors and textures to complement the rich, smoky meat. Here are some fantastic ideas for your next barbecue party:
Classic BBQ Staples:
- Creamy Potato Salad: A cool, creamy potato salad with a hint of tang is a perfect counterpoint to rich ribs. Its smooth texture and savory notes provide a refreshing contrast.
- Pasta Salad: A vibrant pasta salad, perhaps with a zesty vinaigrette and fresh vegetables, adds a light and bright element.
- Tangy Coleslaw: Whether creamy or vinegar-based, coleslaw’s crisp texture and sharp flavor cut through the richness of the ribs beautifully. It’s a BBQ essential.
- Cornbread: Sweet, buttery cornbread is ideal for soaking up any leftover barbecue sauce and adds a comforting, homey touch.
Smoker-Friendly Sides:
If your smoker has enough space, you can even cook some sides alongside your ribs, infusing them with that delicious smoky flavor:
- Smoked Baked Beans: Transform ordinary baked beans into an extraordinary side by slow-smoking them. The smoky depth elevates this classic dish.
- Smoked Mac and Cheese: Rich, creamy, and infused with a subtle smoky aroma, smoked mac and cheese is an indulgent and utterly satisfying side that pairs perfectly with ribs.
Grilled Vegetable Options:
As your ribs near completion, fire up a separate grill for some fresh, vibrant vegetables. Grilling adds a lovely char and complementary flavors:
- Grilled Zucchini: Simple slices of grilled zucchini with a sprinkle of salt and pepper offer a fresh, slightly sweet bite.
- Grilled Green Beans: Crisp-tender grilled green beans, perhaps tossed with a little garlic, add a delightful texture and earthy flavor.
- Garlic Butter Grilled Potatoes: Tender on the inside and slightly crispy on the outside, grilled potatoes tossed in garlic butter are a hearty and flavorful accompaniment.
If you’ve whipped up any of my recipes and proudly shared them on Instagram, be sure to tag me @grillingsmokingliving and use #grillingsmokingliving! I love seeing your delicious creations!
Stay Connected with Grilling Smoking Living!
Don’t miss out on more mouth-watering recipes and BBQ tips. Click below and follow me on my social media channels to stay updated.
PIN THIS RECIPE FOR LATER!
Smoked St. Louis Style Ribs
Print Recipe
Pin Recipe
Ingredients
- 2 full racks of St. Louis cut ribs
- 2 tbsp canola oil to rub ribs
Rib Rub (click for more information):
- 1/2 cup brown sugar
- 1/4 cup paprika can use smoked or regular
- 3 tbsp kosher coarse salt
- 1 tbsp coarsely cracked black pepper
- 2 tbsp garlic powder
- 1 tbsp onion powder
- 1 1/2 tbsp ground mustard seed
- 1 1/2 tsp ground coriander
- 1 tsp white pepper
- 1 tsp ground fennel seeds
- 1/4 tsp cayenne pepper
BBQ Sauce:
- 1 cup ketchup
- 1/2 cup chicken stock
- 1/3 cup dark brown sugar
- 1/4 cup apple cider vinegar
- 2 tbsp molasses
- 2 tbsp maple syrup
- 2 tbsp bourbon
- 2 tbsp tomato paste
- 1 tbsp Worcestershire sauce
- 1 tsp chili powder
- 1 tsp paprika
- salt to taste only
Instructions
Prepare the ribs:
-
Take the ribs out of the package and pat them dry with a paper towel. Turn the ribs over onto its back and you will see a thin white covering on the bones all along the rack. Starting at one end, use a small knife to slide right under the membrane and gently pull up, but don’t cut it.
-
Grab the membrane with a paper towel and slowly but firmly pull the membrane off the entire rib. 9 times out of 10 it will come off nice and smooth with no problem.
-
Rub a little bit of canola oil all over the top and bottom of the rack.
-
Mix all the ingredients for the dry rub in a bowl and spread dry rub all over the top of the rib racks, pat and massage the seasoning all over to spread it evenly, and flip. Do the same to the bottom of the rack.
-
You can smoke the ribs right away or, for best results, let the ribs marinate for as little as 2 or as long as 24 hours.
-
Place the ribs on a large baking sheet or into a large aluminum pan. Cover it air-tight and refrigerate for as little as 2 hours or as long as 24 hours. Pull the ribs out of the refrigerator before starting the smoker so they can warm up on the counter.
Smoking the ribs:
-
Set up your smoker and preheat it to 225°F (107°C). I highly recommend including a water pan or water/drip pan to the lower rack of the smoker, under the ribs. Use a digital oven thermometer to track the temperature on the grill grate. Don’t rely on the thermometer built into the lid of the smoker, they are usually at least 20 degrees off.
-
(If using wood or charcoal smoker, maintain the temperature right around 225°F (107°C) but don’t let it get below 225°F or over 250°F (121°C)).
-
When the smoker temperature is at 225°F, place ribs on the grate and close the lid.
-
Smoke ribs for 6-8 hours, depending on their size. (Large, meaty racks could take a little longer and if you stack more than 2 racks in a rib holder, expect to add at least 1 more hour to total cook time.)
-
For the sauce: combine all the ingredients in a sauce pot, mix well, and bring it to simmer over medium heat. Lower the heat and gently simmer for about 15 minutes. Make sure to stir from time to time. Take off heat until ready to use.
-
When ribs are done, take them off the smoker and close the smoker lid right away so you don’t loose heat. Glaze the ribs with sauce all over the top and bottom of each rack.
-
Place ribs back onto the smoker for 10-15 minutes.
-
Take the ribs off and let them rest for 15 minutes before cutting. You can glaze them with more sauce if you wish or serve with sauce on the side.
Nutrition