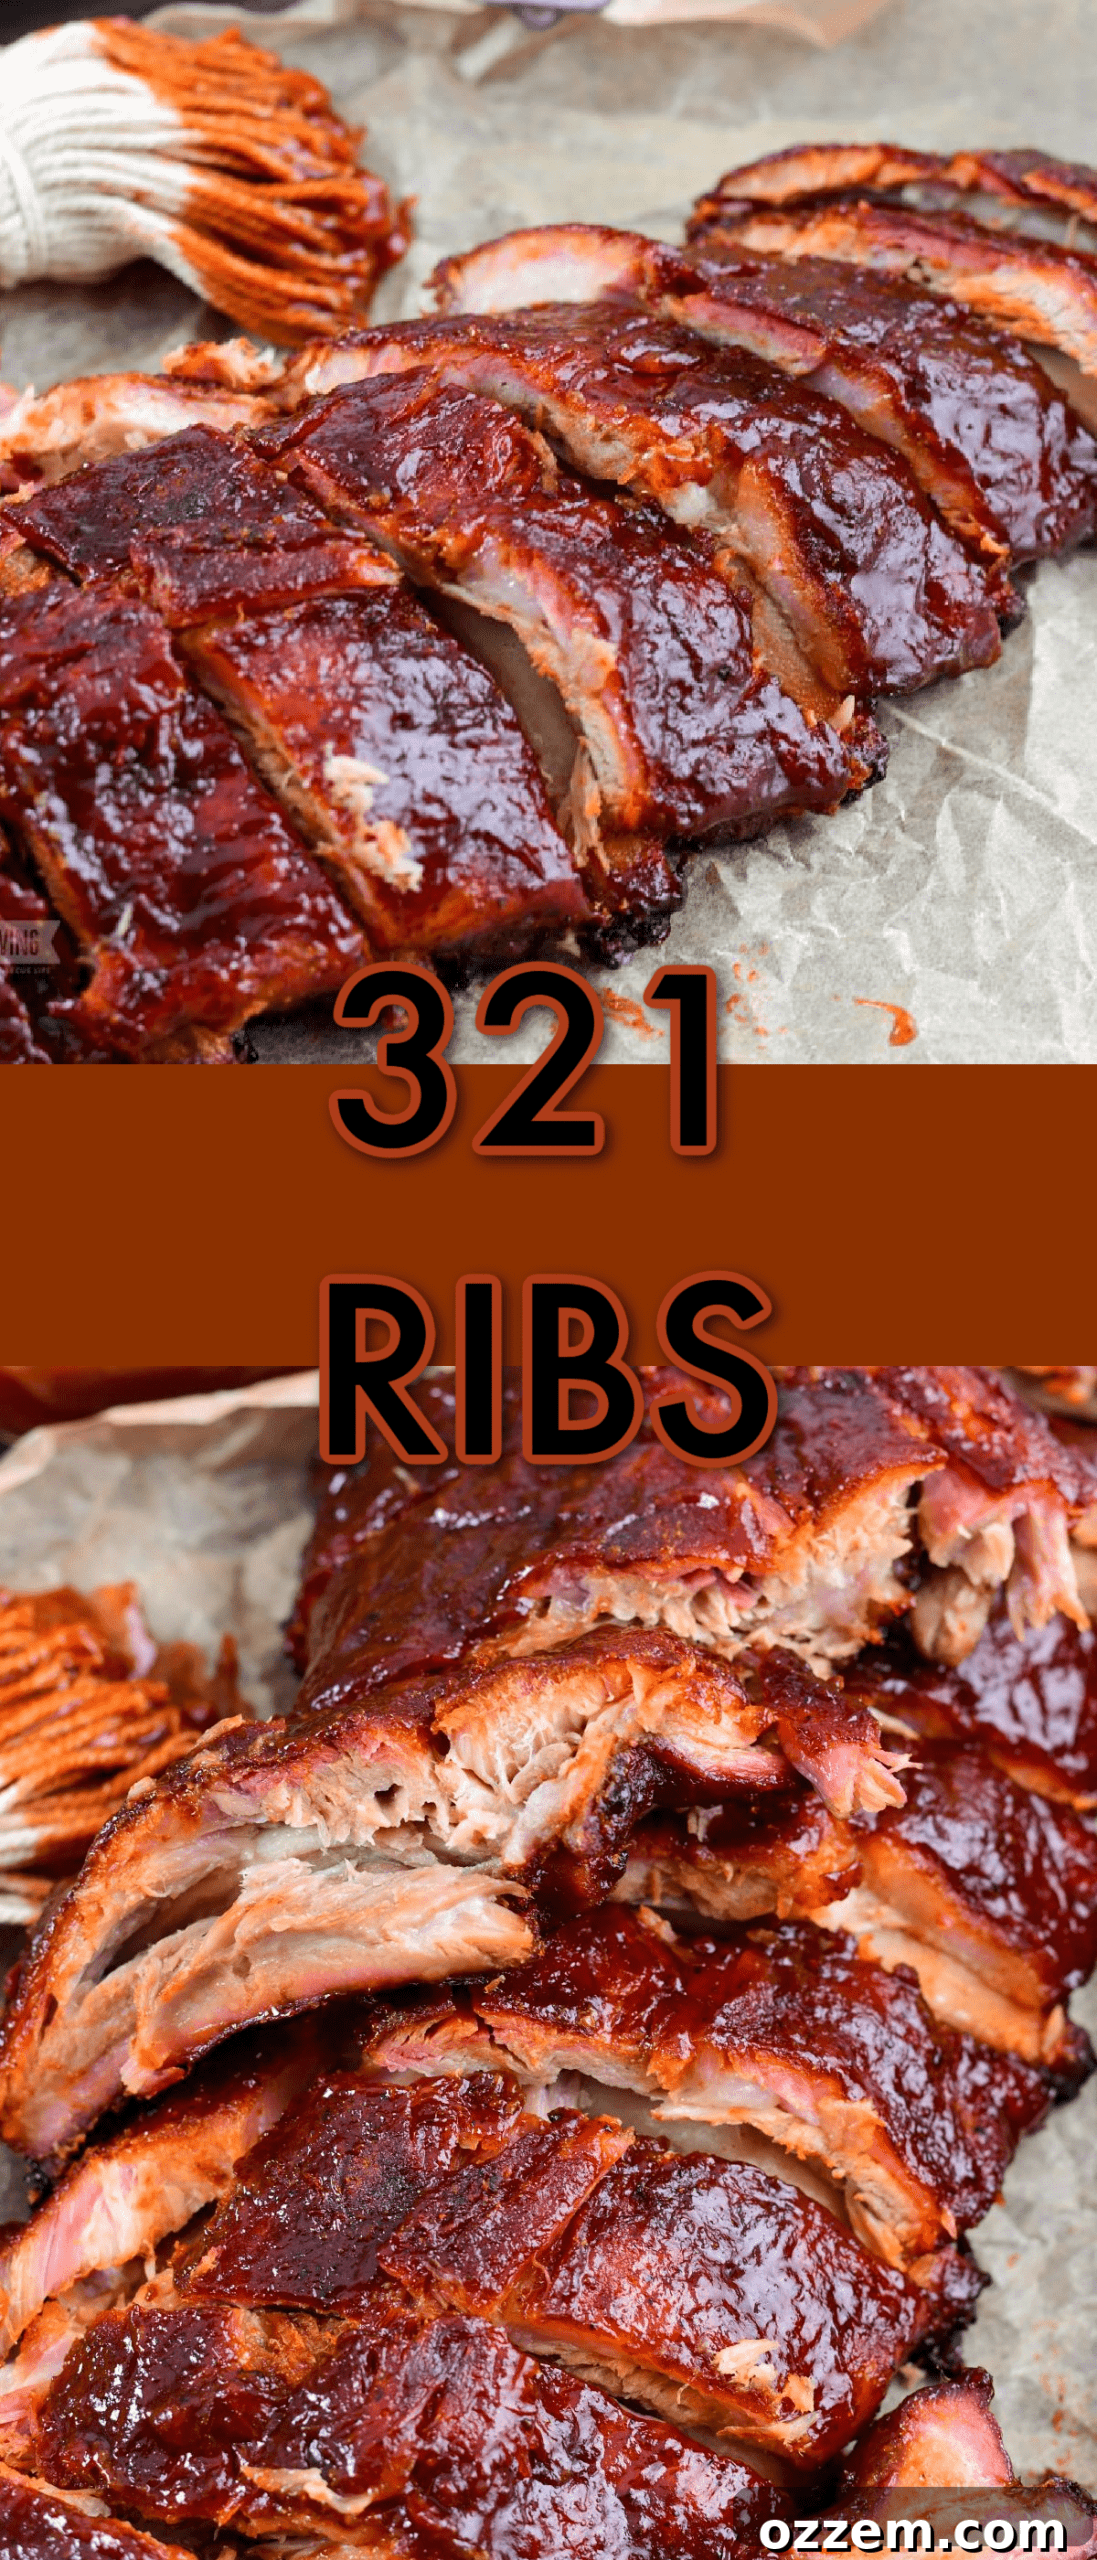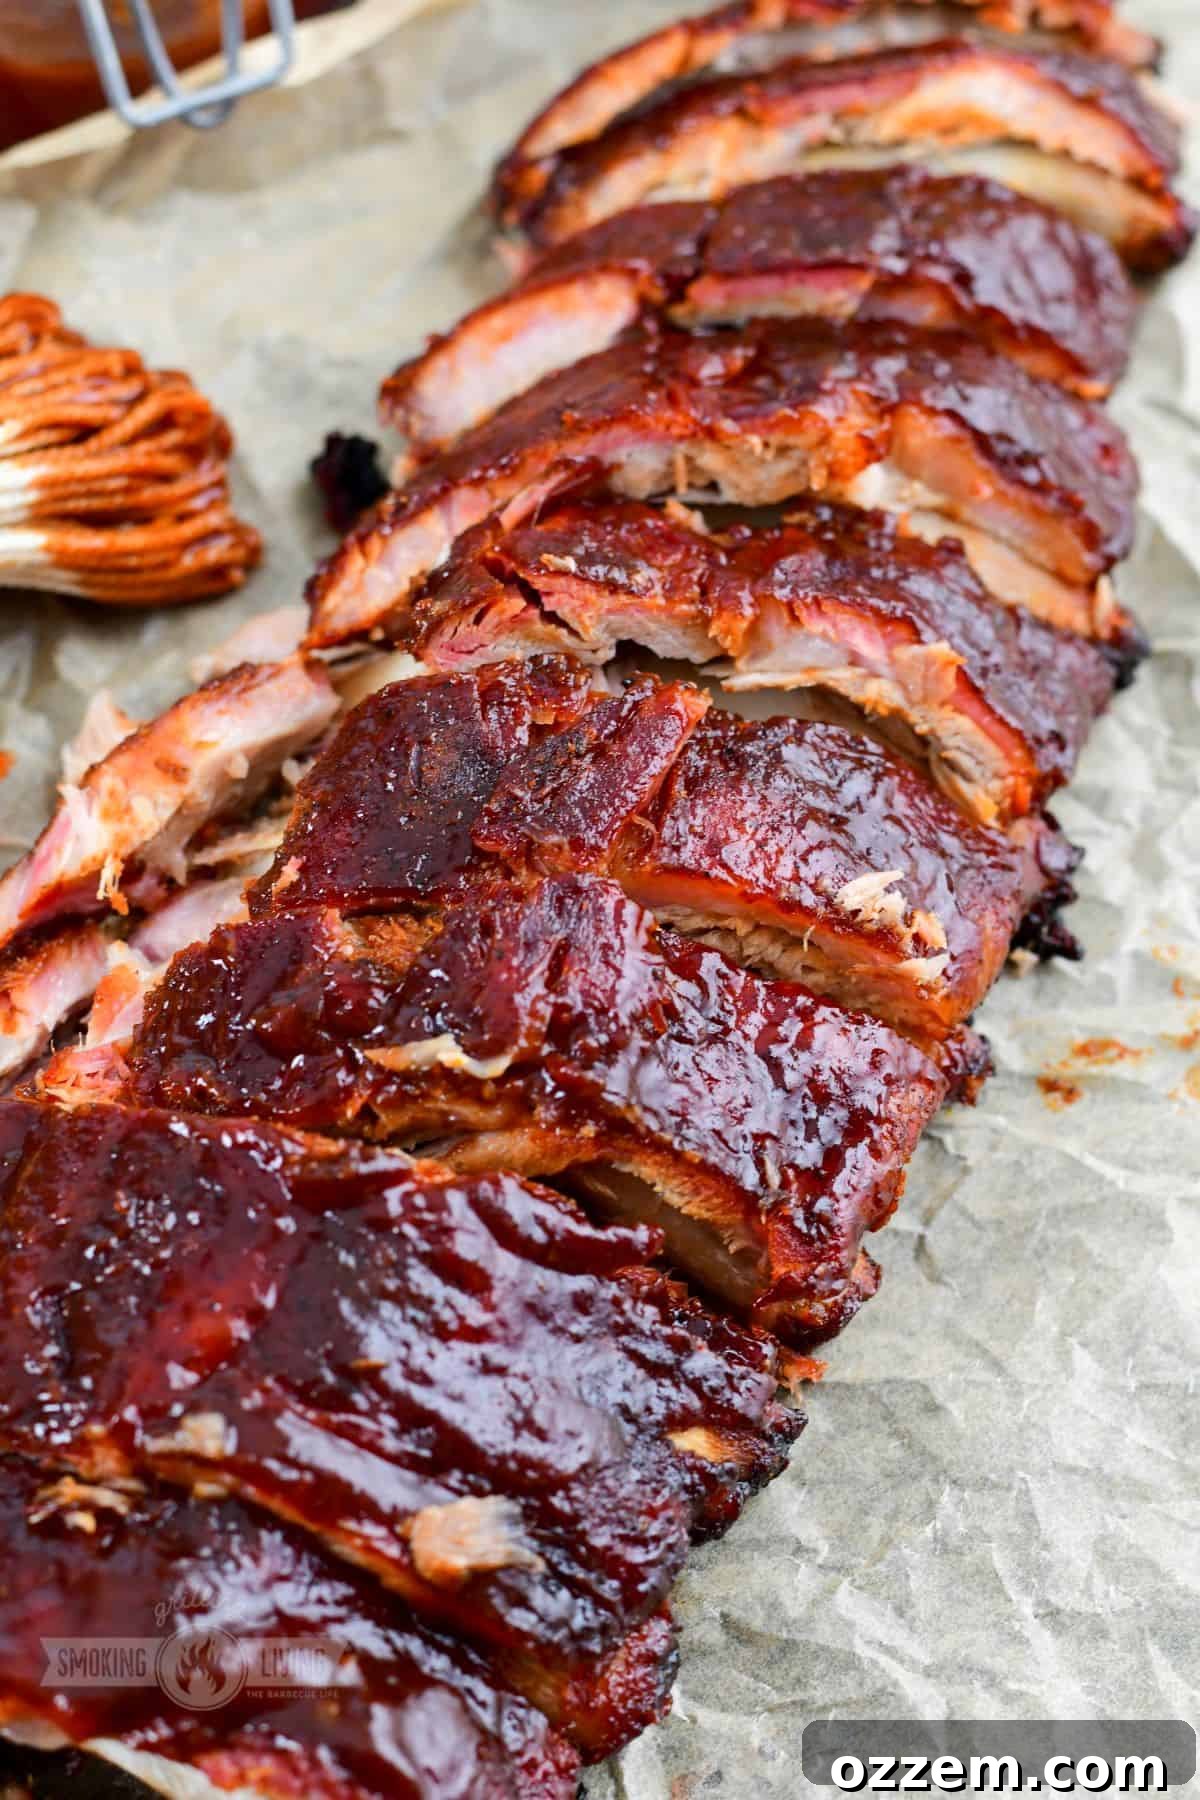
There’s nothing quite like the irresistible allure of ribs that are so tender they effortlessly slide off the bone, brimming with rich, smoky flavor and coated in a delectable sauce. For barbecue enthusiasts and novices alike, mastering the art of smoked ribs is a rewarding endeavor, and the “3-2-1 Ribs” method stands as a cornerstone in achieving BBQ perfection. This widely celebrated technique is revered for consistently producing ribs that are incredibly juicy, deeply smoky, and melt-in-your-mouth tender, making it an essential skill for any home pitmaster. Whether you’re a seasoned smoker or just starting your journey into the world of low-and-slow cooking, the 3-2-1 method offers a structured, foolproof approach to crafting ribs that will be the undisputed star of any gathering.
If you’re passionate about smoked ribs, and honestly, who isn’t? – we invite you to explore more of our fantastic rib recipes. For those who appreciate a classic cut, our St. Louis Ribs deliver exceptional tenderness, juiciness, and a robust flavor profile that’s hard to beat. Or perhaps you prefer the smaller, leaner delight of baby back ribs that practically fall off the bone with minimal effort? Our dedicated Smoked Ribs recipe showcases exactly how to achieve that coveted texture. No matter your preference, preparing smoked ribs is a culinary adventure that promises delicious results, and the 3-2-1 method is your ultimate guide to truly unforgettable ribs.
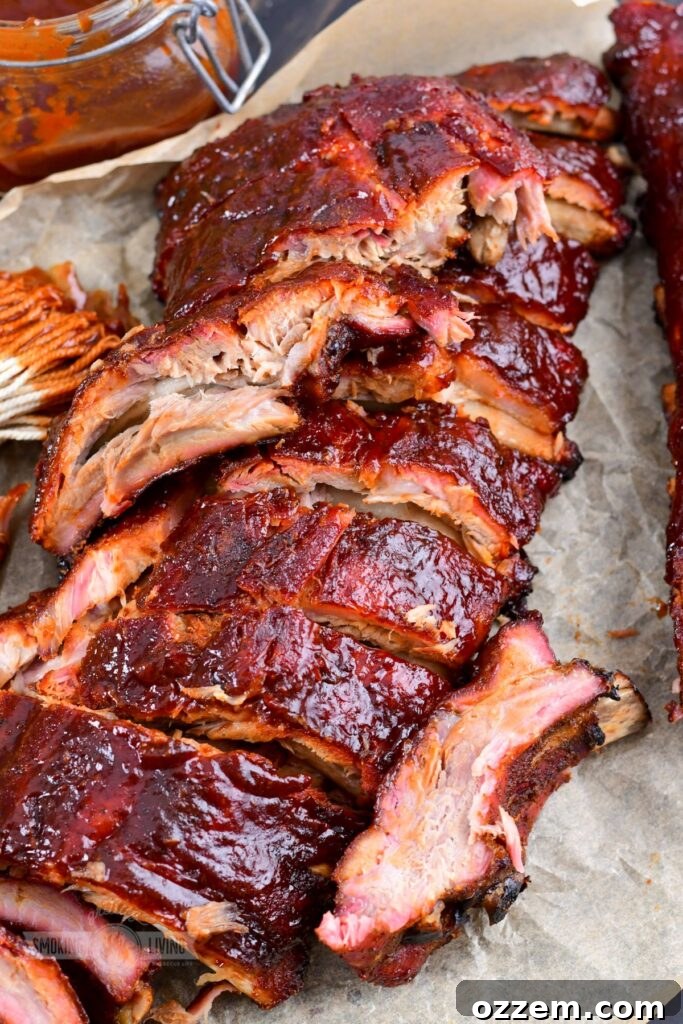
Achieving Fall-Off-The-Bone BBQ Ribs Every Time
Barbecue and ribs are, for many, practically synonymous – a truly iconic pairing in the culinary world. There’s an undeniable satisfaction in biting into a rib that’s incredibly tender, richly flavored, and enveloped in a delicious sauce. While the goal remains consistent, the path to achieving these legendary ribs is wonderfully varied. From dry-rubbed masterpieces to sticky, saucy delights, the spectrum of rib preparation is vast. You can enjoy them purely with a dry rub, brushed with sauce, or, as is often the case for the best of both worlds, seasoned with a dry rub and then finished with a savory glaze. The possibilities are endless, allowing every backyard chef to find their signature style.
For this specific culinary adventure, we are diving deep into the widely popular and highly effective 3-2-1 method of smoking ribs. This technique is celebrated not only by beginners for its clear, step-by-step guidance but also frequently employed by the most seasoned smoking experts due to its consistently stellar results. This meticulously structured approach guarantees ribs that are exceptionally tender, unbelievably moist, and literally fall off the bone with minimal effort, making it incredibly difficult to argue against its efficacy. The 3-2-1 method transforms ordinary racks of ribs into extraordinary culinary achievements, perfect for impressing guests or simply indulging in a fantastic meal.
These expertly smoked ribs are destined to be the showstopper at your next BBQ gathering. But what truly completes the experience? Pairing them with the right side dishes elevates the meal from great to unforgettable. Ribs are incredibly versatile and complement a wide array of classic BBQ accompaniments. You can never go wrong with time-honored staples like our creamy and satisfying Potato Salad, a refreshing Macaroni Salad, or our rich and comforting Smoked Mac and Cheese. These sides not only add contrasting textures and flavors but also bring vibrant color to your beautifully arranged table, creating a feast for both the eyes and the palate.
Understanding the 3-2-1 Rib Smoking Method
The 3-2-1 method is a revered technique for smoking ribs, perfect for those new to the art of barbecue as well as experienced pitmasters seeking consistent excellence. It’s a simple yet incredibly effective way to achieve the most tender, moist, and delicious ribs imaginable. This method derives its name directly from the three distinct stages of cooking, each lasting a specific duration: 3 hours, 2 hours, and 1 hour.
Simply put, the numbers “3-2-1” precisely describe the stages or phases of the cooking process, guiding you through each critical step to ensure optimal results:
- Step 1: The “3” – Initial Smoke (3 Hours): This foundational stage is all about infusing the ribs with deep, smoky flavor and developing a flavorful bark. After generously coating your ribs with your chosen dry rub, they go into the smoker for three hours. The key here is to maintain a low and consistent temperature, ideally around 225°F (107°C), and use a mild, often fruity, wood like cherry or apple. This allows the smoke to penetrate the meat thoroughly, creating that characteristic smoky aroma and taste without overcooking the exterior.
- Step 2: The “2” – Wrapped Braising (2 Hours): Following the initial smoke, the ribs are removed and then generously basted with a “mop sauce” on both sides. They are then tightly wrapped in foil (or butcher paper) and returned to the smoker for an additional two hours, still at 225°F (107°C). This wrapping stage is crucial as it essentially braises the ribs in their own juices and the mop sauce. The moisture trapped within the foil creates a steamy environment that tenderizes the meat incredibly, helping it pull away from the bone while also locking in all the natural flavors and preventing them from drying out. This step is often referred to as getting through the “stall” in BBQ, where the meat’s temperature temporarily plateaus.
- Step 3: The “1” – Saucing and Setting the Bark (1 Hour): The final hour of the 3-2-1 method is where all the flavors truly come together and are set. After the braising stage, the ribs are unwrapped, basted liberally with your favorite BBQ sauce, and placed back in the smoker, unwrapped, for one final hour. During this last hour, the BBQ sauce caramelizes beautifully, forming a delicious glaze and adding another layer of complex flavor. The exposure to the smoke allows for a final bark development, ensuring a perfect finish. Make no mistake, the culmination of these three stages often results in some of the most delicious, tender, and flavorful ribs you will ever have the pleasure of tasting!
Essential Ingredients for Perfect 3-2-1 Ribs
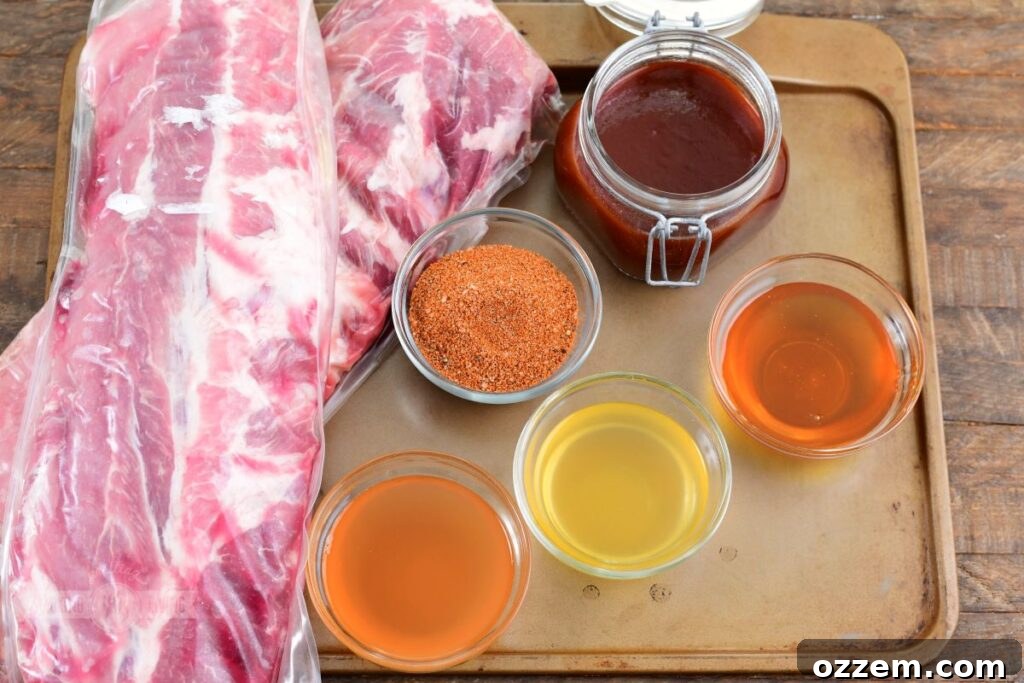
Crafting exceptional 3-2-1 ribs begins with selecting high-quality ingredients. Each component plays a vital role in achieving that perfect balance of smoky, sweet, and tangy flavors, and that coveted fall-off-the-bone tenderness.
Baby Back Ribs: These are arguably the most popular choice for smoking, especially for methods like 3-2-1. Baby back ribs are cut from the loin area of the pig, closer to the backbone. They are generally smaller, more curved, and contain leaner, more tender meat compared to spare ribs. Their size and meat-to-bone ratio make them ideal for absorbing smoke and becoming incredibly tender within the timeframe of this method. While other rib types can be used, baby backs offer a consistent and desirable outcome for this recipe.
BBQ Sauce: The finishing touch that elevates your ribs from great to extraordinary. For this recipe, we highly recommend using our signature Homemade BBQ Sauce, which provides a balanced blend of sweet, tangy, and smoky notes that perfectly complement the pork. However, the world of BBQ sauces is vast and personal; feel free to use your favorite store-bought brand or another homemade recipe that suits your palate. The key is to choose a sauce that you genuinely love, as it will significantly contribute to the final flavor profile of your smoked ribs.
Dry Rub: The foundation of flavor for any great smoked meat. A well-crafted dry rub penetrates the surface of the ribs, enhancing their natural taste and creating a delicious “bark” during the smoking process. Everyone has their preferred blend, whether it’s a trusty store-bought option or a meticulously concocted homemade recipe. We confidently stand by our Ultimate Dry Rub, which features a harmonious blend of spices that promises depth and complexity. Don’t be shy; apply it generously to ensure every bite is packed with flavor!
Mop Sauce Ingredients:
The mop sauce is a secret weapon in the 3-2-1 method, contributing significantly to the ribs’ moisture and subtle flavor during the wrapped phase. It creates a braising liquid that ensures ultimate tenderness and injects an extra layer of taste.
- Vinegar: An essential component, vinegar (typically apple cider vinegar) serves multiple purposes in a mop sauce. Its acidity helps to tenderize the meat further by breaking down tough fibers, while also providing a crucial tangy balance that cuts through the richness of the pork and other sweet elements of the sauce, allowing the natural, savory flavors of the ribs to truly shine.
- Apple Juice: This ingredient adds a delightful, subtle fruity sweetness and much-needed moisture to your mop sauce. The apple notes complement pork exceptionally well, enhancing the overall flavor without being overpowering. It contributes to a moist environment during the wrapping stage, preventing the ribs from drying out and promoting that fall-off-the-bone texture.
- Honey: Offering another layer of natural sweetness, honey in the mop sauce adds a lovely, subtle sweetness and helps create a beautiful glaze. It also contributes to the rich color of the ribs as they cook, providing a hint of caramelization during the braising process that enhances both flavor and appearance.
Detailed Cooking Instructions for 3-2-1 Ribs
With your homemade dry rub and BBQ sauce (or your preferred store-bought versions) prepped and ready, it’s time to shift our full attention to the main event: the ribs themselves! The preparation and smoking process, especially following the precise 3-2-1 method, will ensure you achieve spectacularly tender and flavorful results.
Begin by preparing your smoker, ensuring it is clean and ready for a long, low-temperature cook. Preheat your smoker to a consistent temperature of 225°F (107°C). For this particular dish, we highly recommend using cherry wood. Cherry wood imparts a mild, sweet, and distinctly fruity smoky flavor that harmonizes beautifully with dry-rubbed, saucy pork ribs. However, the world of smoking woods is diverse, and you have excellent alternatives. Harder woods such as hickory, maple, or pecan also work exceptionally well with ribs, offering a stronger, more traditional BBQ smoke profile. Experiment to find your favorite!
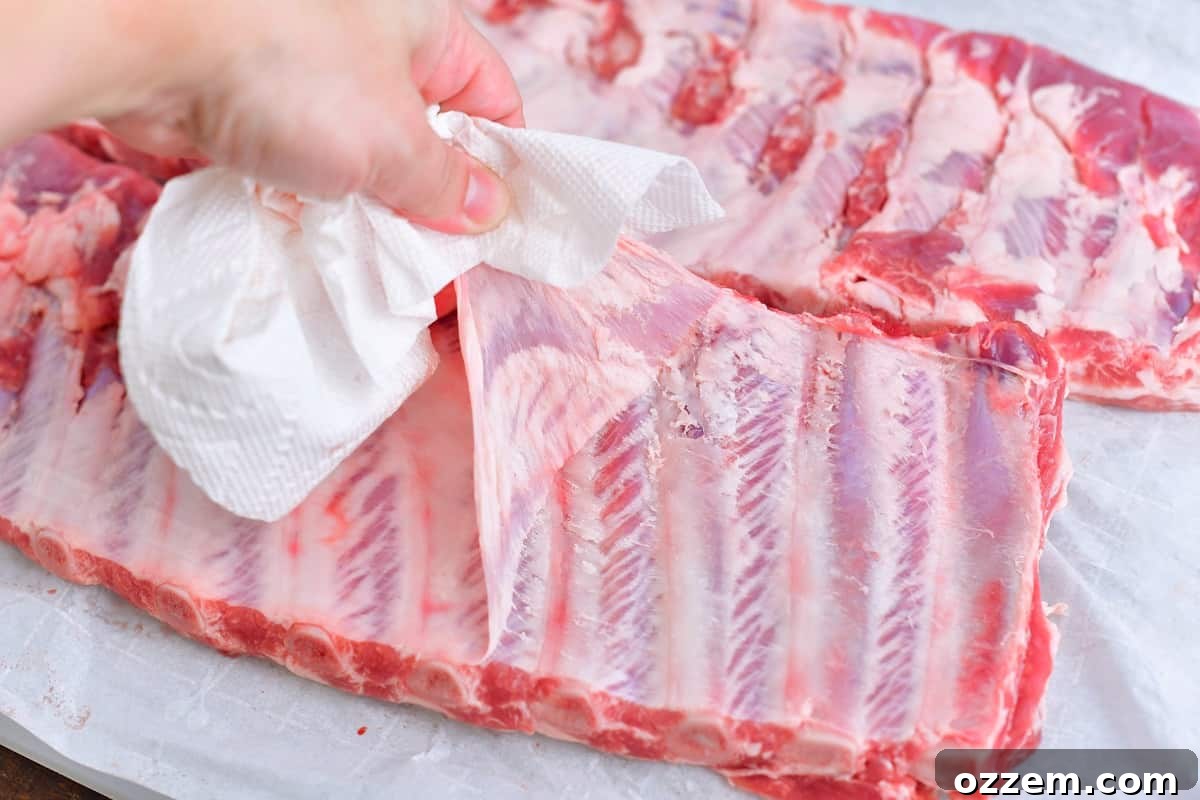
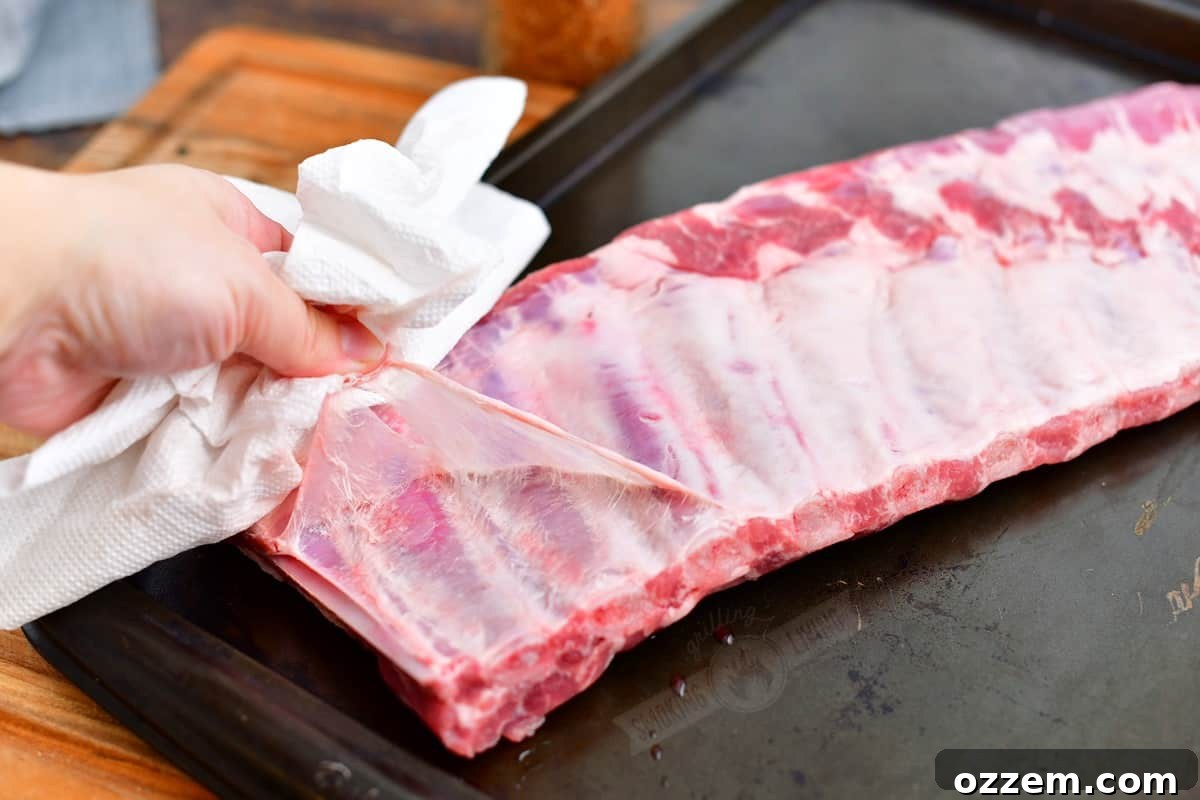
The crucial first step in preparing your ribs, often overlooked by beginners, is to remove the silver-skin membrane that adheres to the bone side of the rib rack. This membrane, if left on, can become tough and chewy during cooking, preventing the dry rub and smoke from fully penetrating the meat, resulting in a less enjoyable texture. It’s quite rare to find ribs with this membrane already removed by the butcher, so expect to do this yourself.
To remove it, lay the ribs on their back, bone side up. You’ll notice a thin, somewhat translucent white covering running along the bones. Start at one end of the rack. Using a small, blunt knife (like a butter knife) or the tip of a spoon, gently slide it right under the membrane, separating it from the bone. Once you’ve lifted a small section, avoid cutting it. The easiest place to get leverage is usually directly on a bone, rather than trying to pry it off the meat. Once you have a good grip, use a paper towel to grasp the membrane firmly – this provides excellent traction. Slowly but steadily pull the membrane off the entire rack of ribs. In most cases, it will come off in one smooth, satisfying strip with no problem. If it tears, simply find another starting point and continue until all membrane is removed. This small effort makes a significant difference in the final tenderness of your ribs.
Step 1 – The Initial 3-Hour Smoke
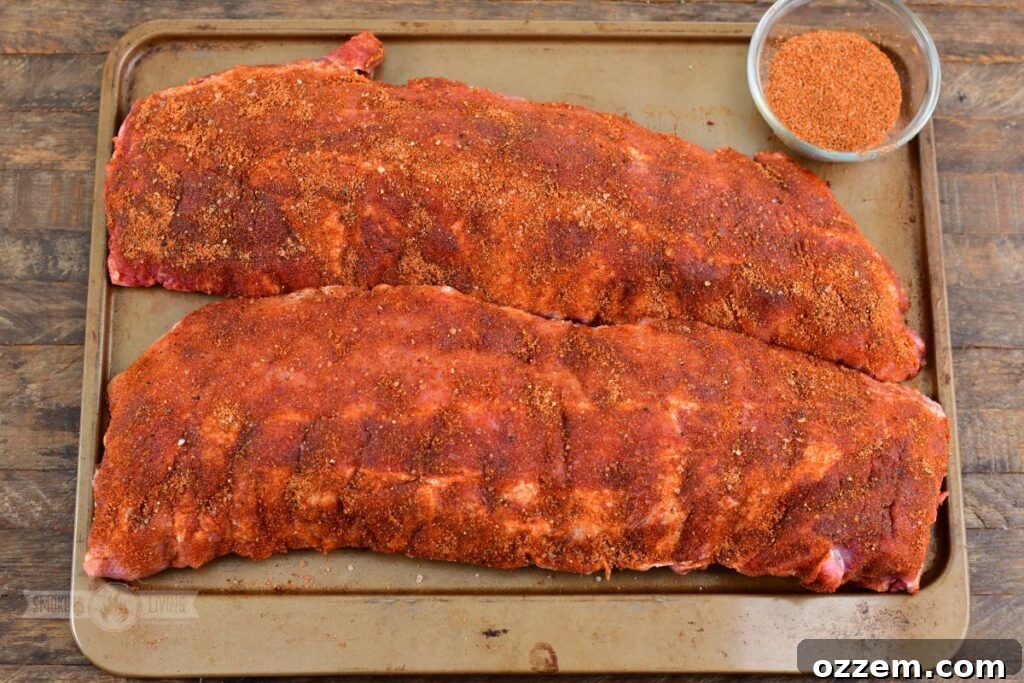
With the tough membrane now removed, it’s time to infuse your ribs with incredible flavor using your chosen seasoning. As previously mentioned, we swear by our tried-and-true dry rub, for which you can find the detailed recipe here on our sister site, or in the recipe card below. Of course, the beauty of BBQ is personalization, so feel free to use your absolute favorite store-bought rub or another homemade blend that speaks to your taste buds.
You’ll want to apply the dry rub generously and evenly, covering the entire surface of the ribs, both top and bottom. The technique here is important: pat the dry rub onto the meat rather than smearing it. Patting helps the rub adhere better and creates a more consistent, thicker layer of seasoning. Smearing can result in uneven coverage, leaving thinner spots where the flavor won’t be as robust. Ensure every inch is covered for maximum flavor penetration and bark development.
Now that your ribs are beautifully seasoned, the real fun begins! It’s time to ignite the smoker and let the magic happen. With your smoker steadily maintaining a temperature of 225°F (107°C), carefully place your seasoned ribs directly onto the grates. Let them smoke undisturbed for a full three hours. Unlike some other rib cooking methods where you might frequently check or adjust, for these initial steps of the 3-2-1 method, we adhere closely to the designated timings. This consistent, low-and-slow smoke allows for optimal flavor absorption and the beginning of that desirable exterior bark.
Step 2 – The 2-Hour Wrapped Braise
Once the initial three-hour smoking period is complete, and your ribs have developed a beautiful smoky color and initial bark, it’s time to transition to Step 2 – the crucial braising stage. This step is where the ribs truly transform, becoming incredibly tender and moist.
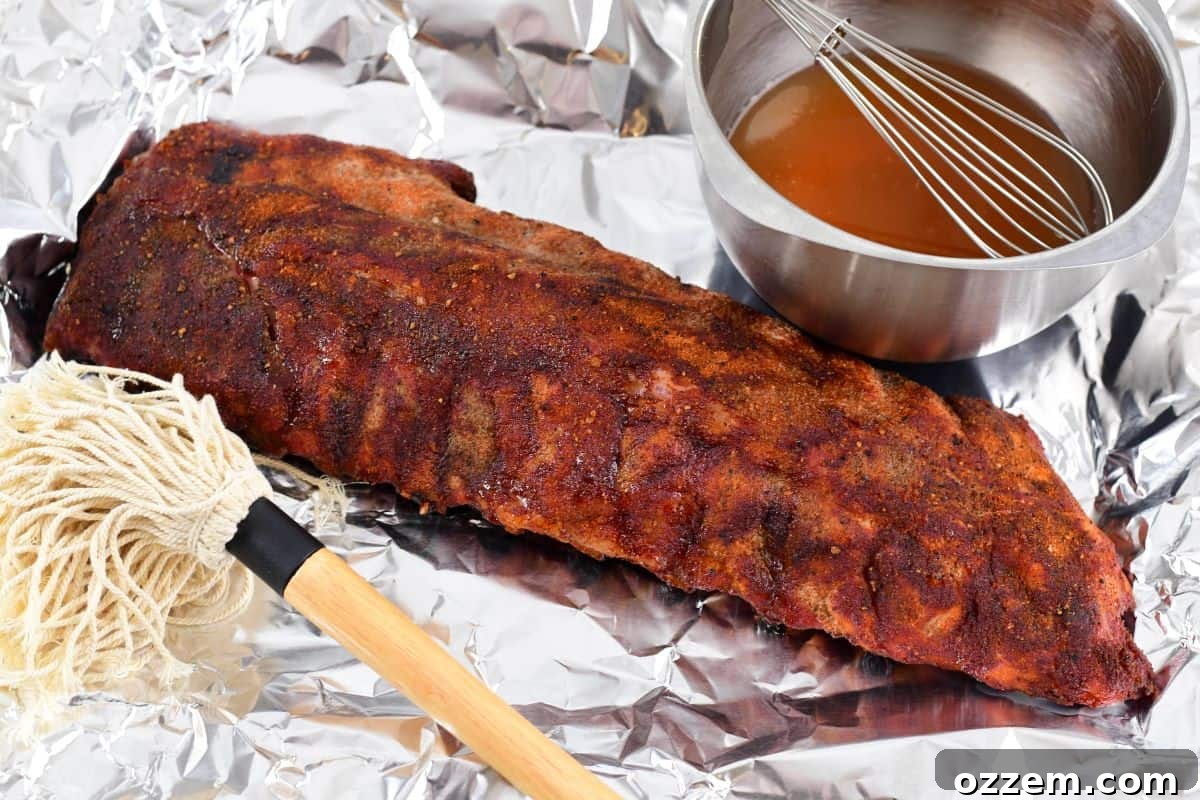
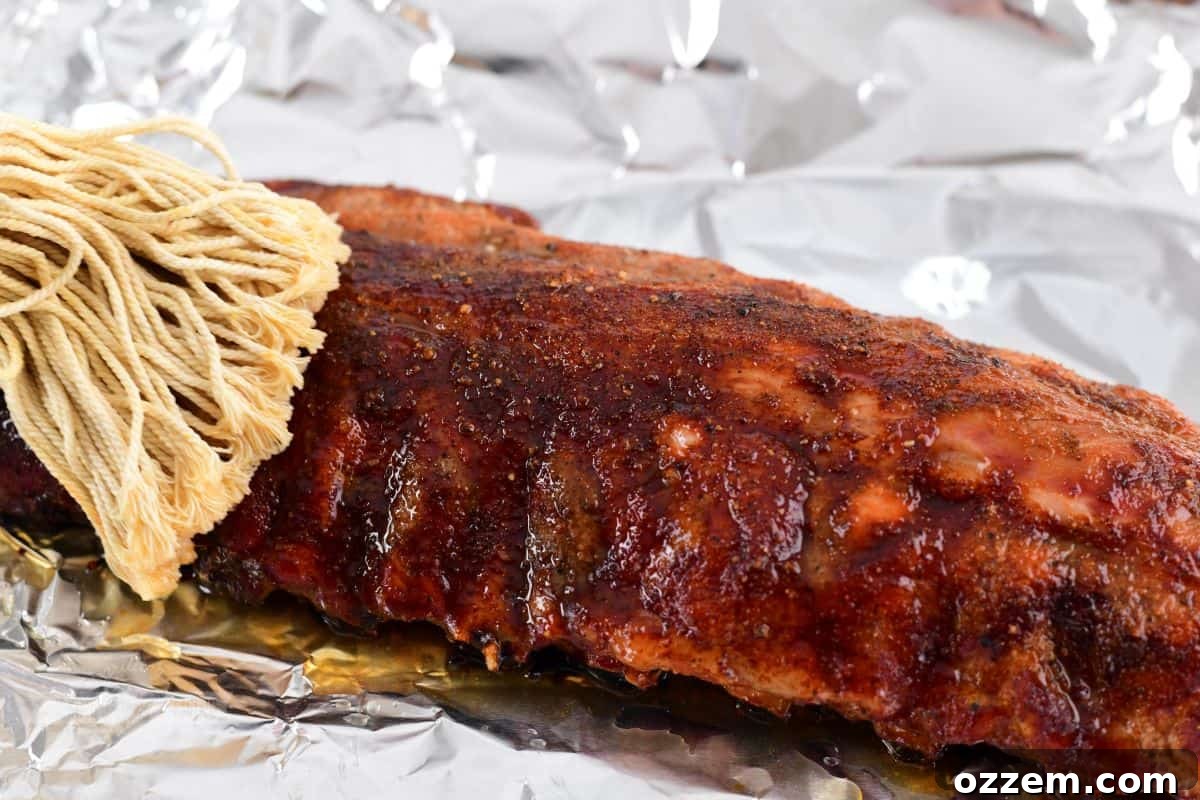
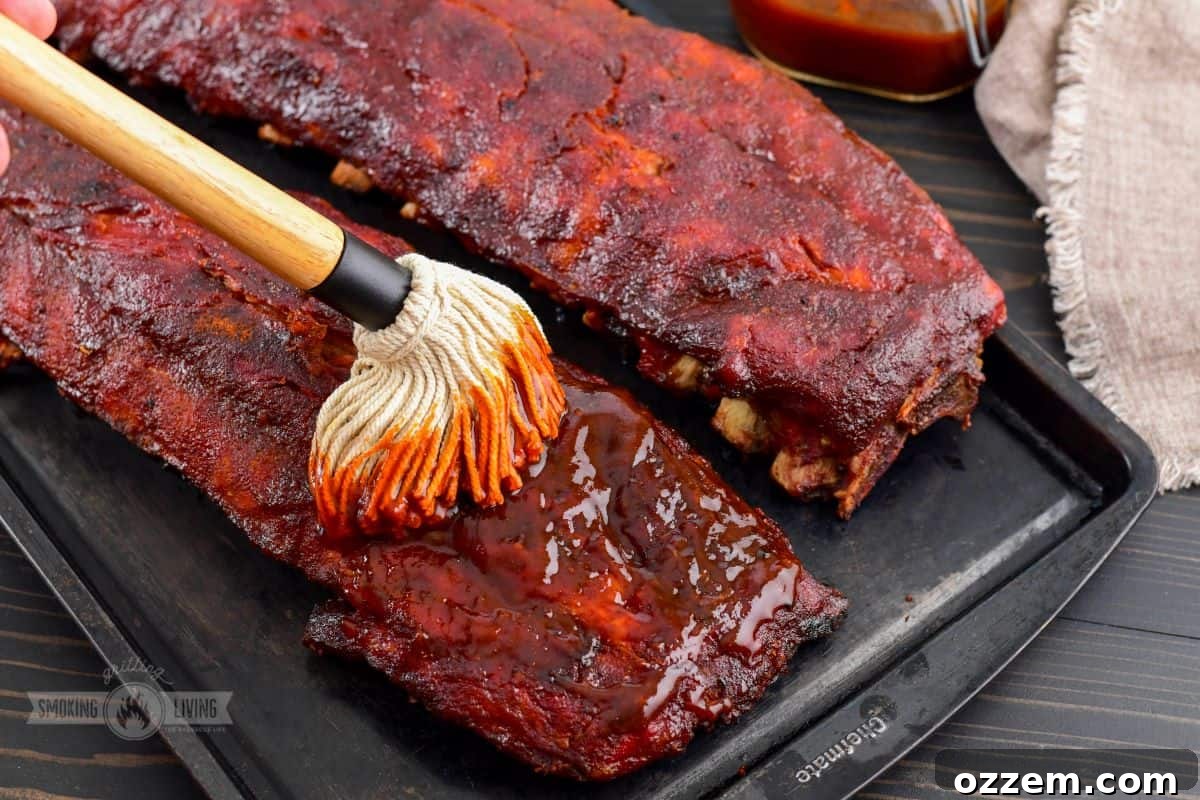
Carefully remove the ribs from the smoker. Have a large sheet of heavy-duty aluminum foil ready on a clean surface. Place each rack of ribs onto its own individual sheet of foil. Using a basting brush or a dedicated BBQ mop, generously apply your already prepared mop sauce to both the top and bottom surfaces of the ribs. Don’t be shy; ensure they are thoroughly coated. Allow any excess mop sauce to drip into the bottom of the foil, as this liquid will create a steamy, flavorful environment for braising.
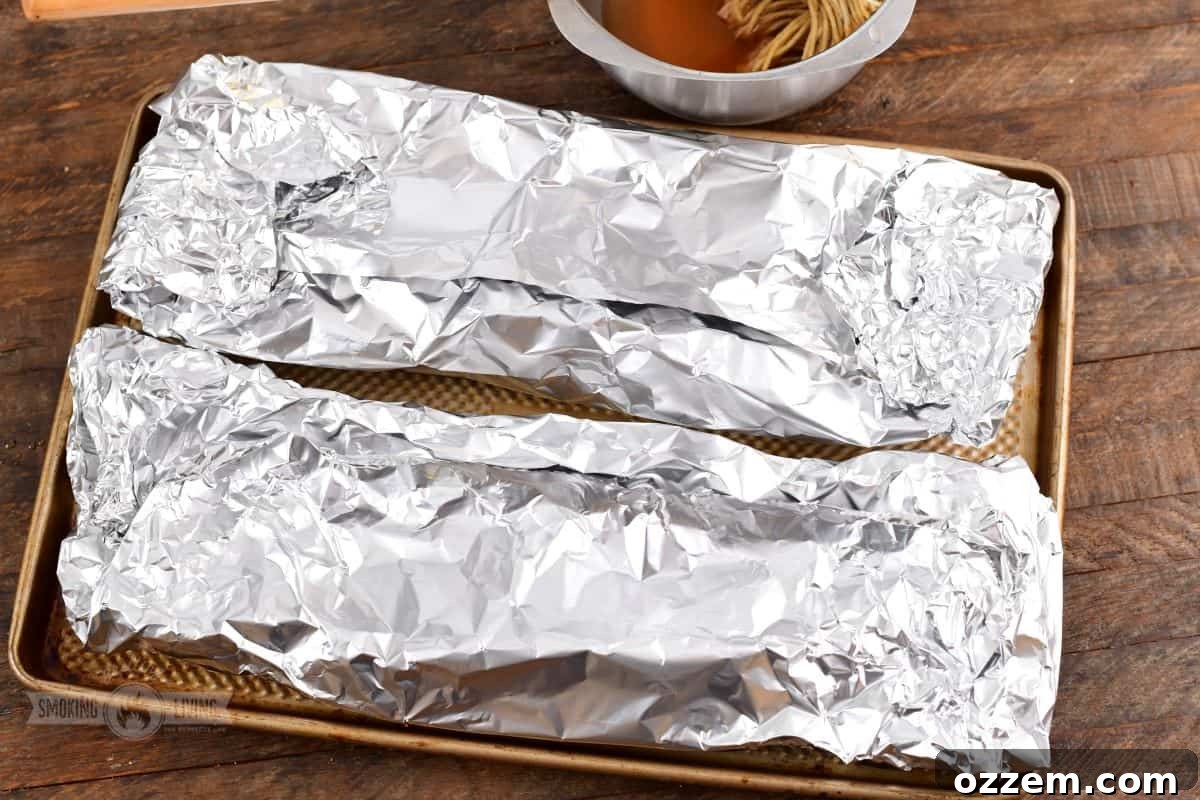
Once basted, tightly wrap your ribs in the foil. The goal is to create a sealed packet that traps all the moisture and heat, allowing the ribs to steam in their own juices and the mop sauce. Some pitmasters opt for butcher paper for a slightly different texture, but foil works perfectly for achieving ultimate tenderness. Place the wrapped ribs back into the smoker for an additional two hours, maintaining the consistent temperature of 225°F (107°C).
This braising stage is fundamental to the 3-2-1 method’s success. Within the foil, the meat undergoes a significant tenderization process. The combination of heat and trapped moisture effectively breaks down the tough connective tissues in the ribs, causing the meat to retract slightly from the bone and become incredibly succulent. This is also the stage that helps push the ribs through the “stall” – a common phenomenon in low-and-slow cooking where the meat’s internal temperature temporarily plateaus due to evaporative cooling. By wrapping, you bypass this effect, ensuring a steady rise in temperature and a perfectly tender result. At this point, you’re more than halfway to glorious ribs!
Step 3 – The Final 1-Hour Sauce and Set
The two-hour braising period has now concluded, and your ribs should be wonderfully tender. It’s time for the eagerly anticipated final step: saucing and setting those incredible flavors! This stage is arguably the most impactful in terms of developing the ultimate taste profile and achieving that desirable sticky, caramelized exterior.
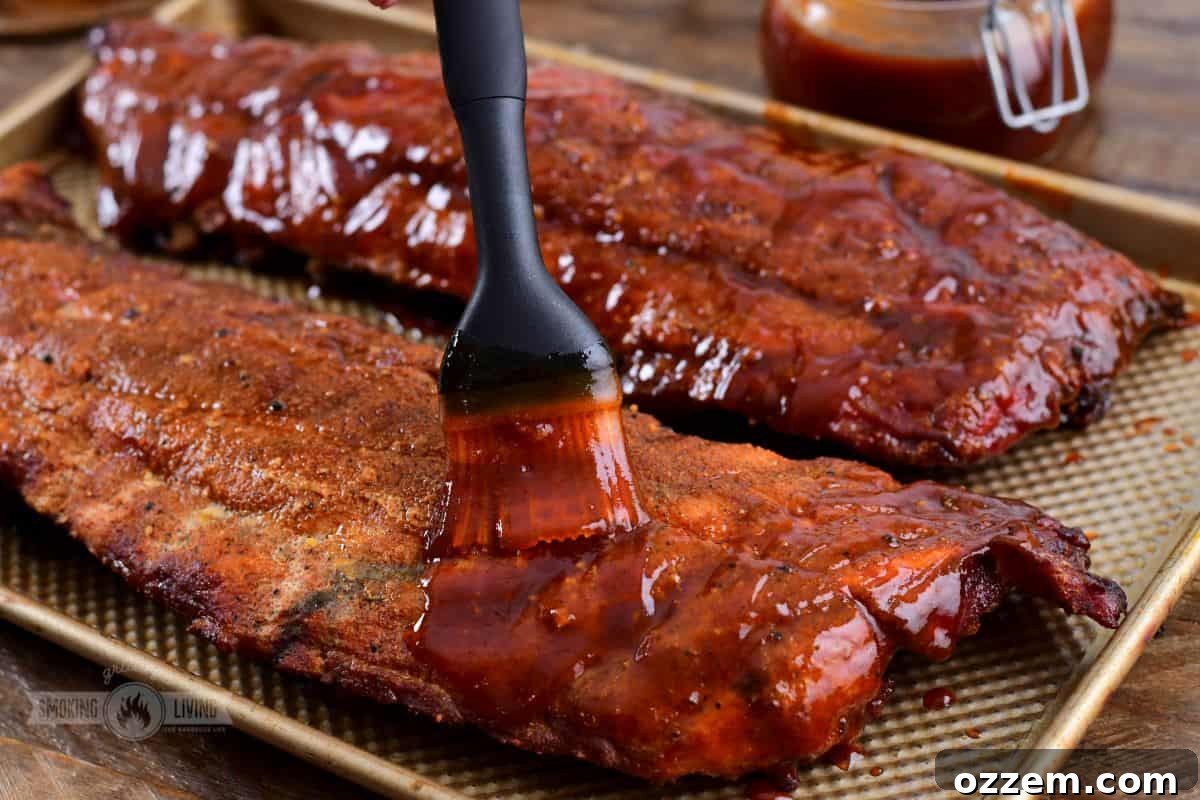
Carefully remove the wrapped ribs from the smoker and unwrap them. You’ll notice how incredibly tender they are. Now, it’s time to apply your BBQ sauce. As mentioned, we have a strong preference for our homemade BBQ sauce recipe, which you can find in the recipe card below or on our sister site. It offers a perfect balance that we believe truly elevates the ribs. However, personal taste is paramount in BBQ, so please feel empowered to use the sauce you believe will create the perfect rib experience for you. We just hope you’ll give our signature blend a try!
Generously coat the entire surface of the ribs, top and bottom, with your chosen BBQ sauce. Achieving thorough and even coverage is absolutely critical in this final step. You want to ensure that every bite of the finished rib is infused with that consistent, delicious combination of smoky meat and sweet, tangy sauce. Don’t skimp on the sauce; this is your chance to build a beautiful glaze and robust flavor layer.
Once you are confident that you’ve covered the entire rack of ribs in a glorious layer of sauce, place them back into the smoker, this time unwrapped, for one final hour. Maintain that consistent 225°F (107°C) temperature. During this hour, the sauce will caramelize and set, forming a sticky, flavorful bark and allowing the final smoke flavors to meld perfectly with the glaze. You’re almost there – this last hour of patience will be richly rewarded!
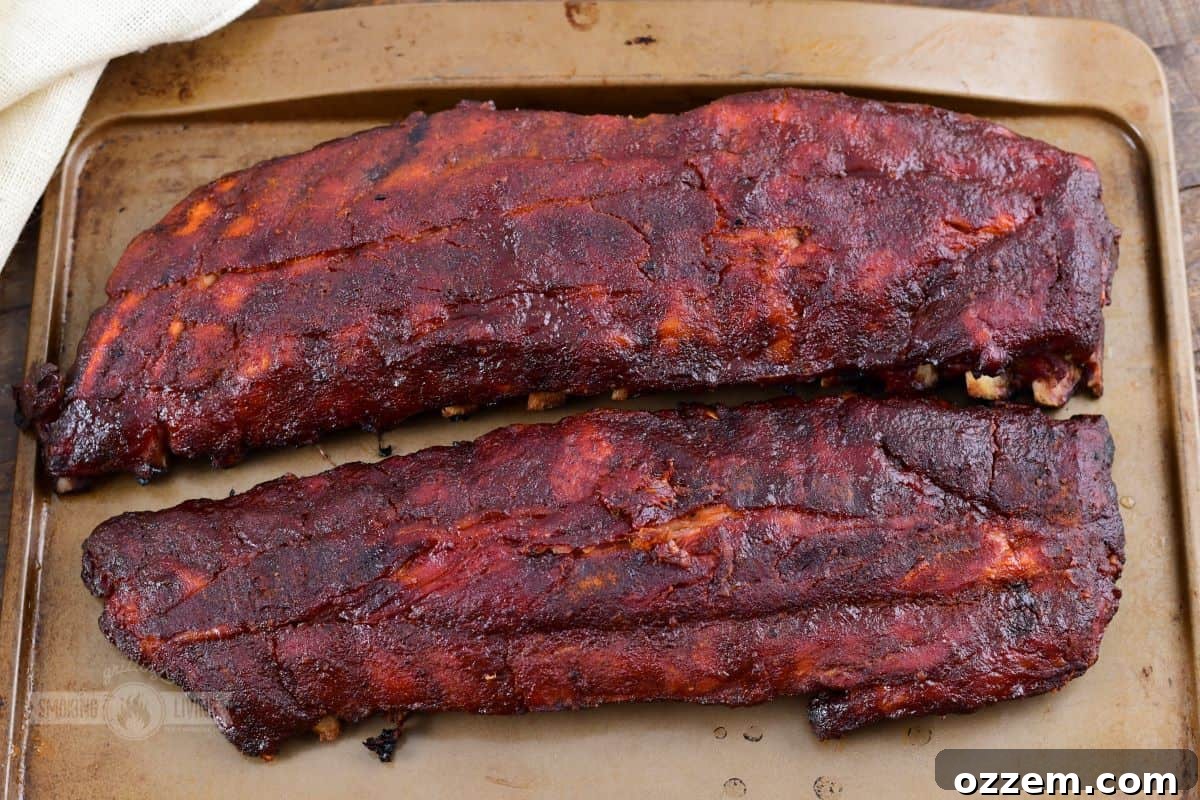
Has that final hour passed? It probably felt like an eternity, didn’t it? But patience is a virtue, especially when it comes to perfect BBQ.
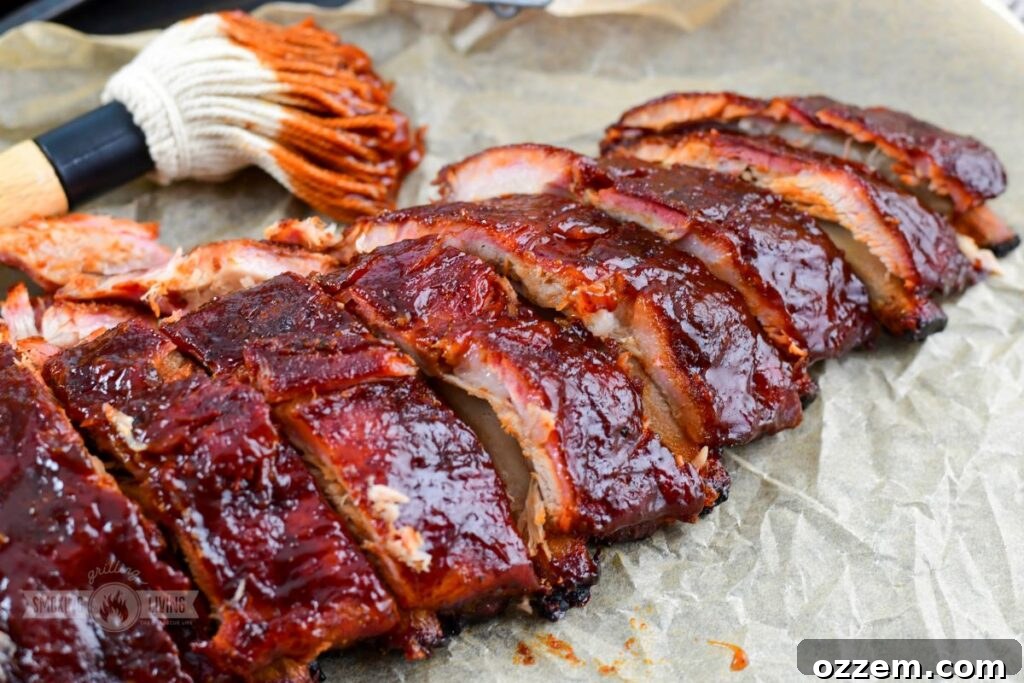
It’s now time for the grand reveal! Carefully remove your beautifully smoked and sauced ribs from the smoker. As you take them out, gently try the “bend test.” Pick up a rack with tongs in the middle and give it a slight bounce. You should notice a beautiful, soft crack in the outer layer of the meat, indicating the connective tissues have broken down, exposing some of the tender meat and even a little bone. This gentle crack and bend is the ultimate sign of a truly tender, perfectly cooked rib that will effortlessly fall off the bone.
Before serving, we highly recommend topping these magnificent ribs with a little more of your favorite BBQ sauce. This is BBQ, after all – there’s really no such thing as too much sauce for some! So, go ahead, slather it on generously to your heart’s content, creating an even more luscious and flavorful experience.
Now, it’s finally time to gather around the table and enjoy the fruits of your labor. You’ve earned every tender, smoky, saucy bite!
Storing and Reheating Your Delicious Ribs
In the rare and fortunate event that you find yourself with leftover ribs – a testament to a successful BBQ but also a challenge to resist finishing them all – you’ll certainly want to save them for later enjoyment. Proper storage and reheating techniques are key to preserving their tenderness and flavor.
For optimal freshness and safety, place any leftover ribs in an airtight container and store them in the refrigerator. Consume them within 3 to 4 days for the best quality and taste. While delicious cold, most people prefer their ribs reheated to restore their warm, succulent appeal.
When reheating, the goal is to keep them as tender and moist as they were fresh off the smoker. The best approach is “low and slow.” I personally prefer to wrap cold ribs tightly in butcher paper or a pocket of aluminum foil to lock in moisture. Then, I reheat them in the oven at a moderate temperature of around 350°F (175°C). Reheat them just until they are thoroughly warm throughout, being careful not to overcook them, which can lead to dryness. Once reheated, you can always apply another generous layer of BBQ sauce to bring back that fresh-off-the-smoker glaze and moisture.
Frequently Asked Questions About 3-2-1 Ribs
While faithfully following the 3-2-1 method will almost invariably produce perfectly cooked ribs, our go-to, no-fail test for checking doneness is the “bounce test.” To perform this, use a sturdy pair of long metal tongs to gently lift the rib rack off the grate. Hold it roughly one-third to halfway up the rack. Then, give it a gentle but firm bounce or wiggle. If the meat offers a slight crack and shows significant flexibility, almost as if it’s about to break, and the bones are visibly protruding, your ribs are beautifully done and ready to be devoured. This indicates the connective tissues have broken down sufficiently, resulting in that desired tender, pull-from-the-bone texture.
For smoking ribs, maintaining a consistent temperature between 225°F (107°C) and 250°F (121°C) tends to be the sweet spot for achieving optimal results. This temperature range is crucial for low-and-slow cooking, allowing the tough connective tissues in the ribs to slowly break down and render, resulting in incredibly tender meat. Cooking at too low of a temperature risks undercooking the meat and failing to render the fat properly. Conversely, if you go too high, you run the risk of drying out your ribs prematurely and burning the exterior before the interior is fully tenderized. Staying within this optimal window ensures the ribs cook evenly, absorb smoke effectively, and reach that perfect texture without sacrificing moisture.
Absolutely! While the 3-2-1 method is famously named for baby back ribs (which generally take 6 hours total), you can certainly adapt it for other cuts. For St. Louis style or spare ribs, which are thicker and contain more meat, you might adjust the timing to a “3-2-1” or even “3-2-2” method, extending the initial smoke or wrapped phase by an hour as needed. The key is to monitor tenderness, adjusting the timing until the ribs achieve that signature fall-off-the-bone texture. Always rely on the “bend test” to confirm doneness, regardless of the exact timing.
No smoker? No problem! You can still achieve fantastic smoked ribs with alternative methods. A charcoal grill can be set up for indirect smoking using a two-zone fire and wood chips or chunks. A gas grill can also be used by placing wood chips in a foil packet or smoker box over one burner and cooking the ribs on the unlit side. For those without a grill, an oven can be used for the wrapped and sauced stages after a liquid smoke rub or a brief initial smoke on a smaller, portable smoker. While a dedicated smoker provides the best results, creativity can certainly bring delicious ribs to your table.
Perfect Pairings: What to Serve with 3-2-1 Ribs
Sometimes, even the most perfect, fall-off-the-bone ribs aren’t quite enough on their own. To truly create a memorable BBQ feast, you’ll want to pair these bad boys with some equally fantastic side dishes. You can opt for timeless classics that always hit the spot, like our creamy and satisfying Potato Salad, a quintessential barbecue staple that complements the richness of the ribs beautifully. Or, if you’re looking to elevate your meal and introduce some vibrant flavors and colors, consider going next level with a refreshing Watermelon Feta Salad, which offers a delightful contrast of sweet and salty. No matter what combination of sides you decide to add to your table, these perfectly smoked 3-2-1 ribs are guaranteed to be the centerpiece of an incredible and unforgettable BBQ experience.
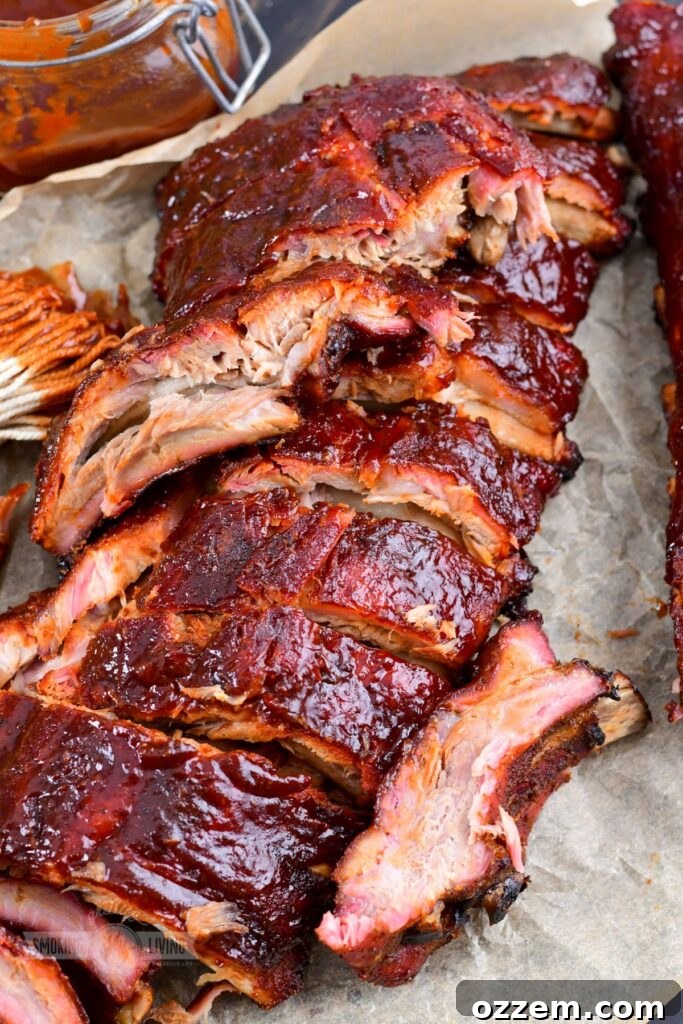
CLICK TO PIN THESE 3-2-1 RIBS FOR LATER
3-2-1 Ribs: The Ultimate Smoked Rib Recipe
Print Recipe
Pin Recipe
Ingredients
Ribs
- 2 racks of Baby Back Ribs
Homemade BBQ Sauce
- 1 cup ketchup
- 1/2 cup chicken broth or stock
- 1/3 cup dark brown sugar
- 1/4 cup apple cider vinegar
- 2 tbsp molasses
- 2 tbsp maple syrup
- 2 tbsp bourbon (optional, for depth of flavor)
- 1 tbsp Worcestershire sauce
- 2 tbsp tomato paste
- 1 tsp chili powder
- 2 tsp paprika
- 1/2-1 tsp liquid smoke (if not smoking, or for extra smoky flavor)
Ultimate Dry Rub
- 4 tbsp dark brown sugar
- 4 tbsp smoked paprika
- 2 tbsp coarse salt
- 1 tbsp ground black pepper
- 2 tsp garlic powder
- 2 tsp onion powder
- 1 tsp cumin
- 1 tsp ground coriander
- 1 tsp cayenne pepper (adjust to desired heat)
Mop Sauce
- 1/2 cup apple cider vinegar
- 1/2 cup apple juice
- 1/3 cup honey
Instructions
Prepare the Mop Sauce
-
In a medium bowl, combine all mop sauce ingredients (apple cider vinegar, apple juice, and honey). Whisk thoroughly until all ingredients are well combined and the honey has dissolved. Set aside.
Prepare and Smoke the 3-2-1 Ribs
-
Prepare your smoker: Clean your smoker as needed and preheat it to a stable temperature of 225°F (107°C). Add your chosen smoking wood (e.g., cherry, hickory, or apple) according to your smoker’s instructions.
-
Remove the membrane: Lay each rack of baby back ribs bone-side up. Using a small knife or spoon, gently slide it under the thin, white membrane at one end of the rack. Once a corner is lifted, grip it firmly with a paper towel and slowly pull the entire membrane off the back of the ribs. This ensures maximum tenderness.
-
Apply the dry rub: Generously coat the entire surface of both sides of the ribs with your chosen dry rub. Pat the seasoning gently onto the meat to ensure it adheres well and creates an even layer, rather than smearing it.
-
Step 1: The “3” Hour Smoke: Place the dry-rubbed ribs directly onto the grates of your preheated smoker. Smoke for 3 hours at 225°F (107°C), allowing the ribs to absorb a deep smoky flavor and begin forming a bark.
-
After 3 hours, carefully remove the ribs from the smoker. Prepare a large sheet of heavy-duty aluminum foil for each rack of ribs.
-
Step 2: The “2” Hour Wrapped Braise: Place each rack onto its foil sheet. Using a basting mop, apply your prepared mop sauce generously to both the top and bottom of each rib rack. Allow any excess sauce to pool in the foil.
-
Tightly wrap your ribs in the foil, creating a sealed packet to trap moisture. Return the wrapped ribs to the smoker for an additional 2 hours at 225°F (107°C). This steamy environment tenderizes the meat beautifully.
-
After 2 hours, carefully remove the wrapped ribs from the smoker. Unwrap them and discard the foil. Now, generously brush your chosen BBQ sauce over the entire surface of both sides of the ribs, ensuring complete coverage for a rich glaze.
-
Step 3: The “1” Hour Sauce & Set: Place the sauced, unwrapped ribs back into the smoker for 1 final hour at 225°F (107°C). This allows the BBQ sauce to caramelize and set, forming a delicious, sticky exterior.
-
Check for doneness: Remove the ribs from the smoker. Perform the “bounce test” by lifting the rack with tongs from the middle; if it bends easily and shows a soft crack in the meat, they are done. The meat should also have pulled back from the bones slightly.
-
Rest and serve: Allow the ribs to rest for 10-15 minutes before slicing. Optionally, coat the ribs in some additional BBQ sauce just before serving. This is to taste; there’s no wrong way to add more sauce!
-
Slice between the bones and enjoy your perfectly tender, flavorful 3-2-1 Ribs!
Nutrition