
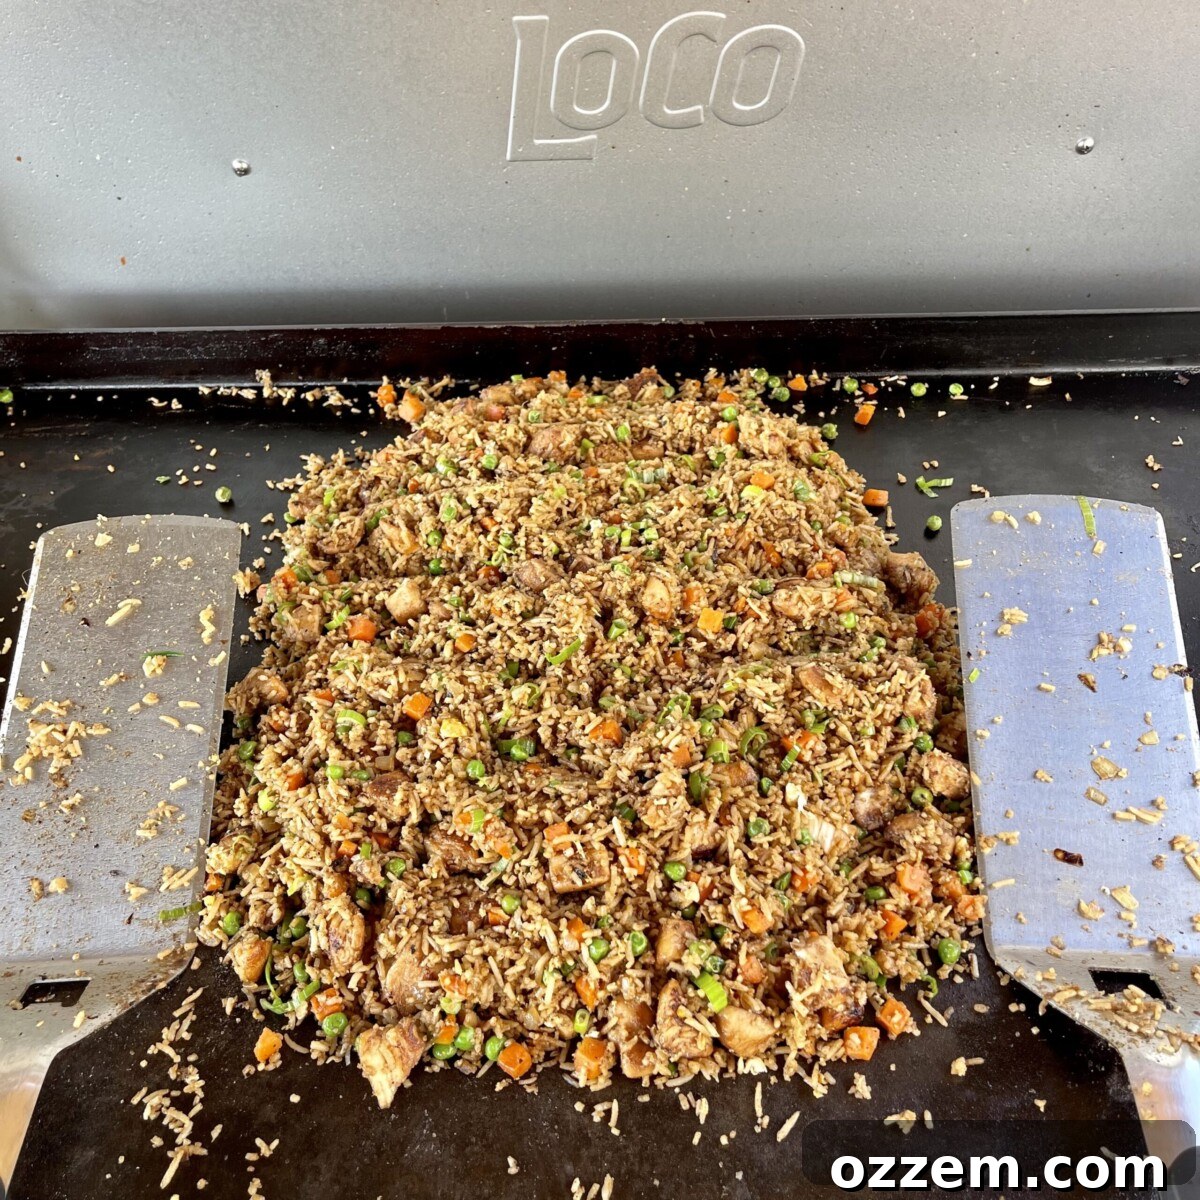
Mastering Homemade Chicken Fried Rice: Your Ultimate Griddle Recipe Guide
There’s nothing quite like the savory, aromatic experience of a perfectly executed plate of chicken fried rice. It’s a dish that evokes comfort, flavor, and the vibrant energy of a bustling Asian kitchen. While my passion for barbecue often takes center stage, there’s a special place in my heart for this classic takeout favorite. And what could be better than recreating that magic right in your own backyard or kitchen, especially with the versatility of a griddle? For my very first attempt at homemade chicken fried rice on the griddle, the results were absolutely phenomenal – a true “winner winner, chicken dinner” moment that exceeded all expectations!
This recipe isn’t just about cooking; it’s about transforming simple ingredients into a delicious masterpiece. Using a griddle brings an authentic touch, allowing you to achieve that irresistible smoky flavor and crispy texture reminiscent of a professional hibachi grill. Forget greasy, lukewarm takeout; prepare yourself for a fresh, flavorful, and incredibly satisfying meal that the whole family will adore. Dive into this comprehensive guide, and let’s unlock the secrets to perfect griddle chicken fried rice together.
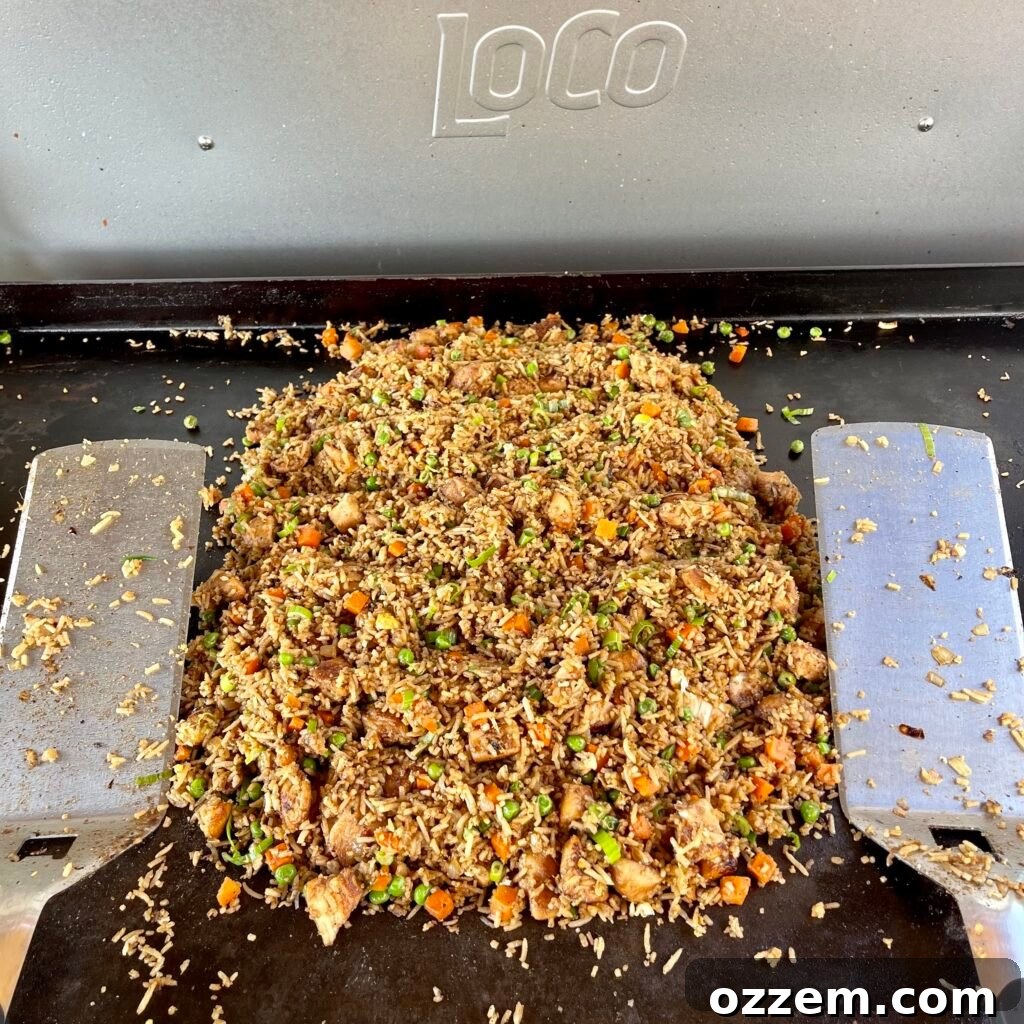
Table of Contents
- The Perfect Rice Foundation: Cooking for Fried Rice
- Griddle Mastery: Elevating Your Fried Rice Experience
- The Ultimate Chicken Fried Rice Recipe
- Pro Tips and Delicious Variations
The Perfect Rice Foundation: Cooking for Fried Rice
Before we even think about firing up the griddle and unleashing our inner hibachi chef, mastering the rice is paramount. The secret to truly great fried rice lies in perfectly cooked, slightly dry, day-old rice. This isn’t just a suggestion; it’s a fundamental step that prevents soggy, clumpy fried rice and ensures each grain separates beautifully, absorbing all the delicious flavors.
Why Day-Old Rice is Non-Negotiable
Freshly cooked rice is packed with moisture. If you try to use it directly for fried rice, it will steam rather than fry, resulting in a sticky, mushy texture. Day-old rice, however, has had time to dry out in the refrigerator, losing excess moisture. This allows the grains to firm up, making them ideal for frying to achieve that desirable chewy yet slightly crispy bite without sticking together.
Step-by-Step Guide to Cooking Your Rice
Even without a dedicated rice cooker or Instant Pot, achieving perfect rice is straightforward. Here’s how:
-
Rinsing is Key:
Start by placing 2 cups of dry long-grain white rice (Jasmine rice is highly recommended for its fragrant aroma and ideal texture) in a fine-mesh sieve. Rinse the rice thoroughly under cold running water until the water runs clear. This crucial step removes excess starch, which is a major culprit for sticky rice, allowing the grains to remain separate and fluffy when cooked.
-
The Pot Method:
Transfer the rinsed rice to a medium saucepan. Add 4 cups of cold water and a generous pinch of salt. Bring the water to a rolling boil over medium-high heat. Once boiling, give it a quick, gentle stir to prevent sticking, then immediately reduce the heat to the lowest setting.
-
Simmer and Steam:
Cover the saucepan tightly with a lid. It’s essential not to lift the lid or stir the rice during this stage, as it disrupts the steaming process. Allow the rice to simmer undisturbed for approximately 15-20 minutes, or until all the water has been absorbed. You’ll know it’s ready when small craters appear on the surface of the rice.
-
Rest and Fluff:
Once the water is completely evaporated, remove the saucepan from the heat, but keep the lid on. Let the rice rest for another 5-10 minutes. This resting period allows the steam to redistribute, resulting in evenly cooked grains. After resting, gently fluff the rice with a fork to separate the grains.
-
The Day-Old Rule:
Spread the cooked rice out on a baking sheet or transfer it to a shallow container. Allow it to cool completely before covering it and refrigerating for at least 6-8 hours, or ideally, 24 hours. This chilling period is vital for reducing moisture content and preparing the rice perfectly for frying. You can also use any leftover white rice you might have on hand, as long as it’s been refrigerated.
With your rice prepped and ready, you’re halfway to a sensational homemade chicken fried rice. The foundation is set; now, let’s talk about the exciting part – the griddle!
Griddle Mastery: Elevating Your Fried Rice Experience
The griddle is truly the unsung hero when it comes to making exceptional fried rice. Its large, flat, and evenly heated surface provides the perfect environment to achieve that sought-after “wok hei” – the smoky, intense flavor that professional stir-fries are known for. Forget the cramped space of a wok on a standard stovetop; a griddle offers ample room to spread out your ingredients, ensuring they fry and caramelize beautifully rather than just steam.
Prepping Your Proteins and Aromatics
The key to efficient griddle cooking is preparation. Have all your ingredients chopped, measured, and ready to go before you even turn on the heat. This is often referred to as “mise en place” and it’s essential for a smooth cooking process, especially with fast-cooking dishes like fried rice.
- Chicken Preparation: Begin by cubing about 2 pounds of boneless, skinless chicken breast into bite-sized pieces. In a bowl, toss the chicken with 1 tablespoon of cornstarch and 1 tablespoon of soy sauce. The cornstarch creates a light coating that helps the chicken brown evenly and stay tender, while the soy sauce adds a foundational layer of umami flavor.
- Aromatic Foundation: Finely chop 1 medium white onion. Mince 1 tablespoon of fresh garlic and 1 tablespoon of fresh ginger. These aromatics are crucial for building the complex flavor profile of your fried rice. Fresh is always best for maximum impact!
The Griddle Workflow: Sizzle, Stir, Combine!
Now, let’s bring it all together on the hot surface:
-
Start with the Stars: Chicken and Onion
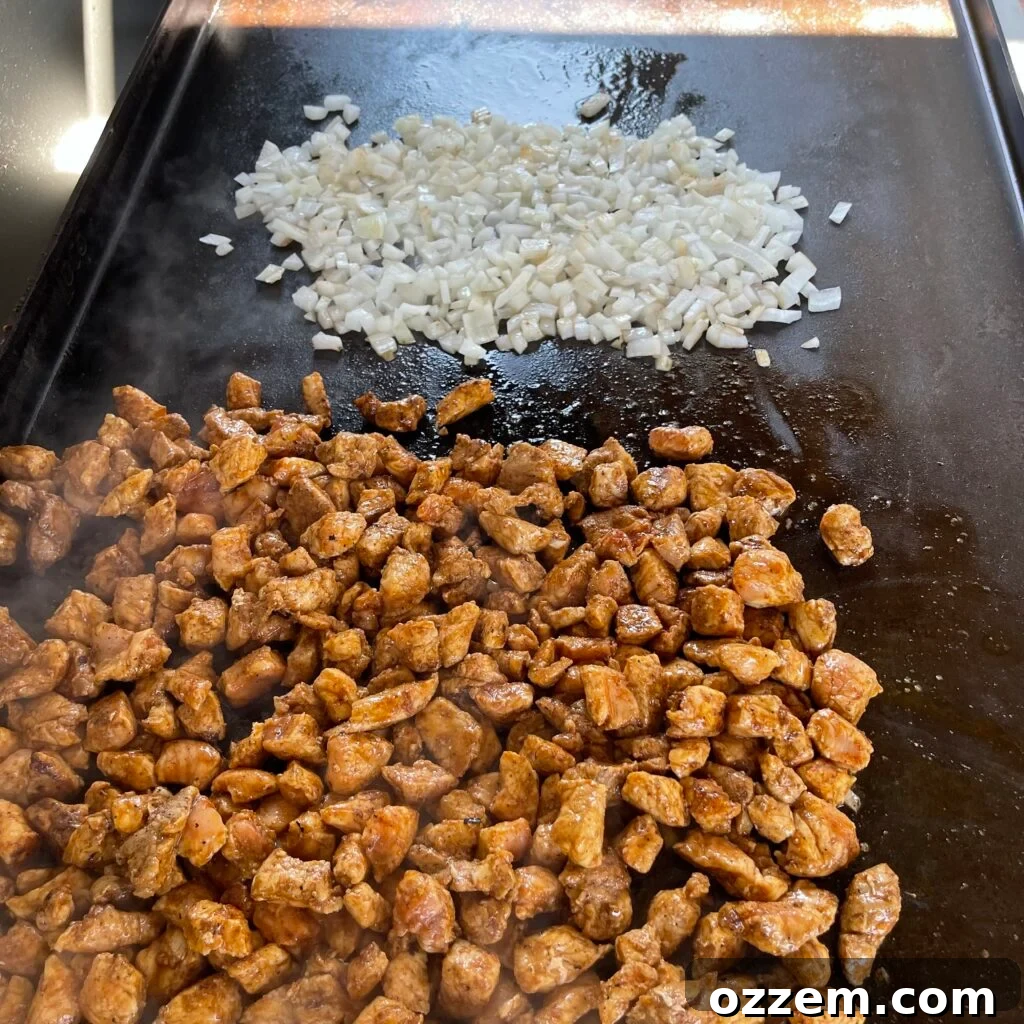
Generously oil your griddle. Use an oil with a high smoke point, like vegetable, canola, or avocado oil. Once the griddle is hot (you should see a slight shimmer or hear a sizzle when a drop of water hits it), place the marinated chicken cubes on one side and the chopped white onion on the other. Keep them separate for now to allow them to cook properly without crowding.
Cook the chicken, flipping occasionally, until it’s golden brown and cooked through. Simultaneously, sauté the onions until they soften and start to caramelize, releasing their sweet aroma. This initial cooking phase is vital for developing rich flavors.
-
Infuse with Aromatics
Once the chicken is nearly done and the onions are tender, add the minced garlic and ginger to the onion side of the griddle. Stir them frequently with the onions until they become fragrant, usually about 1 minute. Be careful not to burn the garlic!
Now, combine the fragrant onions, garlic, and ginger with the cooked chicken and push this mixture to one side of the griddle, keeping it warm but making room for the next ingredients.
-
The Rice and Veggie Spectacle
Add a little more oil to the cleared section of the griddle. Introduce your prepared day-old rice and 1 bag of frozen peas and carrots (no need to thaw, they’ll cook quickly on the griddle). Spread them out evenly. Allow the rice to sit undisturbed for a minute or two to develop some crispy edges before you start to stir and chop. This is where the magic of the griddle really shines!
Once the rice and vegetables have started to heat through, incorporate the chicken and onion mixture from the side. Now, it’s time to flavor. Pour in about 1 tablespoon of Bachan’s Japanese Barbecue Sauce (or your favorite teriyaki/stir-fry sauce), 1 tablespoon of sesame oil, and 1 teaspoon of black pepper. Mix everything vigorously, using a spatula or griddle scraper to chop and stir the ingredients together “hibachi style,” ensuring all components are evenly coated and heated.
-
The Egg Factor
Create a well in the center of your rice mixture. Add a 1/2 stick of cubed butter (about 2 tablespoons) to the well, allowing it to melt. Crack 5 eggs directly into the melted butter. Scramble the eggs right there on the griddle until they are fully cooked and broken into small pieces. Then, gently fold the scrambled eggs into the rest of the fried rice mixture, distributing them evenly.
-
The Fresh Finish
Finally, stir in 1/2 cup of freshly chopped green onions. Give everything one last good mix, ensuring the vibrant green onions are integrated throughout. Let it cook for another minute or so, allowing all the flavors to meld and the rice to get some final crispy bits.
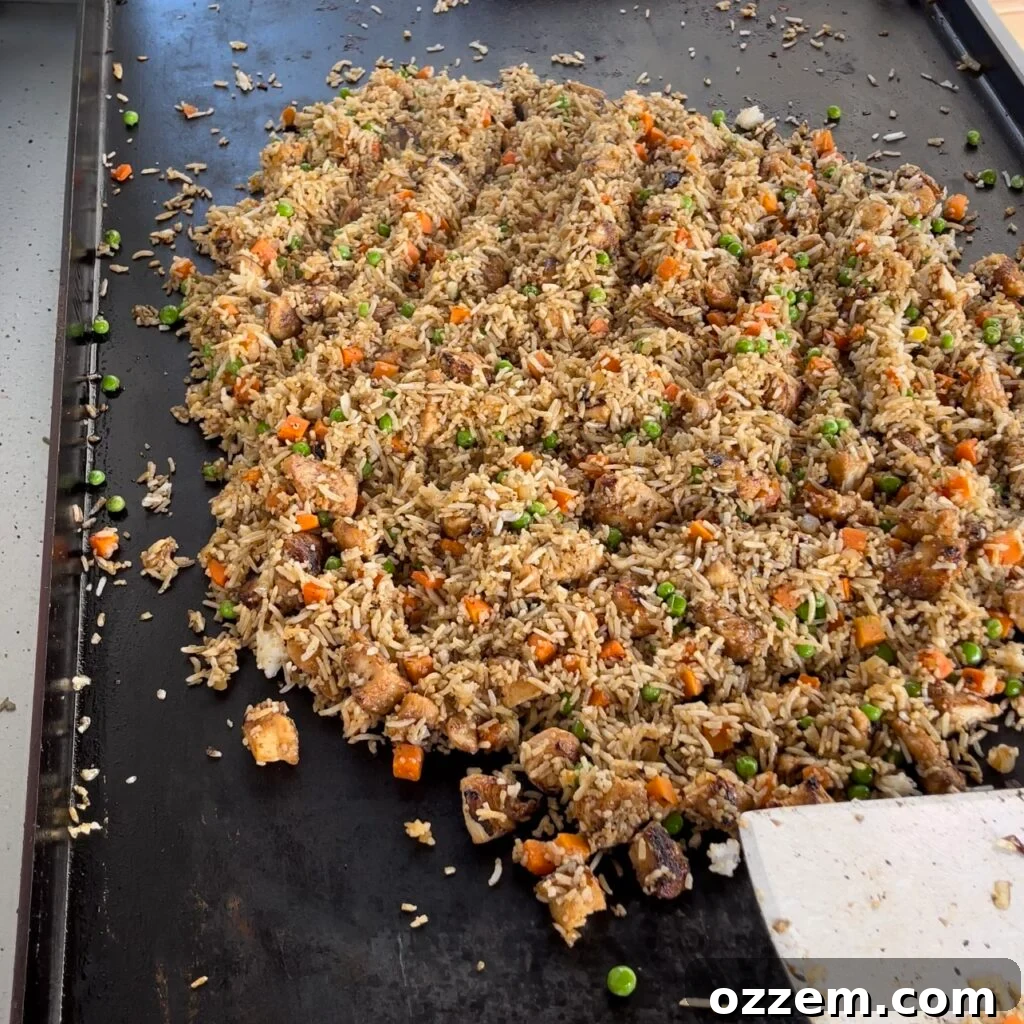
And there you have it! The first time I made this, it was an undeniable hit. The whole family devoured this delicious, restaurant-quality meal, and we even had enough leftovers for lunch the next day. The satisfaction of creating such a beloved dish from scratch, with minimal fuss thanks to the griddle, is truly rewarding.
The Ultimate Homemade Griddle Chicken Fried Rice Recipe
This recipe is designed for ease and flavor, bringing the joy of hibachi-style cooking right to your home. Enjoy the process and the incredible results!
By: Maciek Zurawski
Winner winner, chicken dinner! Aside from my love for BBQ food, I love chicken fried rice! Making it at home on the griddle takes it to a whole new level.
Cook Time: 25 minutes
Servings: 8 people
Ingredients
- For the Rice:
- 2 Cups Uncooked Long-Grain White Rice (Jasmine recommended)
- 4 Cups Water
- Pinch of Salt
- For the Chicken & Aromatics:
- 2 lbs Boneless, Skinless Chicken Breast, cubed
- 1 tbsp Corn Starch
- 1 tbsp Soy Sauce (low sodium optional)
- 1 Medium White Onion, chopped
- 1 tbsp Minced Garlic
- 1 tbsp Minced Ginger
- Cooking Oil (vegetable, canola, or avocado oil)
- For the Fried Rice Base:
- 1 bag (approx. 10-12 oz) Frozen Peas and Carrots
- 1 tbsp Japanese BBQ Sauce (or your preferred teriyaki/stir-fry sauce)
- 1 tbsp Sesame Oil
- 1 tsp Black Pepper
- 1/2 Stick Butter (approx. 4 tbsp or 1/4 cup), cubed
- 5 Large Eggs
- 1/2 cup Green Onions, chopped (for garnish and flavor)
Instructions
-
Cooking Rice Instructions (Ideally 24 hours in advance):
- Rinse 2 cups of long-grain rice under cold water until the water runs clear.
- In a saucepan, combine rinsed rice, 4 cups of water, and a pinch of salt. Bring to a boil.
- Reduce heat to low, cover tightly, and simmer for 15-20 minutes until all water is absorbed. Do not lift the lid or stir.
- Remove from heat and let rest, covered, for 5-10 minutes. Fluff with a fork.
- Spread the cooked rice on a baking sheet to cool, then refrigerate in an airtight container for 6-24 hours.
-
Fried Rice Instructions:
- In a bowl, toss cubed chicken breast with cornstarch and 1 tbsp soy sauce. Set aside.
- Chop the white onion, mince garlic and ginger. Have all ingredients prepped and ready.
- Heat your griddle to medium-high heat. Add cooking oil.
- Place the marinated chicken on one side of the griddle and the chopped white onion on the other. Cook, flipping occasionally, until the chicken is cooked through and the onion is softened and slightly caramelized.
- Add minced garlic and ginger to the onions. Cook for about 1 minute until fragrant, then combine the onion mixture with the chicken and move everything to a warmer, less active part of the griddle.
- Add a little more oil to the main cooking area of the griddle. Add the day-old rice and the bag of frozen peas and carrots. Spread them out and let the rice get slightly crispy for a minute or two before stirring.
- Combine the chicken and onion mixture with the rice and vegetables.
- Pour in the Japanese BBQ sauce, sesame oil, and black pepper. Mix vigorously, chopping and stirring “hibachi style,” ensuring everything is well combined and heated through.
- Create a well in the center of the fried rice. Add the cubed butter and let it melt. Crack the 5 eggs into the melted butter and scramble until cooked.
- Fold the scrambled eggs into the fried rice mixture, distributing them evenly.
- Finally, stir in the chopped green onions and mix one last time.
- Serve hot and enjoy!
You can adjust the servings by doubling or tripling the ingredients as needed. This recipe is incredibly versatile!
Nutrition Information (per serving)
(Please note: Nutritional values are estimates and may vary based on specific ingredients and preparation methods.)
- Calories: 312kcal
- Carbohydrates: 44g
- Protein: 24g
- Fat: 4g
- Saturated Fat: 1g
- Polyunsaturated Fat: 1g
- Monounsaturated Fat: 2g
- Trans Fat: 0.01g
- Cholesterol: 58mg
- Sodium: 1595mg
- Potassium: 494mg
- Fiber: 1g
- Sugar: 2g
- Vitamin A: 24IU
- Vitamin C: 1mg
- Calcium: 36mg
- Iron: 1mg
Pro Tips and Delicious Variations
Making chicken fried rice is a fantastic culinary journey, and there are always ways to customize and enhance your experience. Here are some professional tips and exciting variations to consider:
Tips for Perfect Fried Rice Every Time:
- Don’t Overcrowd the Griddle: Work in batches if necessary, especially if you’re making a large quantity. Overcrowding lowers the griddle temperature, leading to steaming instead of frying, which makes for soggy rice.
- High Heat is Your Friend: Fried rice benefits from high heat to achieve crispy textures and quick cooking. Ensure your griddle is hot before adding ingredients.
- Use Good Quality Oil: A neutral oil with a high smoke point is essential. Avoid olive oil as it can burn easily and impart an unwanted flavor.
- Season as You Go: Taste your components as they cook and adjust seasoning. A little extra soy sauce or a dash of white pepper can make a big difference.
- The Right Tools: A sturdy metal spatula or two are indispensable for chopping, flipping, and mixing ingredients effectively on the griddle surface.
- Rest the Cooked Rice: After cooking your rice, let it cool completely and then refrigerate. This removes excess moisture, ensuring fluffy, separate grains crucial for the best fried rice texture.
Creative Variations to Explore:
- Protein Power-Ups:
- Shrimp Fried Rice: Replace chicken with 1.5 lbs of medium-sized shrimp. Cook them quickly until pink before adding them back to the rice mixture.
- Pork Fried Rice: Use finely diced pork loin or leftover char siu pork.
- Beef Fried Rice: Thinly sliced sirloin or flank steak works wonderfully. Marinate it similarly to the chicken.
- Tofu Fried Rice (Vegetarian/Vegan): Press extra-firm tofu to remove water, then cube and pan-fry until golden and crispy. Use a flax egg or skip eggs for a vegan version.
- Vegetable Medley:
- Add finely diced bell peppers, mushrooms, corn, green beans, or even broccoli florets. Just be sure to cook denser vegetables first until tender-crisp.
- For an extra layer of flavor and crunch, throw in some bean sprouts towards the end of cooking.
- Sauce Sensations:
- Experiment with different Asian sauces. A splash of oyster sauce adds richness, or a touch of sriracha for a spicy kick.
- Consider a drizzle of chili oil at the end for heat and aroma.
- Garnish Galore:
- Toasted sesame seeds add a lovely nutty crunch.
- A sprinkle of crispy fried shallots or garlic chips for texture.
- More fresh cilantro or thinly sliced red chilies for color and a fresh bite.
With these tips and variations, your homemade chicken fried rice will never be boring. It’s a fantastic dish for meal prep, customizable to whatever ingredients you have on hand, and guaranteed to be a crowd-pleaser. So go ahead, get creative, and make this recipe truly your own!

Like this recipe? Rate and comment below!
Check out our Recipes Page for other tasty ideas and culinary adventures!