
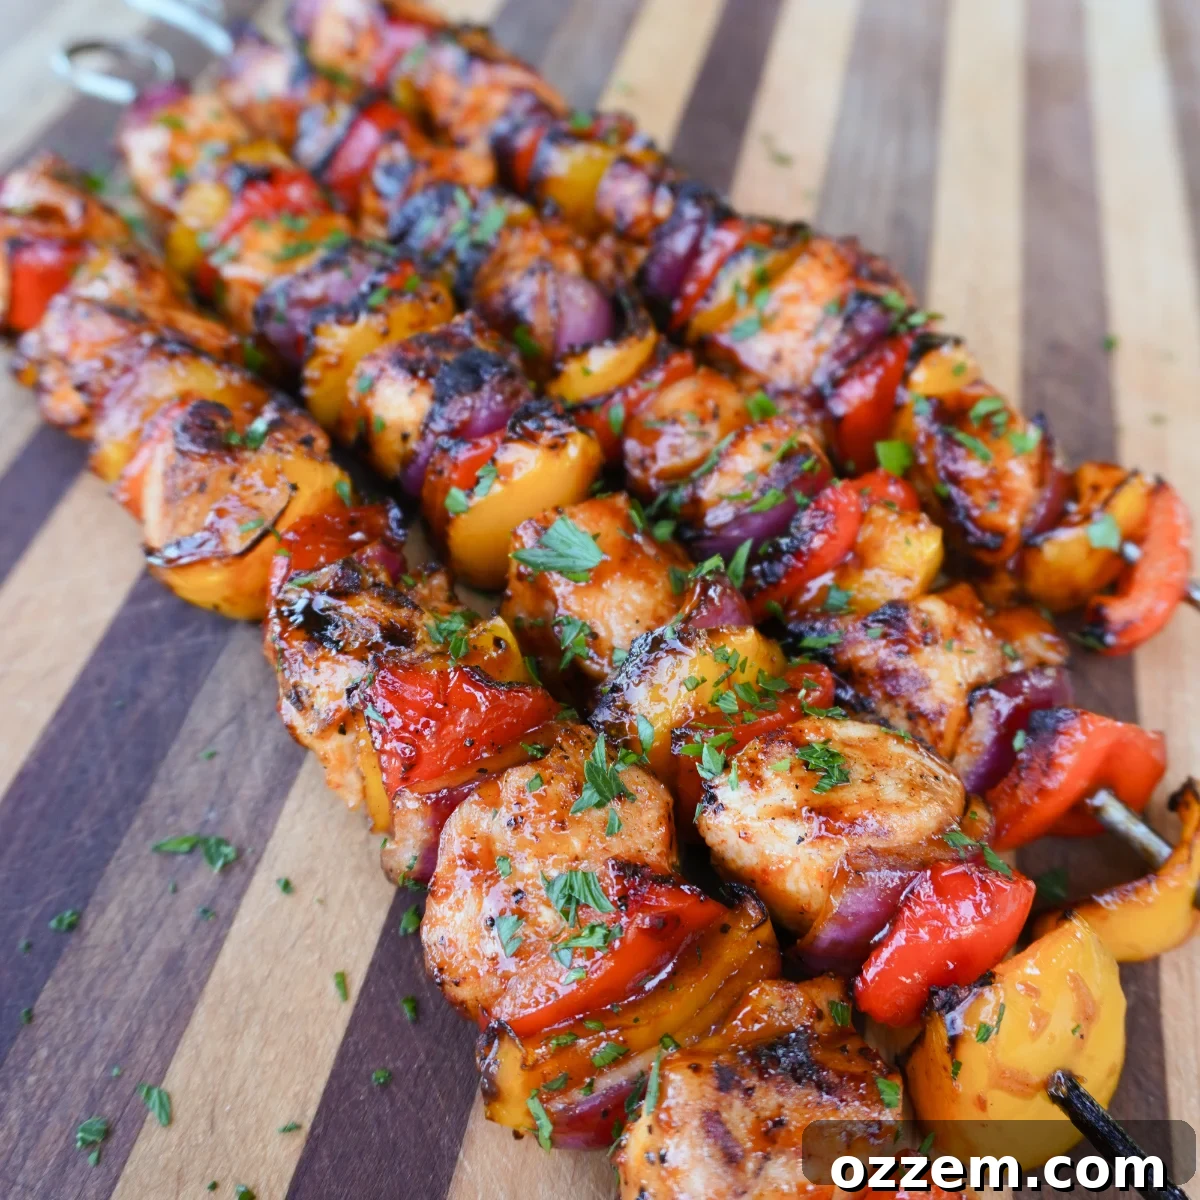
Are you constantly juggling work, family commitments, and the endless demands of daily life? Do last-minute dinner scrambles leave you feeling drained? Imagine a delicious, healthy meal that comes together quickly, satisfies everyone, and bursts with summer flavor. Look no further! These simple yet incredibly flavorful chicken skewers are your answer to effortless summer grilling and stress-free weeknight dinners. They’re not just a meal; they’re a celebration of fresh ingredients, vibrant colors, and the joy of outdoor cooking.
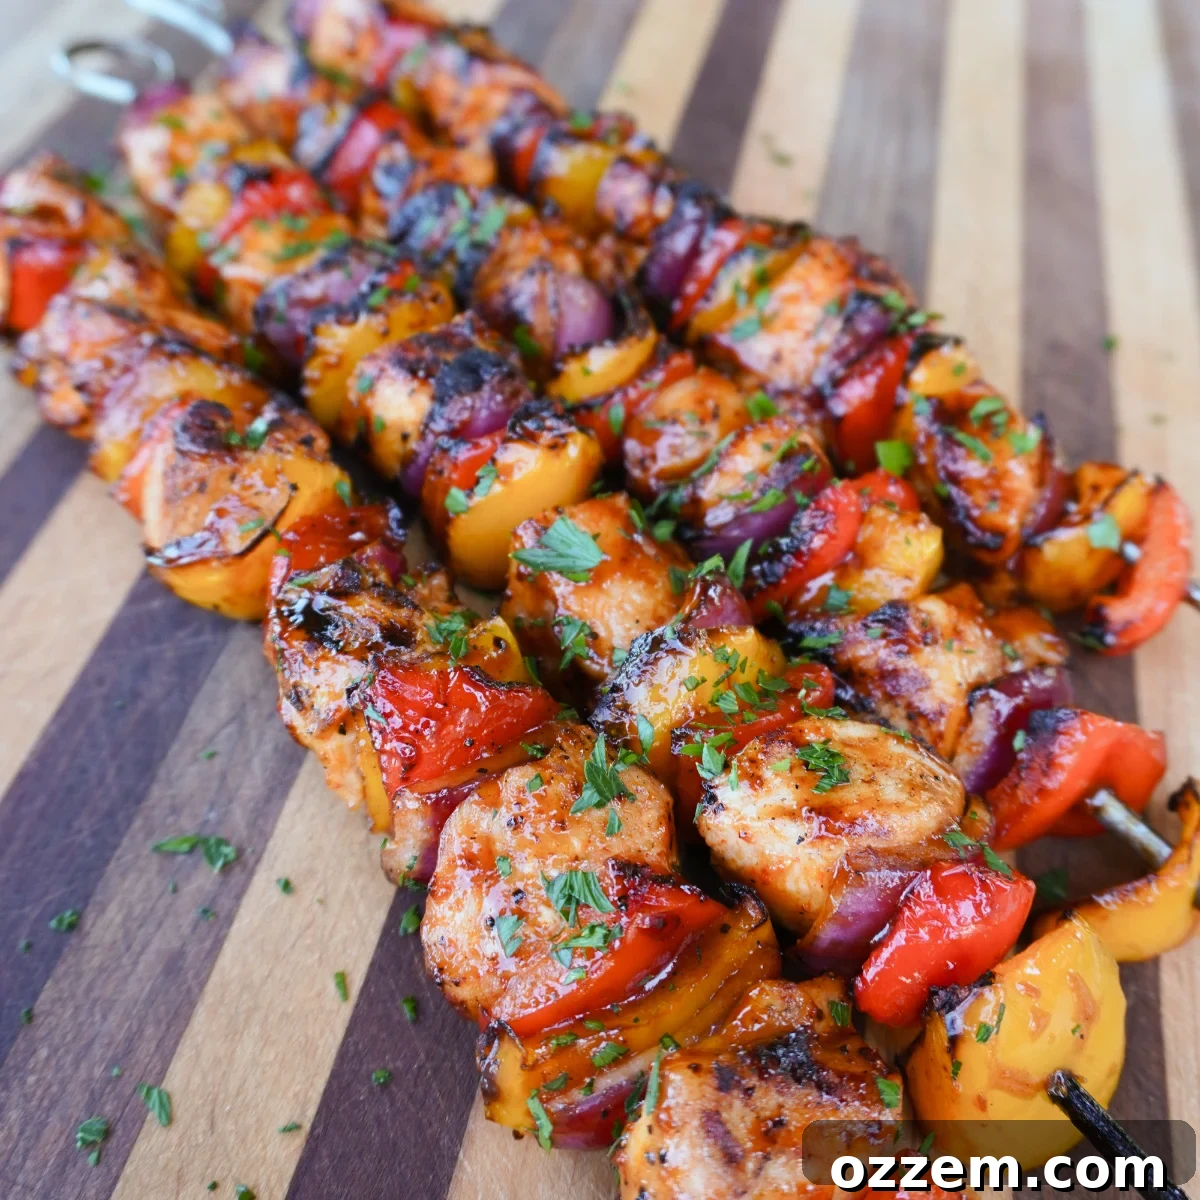
Table of Contents
- Why Chicken Skewers Are a Game-Changer
- Step 1: Mastering the Art of Chicken Skewer Prep
- Pro Tip for Perfect Skewers
- Step 2: Grill Like a Pro: Cooking Your Chicken Skewers
- Frequently Asked Questions:
- Similar Recipe Ideas:
- The Ultimate Chicken Skewers Recipe
Why Chicken Skewers Are a Game-Changer
Chicken skewers, also known as chicken shish kebabs, are a universally loved dish for many reasons. They offer an ideal balance of protein and vegetables, making them a wholesome meal option. Their interactive nature makes them perfect for backyard barbecues, allowing guests to customize their skewers with favorite ingredients. Beyond their versatility, chicken skewers are inherently portion-controlled and incredibly quick to cook, especially on a hot grill. This makes them a fantastic choice for those busy evenings when you want something homemade and healthy without spending hours in the kitchen. Plus, the grilling process infuses the chicken and vegetables with an irresistible smoky char that simply can’t be replicated indoors.
Step 1: Mastering the Art of Chicken Skewer Prep
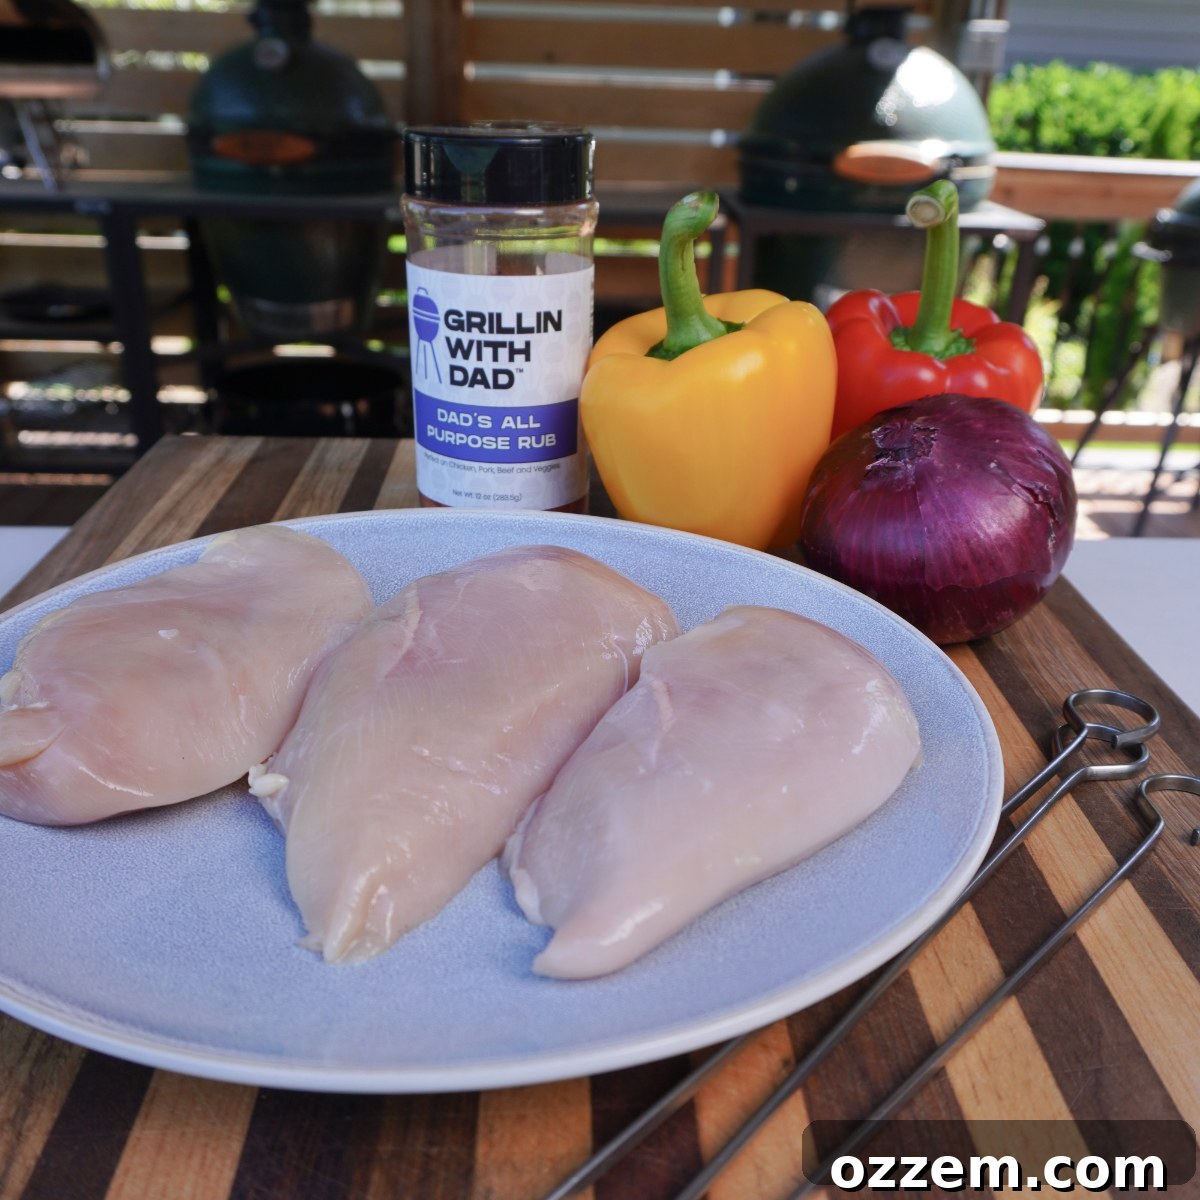
The secret to succulent chicken skewers lies in the cut of meat you choose. While chicken breast is often a go-to for its lean profile, I highly recommend opting for **boneless, skinless chicken thighs**. Thighs possess a higher fat content, which translates to significantly more flavor and a far greater resistance to drying out during the high heat of grilling. This ensures your chicken stays juicy and tender, every single time. If you absolutely prefer chicken breast, simply reduce your grilling time and pay close attention to the internal temperature to prevent overcooking.
Selecting and Preparing Your Veggies
The beauty of skewers is their incredible adaptability when it comes to vegetables. The most important characteristic for skewer-friendly vegetables is their ability to hold up on the grill without becoming mushy. Aim for firm, crunchy options that can withstand direct heat. Here’s a comprehensive list of fantastic choices:
- Bell Peppers: Red, yellow, and orange bell peppers add vibrant color, sweetness, and a lovely crunch. They soften beautifully without losing their structure.
- Onions: Red onions, in particular, offer a sharp, pungent flavor that mellows and sweetens significantly when grilled, adding a fantastic dimension to your skewers.
- Mushrooms: Whole cremini or button mushrooms become wonderfully earthy and savory as they cook, soaking up the marinade flavors.
- Small Tomatoes: Cherub or cherry tomatoes burst with juicy flavor when heated, providing a fresh contrast.
- Zucchini & Summer Squash: Cut into thick rounds or half-moons, these absorb smoky flavors and maintain a slight bite.
- Asparagus: Trimmed spears add a touch of elegance and a distinct green flavor.
- Hot Peppers: If you’re feeling adventurous, add a few pieces of jalapeño or serrano for a spicy kick!
- Fruits: Don’t shy away from fruit! Pineapple chunks caramelize beautifully, offering a sweet and tangy counterpoint to the savory chicken. Peaches and apples also work wonderfully for a unique flavor profile.
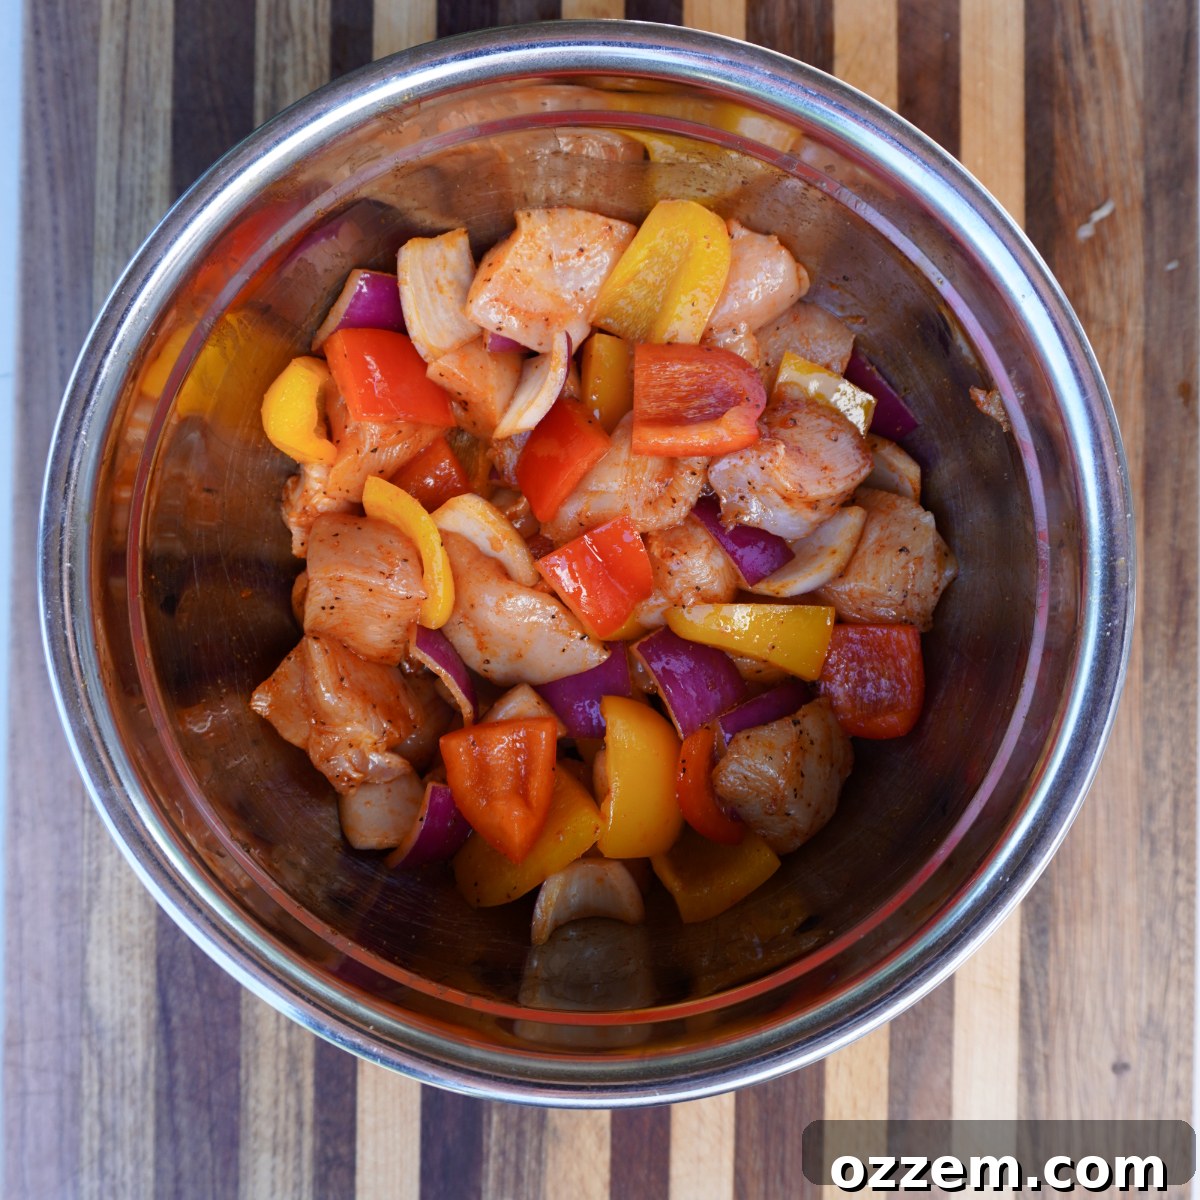
Once you’ve gathered your ingredients, it’s time for some precision cutting. Start by cubing the boneless chicken thighs into roughly 1-inch pieces. The key here is **uniformity**. Chicken pieces that are similar in size will cook at the same rate, preventing some pieces from being undercooked while others are overcooked. Next, cut your chosen vegetables into bite-sized pieces that are comparable in size to the chicken. For this particular recipe, I kept it simple with classic yellow and red bell peppers and red onion, but feel free to raid your fridge and use whatever fresh, crisp vegetables you have on hand to minimize food waste.
Seasoning for Maximum Flavor
Now, combine your cubed chicken and vegetables in a large mixing bowl. Drizzle lightly with high-quality olive oil. The olive oil not only helps the seasonings adhere but also aids in caramelization on the grill, adding depth of flavor and preventing sticking. The star of our seasoning blend is Dad’s All Purpose Rub. This exceptional rub provides a perfect balance of smoky, savory, and slightly sweet BBQ flavors, thanks to its expertly crafted blend of salt, pepper, paprika, garlic, and other secret spices. It’s designed to enhance, not overpower, the natural taste of your chicken and vegetables. If you don’t have this specific rub, a generous sprinkle of your favorite all-purpose seasoning, or a simple mix of salt, black pepper, garlic powder, and paprika will work wonders.
Toss everything thoroughly to ensure every piece of chicken and vegetable is evenly coated in the oil and seasoning. This even distribution is crucial for consistent flavor in every bite.
The Art of Skewering
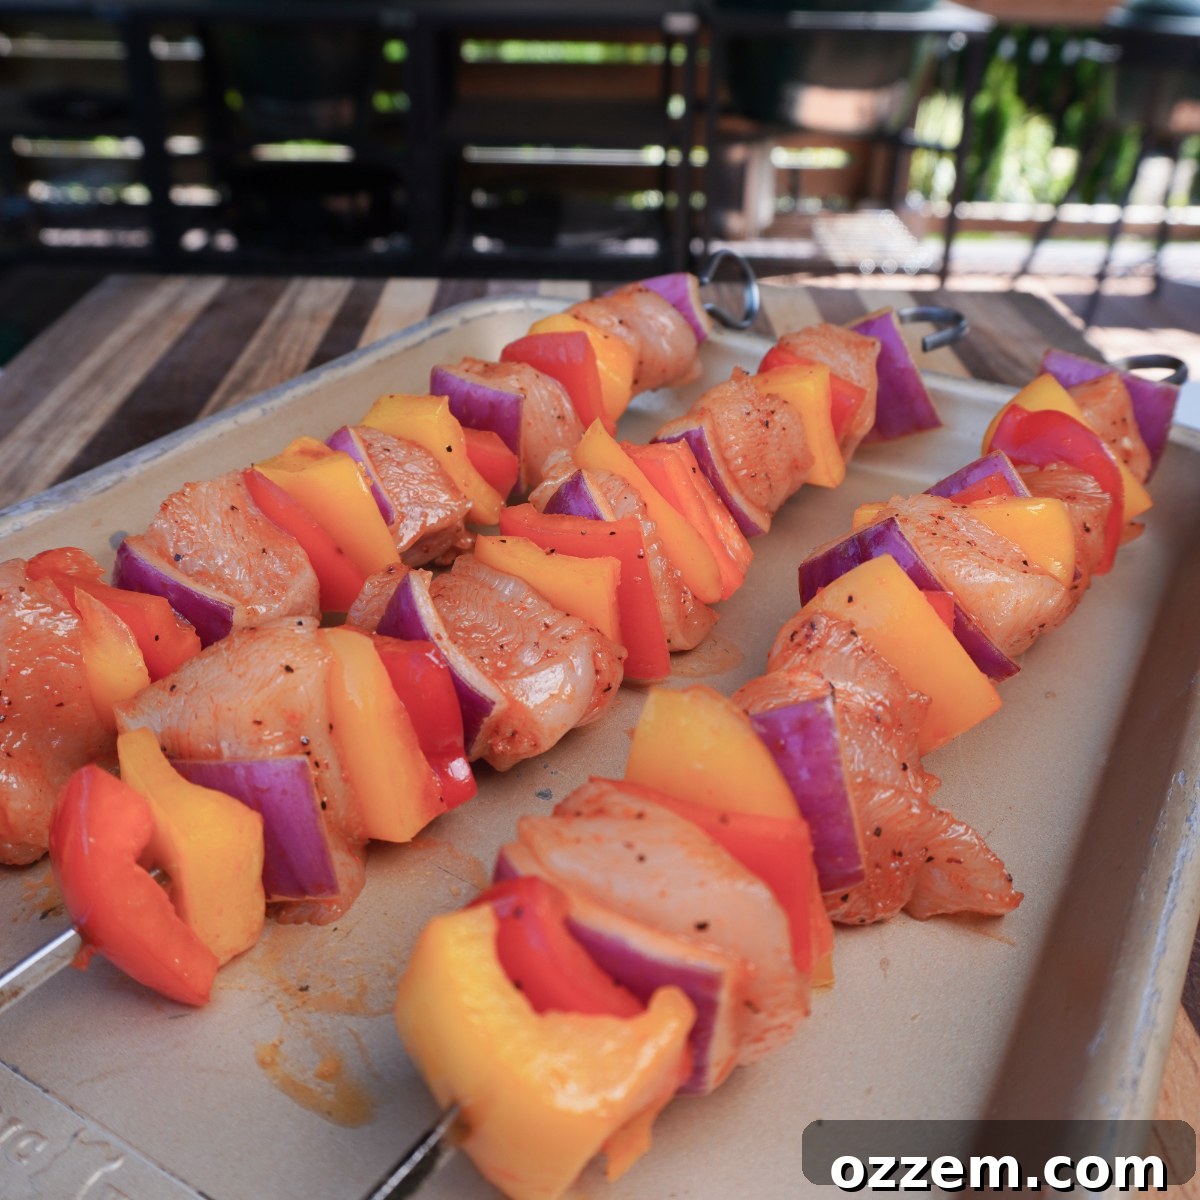
Finally, thread the chicken and vegetable pieces onto your skewer sticks. There’s no strict rule for arrangement, but I like to alternate chicken and vegetables for an appealing look and to ensure even cooking. Avoid overcrowding the skewers; leave a little space between each piece to allow the heat to circulate evenly, ensuring proper cooking and beautiful grill marks. Overcrowding can lead to steaming instead of grilling, resulting in less flavor and a softer texture.
Pro Tip for Perfect Skewers
- If you opt for **wooden skewers**, it is absolutely essential to soak them in water for at least 30 minutes (or even longer, up to several hours) before threading your ingredients. This simple step saturates the wood with moisture, preventing the skewers from igniting or charring excessively during the grilling process. Neglecting this can lead to burnt skewers and potentially losing your delicious food to the flames.
- For ultimate convenience and durability, I highly recommend investing in **metal skewers**. They are reusable, incredibly sturdy, conduct heat well (which can aid in cooking from the inside), and eliminate the need for pre-soaking. They are a fantastic long-term investment for any grill master.
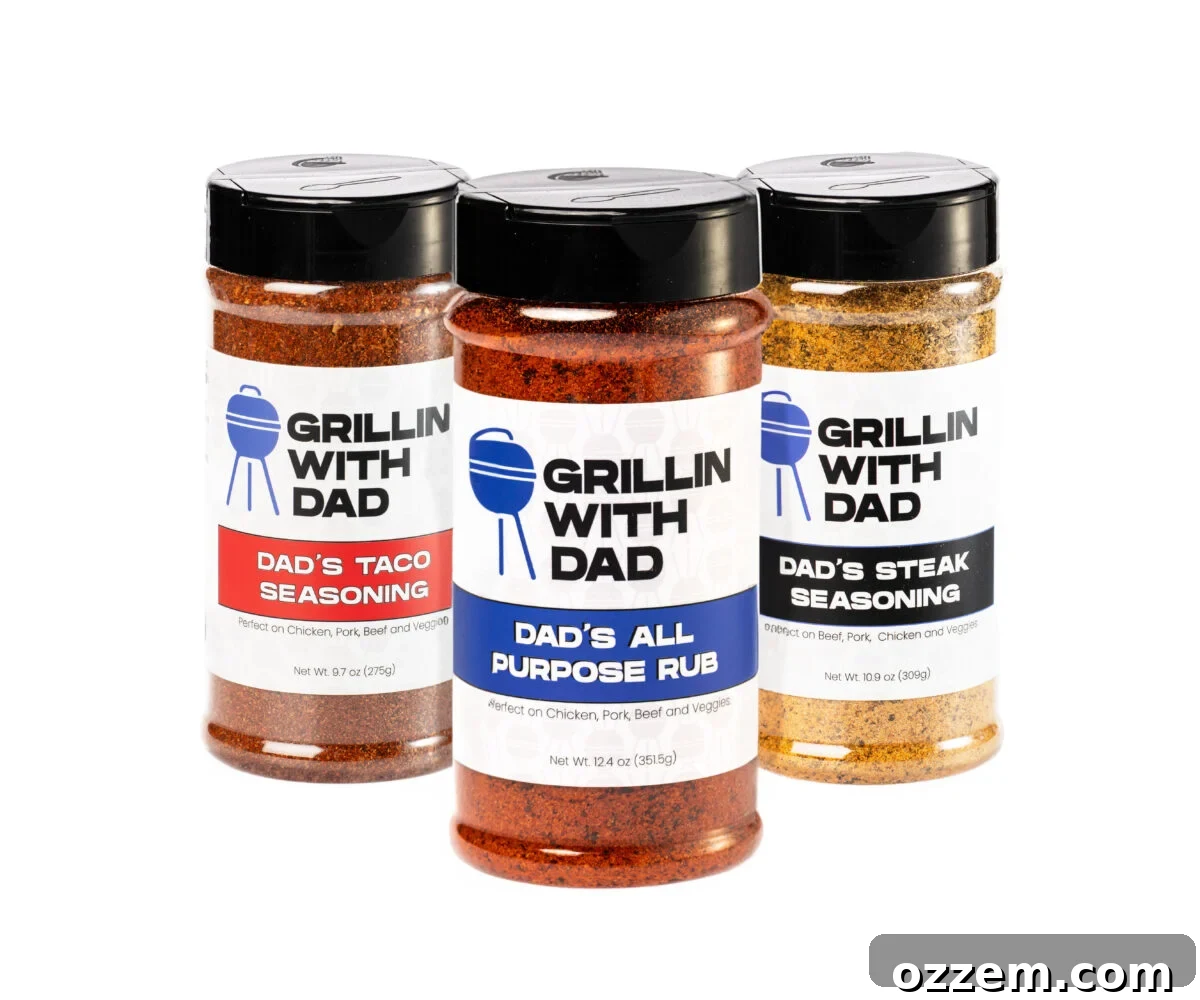
Elevate Your Grill Game with Dad’s Seasonings!
Unlock unforgettable flavors with our must-have grillin’ seasonings. Perfectly blended for every dish!
Step 2: Grill Like a Pro: Cooking Your Chicken Skewers
With your skewers prepped and ready, it’s time to fire up the grill! For chicken skewers, we want a nice, high direct heat to achieve a beautiful sear and quick cooking. Set your grill to a high direct heat, aiming for a temperature around 450 degrees Fahrenheit (approximately 230 degrees Celsius). Ensure your grill grates are clean and lightly oiled to prevent sticking.
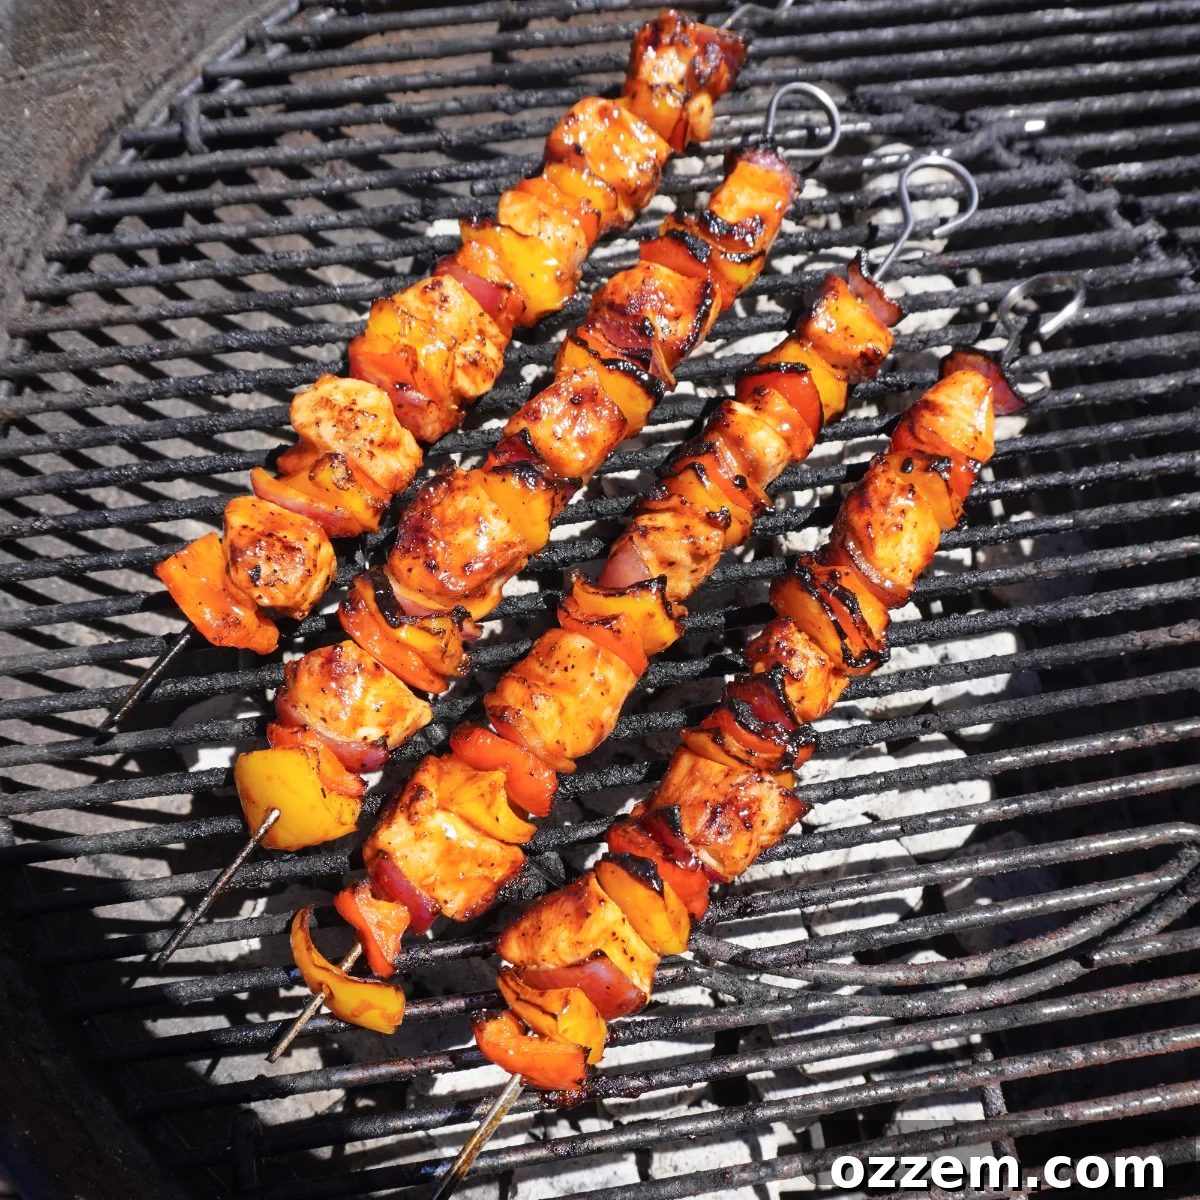
Carefully place the chicken skewers directly over the hot coals or burners. The key to even cooking and appealing grill marks is frequent flipping. Flip the skewers every minute to ensure all sides cook evenly and to develop that desirable char without burning. Continue this process for a total of approximately 10 minutes. The exact cooking time may vary slightly depending on your grill’s heat consistency and the size of your chicken pieces. The most important indicator of doneness is the internal temperature of the chicken. Use a reliable instant-read thermometer to check; the chicken is safely cooked when it reaches an internal temperature of 175 degrees Fahrenheit (79 degrees Celsius).
The BBQ Sauce Finish
The final touch before serving is a generous coating of your favorite BBQ sauce. This step is optional but highly recommended as it adds another layer of flavor and a glossy, caramelized finish to your skewers. For ultimate convenience, a family favorite like Sweet Baby Ray’s Original Barbecue Sauce works perfectly, offering a classic, sweet, and tangy profile. However, if you’re looking to personalize your flavors and impress your guests, consider making your own homemade BBQ sauce! Check out my simple and delicious homemade BBQ sauce recipe. It’s incredibly versatile and allows you to adjust the sweetness, smokiness, and heat levels to perfectly complement your chicken skewers. Apply the sauce during the last minute or two of grilling, allowing it just enough time to warm through and caramelize onto the chicken and vegetables without burning.
Resting for Juiciness
Once the sauce has caramelized and the chicken has reached its target internal temperature, remove the skewers from the grill. Place them on a clean plate or cutting board and let them rest for 5 minutes. This resting period is crucial; it allows the juices within the chicken to redistribute throughout the meat, resulting in exceptionally tender and moist skewers. Skipping this step often leads to dry chicken as the juices escape when you cut into it too soon.
Serve these fantastic grilled chicken skewers immediately, perhaps alongside a fresh salad, fluffy rice, or some grilled corn on the cob, and watch them disappear!
Frequently Asked Questions:
Absolutely! While chicken thighs are recommended for their natural moisture and richer flavor, you can certainly substitute them with boneless, skinless chicken breast. Chicken breast is leaner, so it has a greater tendency to dry out quickly. To ensure your chicken breast skewers remain tender and juicy, monitor them closely and remove them from the grill when they reach an internal temperature of 160 degrees Fahrenheit (71 degrees Celsius). The residual heat will continue to cook them to the safe internal temperature of 165 degrees Fahrenheit (74 degrees Celsius) as they rest. Marinating chicken breast for at least 30 minutes prior to grilling can also help lock in moisture and add flavor.
Yes, absolutely! All my recipes, including these delicious chicken skewers, are designed to be versatile and can be replicated using various cooking methods. You do not need a specialized “Big Green Egg” or “Weber grill” to achieve great results. For the oven, preheat to 400°F (200°C), place skewers on a baking sheet lined with foil, and bake for 20-25 minutes, flipping halfway, until chicken reaches 175°F (79°C). For the stovetop, use a grill pan or heavy-bottomed skillet over medium-high heat with a little oil, cooking skewers for 3-4 minutes per side until fully cooked and nicely browned. Adjust cooking times as needed and always use a meat thermometer for safety.
Chicken skewers are incredibly versatile and pair well with a wide array of sides. For a light and fresh option, a crisp garden salad or a refreshing cucumber and tomato salad works wonders. If you’re looking for something heartier, consider fluffy basmati rice, quinoa, or couscous to soak up the delicious juices. Grilled vegetables like corn on the cob, asparagus, or even grilled potatoes complement the skewers perfectly. For a touch of acidity and creaminess, a dollop of Greek yogurt or a fresh tzatziki sauce can elevate the meal.
Similar Recipe Ideas:
Chicken & Turkey
Peach and Whiskey Chicken Skewers
Fish & Seafood
Grilled Whole Shrimp
Beef
Honey and Ginger Glazed Beef Skewers
Chicken & Turkey
Huli Huli Chicken Skewers
The Ultimate Grilled Chicken Skewers
15
10
4 People
Ingredients
- 2 lbs Boneless chicken thighs, cut into 1-inch cubes
- 2 tbsp Dad’s All Purpose Rub
- 2 tbsp Your favorite BBQ sauce, for brushing
- 1 Red bell pepper, cut into 1-inch cubes
- 1 Yellow bell pepper, cut into 1-inch cubes
- 1 Red Onion, cut into 1-inch pieces
- 1 tbsp Olive Oil
Instructions
-
Cut the chicken thighs, bell peppers, and onion into uniform 1-inch cubes. Place all the cut ingredients into a large mixing bowl. Drizzle with olive oil and generously season with Dad’s All Purpose Rub. Toss well to ensure everything is evenly coated.
-
Thread the seasoned chicken and vegetable pieces onto your skewers, alternating ingredients. Do not overcrowd the skewers; leave a small gap between pieces for even cooking. If using wooden skewers, remember to soak them in water for at least 30 minutes prior to threading.
-
Preheat your grill to high direct heat, aiming for a temperature of 450 degrees Fahrenheit (230°C). Once hot, place the chicken skewers directly on the grill grates.
-
Grill the skewers for a total of approximately 10 minutes, flipping them every minute to ensure even cooking and beautiful grill marks on all sides. Cook until the chicken reaches an internal temperature of 175 degrees Fahrenheit (79°C).
-
During the last minute of grilling, brush all sides of the skewers generously with your chosen BBQ sauce. Allow the sauce to caramelize slightly over the chicken and veggies.
-
Remove the skewers from the grill and let them rest on a clean plate or cutting board for 5 minutes before serving. This allows the juices to redistribute, ensuring tender and moist chicken. Serve hot and enjoy!
Nutrition
Carbohydrates: 10g |
Protein: 38g |
Fat: 38g |
Saturated Fat: 10g |
Polyunsaturated Fat: 8g |
Monounsaturated Fat: 16g |
Trans Fat: 0.2g |
Cholesterol: 222mg |
Sodium: 268mg |
Potassium: 651mg |
Fiber: 1g |
Sugar: 5g |
Vitamin A: 1188IU |
Vitamin C: 95mg |
Calcium: 33mg |
Iron: 2mg
Love this recipe? Share your thoughts below!
There you have it – a simple yet sophisticated recipe for grilled chicken skewers that promises to be a hit at your next summer cookout or a lifesaver on a busy weeknight. With flavorful chicken, vibrant vegetables, and a touch of smoky BBQ goodness, these skewers are a testament to how easy and enjoyable healthy eating can be. Get grilling and savor the taste of effortless summer!