
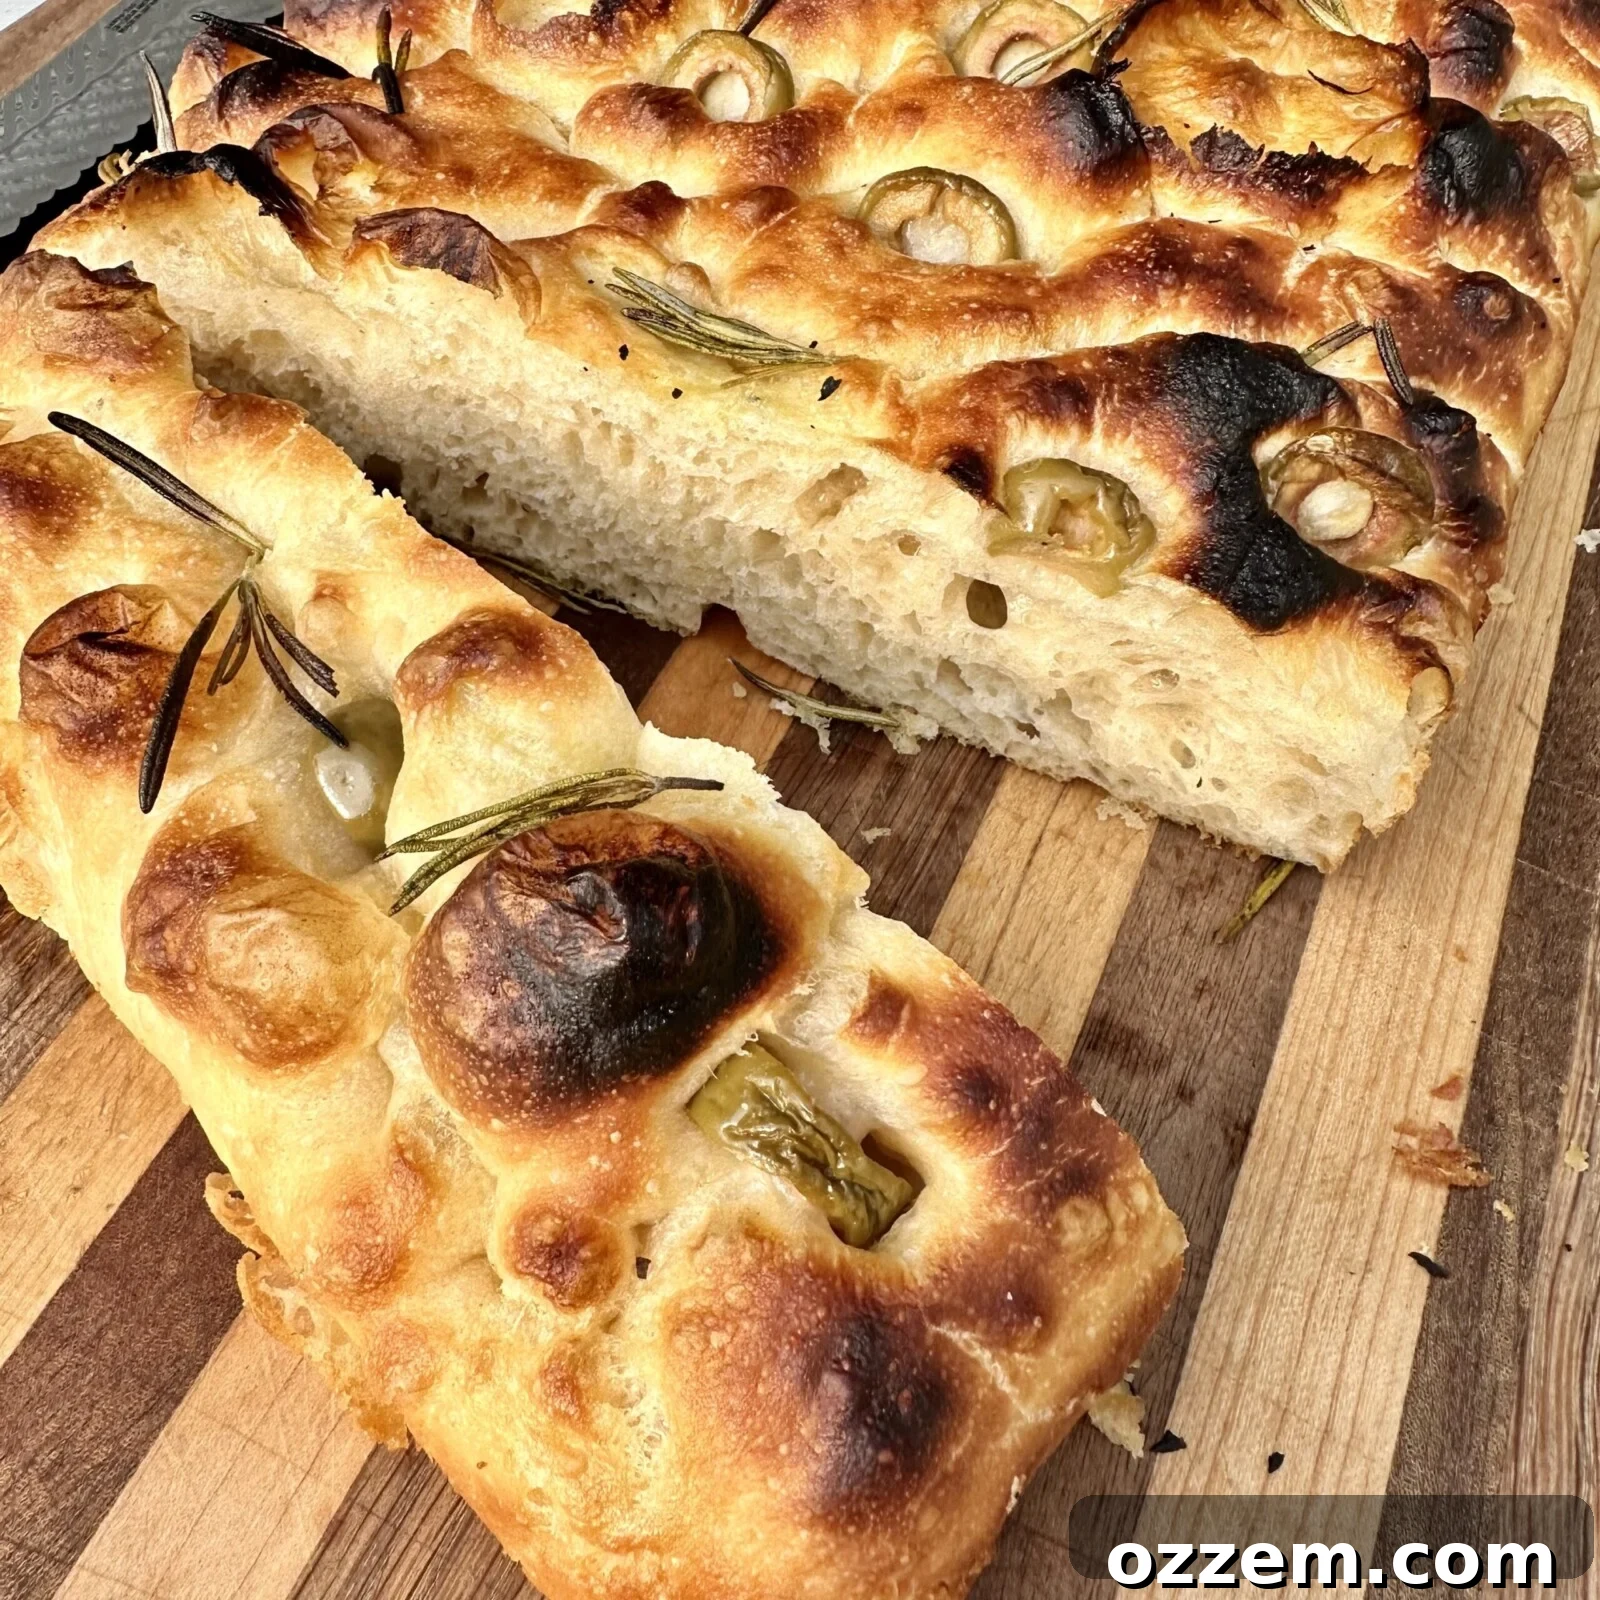
Mastering the Art of Homemade Focaccia Bread: An Easy Recipe for Everyone
I’ve always considered myself a grilling guy, much more comfortable with tongs and charcoal than with mixing bowls and yeast. However, let me share a secret: this **Focaccia bread recipe** is so remarkably easy, even I can make it with consistent success! The result is nothing short of amazing – a soft, airy, and wonderfully herby bread that serves as the perfect companion to virtually any of my grilling masterpieces. With just a little patience and minimal hands-on time, you’ll discover the joy of baking and find your inner baker too!
Looking for another fantastic bread-like recipe perfect for your grilled meals? Don’t miss my Easy Cast Iron Pan Pizza, which features an airy dough with a texture and thickness beautifully similar to a rustic focaccia.
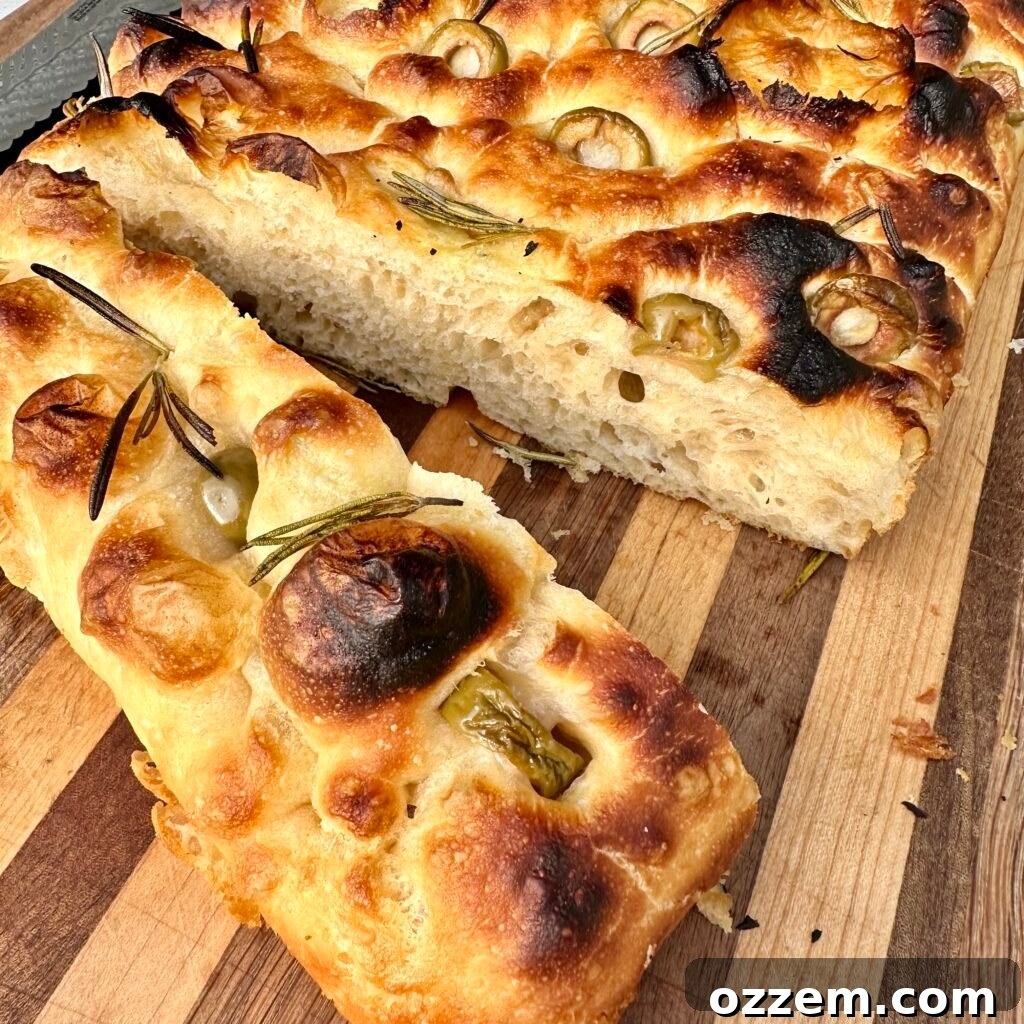
Table of Contents
- The Simple Ingredients for Perfect Focaccia
- Step 1: Prepare the Focaccia Dough for an Overnight Rise
- Step 2: The Next Day Prep: Preparing Your Focaccia for Baking
- Step 3: Baking Your Delicious Homemade Focaccia Bread
- Frequently Asked Questions About Focaccia Bread
- Similar Recipe Ideas to Pair with Focaccia
- Homemade Focaccia Bread Recipe Card
The Simple Ingredients for Perfect Focaccia
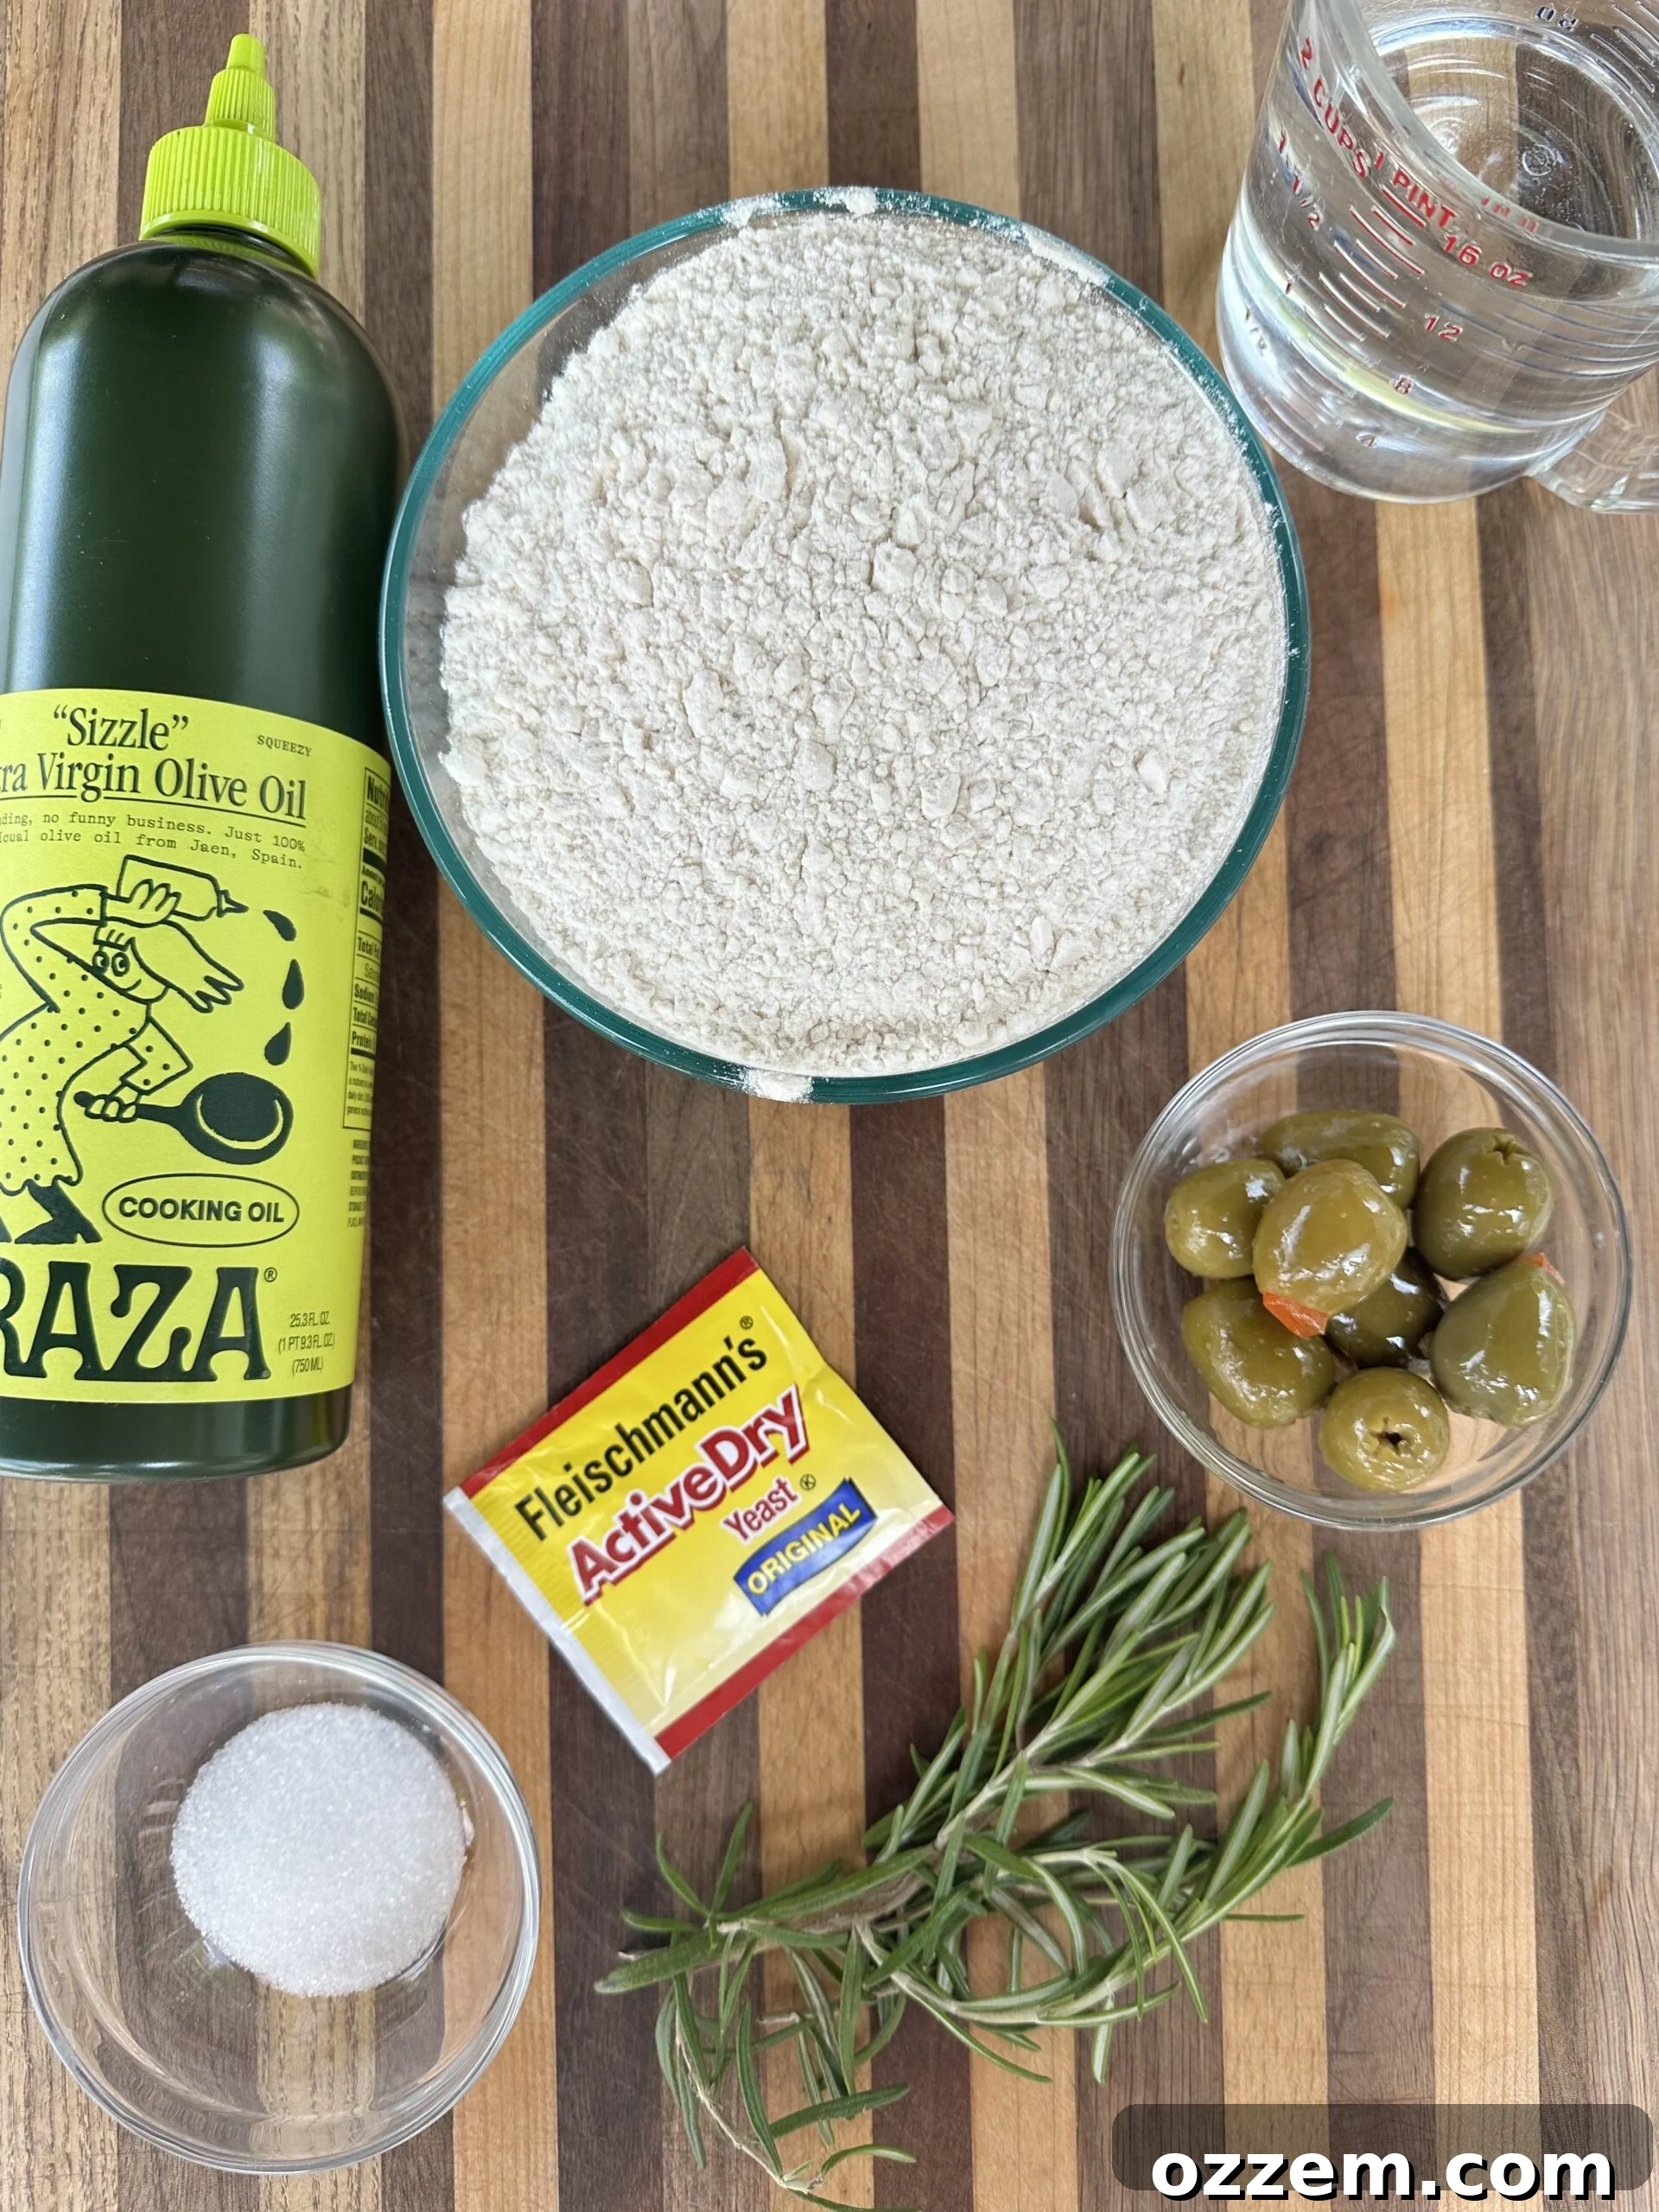
At its heart, focaccia is a testament to the beauty of simple ingredients. Much like any classic bread recipe, the components are few but crucial, each playing a vital role in creating that characteristic light, airy texture and rich flavor. You’ll need high-quality **active dry yeast**, warm water, fine salt, bread flour, a touch of honey, and a generous amount of **extra virgin olive oil**. While entirely optional, fresh or dried herbs are highly recommended if you wish to infuse your bread with additional aromatic flavors. Think fresh rosemary, thyme, or even some thinly sliced green olives for a Mediterranean twist.
The secret to exceptional focaccia lies not in complicated techniques, but in patience and proper planning. The entire process, from mixing to baking, spans approximately 24 hours, primarily due to an extended resting period that allows the dough to develop incredible flavor and an open, airy crumb. It’s best to prepare the dough the night before you plan to bake, allowing it ample time to rise slowly in the refrigerator. This slow fermentation is key to a truly unforgettable focaccia.
Step 1: Prepare the Focaccia Dough for an Overnight Rise
Begin by combining the wet ingredients and activators. In a large mixing bowl, add your warm water (ensure it’s not too hot, typically between 105-115°F or 40-46°C, to awaken the yeast without killing it), salt, active dry yeast, honey, and a tablespoon of extra virgin olive oil. Stir these ingredients together until the salt and honey are fully dissolved and the yeast begins to bloom, forming a slightly frothy surface – a sign that it’s active and ready to work its magic. This initial mix creates a welcoming environment for the yeast, ensuring a vigorous rise.
Next, gradually incorporate the bread flour. Add it to the wet mixture and mix thoroughly until all the water is absorbed, and you achieve a shaggy, consistent dough. Focaccia dough is famously sticky and wet, which is precisely what contributes to its characteristic airy texture. For best results and to manage the stickiness, I highly recommend using a sturdy wooden spoon or a dough whisk for this mixing stage, rather than your hands initially. Mix until there are no dry patches of flour, and a cohesive, albeit sticky, mass forms.
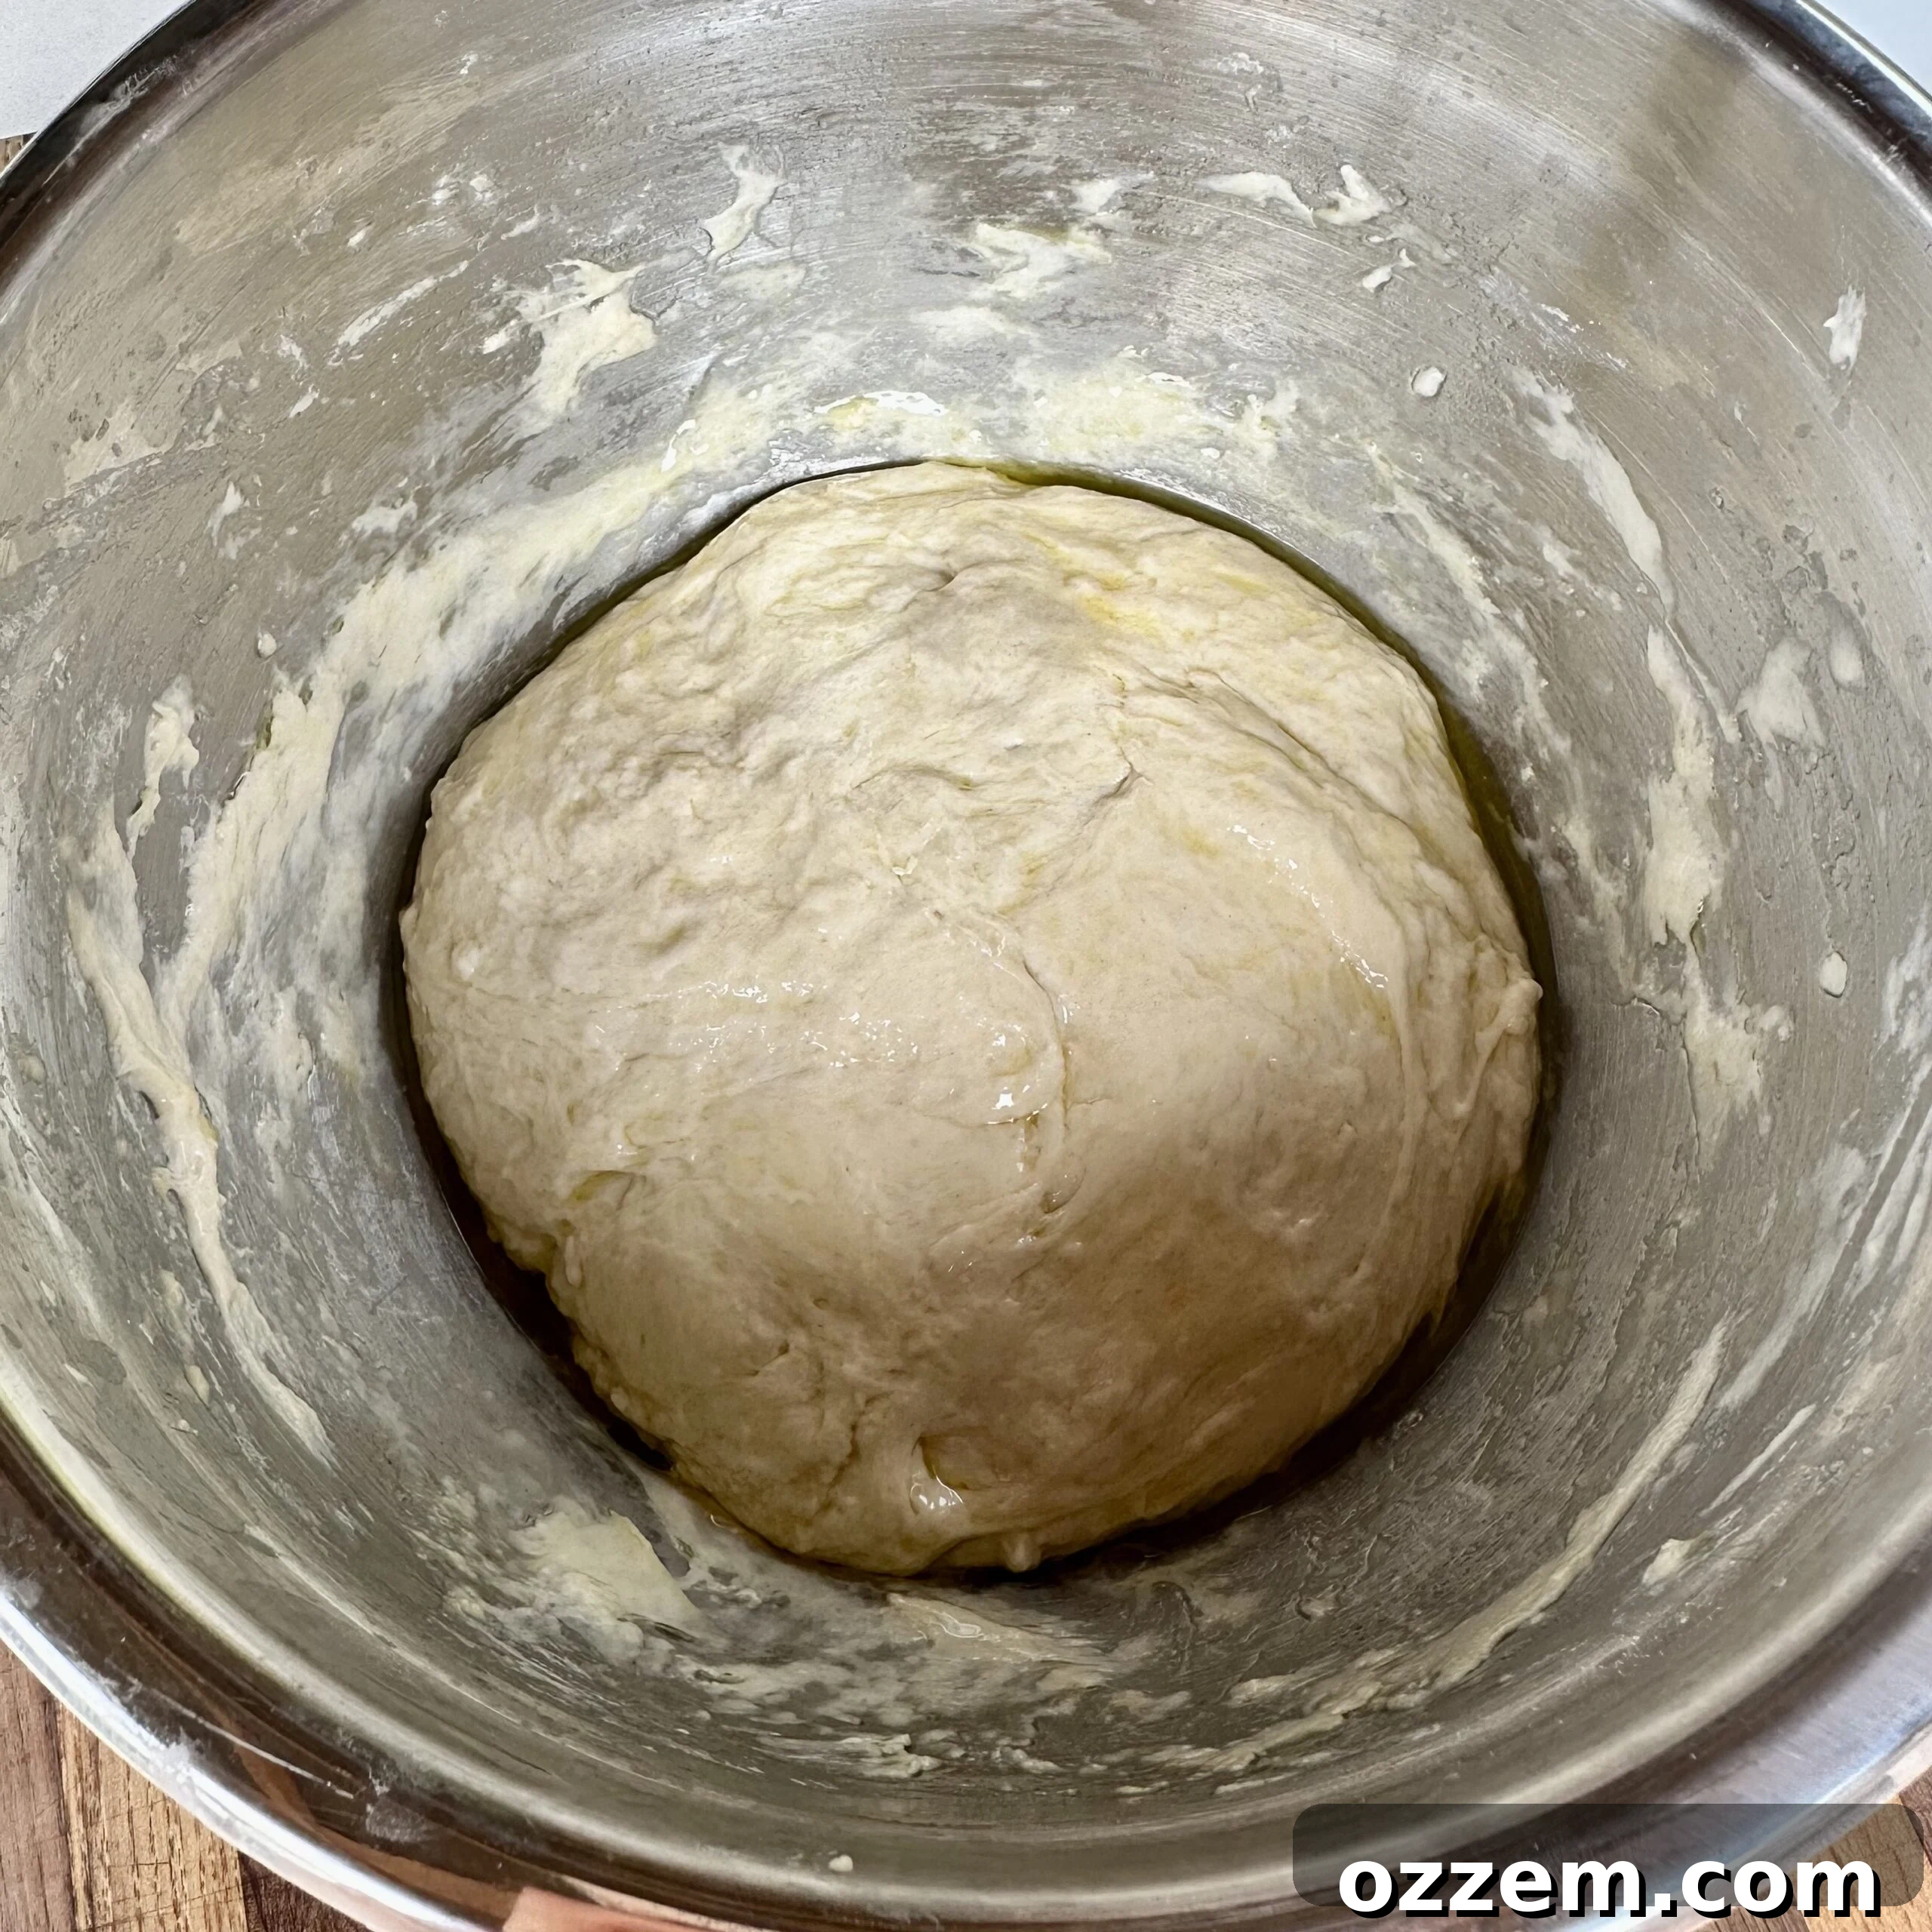
Once mixed, cover the bowl with a clean kitchen cloth and let the dough rest at room temperature for 10 minutes. This short rest allows the flour to fully hydrate. After 10 minutes, perform the first “stretch and fold”: gently pull a portion of the dough from the edge, stretch it upwards, and fold it over itself towards the center of the bowl. Rotate the bowl and repeat this action about 4-6 times, working your way around the dough. This process helps to develop gluten without extensive kneading, which is ideal for this high-hydration dough. Cover the dough again and let it rest for another 10 minutes. Repeat the stretch and fold process one more time. This entire sequence of resting and folding, performed three times, significantly strengthens the dough’s structure.
After the final set of folds, cover the bowl tightly with plastic wrap and place it in the refrigerator. The dough will undergo a slow fermentation overnight, for a minimum of 12 hours, but ideally up to 24 hours. This cold proofing not only enhances the flavor profile of the focaccia, making it more complex and nuanced, but also improves the texture, resulting in a more tender and bubbly crumb when baked.
Dad’s Signature Seasonings
Elevate your grilling game with my essential seasoning blends! Perfectly crafted to enhance the flavor of any grilled dish.
Step 2: The Next Day Prep: Preparing Your Focaccia for Baking
After its long, slow rest in the refrigerator (12 or more hours), carefully remove the now-risen dough. Its volume should have visibly increased, and it will feel softer and more pliable. Prepare a 9×13 inch baking pan by generously greasing it. I prefer using a high-quality **extra virgin olive oil** to coat both the bottom and sides of the pan. This not only prevents sticking but also contributes to the focaccia’s golden, crispy crust and rich flavor. Gently transfer the dough into the greased pan, trying not to deflate it too much. Cover the pan loosely with a clean kitchen towel and let it sit at room temperature for about 2 hours. This crucial step allows the dough to warm up, relax, and undergo its final proof, expanding beautifully to fill the pan.
Once the dough has completed its final resting phase, it should have spread evenly to nearly fill the entire pan, appearing light and puffy. This is the moment to create focaccia’s signature dimples and add its delightful toppings. Drizzle the surface of the dough generously with more olive oil. Then, using just your fingertips, gently but firmly press down all over the dough, creating those distinctive indentations. As you press, you’ll notice air bubbles forming and popping – this is exactly what you want! These air pockets are a sign of a well-fermented dough and will contribute to the focaccia’s wonderfully airy, open crumb structure. Don’t be afraid to press firmly, but be gentle enough not to tear the dough.
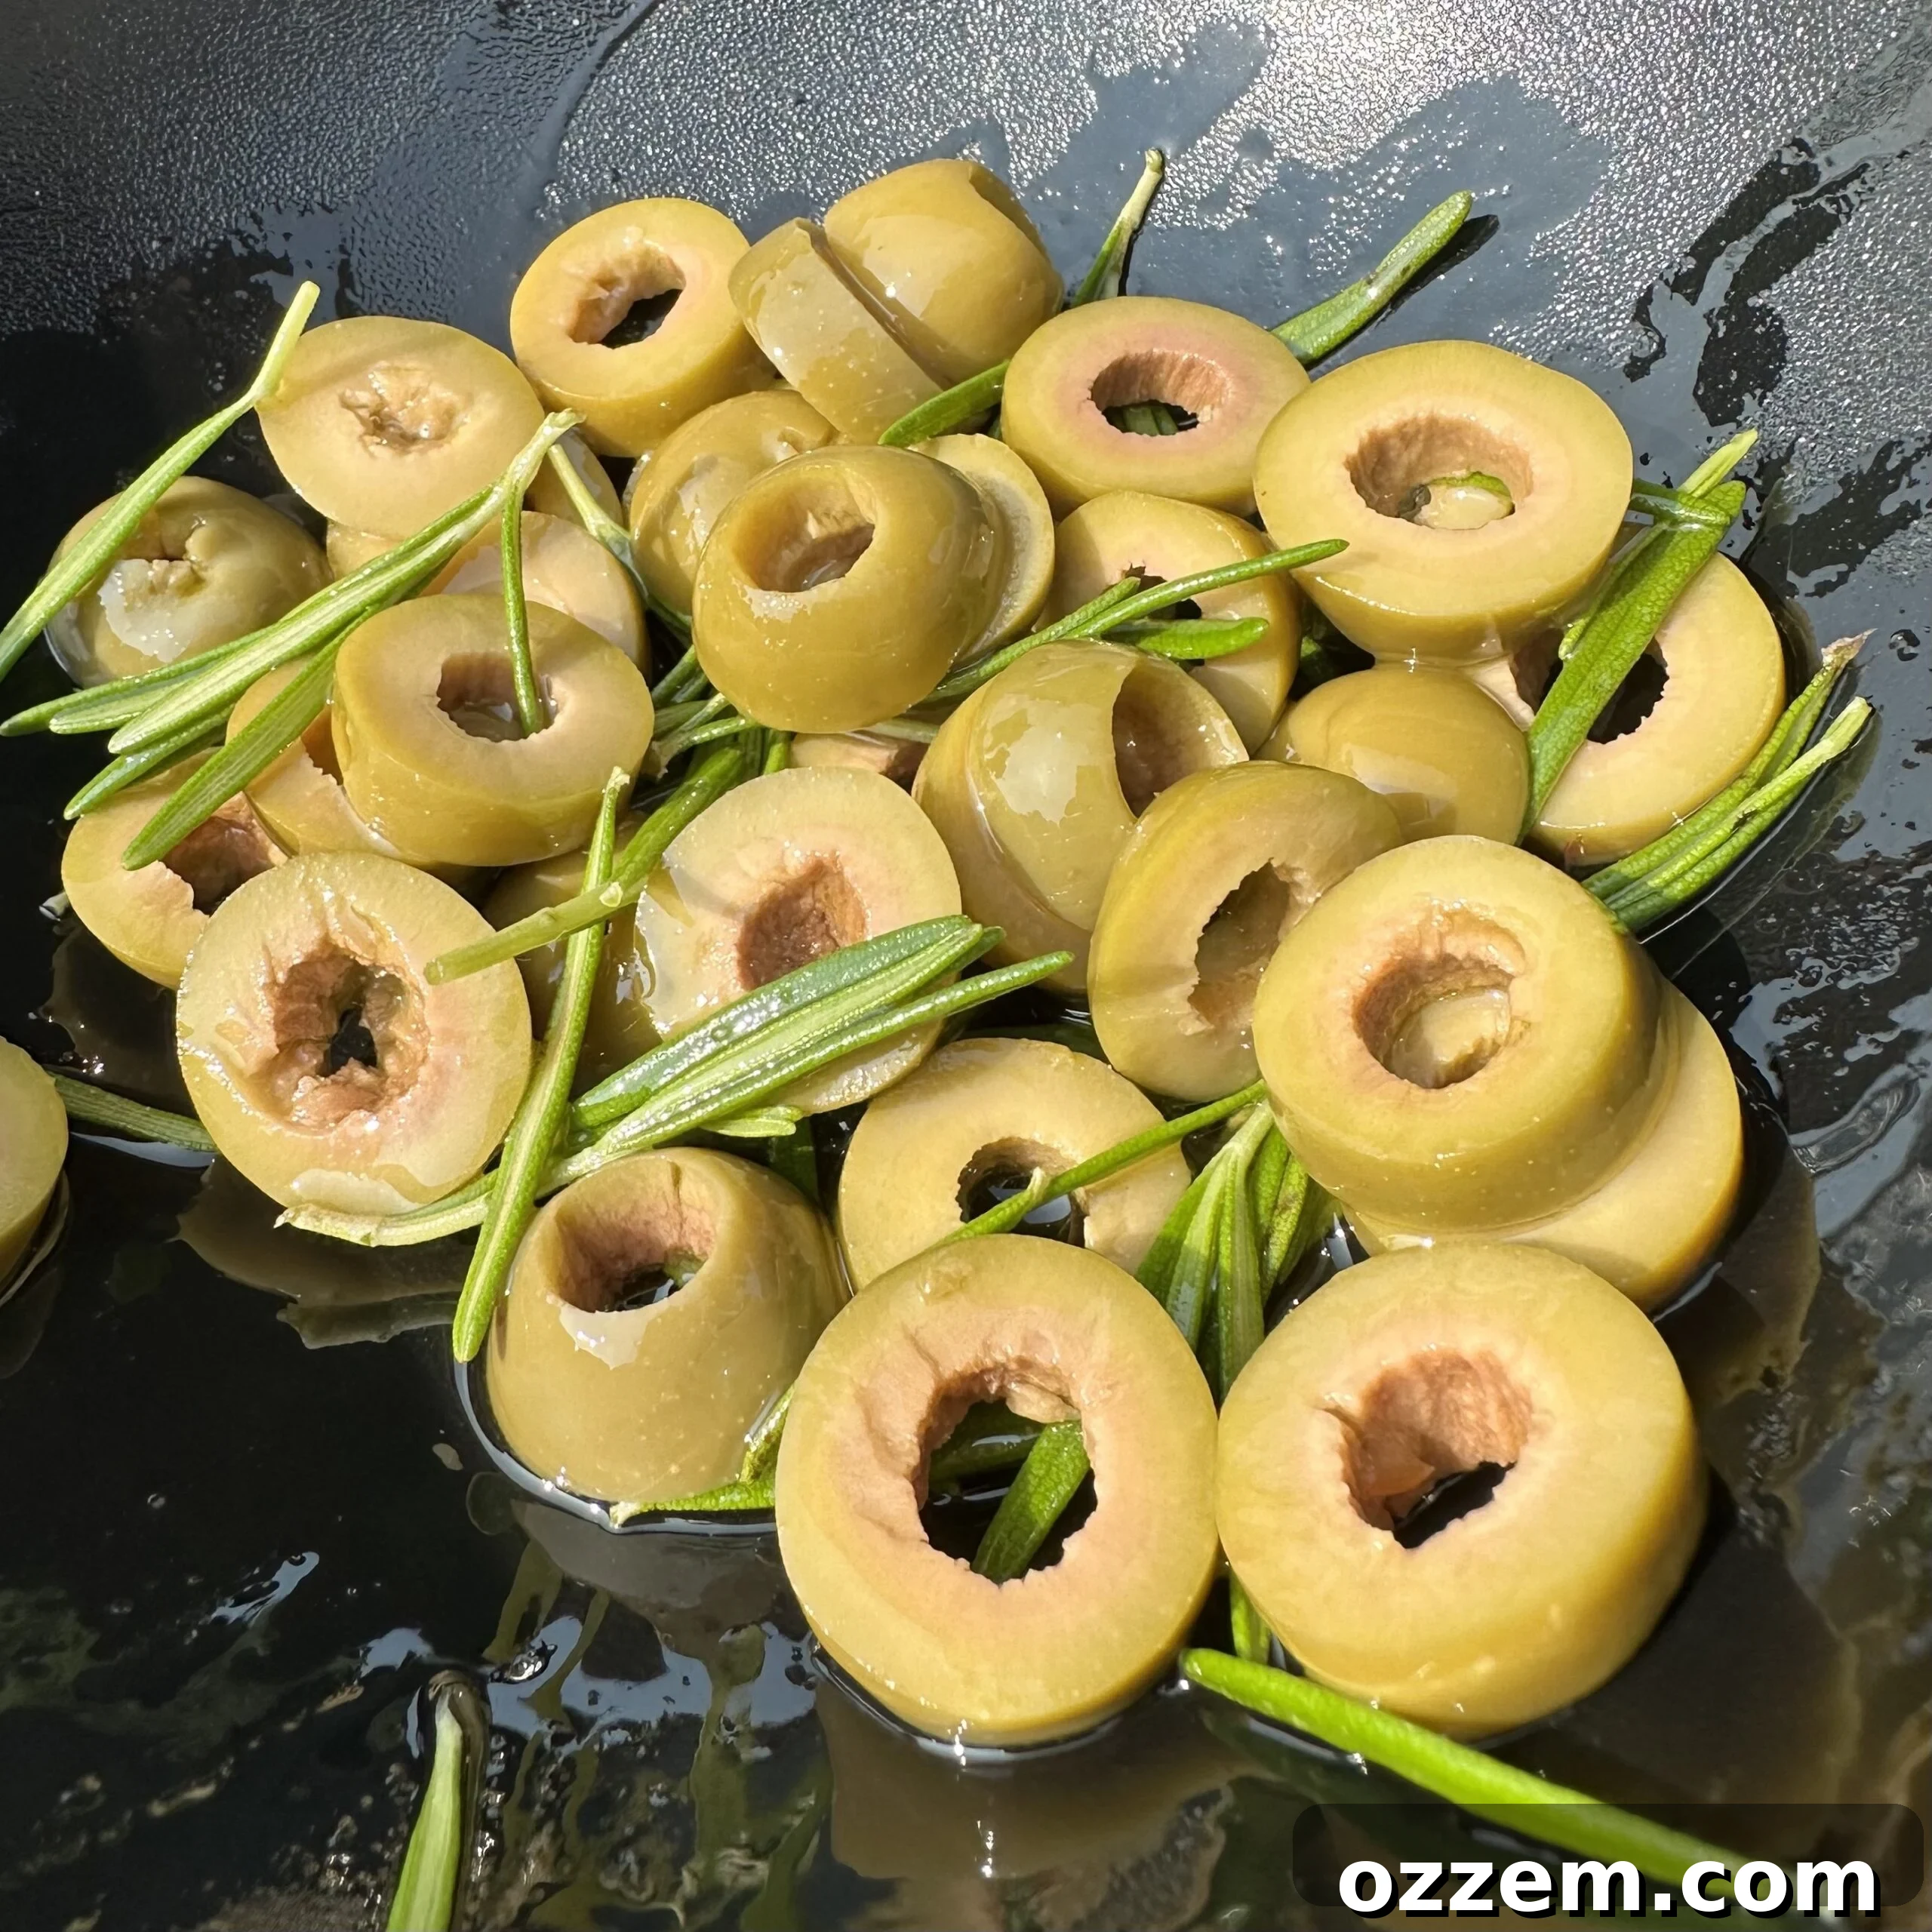
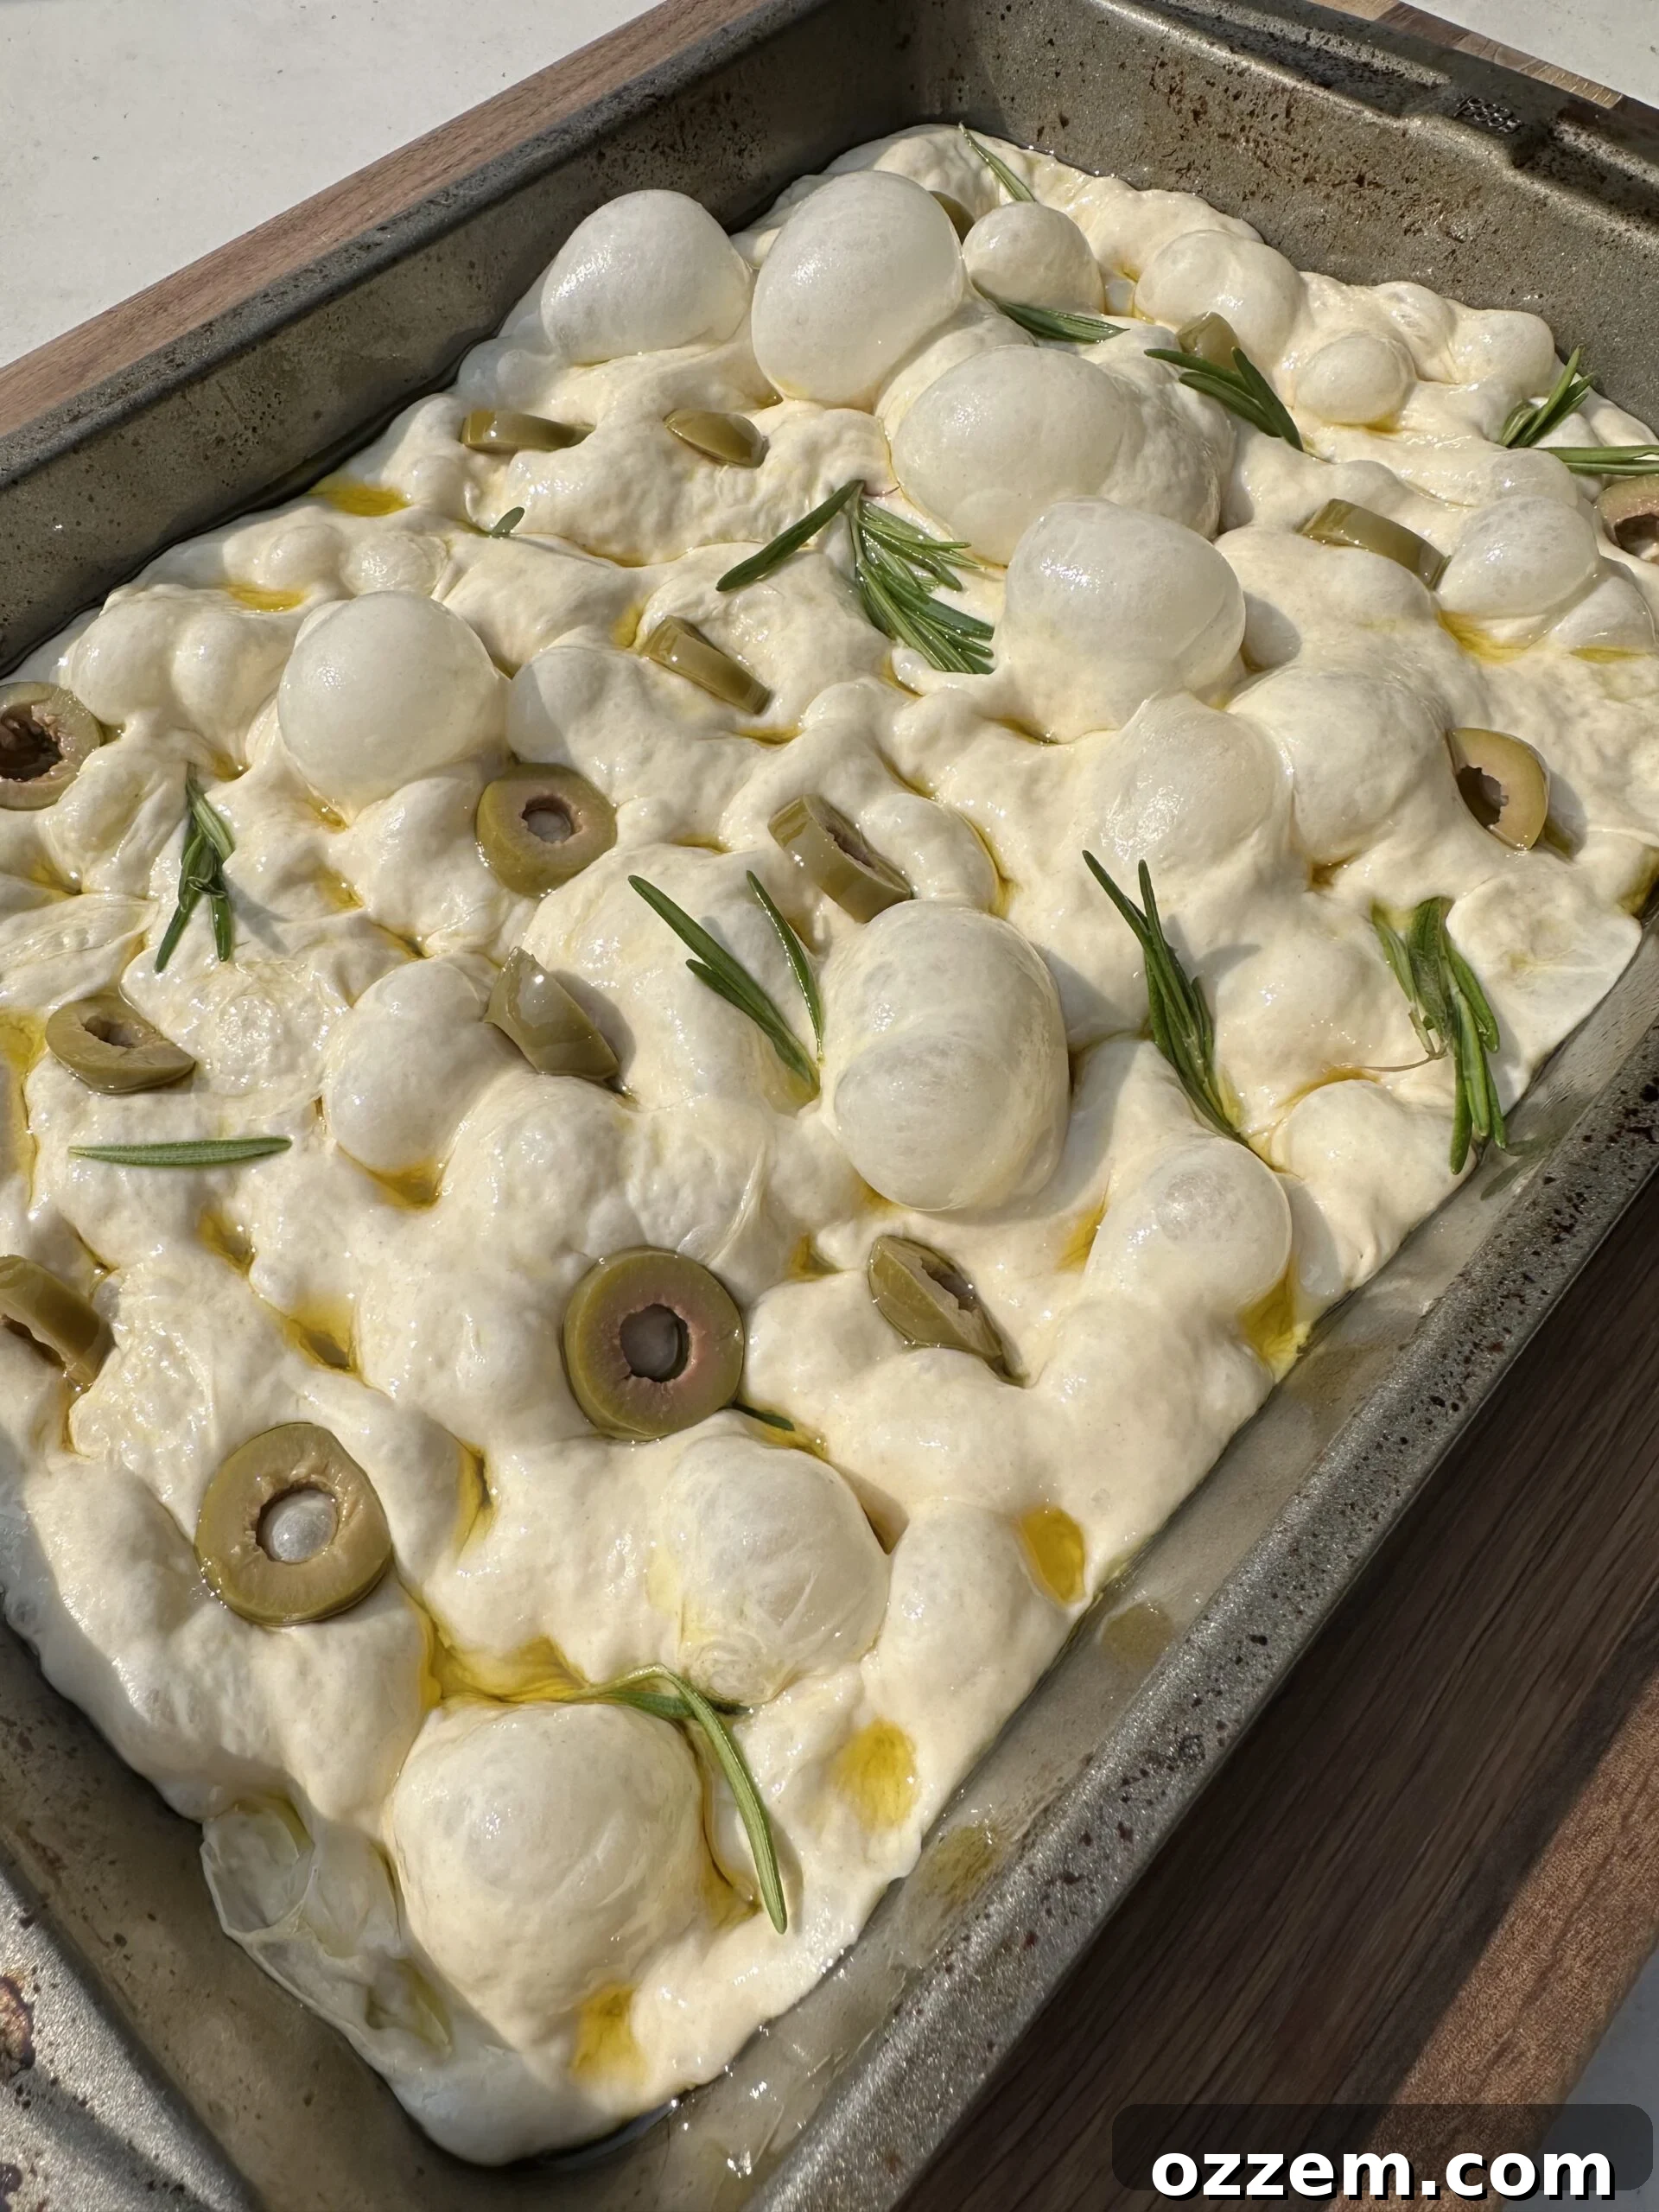
Now, it’s time to add your chosen toppings. Lightly season the entire surface with a sprinkle of flaky sea salt – this adds both flavor and a delightful textural crunch. If you’ve opted to use herbs or other savory additions, this is the perfect moment to scatter them evenly over the dimpled surface. For this recipe, I chose to use vibrant sliced green olives and aromatic fresh rosemary, gently pressing them into the dough so they adhere. Other fantastic options include cherry tomatoes, thinly sliced onions, garlic, or a blend of your favorite Italian herbs. Be creative and make it your own!
Step 3: Baking Your Delicious Homemade Focaccia Bread
Preheat your oven or grill to a high temperature of 450°F (232°C). While I often enjoy baking with my Gozney oven for that perfect wood-fired crust, a standard home oven will yield equally fantastic results. Ensure your oven is fully preheated to achieve the best rise and crust. Once hot, carefully place the baking pan with your prepared focaccia dough into the preheated oven or grill. Allow it to bake for approximately 20 minutes.
During the baking process, keep a close eye on your focaccia. You’ll notice it transform into a beautiful golden-brown masterpiece. The edges should be deeply golden, and the surface should show an appealing tan to darker brown color. This indicates that the bread is cooked through and has developed that desirable crispy crust while maintaining a soft interior. If you notice any areas browning too quickly, you can loosely tent the focaccia with aluminum foil for the last few minutes of baking. Once it reaches this perfect hue, it’s time to carefully remove your freshly baked focaccia bread from the oven.
Resist the urge to cut into it immediately! For the best texture and flavor, allow the focaccia to cool on a wire rack for at least 15-20 minutes after removing it from the oven. This cooling period allows the internal structure to set and prevents the bread from becoming gummy. Once cooled, slice it into generous squares or strips and enjoy. It’s absolutely delicious on its own, dipped in olive oil, or served alongside your favorite grilled meats, stews, or salads. Every bite will be a testament to your newfound baking skills!
Frequently Asked Questions About Focaccia Bread:
Absolutely! All my recipes, including this delicious focaccia, are designed to be versatile. You can easily replicate the results in a standard home oven. While I sometimes use specialized equipment like a Gozney Dome or a Big Green Egg for grilling, you don’t need these to achieve fantastic results for any of my dishes. Just follow the temperature guidelines for your conventional oven.
Bread flour is highly recommended for focaccia. Its higher protein content (typically 12-14%) helps develop strong gluten, which is essential for creating the characteristic chewy texture and open, airy crumb of focaccia. All-purpose flour can work in a pinch, but the results might be slightly less chewy and airy.
Yes, focaccia dough is intentionally very sticky and wet! This high hydration (high water content relative to flour) is what gives focaccia its incredibly light, airy interior with those desirable large pockets. Resist the urge to add too much extra flour during mixing or handling, as this will result in a denser, tougher bread. A light coating of olive oil on your hands or tools can help manage the stickiness.
While 12-24 hours in the fridge is ideal for flavor development and texture, you can often extend the cold proofing period up to 48 hours. Beyond that, the yeast might start to over-ferment, leading to a slightly sour taste or a weaker gluten structure. Always check for signs of over-proofing (a very loose, overly bubbly dough) if extending beyond 24 hours.
Focaccia is best enjoyed fresh on the day it’s baked. However, if you have leftovers, store them in an airtight container or wrap them tightly in plastic wrap at room temperature for 1-2 days. For longer storage, you can freeze individual slices in a freezer-safe bag for up to 1 month. Reheat frozen focaccia in a preheated oven at 350°F (175°C) for a few minutes until warmed through and crispy.
Delicious Dishes and Side Ideas to Pair with Your Focaccia:
Side Dish
Smoked Mac and Cheese
A rich, smoky, and incredibly comforting side that perfectly complements the simplicity of focaccia.
Fish & Seafood
Grilled Shrimp and Corn Slaw Tacos
Light, fresh, and bursting with flavor, these tacos offer a delightful contrast to the hearty focaccia.
Side Dish
Balsamic Tomato Salad
A simple yet elegant salad that brings a fresh, acidic balance to the rich olive oil flavors of focaccia.
Side Dish
Classic Garlic Bread
If you love herby bread, this classic garlic bread recipe is another must-try for any meal.
Discover more incredible recipes on my Recipes Page for other tasty ideas!
5 from 1 vote
Homemade Focaccia Bread
This incredibly easy homemade Focaccia bread recipe is perfect for bakers of all levels. The soft, herby bread is a fantastic side dish to any meal, especially grilled favorites!
Pin Recipe
Print Recipe
Ingredients
- 500 g Bread flour
- 420 ml Warm water
- 1 tbsp Extra virgin olive oil (plus more for pan and drizzle)
- 2 tsp Salt
- 1 tsp Active dry yeast
- 1 tsp Honey
- Herbs of choice (e.g., fresh rosemary, sliced green olives, dried oregano)
Instructions
- In a large mixing bowl, combine the warm water, salt, active dry yeast, honey, and 1 tablespoon of extra virgin olive oil. Stir until the salt and honey are dissolved, and the yeast begins to foam (about 5-10 minutes), indicating it’s active.
- Add the bread flour to the wet ingredients. Mix with a wooden spoon or a dough whisk until all the flour is incorporated and you have a shaggy, very sticky dough. Do not overmix.
- Cover the bowl with a kitchen cloth and let the dough rest at room temperature for 10 minutes.
- Perform the first stretch and fold: With wet hands or a wooden spoon, gently pull a section of the dough up from the edge of the bowl and fold it over itself towards the center. Rotate the bowl a quarter turn and repeat this motion about 4-6 times around the dough.
- Cover the bowl again and let it rest for another 10 minutes. Repeat the stretch and fold process one more time (for a total of 2 sets of folds after the initial rest).
- After the final stretch and fold, cover the bowl tightly with plastic wrap and place it in the refrigerator overnight (for at least 12 hours, and up to 24 hours). This slow, cold fermentation develops deeper flavor and a better texture.
- The next day, generously grease a 9×13 inch baking pan with extra virgin olive oil, coating the bottom and sides.
- Gently transfer the cold, risen dough into the prepared pan. Carefully stretch or nudge the dough to roughly fill the pan, without forcing it too much.
- Cover the pan loosely with a kitchen towel and let it rest at room temperature for 2 hours. The dough should warm up and puff up significantly, expanding to fill the pan.
- Preheat your oven or grill to 450°F (232°C) during the last 30 minutes of the dough’s final rise.
- Once the dough has completed its 2-hour rest, drizzle the top with more extra virgin olive oil. Using your fingertips, gently but firmly press down all over the dough to create signature dimples, taking care not to completely deflate it. You’ll see air bubbles form – this is desired!
- Season the surface with a sprinkle of flaky sea salt and add your chosen herbs (like fresh rosemary and sliced green olives), gently pressing them into the dimples.
- Place the baking pan in the preheated oven or grill and bake for 20 minutes, or until the focaccia is golden brown on top and the edges are crispy.
- Remove the focaccia from the oven and let it cool on a wire rack for at least 15-20 minutes before slicing and serving. Enjoy by itself or as a side to your favorite meals!
Nutrition Facts (Approximate per Serving)
Carbohydrates: 46g |
Protein: 8g |
Fat: 3g |
Saturated Fat: 0.4g |
Polyunsaturated Fat: 1g |
Monounsaturated Fat: 1g |
Cholesterol: 2mg |
Sodium: 88mg |
Potassium: 85mg |
Fiber: 2g |
Sugar: 1g |
Vitamin A: 3IU |
Vitamin C: 0.05mg |
Calcium: 12mg |
Iron: 1mg
Like this recipe? Rate and comment below!