
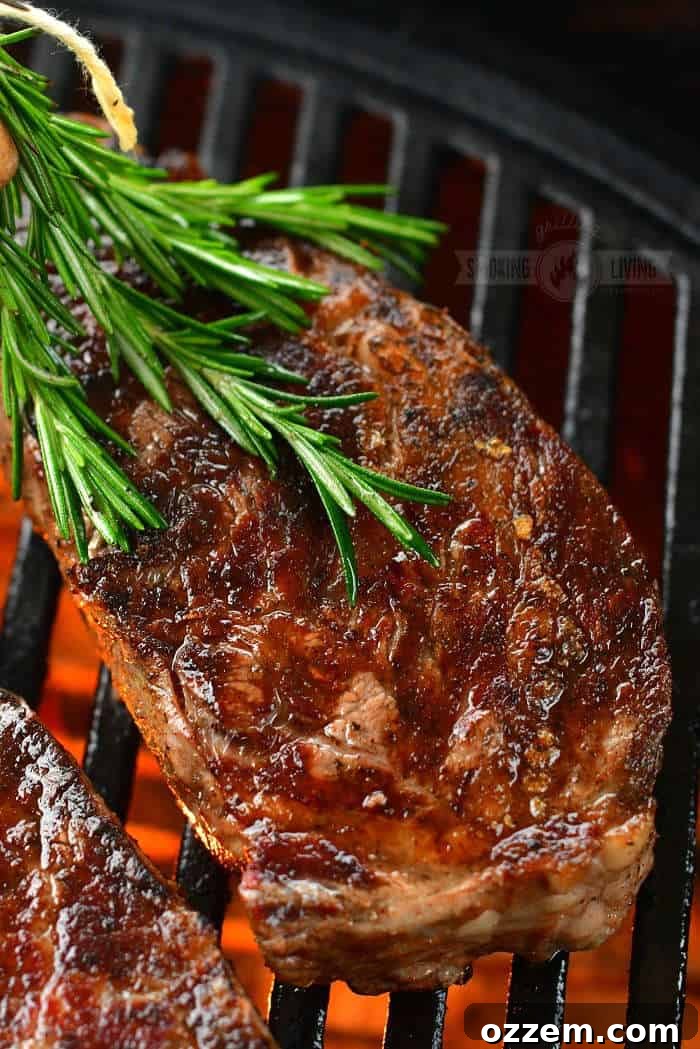
Master the art of grilling steaks perfectly with our comprehensive guide, packed with easy-to-follow tips and expert tricks. There’s truly nothing quite like the experience of sinking your teeth into a juicy, flavor-packed grilled steak, hot off the grates. Grilling steaks to perfection is simpler than you might think, leaving you free to focus on perfecting your favorite side dishes.
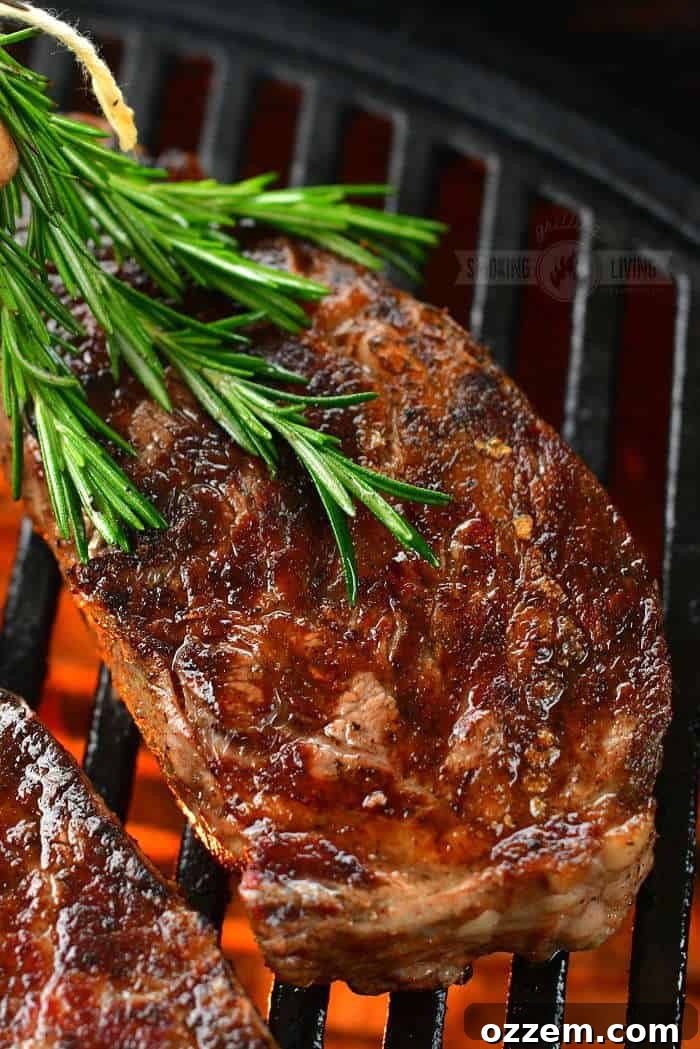
The quest for the “perfect steak” is a deeply personal journey, often leading to a hundred different answers from a hundred different people. What one person considers ideal – be it a specific cut, a precise level of seasoning, or a preferred degree of doneness – can vary wildly from the next. This guide aims not to impose a single definition of perfection, but rather to empower you with the knowledge and techniques to achieve *your* perfect steak, whatever that may be. While I personally favor a beautifully marbled ribeye cooked to a flawless medium-rare, I understand that culinary preferences are diverse. Our goal here is to equip you with the fundamental skills to grill any steak cut to your desired specifications.
We’ll delve into every crucial step: from selecting the best cuts of beef for grilling and understanding their unique characteristics, to mastering the art of seasoning, optimizing your grill setup, and executing the perfect cook. We’ll also cover vital post-grilling techniques that ensure maximum juiciness and flavor. Prepare to transform your grilling game and impress every palate at your next backyard barbecue.
Choosing the Best Steaks for Grilling
While almost any piece of beef can technically be thrown on a grill, the results can differ dramatically. For a truly sublime grilled steak experience, we need to distinguish between cuts designed for quick, high-heat grilling and those that benefit from slower cooking or marination. Leaner, tougher, or thinner cuts like flank, flat iron, and skirt steaks, while delicious, are typically best when marinated, grilled quickly, and then sliced thinly against the grain for dishes like tacos, fajitas, or sandwiches. They play a supporting role, absorbing flavors beautifully. Our focus today, however, is on the undisputed stars of the grill: prime steaks that are so inherently juicy and flavorful they require only minimal seasoning and a few minutes over direct heat.
When selecting your steak, thickness is paramount. Aim for steaks between 1 ½ and 2 inches thick. Thinner steaks cook too quickly, making it difficult to achieve a good sear without overcooking the interior, often leading to dry, less satisfying results. A thicker steak allows you to develop a beautiful crust on the exterior while keeping the inside tender and juicy to your preferred doneness.
Recommended Steak Cuts for Grilling
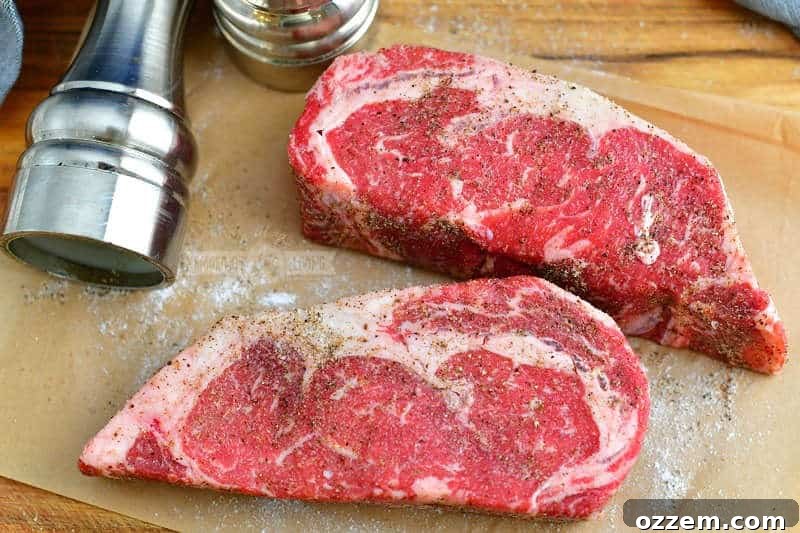
- Ribeye: Often considered the king of steaks, the ribeye is renowned for its rich flavor, exceptional juiciness, and abundant marbling (intramuscular fat). This marbling melts during cooking, basting the meat from within and contributing to its incredible tenderness and taste.
- Rib Steak (Bone-In Ribeye): Essentially the same as a ribeye, but with the rib bone still attached. The bone is believed by some to add even more flavor and helps the steak cook more evenly, though the difference is often subtle. It certainly makes for an impressive presentation.
- Porterhouse: A magnificent cut featuring a large T-shaped bone separating two distinct steaks: a tenderloin (filet mignon) on one side and a New York strip on the other. This gives you a delightful contrast in texture and flavor, combining the tenderness of the filet with the robust taste of the strip.
- T-Bone: Similar to the porterhouse, also featuring a T-bone, but generally smaller. The key difference is the size of the tenderloin portion; the T-bone’s tenderloin is significantly smaller than what you’d find in a porterhouse.
- Strip Steak (New York Strip): A popular choice, known for its good balance of tenderness and robust beefy flavor. While it has less marbling than a ribeye, it still offers a satisfying chew and excellent taste, especially when cooked correctly.
- Top Sirloin: A versatile and flavorful cut that offers good value. It’s leaner than a ribeye but still has a decent amount of marbling and a firm texture. Top sirloin grills beautifully and is also excellent for slicing and incorporating into dishes like steak kebabs.
- Filet Mignon: Revered for its unparalleled tenderness and buttery texture. It boasts a milder, smoother beef flavor compared to a ribeye or strip, making it a favorite for those who prioritize melt-in-your-mouth tenderness.
Understanding USDA Steak Grades
When shopping for steaks, you’ll primarily encounter three main USDA grades, which indicate quality based on marbling (fat within the muscle) and the animal’s maturity. Understanding these grades is key to selecting the right steak for your palate and budget:
- USDA Prime: This is the highest quality grade, reserved for young, well-fed cattle. Prime steaks feature abundant marbling, which translates to exceptional tenderness, juiciness, and rich flavor. They are less widely available and typically found in high-end restaurants and specialty butcher shops.
- USDA Choice: A high-quality grade that is much more widely available in supermarkets. Choice steaks still offer good marbling, tenderness, and flavor, though generally less than Prime. This is an excellent choice for everyday grilling.
- USDA Select: This is a leaner grade with less marbling, making the steaks less tender, juicy, and flavorful compared to Prime or Choice. Select steaks are more economical but often require more attention during cooking to prevent dryness.
For grilling, always strive to select USDA Prime or Choice grade steaks. Remember, you truly get what you pay for when it comes to beef quality.

Seasoning Steaks for Maximum Flavor
When you’ve invested in a high-quality, flavorful steak – especially a Prime or Choice cut – there’s no need to overcomplicate the seasoning. The inherent deliciousness of the beef should be the star. Our goal with seasoning is simply to enhance, not mask, that natural flavor profile.
For truly excellent steaks, I rely on just two essential ingredients: coarse salt and freshly cracked black pepper. The key is to be generous. Don’t be shy; liberally sprinkle salt and pepper on all sides of the steak, including the edges. The coarse texture of the salt helps to create a beautiful crust during searing, and the fresh pepper adds a pungent, aromatic kick. Avoid finely ground salt and pepper, as they can dissolve too quickly or burn.
For an elevated finish, nothing compares to the simple elegance of a melted butter and rosemary baste. During the final minutes of cooking, I highly recommend brushing your steaks with melted butter infused with the subtle aroma of fresh rosemary. To create a rustic rosemary brush, simply tie a few sturdy sprigs of fresh rosemary to the wooden handle of a kitchen utensil using kitchen twine. Dip this aromatic brush into melted butter and generously brush it over both sides of your steaks as they finish cooking on the cooler side of the grill. The rosemary imparts a delicate, earthy fragrance, and the butter adds richness and promotes an even more golden crust.
Essential Grilling Notes for Perfect Steaks
Choosing Your Grill: Charcoal vs. Gas
The type of grill you use significantly impacts the final flavor of your steak. While both charcoal and gas grills can produce excellent results, they offer distinct advantages:
- Charcoal Grills: My personal preference for steaks. Charcoal or wood grills impart an unmatched smoky depth and char flavor that gas grills simply can’t replicate. They can also achieve higher searing temperatures, which are crucial for developing that desirable crust.
- Gas Grills: Offer unparalleled convenience and precise temperature control. While they may lack the smoky notes of charcoal, a well-maintained gas grill, properly preheated, can still achieve a fantastic sear and consistent cooking.
Regardless of your grill type, always start with clean grates to prevent sticking and ensure even cooking.
Mastering Grill Temperature: The Two-Zone Setup
For thick steaks, a two-zone grilling setup is absolutely essential for achieving both a beautiful sear and perfect doneness. This involves creating a very hot direct heat zone and a cooler, indirect heat zone:
- Hot Zone (Direct Heat): This is where you’ll get that initial, glorious sear. Aim for a temperature between 425°F and 450°F. For charcoal, pile coals on one side of the grill. For gas, turn burners on high on one side.
- Cool Zone (Indirect Heat): After searing, you’ll move your steaks here to finish cooking gently to your desired internal temperature without burning the exterior. For charcoal, this is the side with no coals. For gas, it’s the side with burners off or on low.
Always preheat your grill for at least 10-15 minutes before adding steaks to ensure the grates are scorching hot.
How Long to Grill Steaks? Focus on Temperature, Not Time
This is perhaps the most common, and most challenging, question in grilling. There’s no single “magic number” for cooking time because every steak is unique – exact thickness, marbling, starting temperature, and grill heat all play a role. The most reliable method for perfectly cooked steaks is to use an instant-read meat thermometer. This tool is your best friend in the grilling process, giving you an accurate reading of the internal temperature, which is the true indicator of doneness.
However, as a general guideline, here are estimated grilling times for steaks approximately 1 ½ inches thick, assuming a two-zone setup with initial searing:
- Rare (125°-130°F): 8-10 minutes total grilling time
- Medium-Rare (135°-140°F): 10-13 minutes total grilling time
- Medium (145°-150°F): 12-14 minutes total grilling time
- Medium-Well (150°-155°F): 14-16 minutes total grilling time
- Well (155°-160°F): 16-18 minutes total grilling time
*Important Note: These temperatures indicate when to *remove* the steak from the grill. The steak will continue to cook internally for a few minutes after being removed due to “carry-over cooking.” Always pull your steaks off the heat 5-10 degrees below your target final temperature.
The Crucial Role of Resting Your Steak
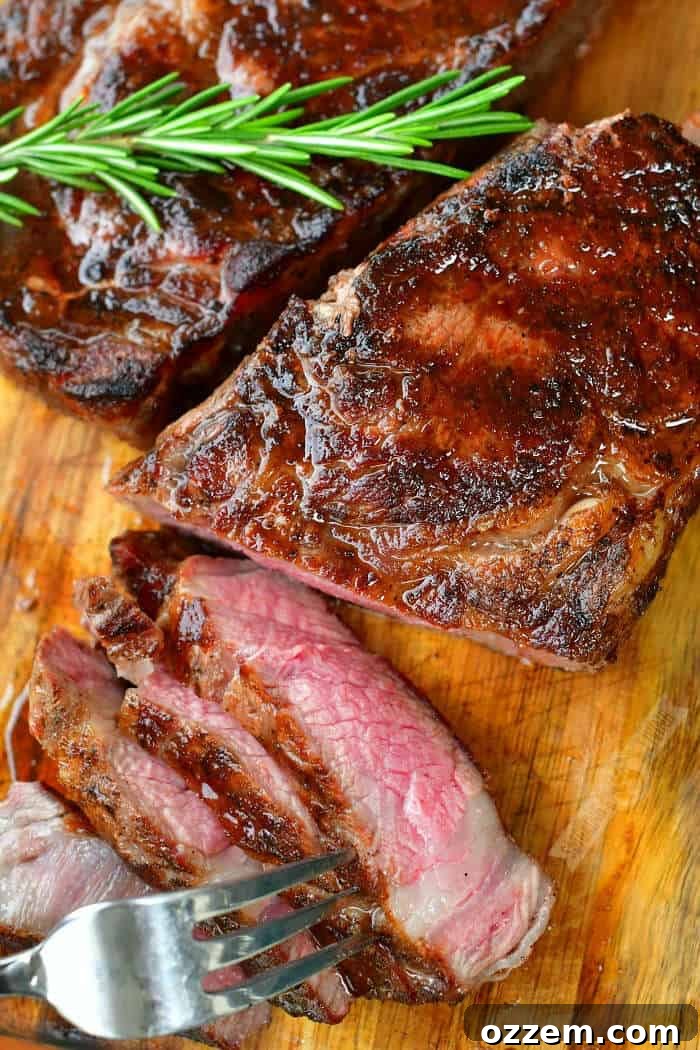
Resting your steak after grilling is a non-negotiable step that ensures maximum juiciness and flavor. When meat cooks, the muscle fibers tighten up and force the internal juices towards the center. If you cut into a steak immediately after it comes off the grill, those concentrated juices will gush out onto your cutting board, leaving you with a drier, less flavorful piece of meat.
Allowing the steak to rest for 5-10 minutes allows those tightly constricted muscle fibers to relax. As they relax, the juices, which have migrated to the center, redistribute evenly throughout the entire steak. This results in a consistently tender, moist, and flavorful bite every single time. Cover the steak loosely with foil during resting to keep it warm without trapping too much steam, which can soften the crust.
Step-by-Step Guide: How to Grill Steaks Perfectly
Follow these detailed steps to achieve a perfectly grilled steak that will impress every time:
1. Prepare Your Steaks
- Bring to Room Temperature: Remove your steaks from the refrigerator and their packaging at least 30 minutes (up to an hour for very thick cuts) before you plan to grill. Letting them sit on a cutting board to warm slightly helps them cook more evenly.
- Trim Fat (If Needed): Inspect your steaks. If you notice any excessively large, outer chunks of fat, trim them down to about ¼ inch. This prevents excessive flare-ups on the grill that can char the meat.
- Pat Dry: Using paper towels, thoroughly pat both sides of the steaks dry. A dry surface is crucial for achieving a deep, flavorful sear.
- Oil the Steaks: Lightly rub canola oil or another high-smoke-point oil (like grapeseed oil) over all surfaces of the steak. Remember, oil the steak, not the grill, to prevent smoking and sticking.
- Season Generously: Season the steaks generously with coarse salt and freshly cracked black pepper on all sides, including the edges. Don’t be shy – this is where much of your external flavor comes from.
2. Set Up Your Grill
- Clean Grates: Ensure your grill grates are clean. Use a stiff wire brush to remove any residue from previous cooks.
- Two-Zone Setup: Set up your grill for two-zone cooking. For charcoal, pile coals on one side for direct heat. For gas, turn burners to high on one side.
- Preheat: Close the lid and preheat the grill for at least 10-15 minutes until the hot side reaches 425°-450°F.
3. Grill the Steaks
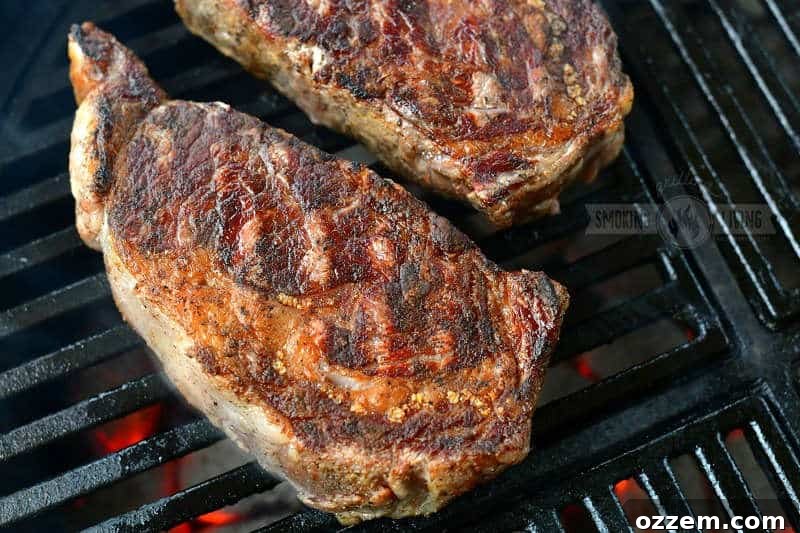
- Initial Sear (Direct Heat): Place the seasoned, oiled steaks directly over the hottest part of the grill. Sear for 2-4 minutes per side. You’re looking for a beautiful, dark brown crust. Resist the urge to move them too early.
- Finish Cooking (Indirect Heat): Once both sides have a good sear, move the steaks to the cooler, indirect heat side of the grill. Close the lid to allow the internal temperature to rise gently.
- Baste with Rosemary Butter: While the steaks finish cooking on the cool side, dip your prepared rosemary brush (made by tying 3-4 sprigs of fresh rosemary to a wooden utensil handle) into melted butter. Liberally brush the butter over both sides of the steaks. Repeat this once or twice during the finishing cook.
- Check Temperature: This is the most critical step. Using a digital instant-read meat thermometer, carefully insert the probe into the thickest part of the steak, avoiding any bones or large fat pockets. Monitor the temperature closely.
4. Rest and Serve
- Remove from Heat: Once your steaks reach 5-10 degrees *below* your target final doneness temperature (e.g., 125°F for a medium-rare target of 135°F), remove them from the grill.
- Rest: Transfer the steaks to a clean cutting board. Tent them loosely with foil and let them rest for 5-10 minutes. This allows the juices to redistribute, ensuring a tender and flavorful steak.
- Slice and Enjoy: After resting, slice your steaks against the grain (if applicable) and serve immediately.
Recipe Summary: Grilled Steaks
Yields: 2 servings
Prep Time: 35 minutes | Cook Time: 12 minutes | Total Time: 47 minutes
Ingredients:
- 2 ribeye steaks, 1 1/2 inches thick (or other recommended grilling cuts)
- Canola oil, for oiling the steaks
- Coarse salt, to taste
- Freshly cracked black pepper, to taste
For the Rosemary Butter Brush:
- 2 tbsp unsalted butter, melted
- 3-4 sprigs of fresh rosemary
- 1 kitchen utensil with a long wooden handle (e.g., spatula or wooden spoon)
- Kitchen twine
Instructions:
- Prepare Steaks: Take steaks out of the refrigerator and out of their wrapping 30 minutes before cooking. Let them sit on the cutting board to warm up. Trim off any large, outer chunks of fat to prevent flare-ups.
- Set up the Grill: Ensure the grill grates are clean. Set up two temperature zones: one hot (425°-450°F) for direct heat, and one cooler for indirect heat. Preheat the grill for about 10 minutes after spreading charcoal or setting gas burners.
- Season the Steaks: Use a paper towel to pat the meat dry. Rub the steaks with a small amount of canola oil on all sides. Season generously with coarse salt and freshly cracked black pepper on all sides. Prepare the rosemary butter brush by melting butter and tying rosemary sprigs onto the wooden end of your chosen utensil with kitchen twine.
- Grill the Steaks: Place steaks over direct heat and sear for 3-4 minutes on each side until a good crust forms. Move the steaks to the cool side of the grill. Close the lid and continue to cook, brushing liberally with the melted rosemary butter using your prepared brush, until the desired internal temperature is reached (refer to the temperature chart below).
- Check Temperature: Use a digital instant-read meat thermometer. Insert it through the side of the steak into the thickest part, aiming for the center, to get an accurate reading.
- Rest: Once the steaks reach their desired temperature (remembering carry-over cooking), take them off the heat and let them rest for 5-10 minutes on the cutting board before slicing and serving.
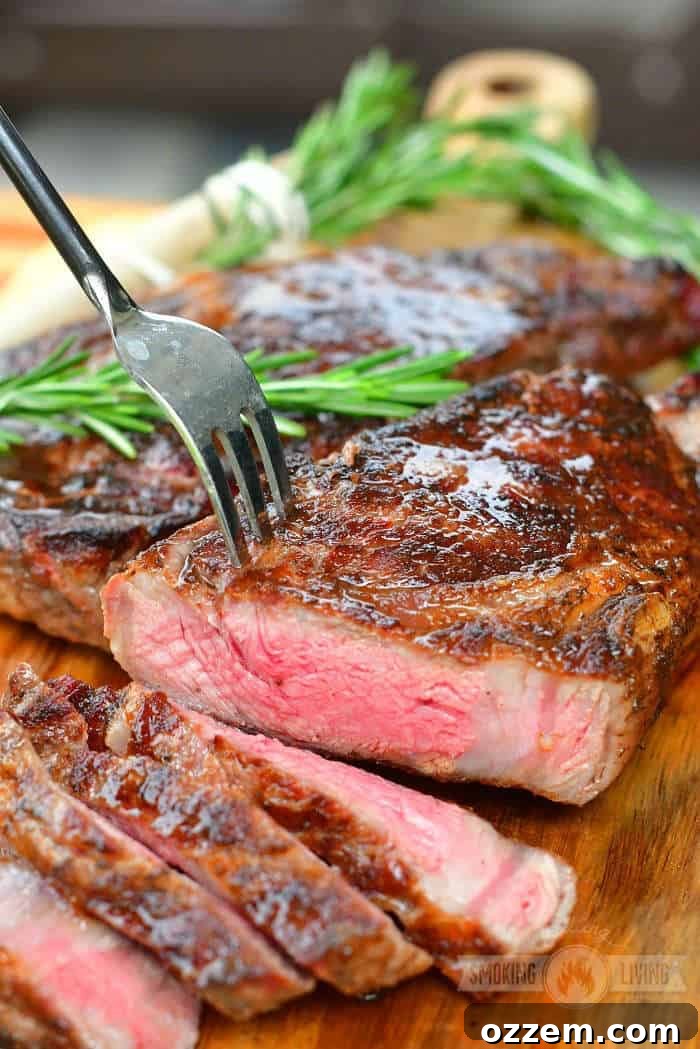
Steak Doneness Temperatures (Remove from Grill at First Number):
- Rare: 125°-130°F
- Medium-Rare: 135°-140°F
- Medium: 145°-150°F
- Well: 155°-160°F
If you’ve tried our grilled steak recipe or any of our other delicious dishes, we’d love to see your creations! Share them on Instagram and tag us @grillingsmokingliving with #grillingsmokingliving!
Stay connected for more mouthwatering recipes and grilling tips!
Facebook | Instagram | Pinterest | Twitter
PIN THIS RECIPE