
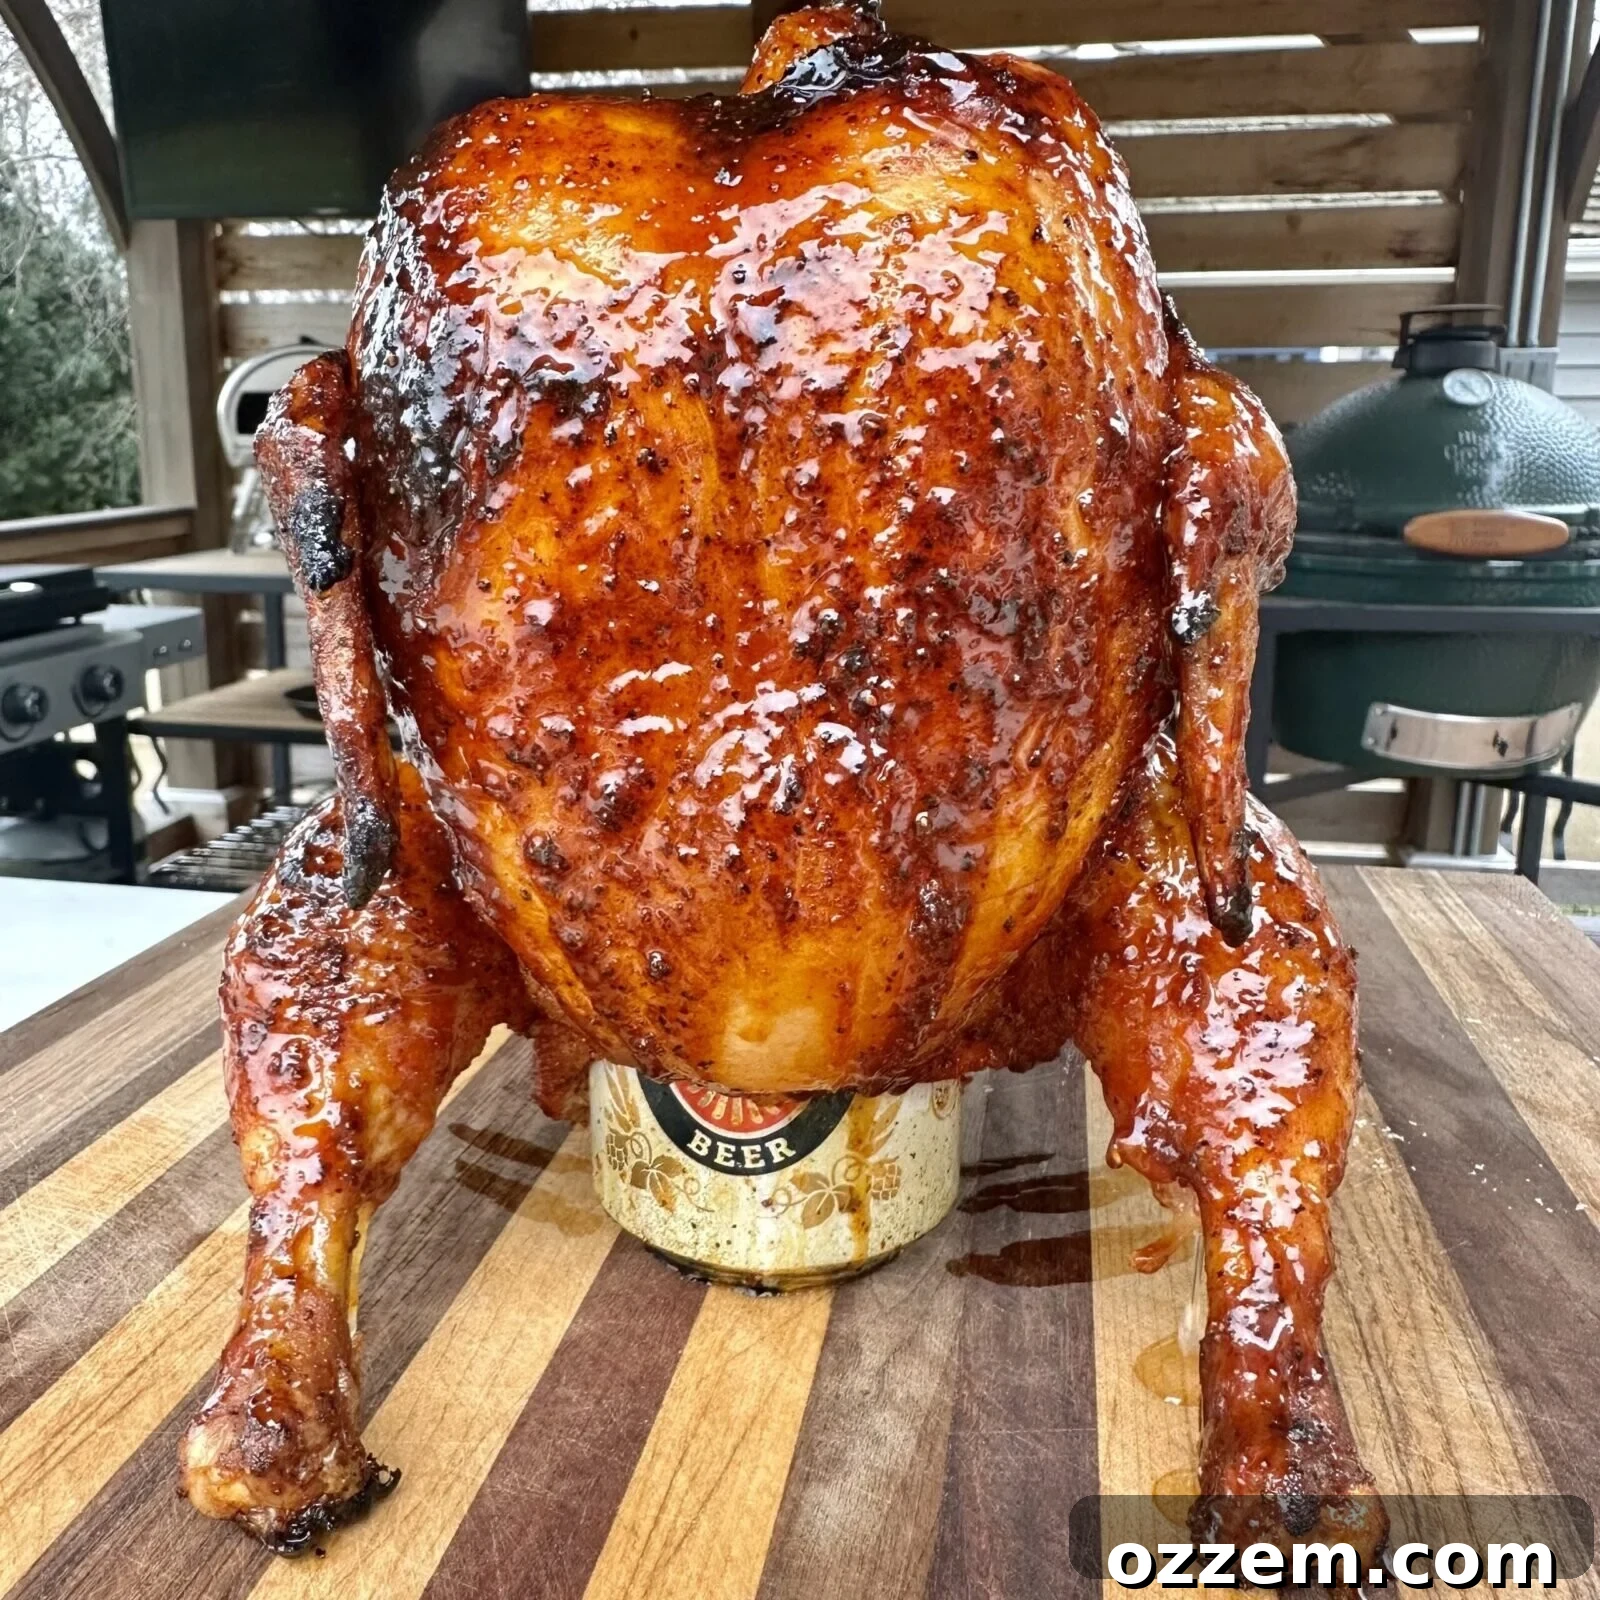
The Ultimate Guide to Perfectly Juicy Smoked Beer Can Chicken
Nobody enjoys dry, flavorless chicken, especially when it’s meant to be the star of your backyard barbecue. If you’ve ever struggled to achieve that perfect balance of crispy skin, tender meat, and deep smoky flavor, then this simple smoked beer can chicken recipe is about to become your new secret weapon. Designed to guarantee a deliciously juicy and tender bird every single time, this recipe elevates a classic grilling technique with a homemade BBQ sauce that will have your family and friends raving. From fundamental preparation steps to expert smoking tips and a mouth-watering sauce from scratch, we’re covering everything you need to create a whole chicken that’s an absolute crowd-pleaser. Get ready to transform your grilling game – let’s dive in!
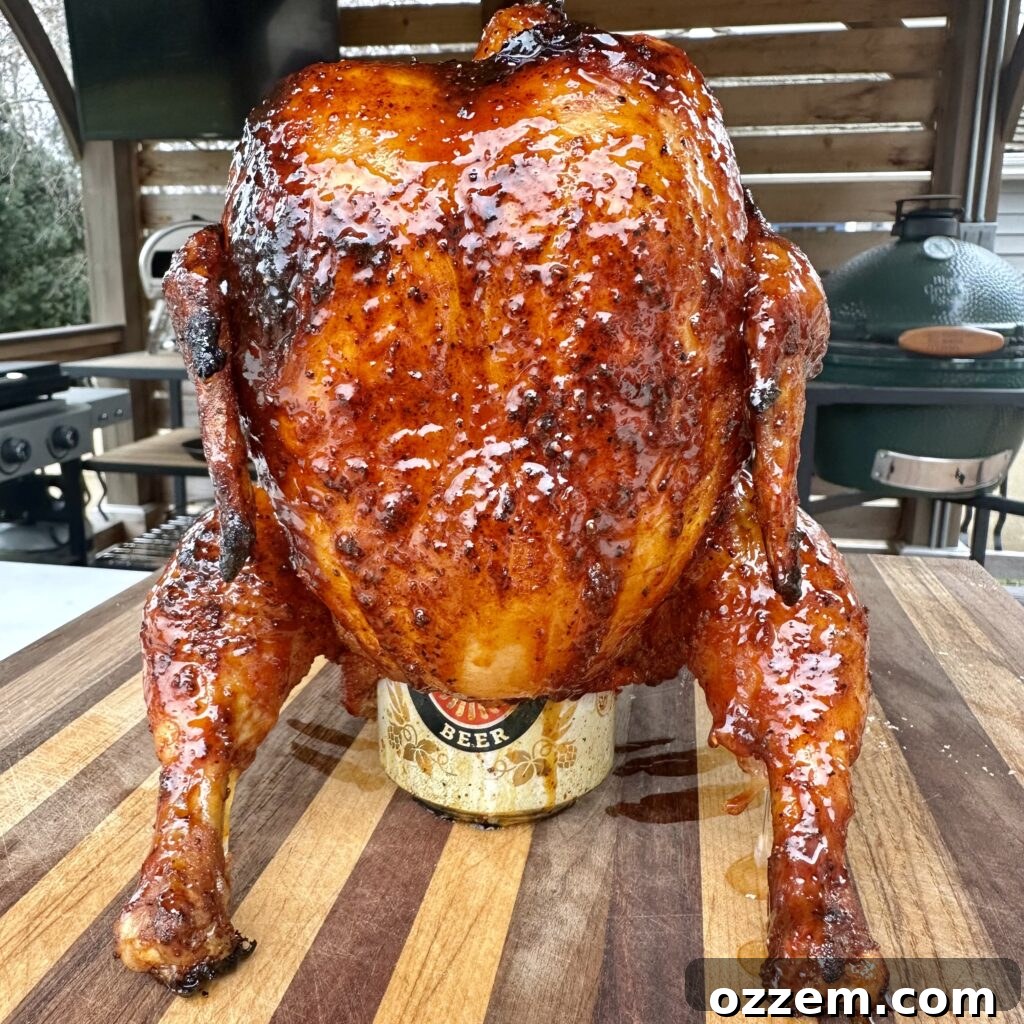
Table of Contents
- Mastering the Art of Smoked Beer Can Chicken
- Expert Grilling and Smoking Tips for Chicken
- Crafting Your Signature Homemade BBQ Sauce
- Frequently Asked Questions:
- Smoked Beer Can Chicken Recipe Card
Mastering the Art of Smoked Beer Can Chicken
Smoking an entire chicken can seem daunting, especially with the challenge of ensuring both dark meat and breast cook evenly without one becoming dry or less flavorful than the other. However, with the right technique and a keen eye on internal temperatures, you’re guaranteed a deliciously succulent chicken every time. The beer can method is a game-changer for moisture and flavor, making it a favorite among grill enthusiasts.
Step 1: Preparing Your Chicken for the Smoker
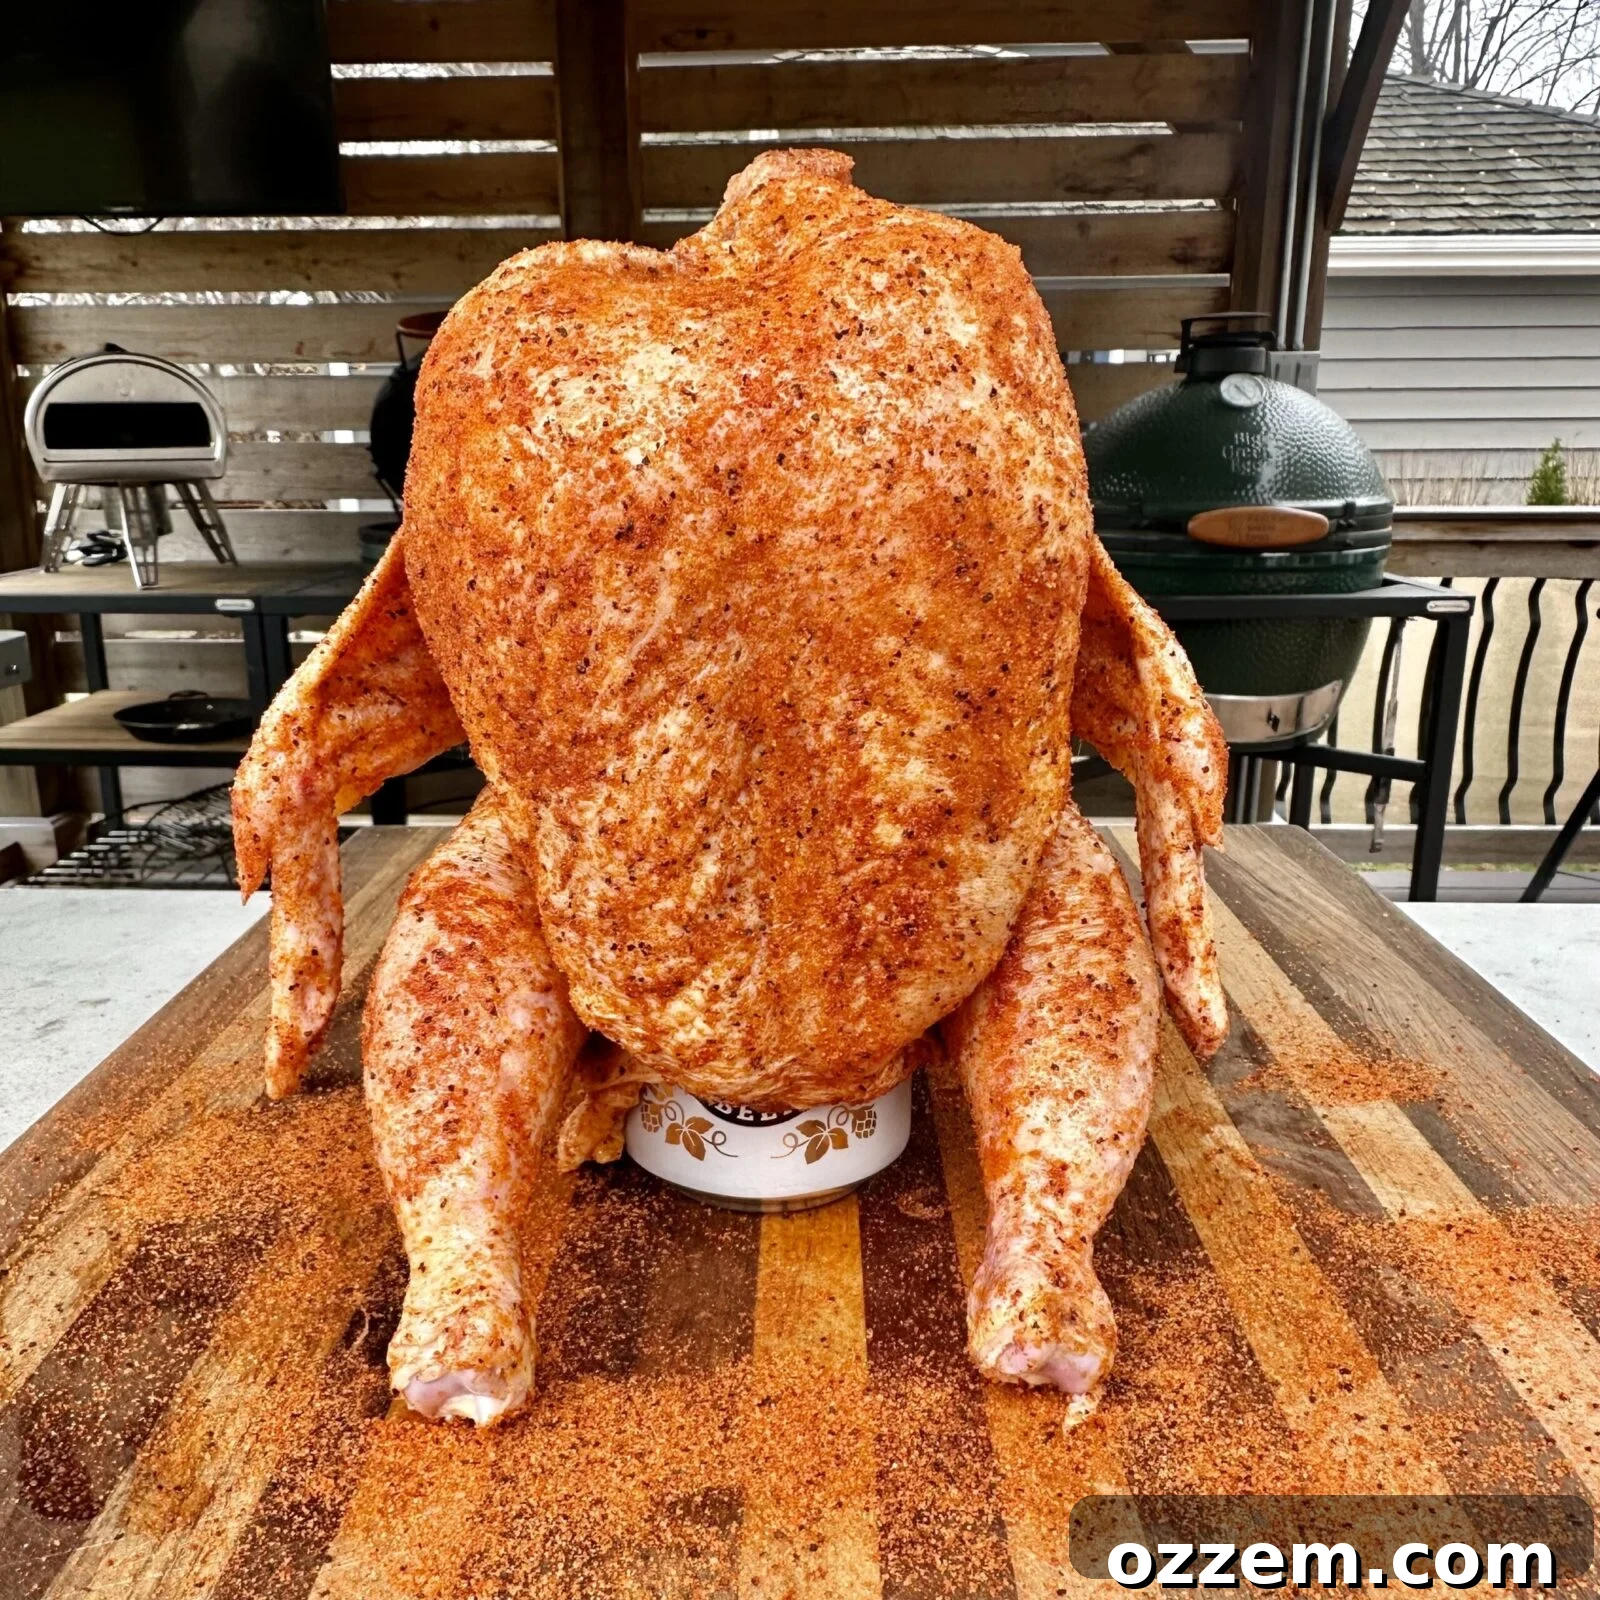
Begin your journey to smoked chicken perfection by preparing your bird. First, thoroughly pat the chicken dry with paper towels. This crucial step helps the skin crisp up beautifully during smoking. Next, drizzle a generous amount of olive oil over the entire outside of the chicken. The olive oil acts as an excellent binder, ensuring your chosen seasoning adheres well to the skin, creating a flavorful crust.
For seasoning, we highly recommend a high-quality all-purpose rub. Products like Dad’s All Purpose Rub are specifically crafted to complement poultry, offering a rich blend of salt, pepper, paprika, and garlic. Don’t be shy with the seasoning; generously coat the entire exterior of the chicken, ensuring every nook and cranny is covered. Crucially, remember to season inside the cavity as well! A well-seasoned cavity contributes significantly to the overall flavor profile of the meat. Some seasoning will invariably burn off during the smoking process, so a generous application ensures maximum flavor penetration. There’s nothing worse than dry chicken, except perhaps bland chicken!
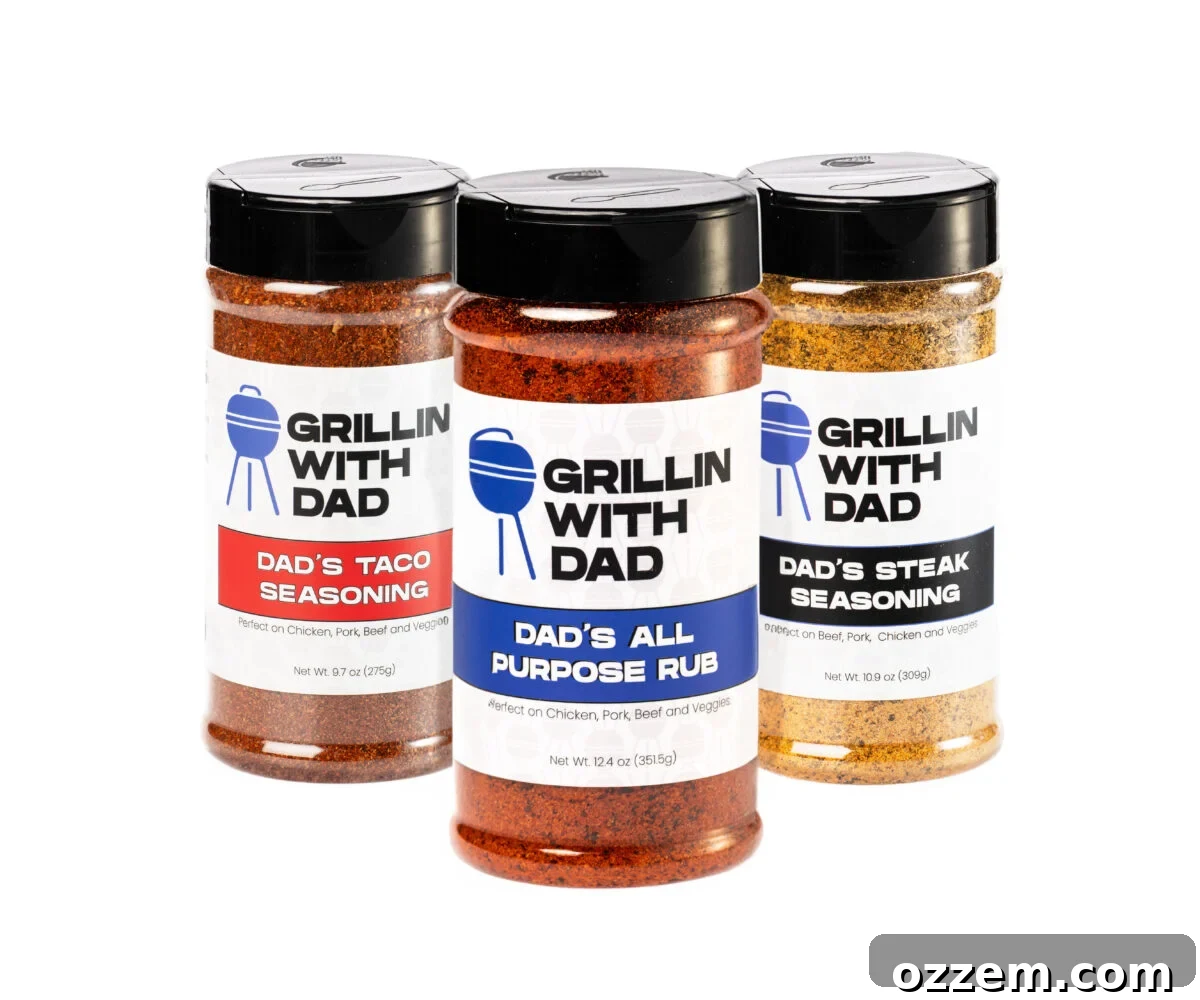
Enhance Your Flavor with Dad’s Seasonings
A true griller knows the importance of premium seasonings. Elevate your dishes with our must-have rubs!
Now for the “beer can” part! Select your preferred can of beer. While any standard 12-ounce can will work, a lighter lager like Miller Lite is a popular choice due to its mild flavor that complements the chicken without overpowering it. Open the can and, for extra flavor, you can pour out about a quarter of the beer and add a tablespoon of your chicken rub to the remaining liquid. Then, carefully slide the whole seasoned chicken over the beer can, positioning it upright. As the chicken smokes, the beer inside the can will heat up, creating steam that infuses additional moisture and subtle flavor into the meat, ensuring a remarkably tender result. Don’t worry about the alcohol content; it will evaporate during cooking, making the chicken perfectly safe for everyone to enjoy.
Preheat your smoker or grill to a steady 350°F (175°C), ensuring it’s set up for indirect heat. This setup is crucial for slow, even cooking that allows the smoke to penetrate the meat without burning the exterior. Once your grill reaches the target temperature, carefully place the upright chicken on the grates, balancing it using the beer can as a stand. Smoke the chicken for approximately 1 to 1.5 hours, or until the internal temperature of the thickest part of the breast reaches 160°F (71°C). We’ll discuss more about temperature later, but getting it right is the key to juicy chicken. While your chicken is smoking beautifully, it’s the perfect time to start on that homemade BBQ sauce!
Expert Grilling and Smoking Tips for Chicken
Ensuring Perfectly Cooked Chicken
- **The Golden Temperature Rule:** For truly tender and juicy chicken, aim to remove it from the heat when its internal temperature reaches **160°F (71°C)** in the thickest part of the thigh and breast (without touching bone). Remember, poultry will continue to cook for a few minutes after being removed from the heat, a phenomenon known as “carry-over cooking,” bringing it safely to 165°F (74°C) as it rests. Going over 165°F significantly increases the risk of dry meat.
- **Invest in a Reliable Thermometer:** A good quality instant-read meat thermometer is your best friend when smoking or grilling. It takes the guesswork out of cooking and ensures perfect results every time.
- **Strategic Sauce Application:** If you plan on brushing your chicken with a sweet BBQ sauce, apply it only during the final stages of cooking, typically when the chicken is about 140°F (60°C). This prevents the sugars in the sauce from burning and turning bitter, giving you a beautiful caramelized glaze instead.
- **Choosing Your Wood:** The type of wood you use for smoking greatly impacts the flavor. For chicken, lighter, fruitier woods like **apple, cherry, or pecan** are excellent choices, imparting a delicate, sweet smoke flavor. Oak or hickory can also be used but in moderation, as they offer a stronger flavor.
- **Trussing for Evenness:** While not strictly necessary for beer can chicken, trussing the bird (tying its legs together and tucking the wings) can help it cook more evenly and maintain a compact shape.
- **Don’t Peek!** Resist the urge to constantly open your smoker or grill. Every time you lift the lid, heat escapes, extending the cooking time and potentially drying out your chicken. Trust your thermometer!
- **The Importance of Resting:** Once cooked, always allow your smoked beer can chicken to rest for at least 10-15 minutes before carving. This crucial step allows the juices to redistribute throughout the meat, resulting in a significantly more tender and flavorful chicken.
Crafting Your Signature Homemade BBQ Sauce
Step 2: Elevate Your Meal with Homemade BBQ Sauce
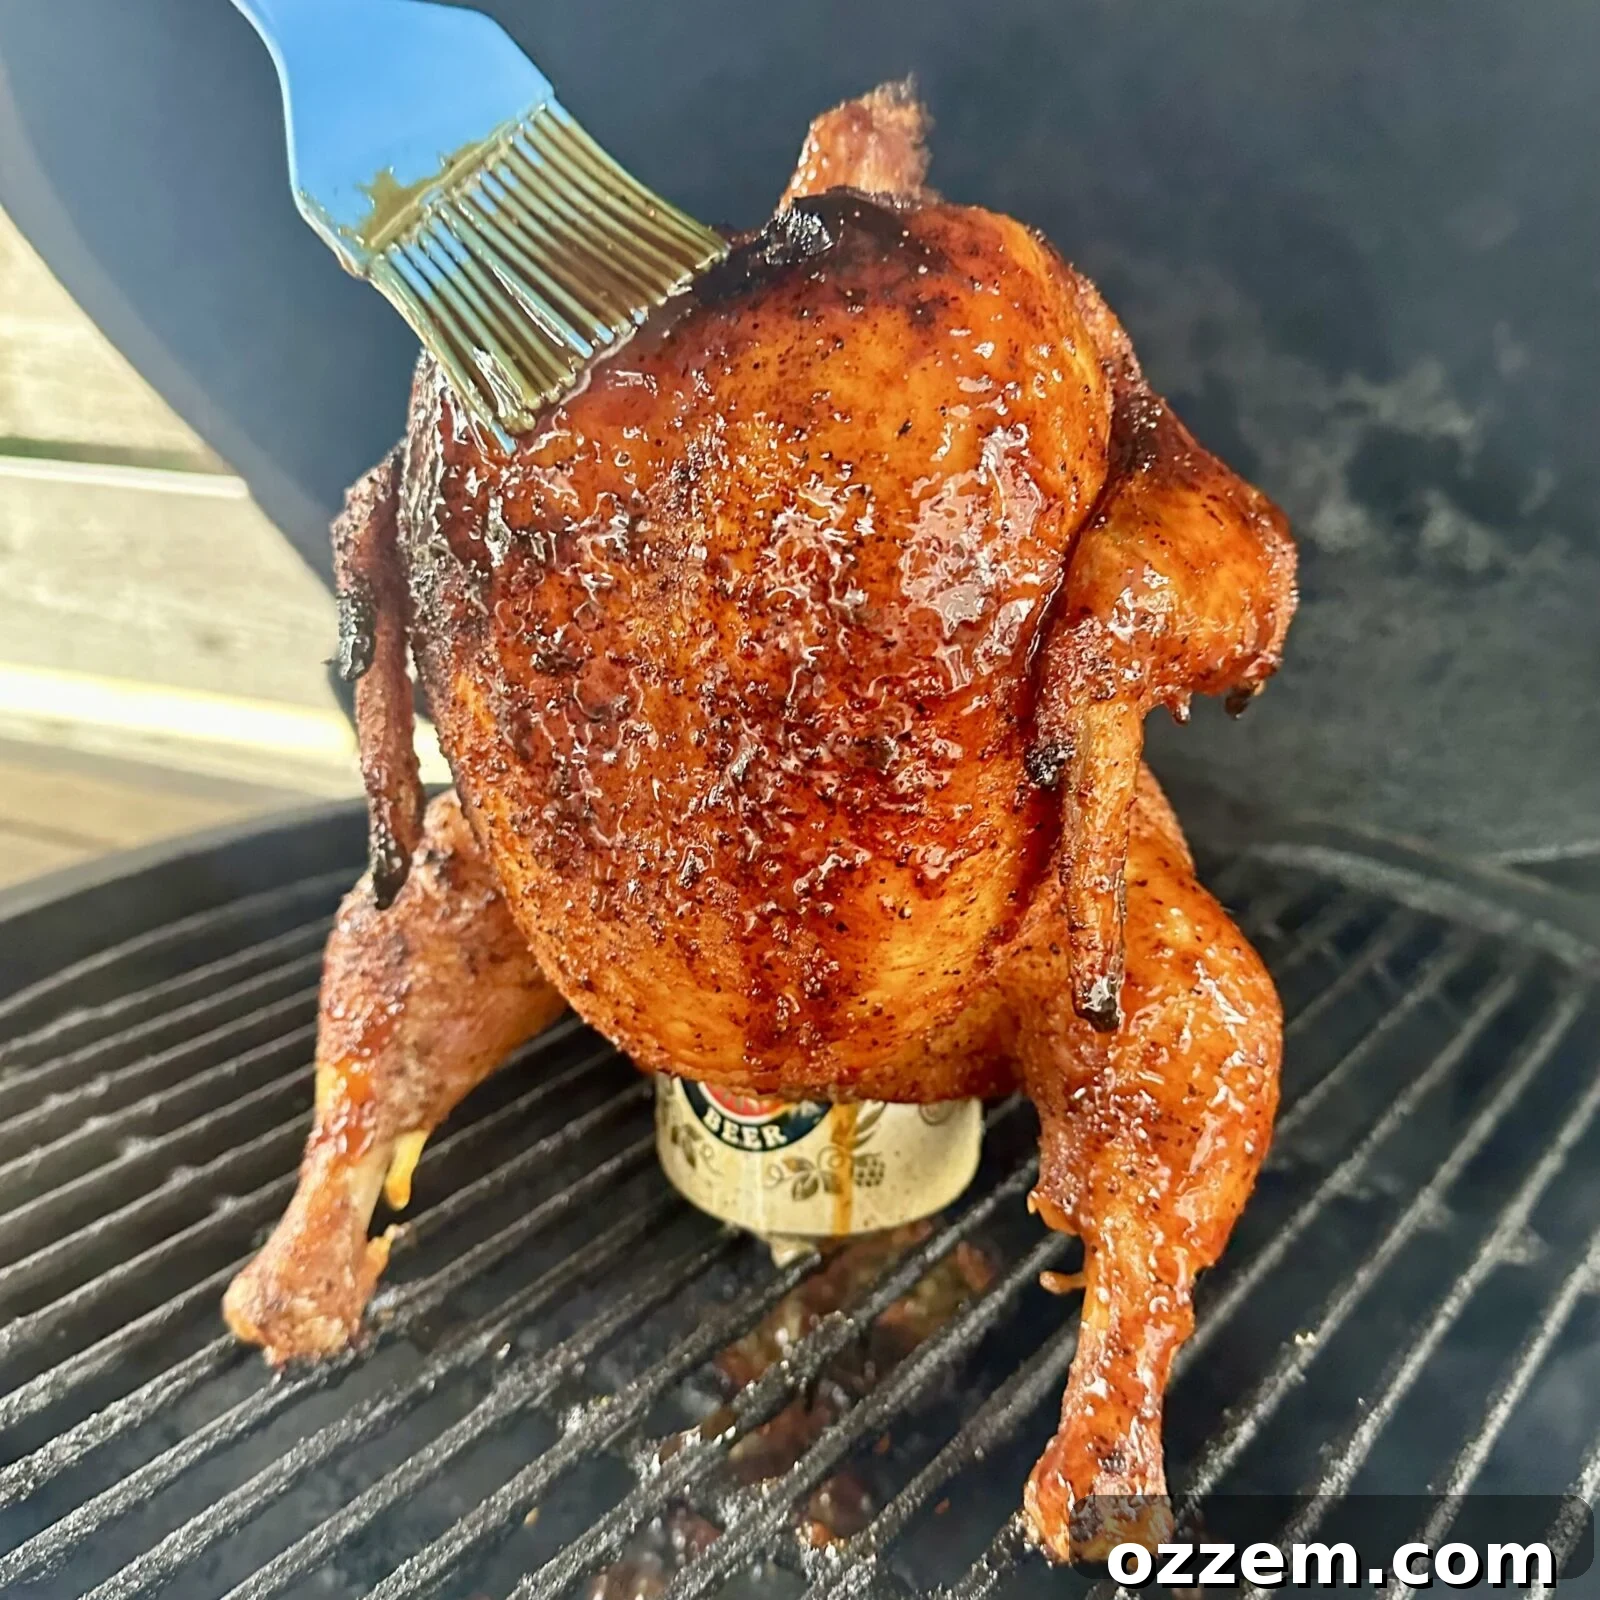
Once you’ve experienced the rich, customizable flavors of homemade BBQ sauce, you’ll find it incredibly difficult to go back to store-bought options. The beauty of making your own lies in the ability to fine-tune the spice, sweetness, and tang levels to perfectly suit your palate. It’s a simple process that yields incredible results.
In a medium saucepan, combine the following ingredients:
- 1 cup Ketchup (the backbone of your sauce)
- 1 cup Brown sugar (for deep, caramelized sweetness)
- 1/4 cup Apple cider vinegar (essential for that tangy kick)
- 1/4 cup Honey (adds a different layer of sweetness and gloss)
- 1/4 cup Molasses (for richness and a deeper color)
- 2 tbsp Yellow mustard (contributes a sharp, piquant note)
- 1 tbsp Dad’s All Purpose Rub (to infuse savory depth and spice)
- 1 tbsp Worcestershire sauce (for umami and complexity)
- 1 tbsp Hot sauce (like Truff, or your favorite, to introduce a pleasant heat – adjust to your preference)
Whisk all ingredients together thoroughly. Place the saucepan over low heat and bring the mixture to a gentle simmer. Continue to simmer, stirring occasionally, for about 10-15 minutes, or until the sauce begins to thicken to your desired consistency. Be careful not to let it boil vigorously, as this can scorch the sugars. The low and slow approach allows the flavors to meld beautifully.
Once your smoked beer can chicken has reached an internal temperature of 140°F (60°C), it’s time for the grand finale. Liberally glaze the entire bird with your freshly made homemade BBQ sauce. Continue to cook the chicken on the smoker, allowing the sauce to caramelize and set, for another 15-20 minutes, or until the internal temperature reaches 160°F (71°C). This final glazing step locks in moisture and adds that irresistible sweet and smoky crust. After reaching the target temperature, remove the chicken from the grill and let it rest for a minimum of 10 minutes before carving. This resting period is absolutely critical for the juices to redistribute, ensuring every bite is succulent and flavorful. Slice and enjoy your masterpiece!
Frequently Asked Questions:
The absolute most important factor for juicy chicken is precise temperature control. By removing the chicken from the heat when its internal temperature reaches 160°F (71°C) and allowing it to rest for 10-15 minutes, you achieve two critical things: 1) the juices are trapped and redistribute throughout the meat, and 2) the carry-over cooking effect will naturally bring the temperature up to the safe-to-eat 165°F (74°C). Overcooking is the primary culprit for dry chicken, so always use a reliable meat thermometer.
While you can use almost any standard 12-ounce can of beer, lighter lagers or pilsners (like Miller Lite, Budweiser, or even a basic craft lager) are generally recommended. Their mild flavors complement the chicken without overpowering the smoke and seasoning. You can also experiment with darker beers for a richer flavor, but be mindful that their strong notes might be more pronounced. Some people even use soda or chicken broth for a non-alcoholic alternative, which still provides the steaming benefits.
Absolutely! The ‘beer can’ aspect primarily provides a stand to cook the chicken upright and releases steam for moisture. You can achieve similar results by using a can of soda (lemon-lime, root beer, or cola), chicken broth, apple juice, or even just water with some herbs and spices. Ensure the liquid is filled in a standard 12-ounce can or a dedicated poultry roaster stand for stability.
For your convenience, here’s a printer-friendly version of this delicious recipe:
Smoked Beer Can Chicken
Maciek Zurawski
10 minutes
1 hour
6 People
Ingredients
Homemade BBQ Sauce Ingredients
Instructions
-
**Prepare the Chicken:** Pat the whole chicken dry. Drizzle olive oil over the entire outside of the chicken, ensuring it’s evenly coated.
-
**Season Generously:** Season the entire chicken generously with Dad’s All Purpose rub, making sure to apply it inside the cavity as well.
-
**Set Up Beer Can:** Open the beer can. You can pour out about a quarter of the beer and add a pinch of rub to the can for extra flavor. Carefully place the seasoned chicken over the beer can, ensuring it sits upright and is stable.
-
**Preheat Smoker:** Preheat your grill or smoker to 350°F (175°C) and set it for indirect heat. If using wood chips, add them now.
-
**Smoke the Chicken:** Place the chicken upright on the grill grates. Smoke for about 1 to 1.5 hours, or until the internal temperature reaches 140°F (60°C).
-
**Make Homemade BBQ Sauce:** While the chicken smokes, combine ketchup, yellow mustard, brown sugar, honey, molasses, Dad’s All Purpose rub, Worcestershire sauce, apple cider vinegar, and hot sauce in a saucepan. Simmer over low heat, stirring occasionally, until the sauce thickens to your desired consistency (about 10-15 minutes).
-
**Glaze and Finish Cooking:** Once the chicken reaches 140°F (60°C), generously glaze the entire bird with the homemade BBQ sauce. Continue cooking until the internal temperature reaches 160°F (71°C) in the thickest parts of the breast and thigh.
-
**Rest and Serve:** Remove the chicken from the grill. Let it rest for 10-15 minutes before carving and serving. This allows the juices to redistribute, ensuring a tender and moist result. Enjoy!
Nutrition Information (per serving)
Calories: 564 kcal
|
Carbohydrates: 70 g
|
Protein: 24 g
|
Fat: 22 g
|
Saturated Fat: 6 g
|
Polyunsaturated Fat: 4 g
|
Monounsaturated Fat: 10 g
|
Trans Fat: 0.1 g
|
Cholesterol: 95 mg
|
Sodium: 637 mg
|
Potassium: 651 mg
|
Fiber: 0.4 g
|
Sugar: 67 g
|
Vitamin A: 389 IU
|
Vitamin C: 4 mg
|
Calcium: 87 mg
|
Iron: 3 mg
Loved this recipe? Share your thoughts below!
Don’t stop the grilling adventure here! Check out our Recipes Page for other fantastic ideas and expand your repertoire of delicious grilled and smoked dishes!