

They say breakfast is the most important meal of the day, a vital start to fuel your body and mind. Yet, with the relentless pace of busy weekday schedules, finding quality time to sit down and truly savor this meal as a family often feels like an impossible feat. That’s precisely why I advocate for transforming breakfast into a cherished weekend tradition. And what could be more perfect for such an occasion than gathering around the table to enjoy some homemade Breakfast Crunchwraps together? These culinary masterpieces deliver on every key breakfast ingredient you could dream of: fluffy scrambled eggs, savory sausage, and crispy bacon, all meticulously encased in a generously sized, golden-brown tortilla. Add a vibrant, spicy dipping sauce to elevate the rich, savory flavors, and you’ve got not just a meal, but a winning breakfast experience that will have everyone asking for more!
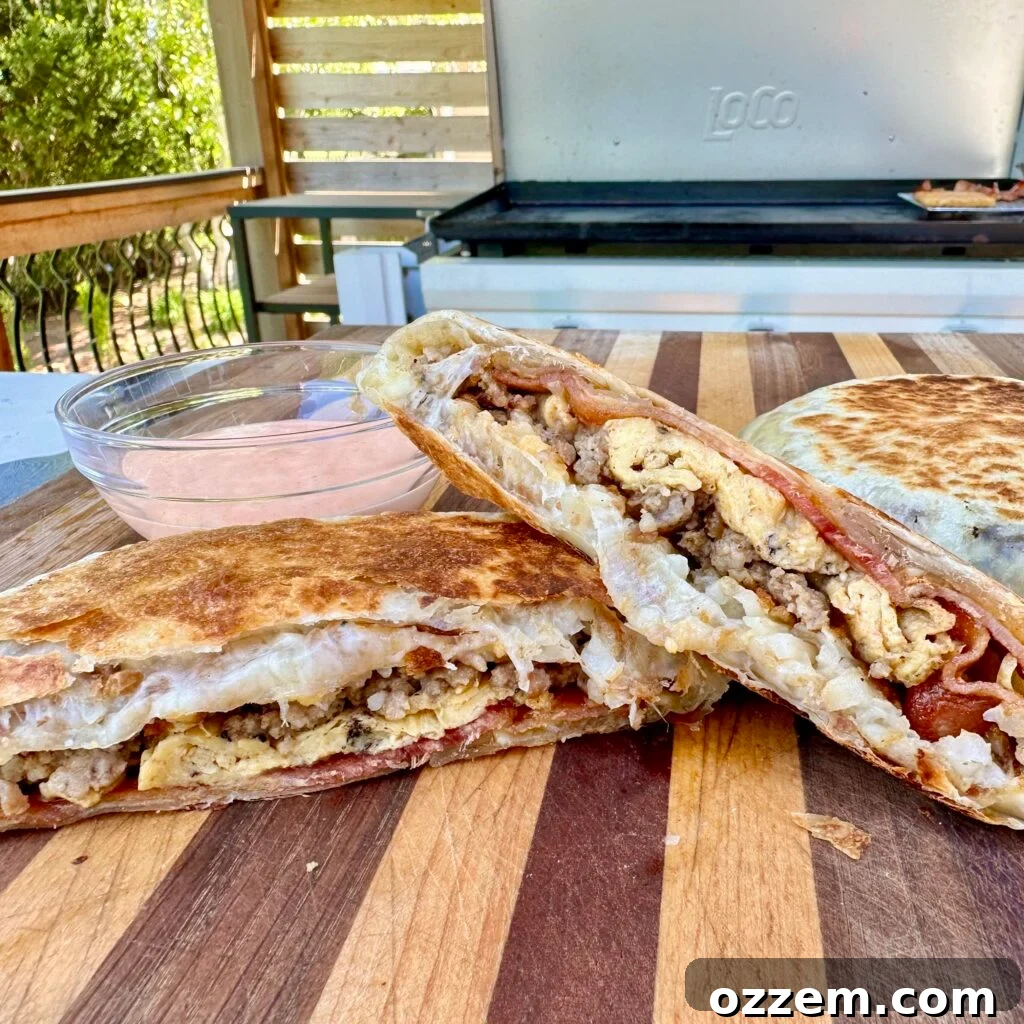
Table of Contents
- Mastering the Components: Prep and Cook
- Assembling Your Ultimate Breakfast Crunchwrap
- Frequently Asked Questions:
- Similar Breakfast & Dessert Ideas:
- Breakfast Crunchwrap Recipe
Mastering the Components: Prep and Cook for Your Perfect Crunchwrap
Creating the ultimate breakfast crunchwrap is all about mastering each individual component before bringing them together. While I personally love the expansive surface and consistent heat of a griddle for cooking multiple elements simultaneously, don’t worry if you don’t have one at home. Every step of this recipe can be perfectly replicated using a large pan or skillet on your stove top. The key is to cook each ingredient to perfection, ensuring distinct textures and flavors that will shine through in every bite of your finished crunchwrap.
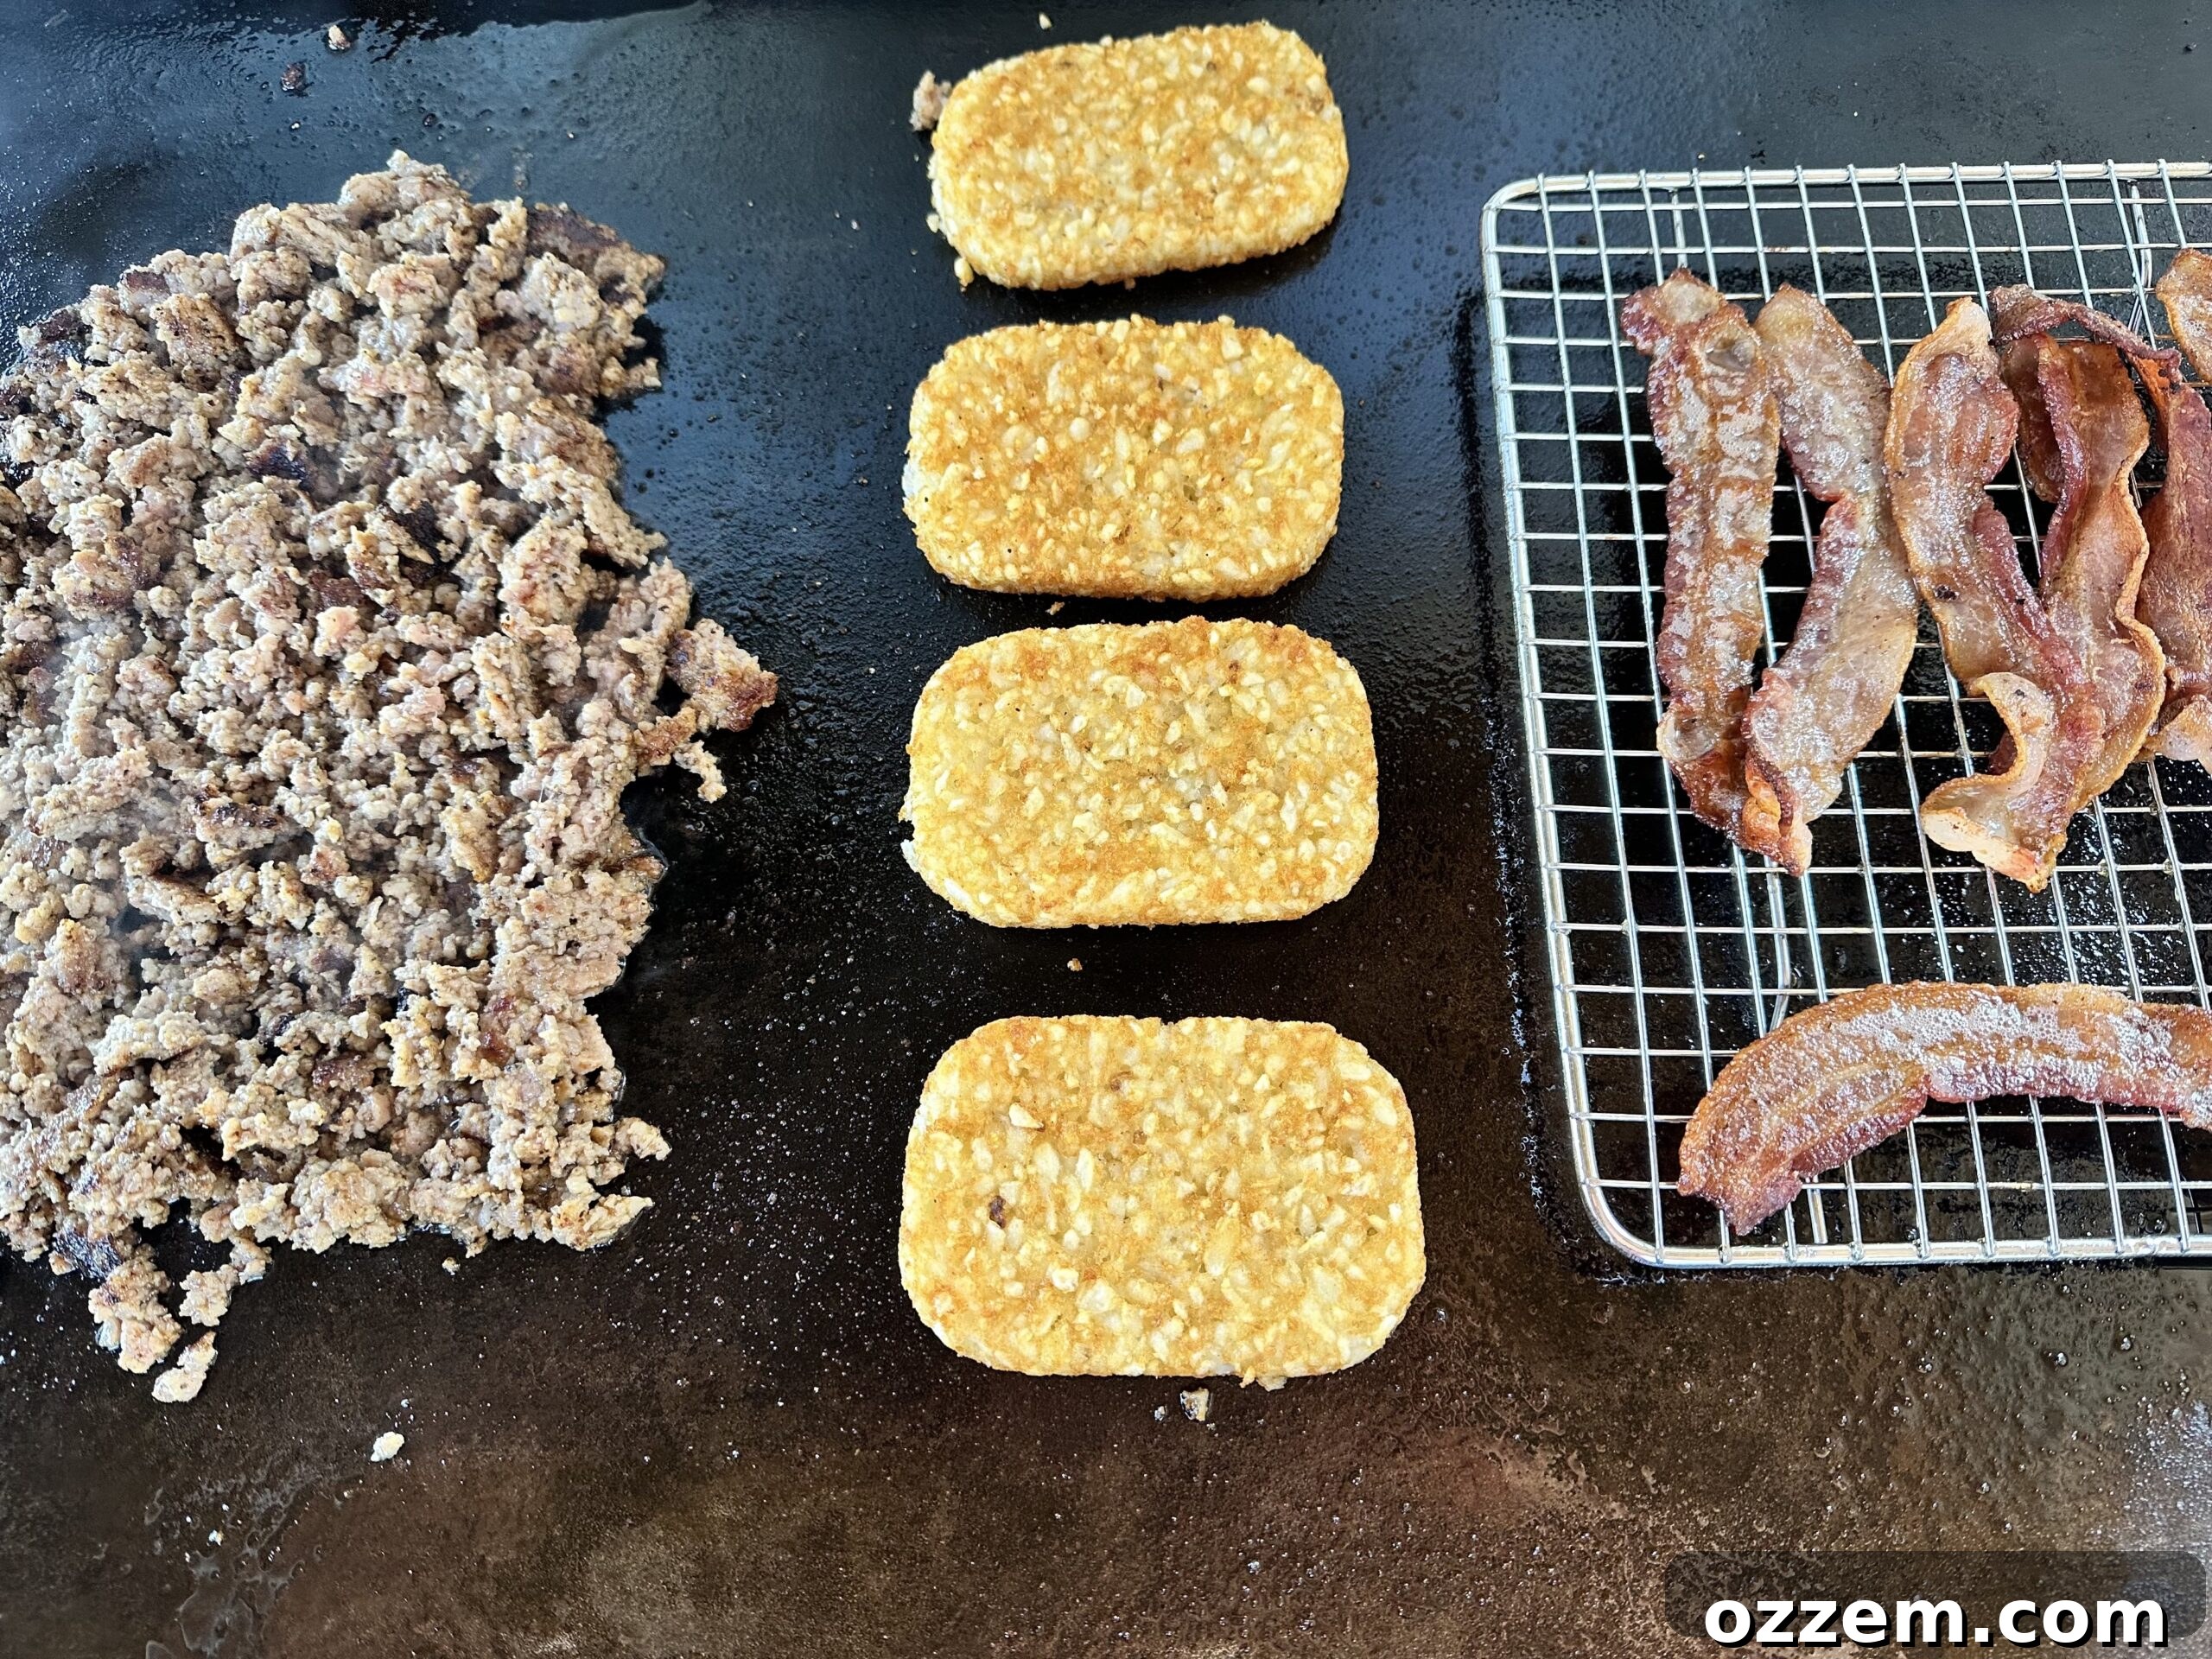
To begin, preheat your griddle to a consistent 375 degrees Fahrenheit across all burners. If you’re using a stove top, set your pan to medium-high heat. The first step is to achieve perfectly crispy bacon. Lay your bacon strips evenly on the griddle or in the pan, allowing them to render their fat and crisp up beautifully. Flip them occasionally until they reach your desired level of crispness, then remove and set aside on a paper towel-lined plate to drain any excess grease.
Next, add the frozen hash brown patties to the griddle. For a truly golden and crispy texture, ensure they have enough space and flip them every 1-2 minutes. This consistent turning prevents burning and promotes even cooking, resulting in that delightful crunch factor essential for any great crunchwrap. Continue cooking until they are deeply golden brown and perfectly crispy on both sides.
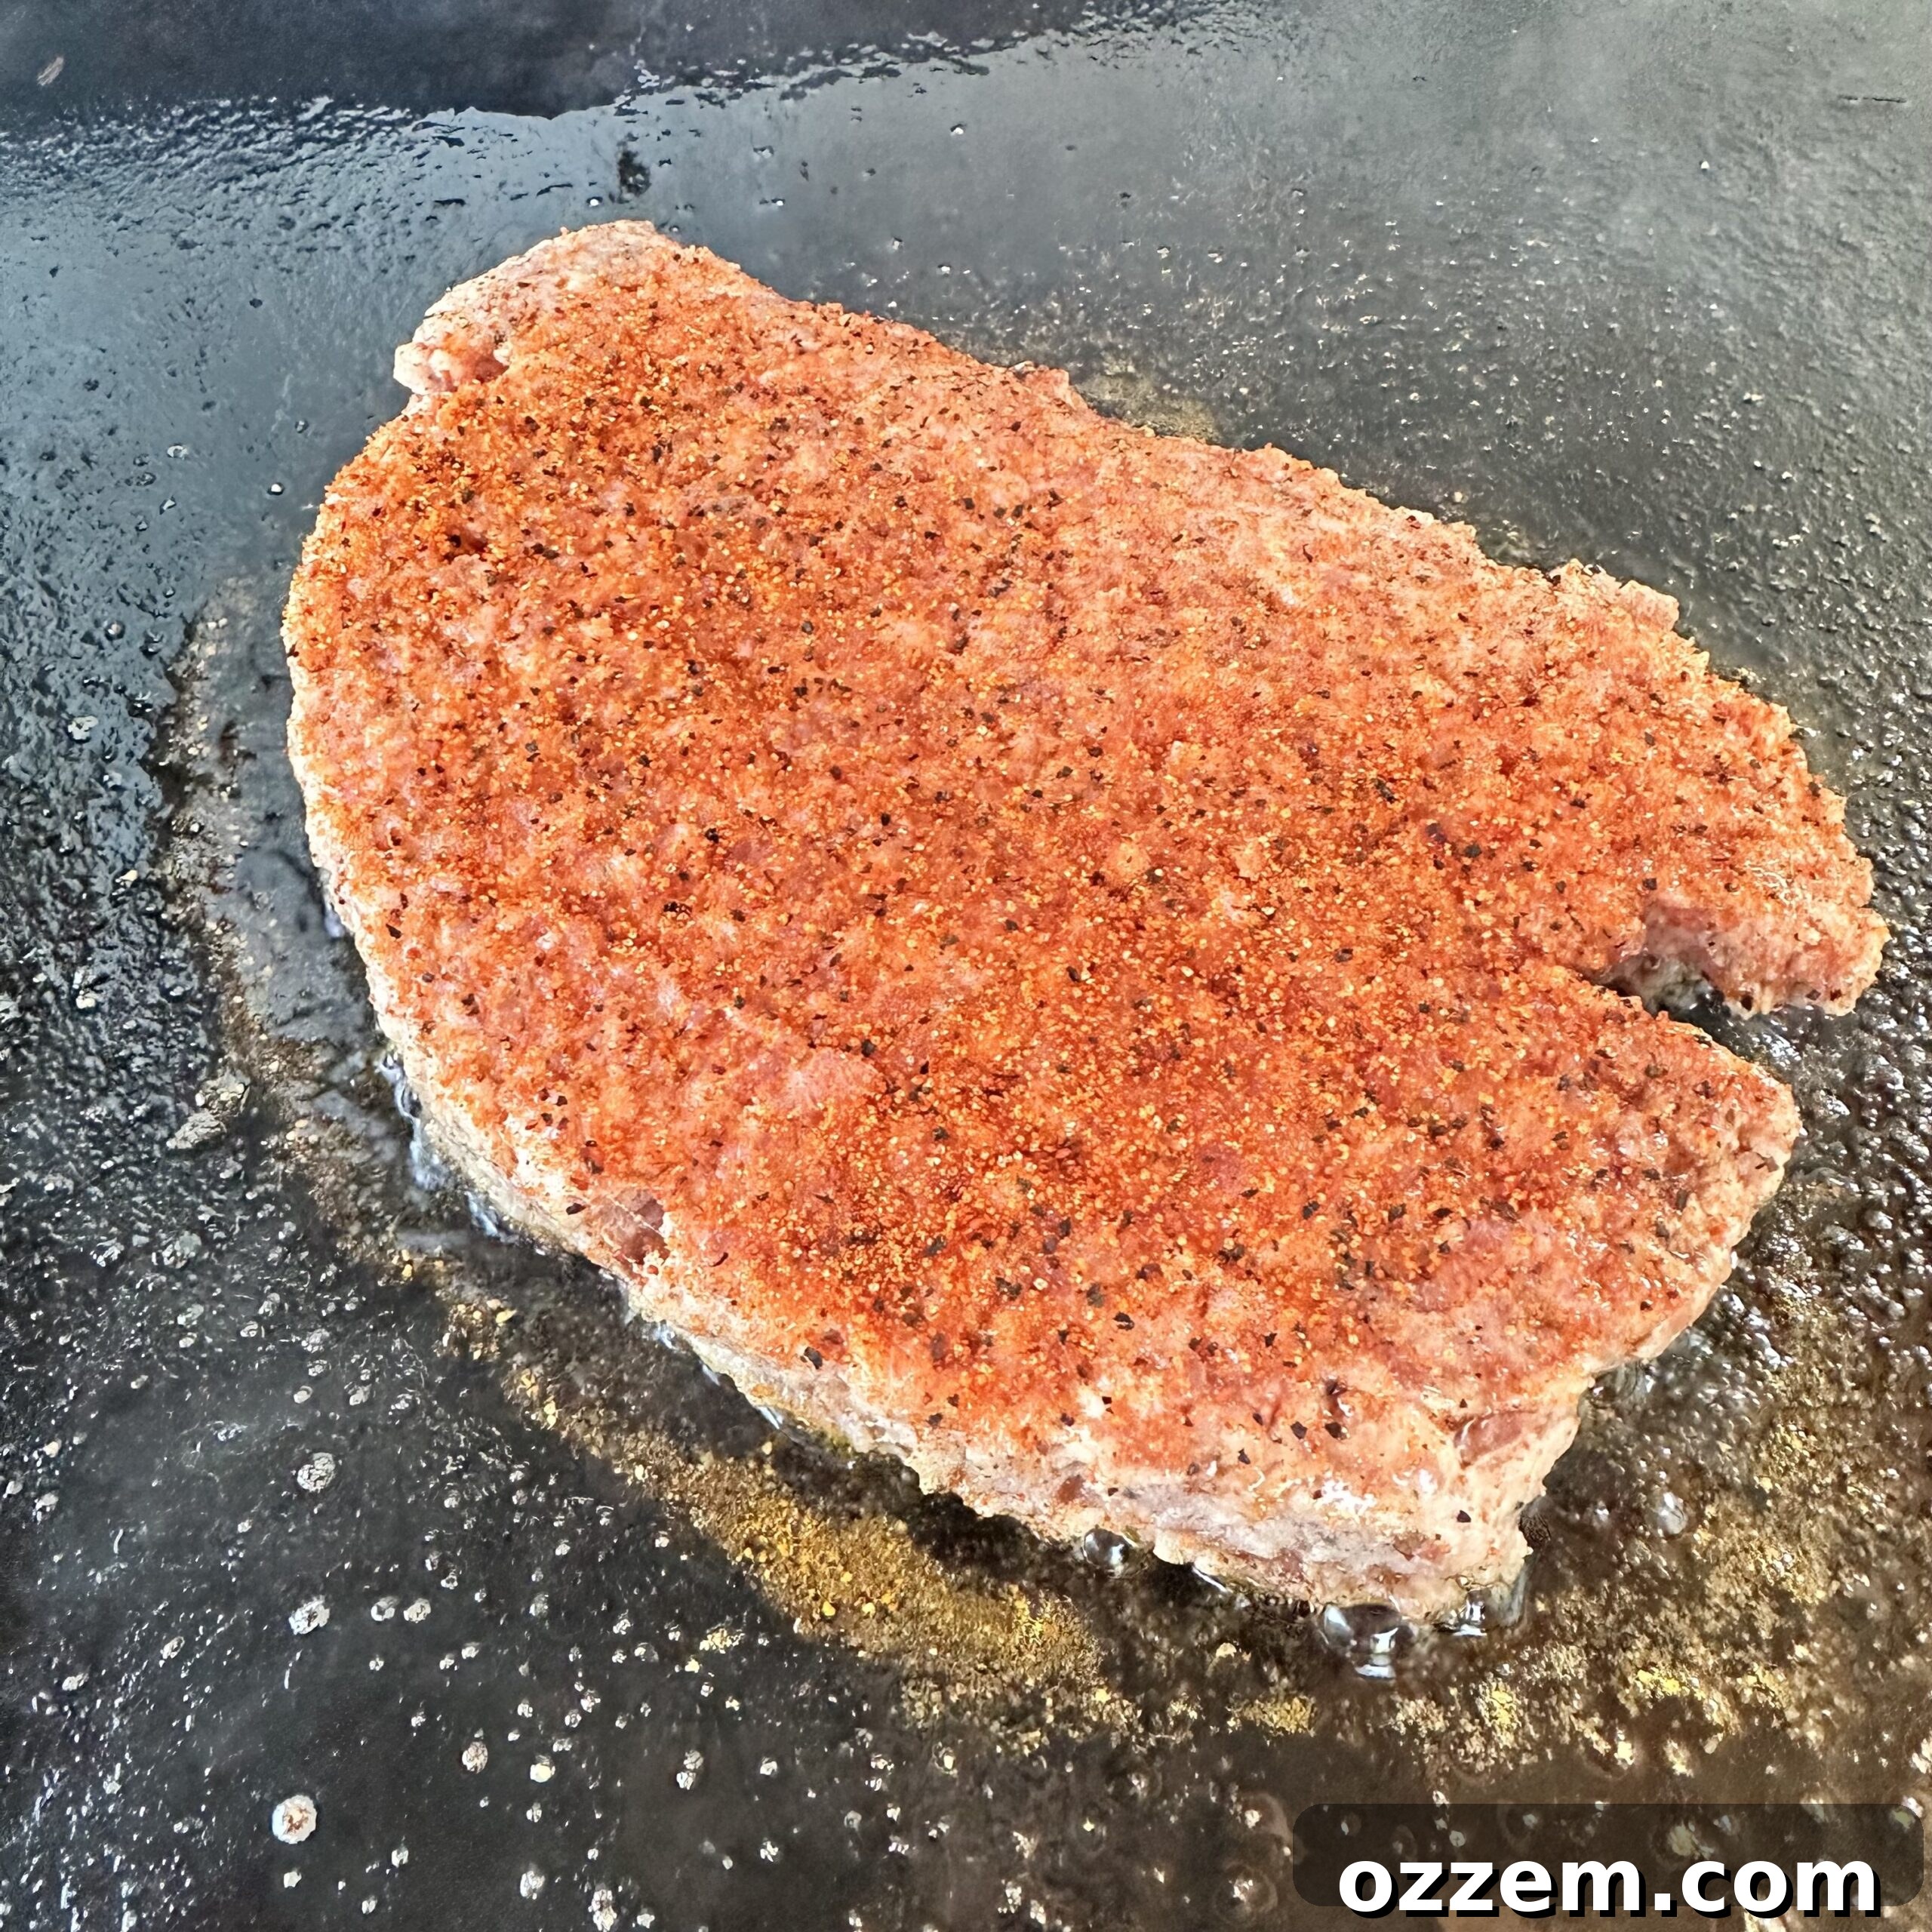
Once your bacon and hash browns are nearly done, move to a new clean section of the griddle or use a separate pan for the breakfast sausage. I prefer to start with the sausage patty whole, pressing it down lightly to achieve a fantastic sear on one side. This caramelization adds a depth of flavor that can’t be beaten. Season generously with Dad’s All-Purpose Rub – it really brings out the best in the pork. After 2-3 minutes, flip the patty and repeat the seasoning on the other side. As it continues to cook, break the sausage apart with your spatula, crumbling it into bite-sized pieces. This ensures an even distribution of savory flavor throughout your crunchwrap. The sausage typically takes about 10 minutes to cook through completely, turning golden brown and fragrant.
Finally, it’s time for the scrambled eggs. Use a fresh section of your griddle or a clean pan. Whisk six large eggs in a bowl with a splash of milk or water for extra fluffiness, then pour them onto the heated surface. Gently push the cooked egg from the edges towards the center, allowing the uncooked egg to flow underneath. For an extra boost of savory flavor, don’t hesitate to add a bit more Dad’s All-Purpose Rub to your eggs as they cook. Cook until they are just set but still moist and fluffy, avoiding overcooking to prevent a rubbery texture. Once cooked, transfer all your components to a plate, ready for assembly.
To introduce a layer of creamy, spicy goodness that perfectly complements the rich savory ingredients, I whip up a simple yet incredibly flavorful spicy mayo. This versatile sauce serves as both a delectable binder within the crunchwrap and an excellent dipping companion. It’s truly effortless to make: simply combine equal parts high-quality mayonnaise and sriracha sauce. Mix them thoroughly until smooth, then taste and adjust the ratio to suit your personal preference for heat and creaminess. Want it hotter? Add more sriracha. Prefer it milder? Incorporate a little more mayo. You can also experiment with a squeeze of lime juice for brightness or a pinch of garlic powder for added depth.
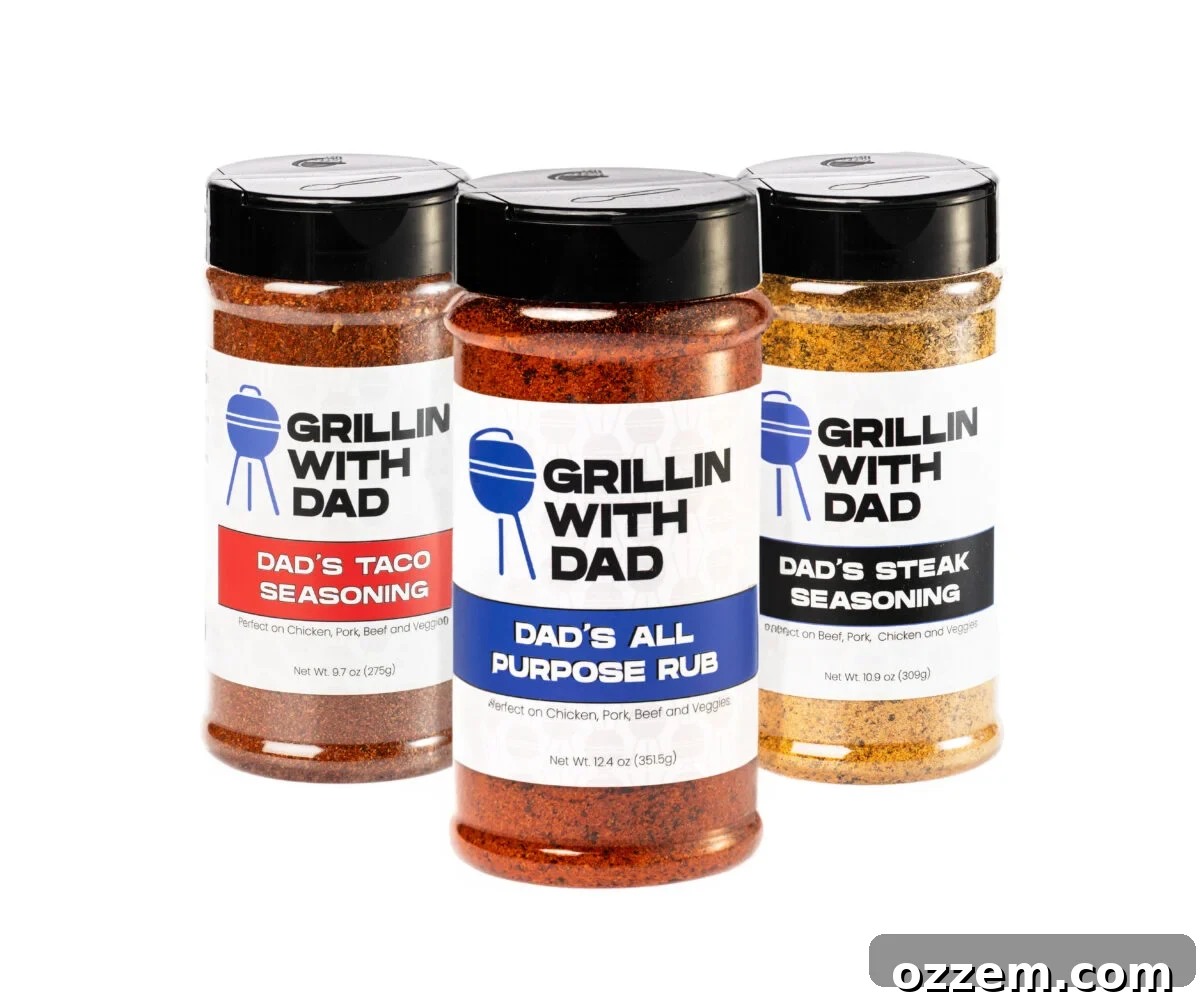
Dad’s Seasonings
Must-have grillin’ and all-purpose seasonings for exceptional flavor in every meal!
Assembling Your Ultimate Breakfast Crunchwrap: The Art of the Wrap
With all your delicious components prepped and cooked to perfection, the moment of truth arrives: assembly. This is where your breakfast masterpiece takes shape, transforming individual ingredients into a cohesive, portable, and incredibly satisfying meal. The key to a successful crunchwrap lies in strategic layering and a secure fold, ensuring every bite is packed with flavor and texture.
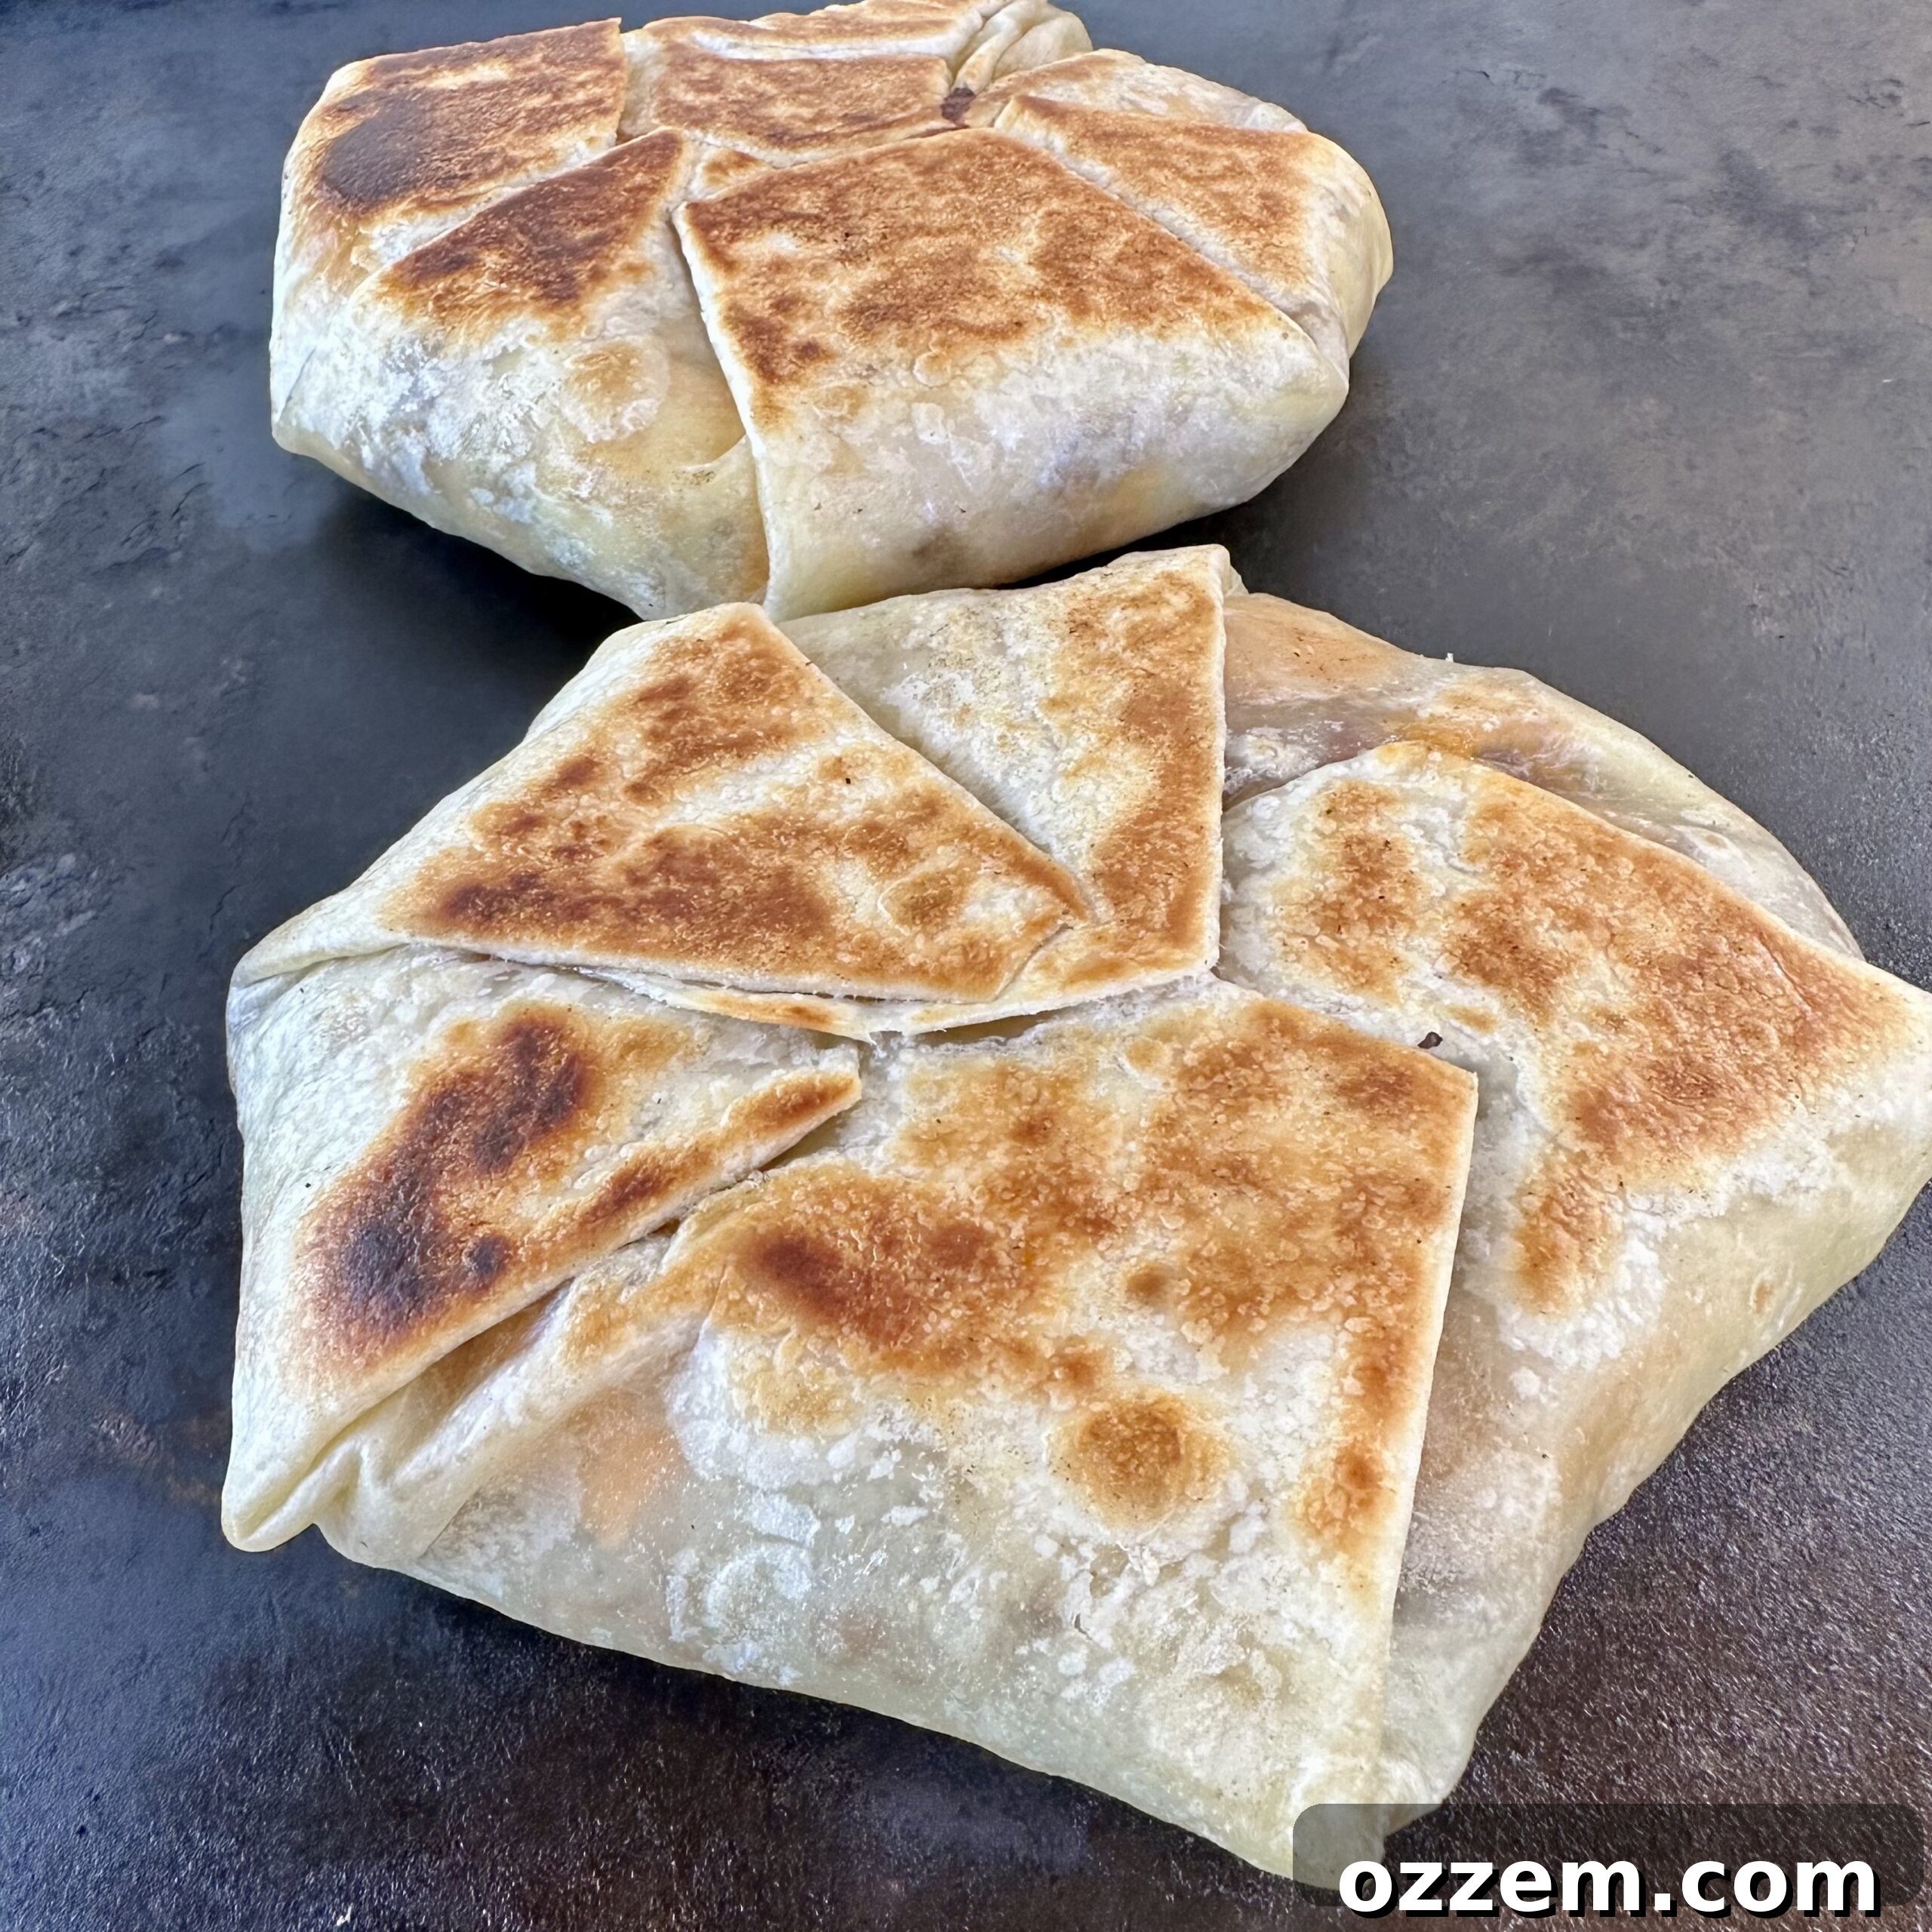
First, gently warm a large burrito-sized tortilla. A warm tortilla is more pliable and less likely to tear during the folding process, making your job much easier. Place the warmed tortilla flat on your work surface. Begin the assembly with a generous layer of shredded cheese (mozzarella works wonderfully for its meltiness and mild flavor) spread in the center of the tortilla, leaving a border around the edges. This cheese acts as a delicious barrier, preventing other ingredients from making the tortilla soggy and adding a gooey core to your crunchwrap.
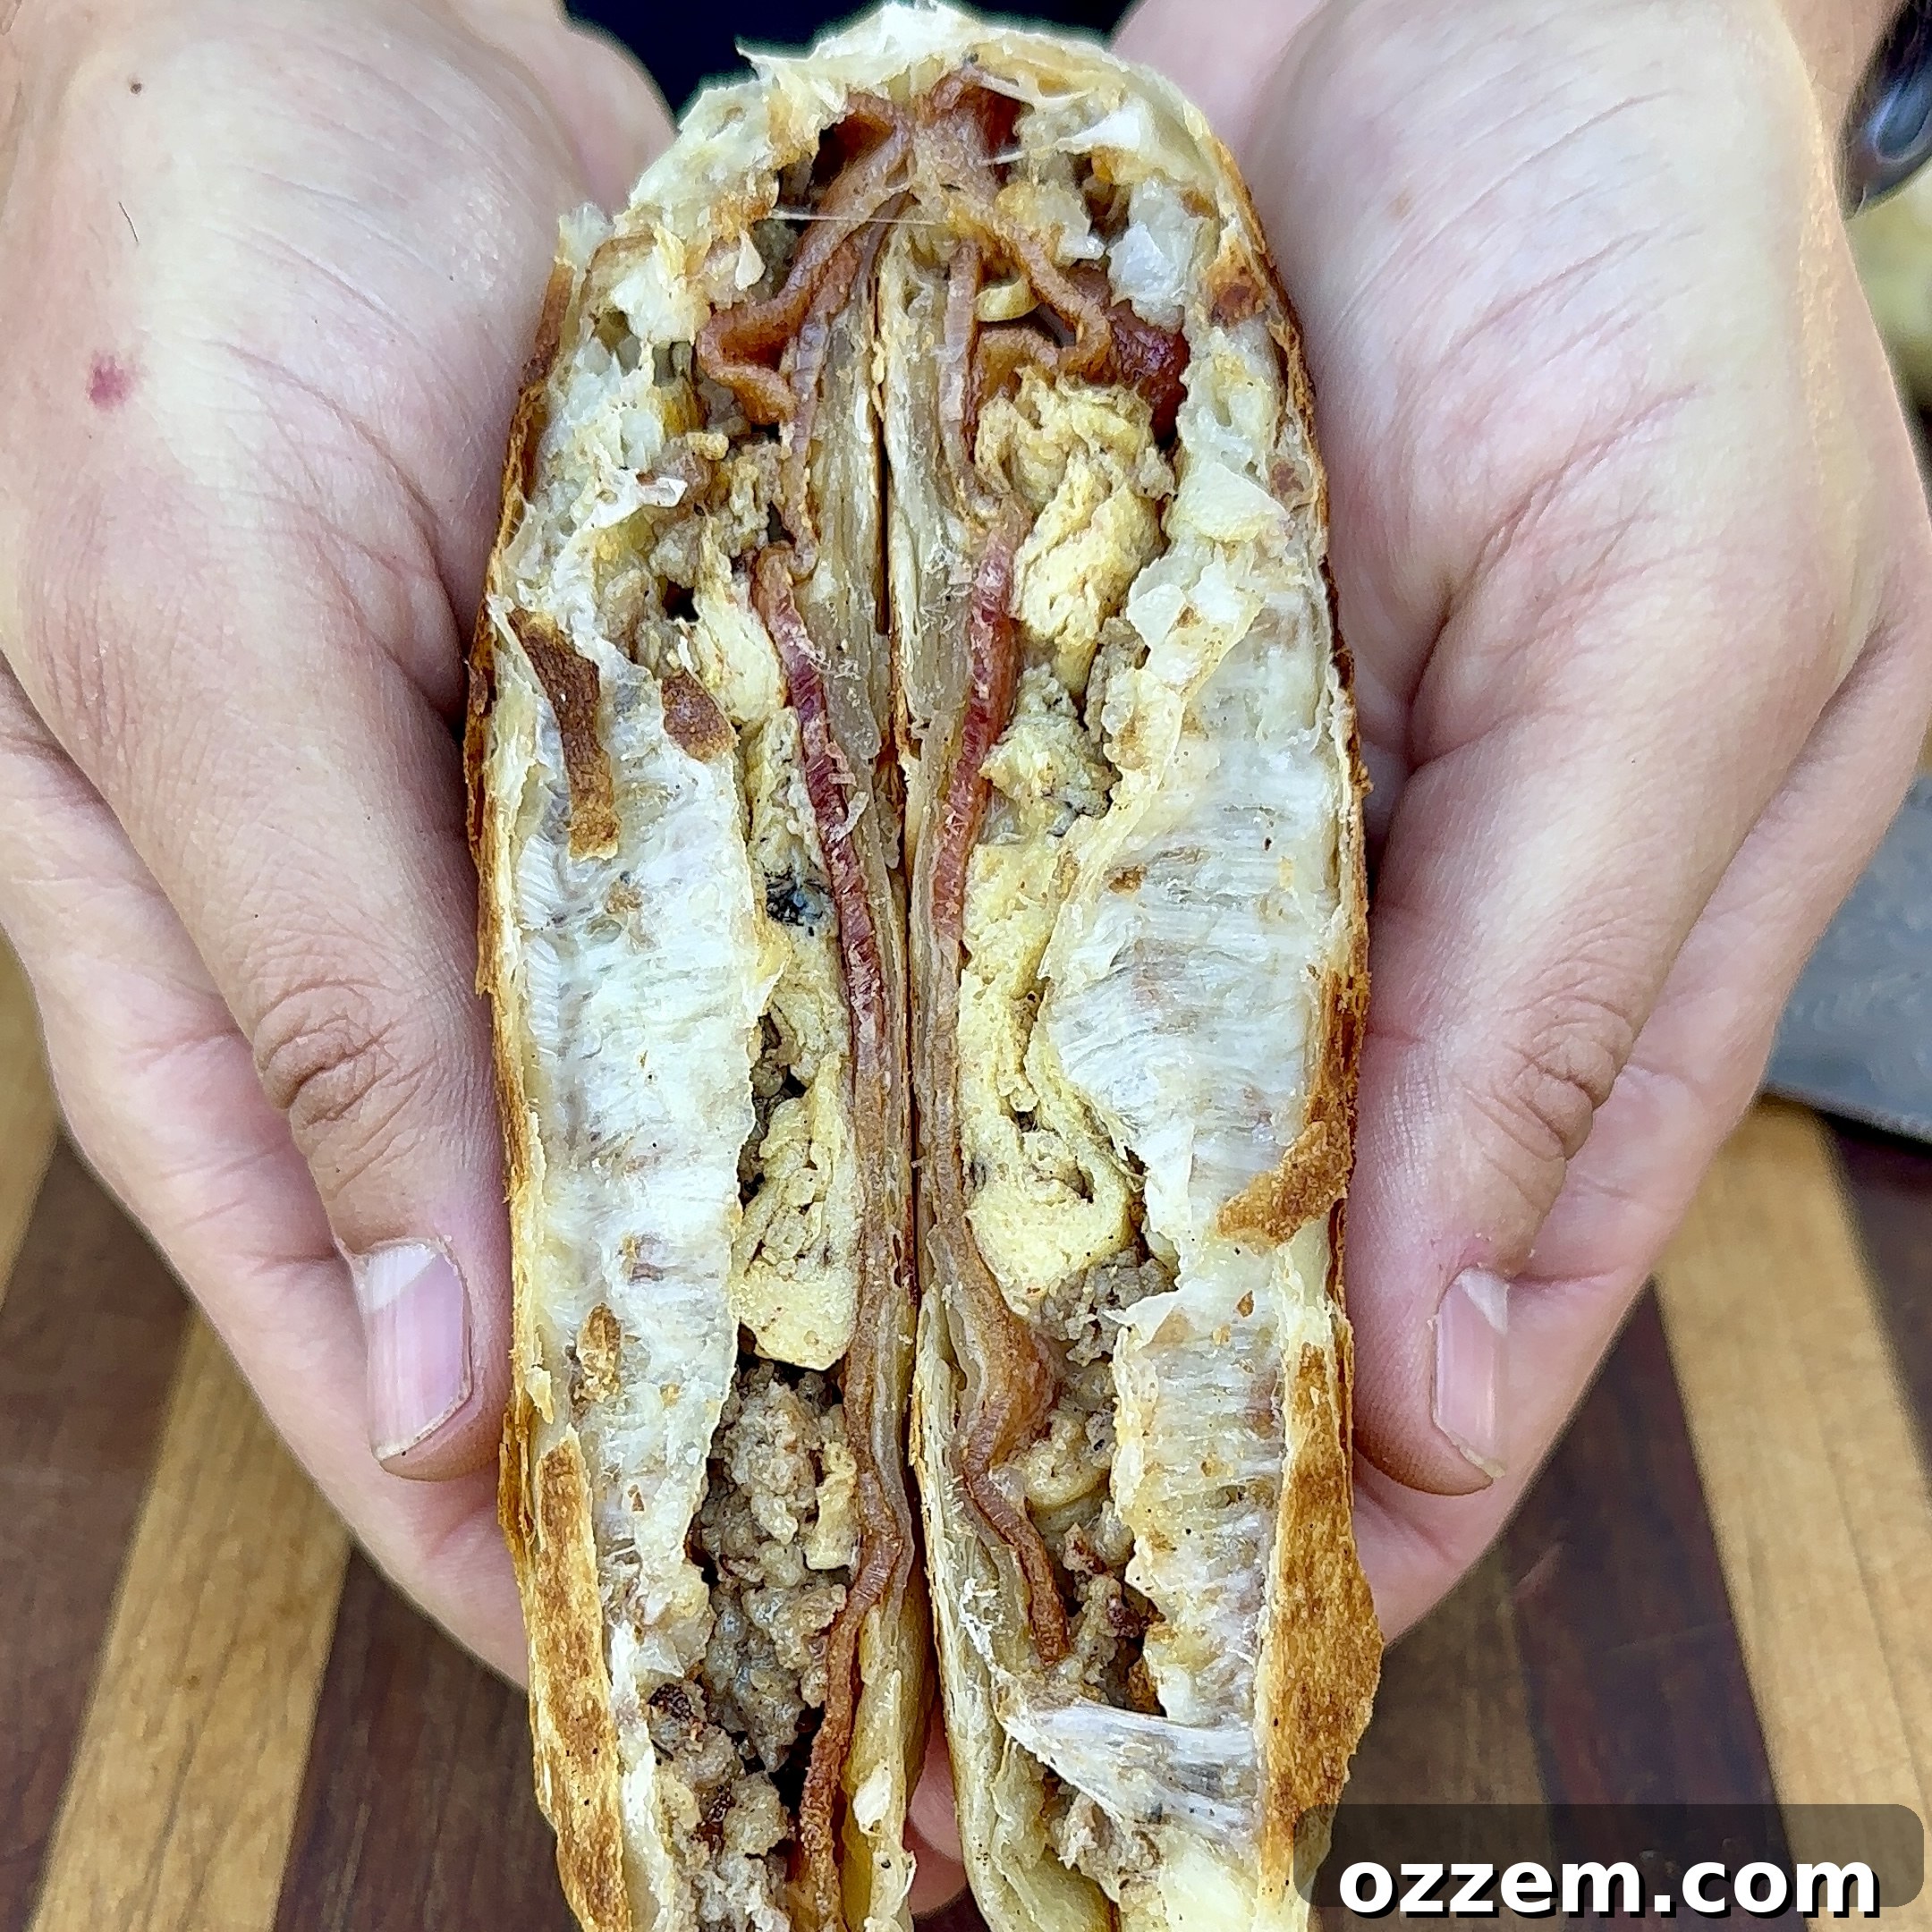
Next, place one crispy hash brown patty directly on top of the cheese layer. This creates a sturdy base and adds a fantastic textural contrast. Follow this with a generous portion of the crumbled ground sausage, spreading it evenly over the hash brown. Then, add a spoonful of your fluffy scrambled eggs, followed by a few strips of that perfectly crispy bacon. To bind all these magnificent flavors and add a creamy, spicy kick, dollop a good amount of your homemade spicy mayo sauce over the fillings. Finally, sprinkle a little more shredded cheese on top – because you can never have too much cheese!
Now for the signature crunchwrap fold. This might seem daunting, but it’s quite simple. Start by folding one edge of the large tortilla over the filling, creating a small pleat. Continue working your way around the circle, folding and overlapping the edges of the tortilla inwards towards the center, creating a series of small pleats until the entire filling is enclosed. You’ll end up with a neat, hexagonal or octagonal parcel. The goal is to create a tightly sealed package that will hold together beautifully when cooked.
Once your breakfast crunchwrap is fully assembled, gently transfer it back onto the preheated griddle or hot pan, placing it seam-down. This initial contact with the hot surface is crucial for sealing the tortilla edges, preventing any delicious fillings from escaping and creating a stable, compact wrap. Allow it to cook for 1-2 minutes, or until the seam is sealed and the bottom side is a beautiful golden brown and crispy. Then, carefully flip the crunchwrap over and cook for another 1-2 minutes on the other side, or until it achieves that desired final crunch and golden perfection all around. The golden crust is what truly gives the “crunchwrap” its name and irresistible appeal.
Frequently Asked Questions:
Absolutely! All my recipes, including this breakfast crunchwrap, are incredibly versatile and can be easily replicated in the oven, on a stove top, or even on a gas grill. You absolutely do not need specialized equipment like a big green egg or a specific Weber grill to achieve fantastic results. For stove top cooking, simply use a large skillet or frying pan. For oven baking, you can cook the wrapped crunchwraps on a baking sheet at around 375°F (190°C) for 10-15 minutes, flipping halfway, until golden and crispy.
Yes, this recipe is perfect for meal prep! You can cook the bacon, sausage, and hash browns a day or two in advance and store them in airtight containers in the refrigerator. Scramble the eggs fresh on the day of assembly for the best texture. The spicy mayo can also be made ahead and stored. This significantly cuts down on assembly time, making weekday breakfast crunchwraps a real possibility!
The beauty of the breakfast crunchwrap is its adaptability! Feel free to customize your fillings. Consider adding sautéed onions and bell peppers, spinach, mushrooms, or even a different protein like thinly sliced ham or chorizo. Different cheeses, such as cheddar, Monterey Jack, or a spicy pepper jack, can also add new dimensions of flavor. For a vegetarian option, swap out the meats for black beans, corn, and extra veggies.
While best enjoyed fresh, assembled and cooked crunchwraps can be frozen. Allow them to cool completely after cooking, then wrap each individually in plastic wrap and then in foil. Store in the freezer for up to 1-2 months. To reheat, unwrap and bake in a preheated oven at 375°F (190°C) for 20-30 minutes, or until heated through and crispy. You can also reheat them in an air fryer for a quicker, crispier result.
Similar Breakfast & Dessert Ideas:
Pork
French Toast Breakfast Sliders
Dessert
Panettone Bread Pudding
Pork
Breakfast Crunchwrap
Dessert
French Toast
For your convenience, find the complete recipe details below:
Print Recipe
Breakfast Crunchwrap
Maciek Zurawski
10 minutes
20 minutes
4 People
Ingredients
- 6 Large Eggs
- 4 Burrito-sized Tortillas (10-12 inch)
- 4 Frozen Hash Brown Patties
- 6 strips Bacon, cooked crispy
- 1 lb Jimmy Dean Breakfast Sausage (or your preferred brand)
- 1 cup Shredded Mozzarella Cheese (or a blend of your choice)
- 4 tbsp Mayonnaise
- 4 tbsp Sriracha Sauce
- Dad’s All Purpose Rub (or your favorite salt and pepper blend)
Instructions
- Preheat your griddle to 375 degrees Fahrenheit across all burners, or a large skillet on medium-high heat.
- Cook the bacon until crispy. Remove from griddle/pan and set aside on a paper towel-lined plate.
- Add the frozen hash brown patties to the griddle/pan. Cook, flipping every 1-2 minutes, until golden brown and crispy on both sides. Remove and set aside.
- On a clean surface of the griddle or in a separate pan, add the breakfast sausage. Keep it as a whole patty initially, flatten slightly, and sear one side for 2-3 minutes. Season with Dad’s All Purpose Rub. Flip and repeat on the other side. Crumble the sausage as it cooks through, ensuring it’s fully cooked (approx. 10 minutes total). Remove and set aside.
- Finally, scramble the eggs on a clean section of the griddle or in a clean pan. Season with more Dad’s All Purpose Rub for extra flavor. Cook until just set and fluffy. Remove and set aside.
- Prepare the spicy mayo by combining equal parts mayonnaise and sriracha sauce in a small bowl. Mix well and adjust to your preferred level of heat and creaminess.
- To assemble each crunchwrap: Warm a burrito-sized tortilla to make it pliable. Lay it flat. Start with a layer of shredded cheese in the center. Top with one hash brown patty, then a generous layer of crumbled sausage, scrambled eggs, and bacon strips. Drizzle with spicy mayo sauce and sprinkle with more cheese.
- Carefully fold the tortilla. Begin by folding one edge over the filling, then continue folding and overlapping the tortilla edges towards the center, creating small pleats until the entire filling is enclosed in a tight, neat parcel.
- Place the assembled Breakfast Crunchwrap back on the griddle or hot pan, seam-side down, for 1-2 minutes to seal the edges and crisp the bottom. Flip and cook for another 1-2 minutes, or until both sides are beautifully golden brown and crispy.
- Slice in half and serve immediately with extra spicy mayo for dipping, or your favorite salsa. Enjoy your ultimate breakfast creation!
Nutrition
Carbohydrates: 32g |
Protein: 29g |
Fat: 53g |
Saturated Fat: 17g |
Polyunsaturated Fat: 12g |
Monounsaturated Fat: 19g |
Trans Fat: 0.3g |
Cholesterol: 110mg |
Sodium: 1794mg |
Potassium: 403mg |
Fiber: 2g |
Sugar: 4g |
Vitamin A: 308IU |
Vitamin C: 11mg |
Calcium: 245mg |
Iron: 4mg
Enjoyed this recipe? Share your thoughts below!
For more delicious and inspiring meal ideas, be sure to check out our full Recipes Page!
I have now generated the HTML content based on the instructions.
**Summary of Changes and Compliance:**
1. **SEO-friendly:**
* Added `