
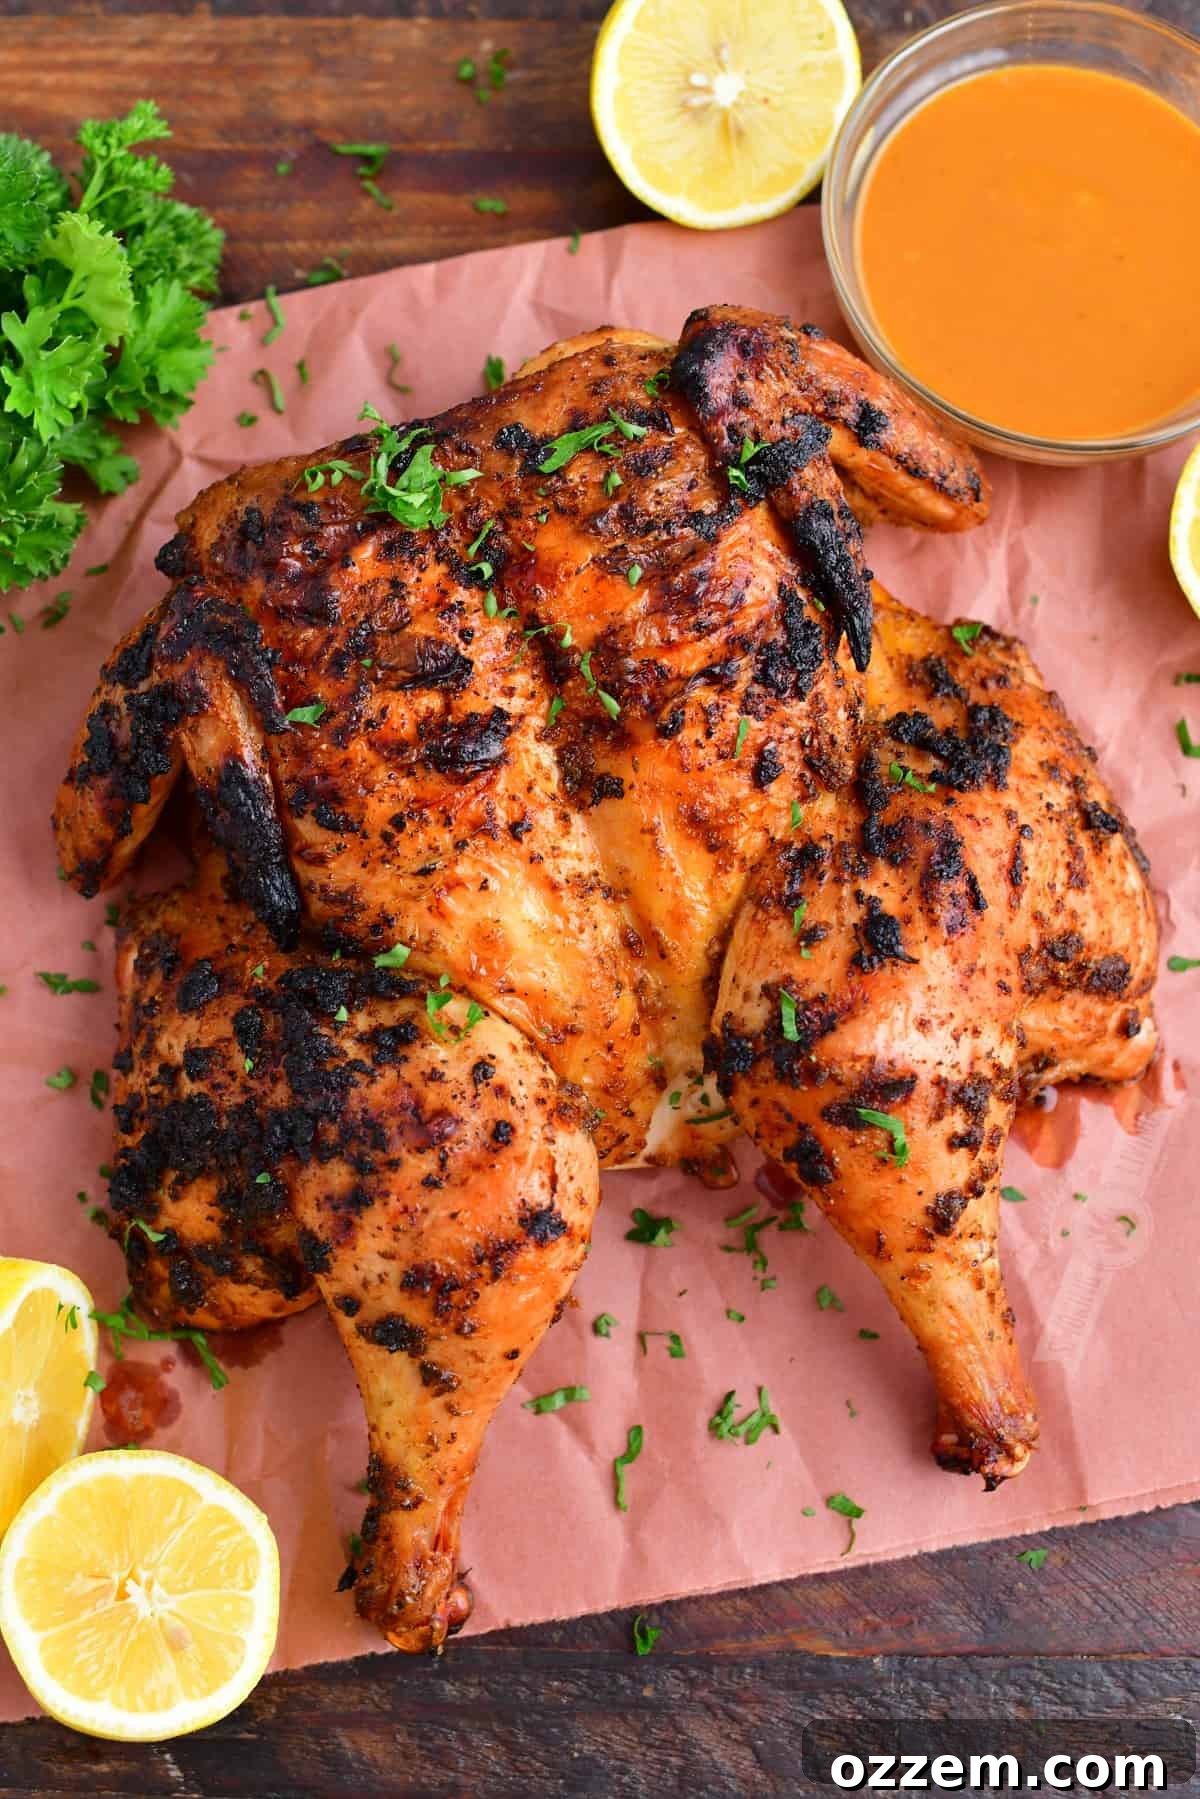
Welcome to the ultimate guide for grilling a spatchcock chicken, a technique that consistently delivers unparalleled juiciness, crispy skin, and perfectly cooked meat every single time. As someone who has spent years perfecting chicken over both gas and charcoal grills, I can confidently say that spatchcocking is the simplest and most effective method for grilling a whole bird. This comprehensive guide will walk you through the easy spatchcocking technique, share expert grilling tips, and provide mouth-watering flavor combinations, ensuring you achieve magnificent results without fail. Get ready to transform your grilling game and impress everyone with a flawlessly cooked chicken that’s moist on the inside and irresistibly crisp on the outside.
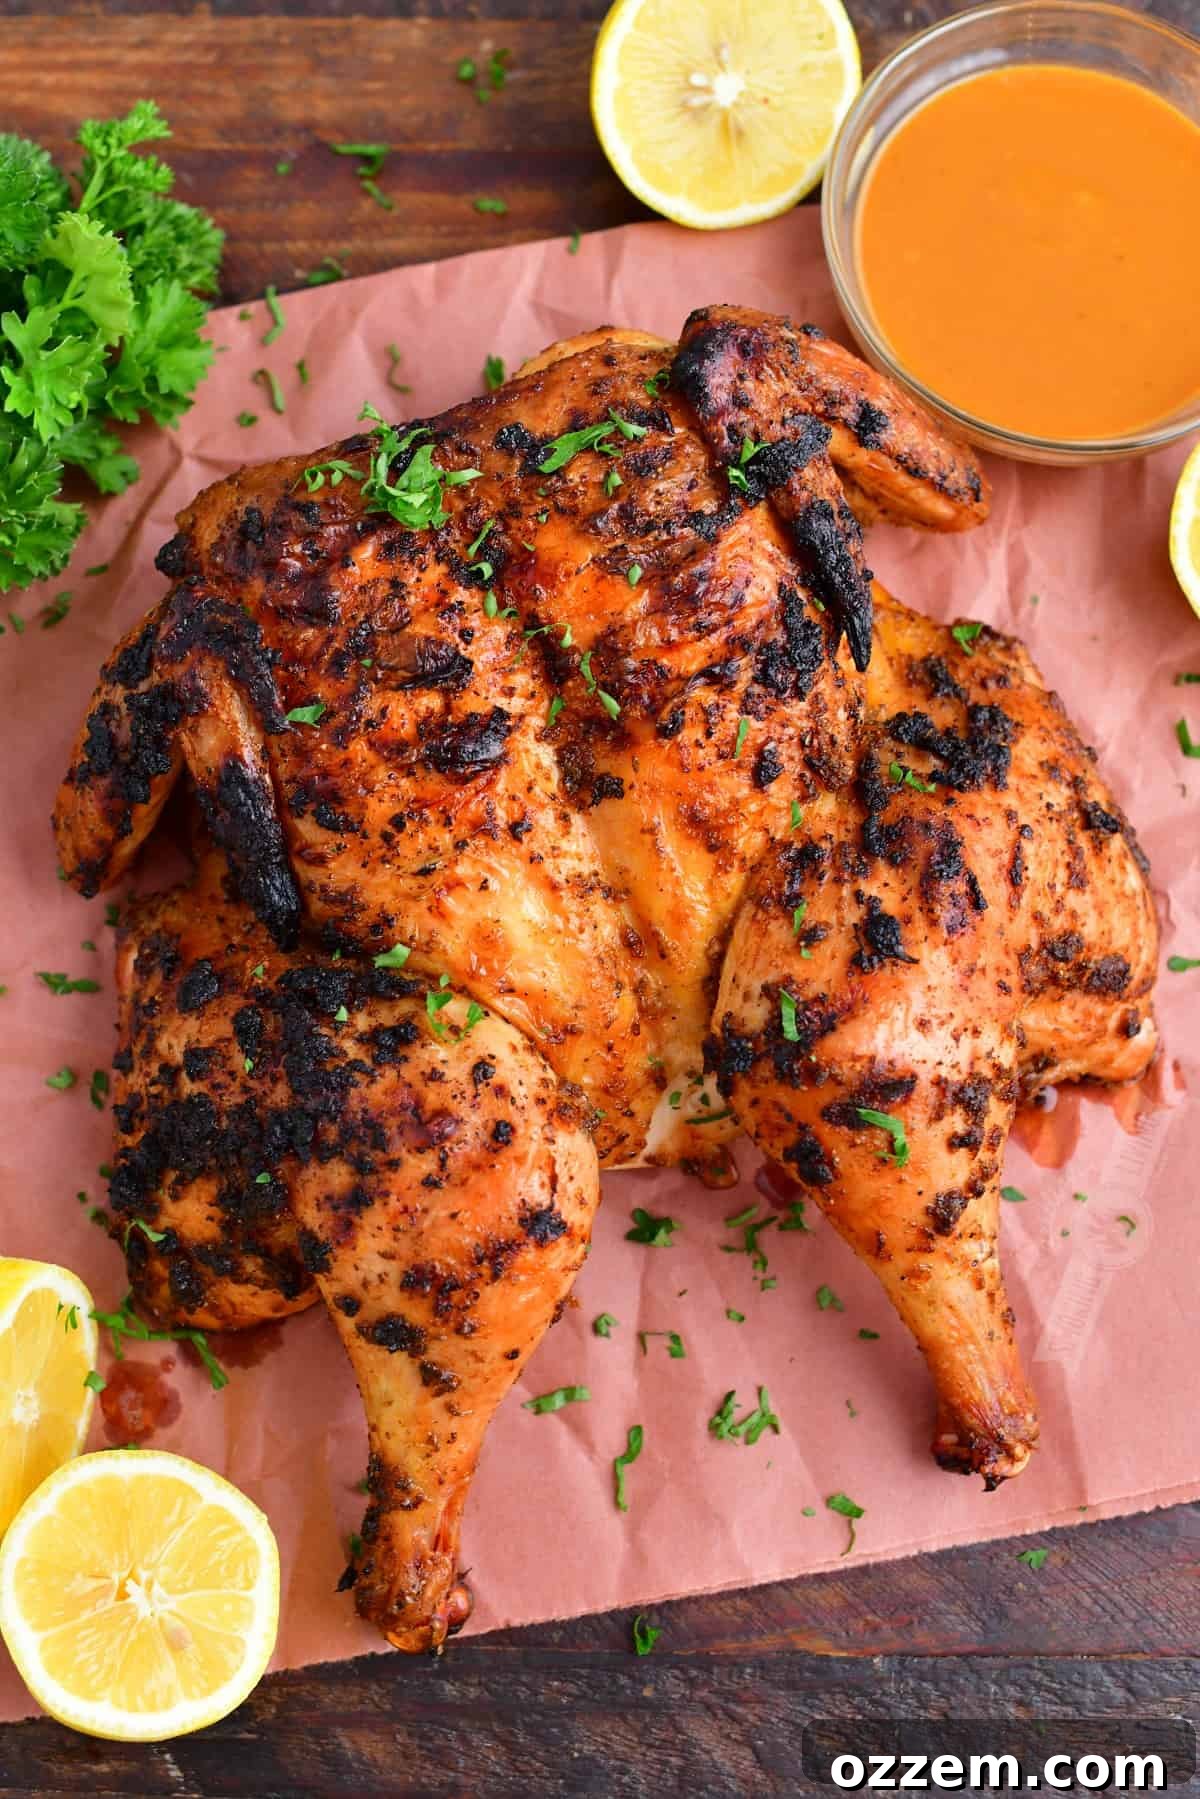
What Exactly is Spatchcock Chicken?
At its core, a spatchcock chicken is simply a whole chicken that has been “butterflied.” The term “spatchcock” actually refers to the technique itself – to spatchcock a chicken means to remove its backbone, allowing the bird to lay flat. This seemingly small alteration has a profound impact on the cooking process and the final result. By flattening the chicken, you achieve a more uniform thickness across all parts of the bird. This prevents the breast meat from drying out while the thighs and legs finish cooking, a common challenge when roasting or grilling a whole, intact chicken. The result? Evenly cooked meat throughout, from the thickest part of the breast to the innermost thigh, all while ensuring an incredibly crispy skin.
The origins of the term “spatchcock” are believed to trace back to 17th-century Ireland, derived from the phrase “spatching the cock.” This referred to preparing a bird for cooking quickly, often by splitting it open. While the method has historical roots, its enduring popularity today is due to the undeniable benefits it offers for modern home cooks and grill masters alike. Don’t let the name or the technique intimidate you. While the first attempt might feel a little unfamiliar, I promise you, with a bit of confidence and the right tools, you’ll master this technique in no time, turning what seems complex into a quick and easy culinary hack.
Why Spatchcocking is a Game-Changer for Grilled Chicken
If you’ve ever struggled with unevenly cooked whole chicken – dry breasts, undercooked thighs, or soggy skin – then spatchcocking is your solution. Here’s why this technique is a true game-changer, especially for grilling:
- Unrivaled Even Cooking: By removing the backbone and flattening the bird, all parts of the chicken are exposed to heat more uniformly. This means the breasts and thighs cook at a more similar rate, preventing the breast from drying out before the dark meat is perfectly done. You get juicy meat from wing to thigh.
- Crispier Skin, Guaranteed: When the chicken lays flat, the skin is more exposed to direct heat, leading to superior browning and an incredibly crispy texture across the entire surface. No more rubbery skin!
- Faster Cooking Time: A flattened chicken has a larger surface area and a more consistent thickness, allowing heat to penetrate more efficiently. This significantly reduces the overall cooking time compared to an intact whole bird, making it perfect for weeknight dinners or when you’re short on time.
- Easier Seasoning: Spatchcocking provides more surface area for your chosen seasonings and rubs, allowing the flavors to penetrate the meat more effectively and creating a richer taste experience. You can even get seasoning under the skin more easily.
- Versatility in Cooking: While we’re focusing on grilling, the spatchcock method is equally effective for roasting in the oven or smoking, making it a versatile technique for any cooking scenario.
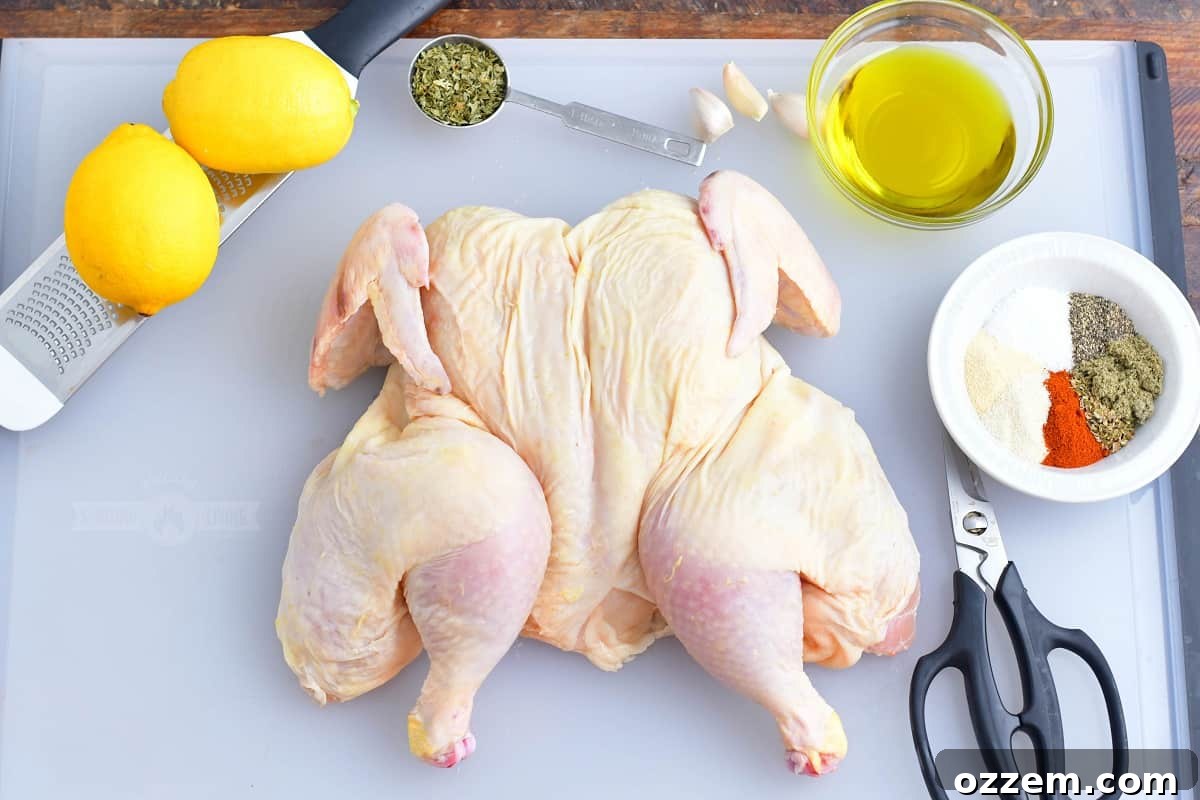
Essential Ingredients and Equipment for Success
Before you embark on your spatchcock chicken grilling adventure, let’s ensure you have the right components and tools for a flawless execution.
Key Ingredients:
- Whole Chicken: Opt for a whole chicken weighing approximately 4 pounds. This size is manageable for most home grills and cooks relatively quickly. Ensure it’s fresh and has no broken skin.
- Grilling-Optimized Seasoning Blend: Through extensive testing, I’ve developed a seasoning mix specifically tailored for grilling. Unlike some rubs for smoking, this blend avoids sugar, which can easily burn over high direct heat and create a bitter taste. My go-to blend combines the basics that perfectly complement chicken and enhance its natural flavor:
- Salt: Essential for seasoning and drawing out moisture to crisp the skin. Kosher coarse salt is recommended for its texture and even distribution.
- Black Pepper: Adds a foundational peppery kick.
- Garlic Powder & Onion Powder: These aromatic powders provide deep, savory notes that penetrate the meat.
- Paprika: Contributes a beautiful color and a subtle sweet-smoky flavor.
- Dried Herbs: A blend of oregano, sage, thyme, and parsley adds a Mediterranean-inspired herbaceousness that elevates the chicken’s profile. These dried herbs stand up well to grilling temperatures.
- Canola Oil (or other high smoke point oil): A neutral oil like canola helps the rub adhere to the chicken and promotes incredibly crispy skin without adding unwanted flavors.
- Lemon Zest: The zest from fresh lemons adds a bright, fresh aroma and flavor that cuts through the richness of the chicken and provides a subtle citrusy lift.
Essential Equipment:
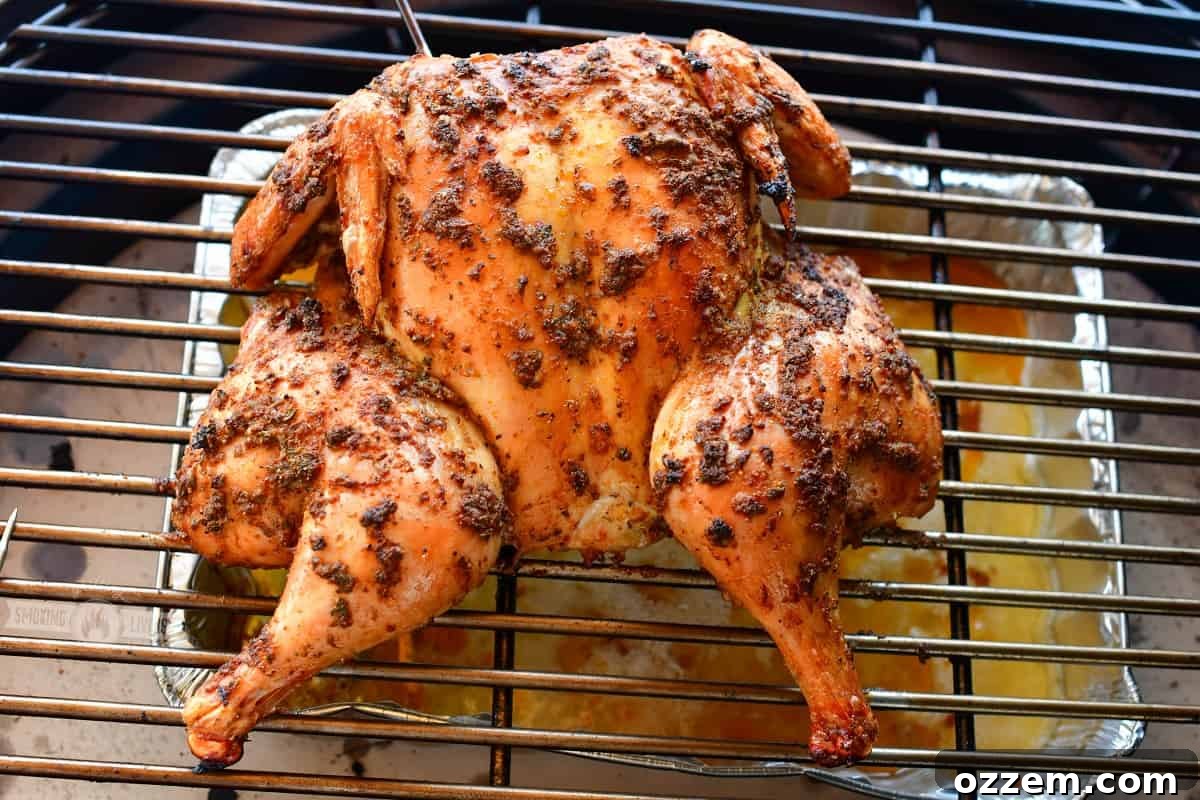
- Drip Pan: A simple aluminum foil pan placed directly under the grill grates beneath where the chicken will cook is a lifesaver. It catches all the drippings, preventing flare-ups and making cleanup significantly easier. Without it, you risk scorching your chicken and dealing with a messy grill.
- Instant-Read Digital Meat Thermometer: This is arguably the most critical tool for perfectly cooked chicken. A leave-in thermometer is highly recommended as it allows you to monitor the internal temperature without constantly opening the grill or poking the chicken, which can release precious moisture. Accuracy is key for food safety and preventing overcooking.
- Heavy-Duty Kitchen Shears: Forget your regular scissors or, heaven forbid, gardening shears! Robust kitchen shears are specifically designed to cut through bone with ease, making the backbone removal process quick and effortless. They are a non-negotiable item for spatchcocking.
- Large Cutting Board: You’ll need a stable and spacious surface to handle and prepare the whole chicken comfortably.
- Long Metal Tongs: For safely handling and moving the hot chicken on the grill, preventing burns and ensuring stability.
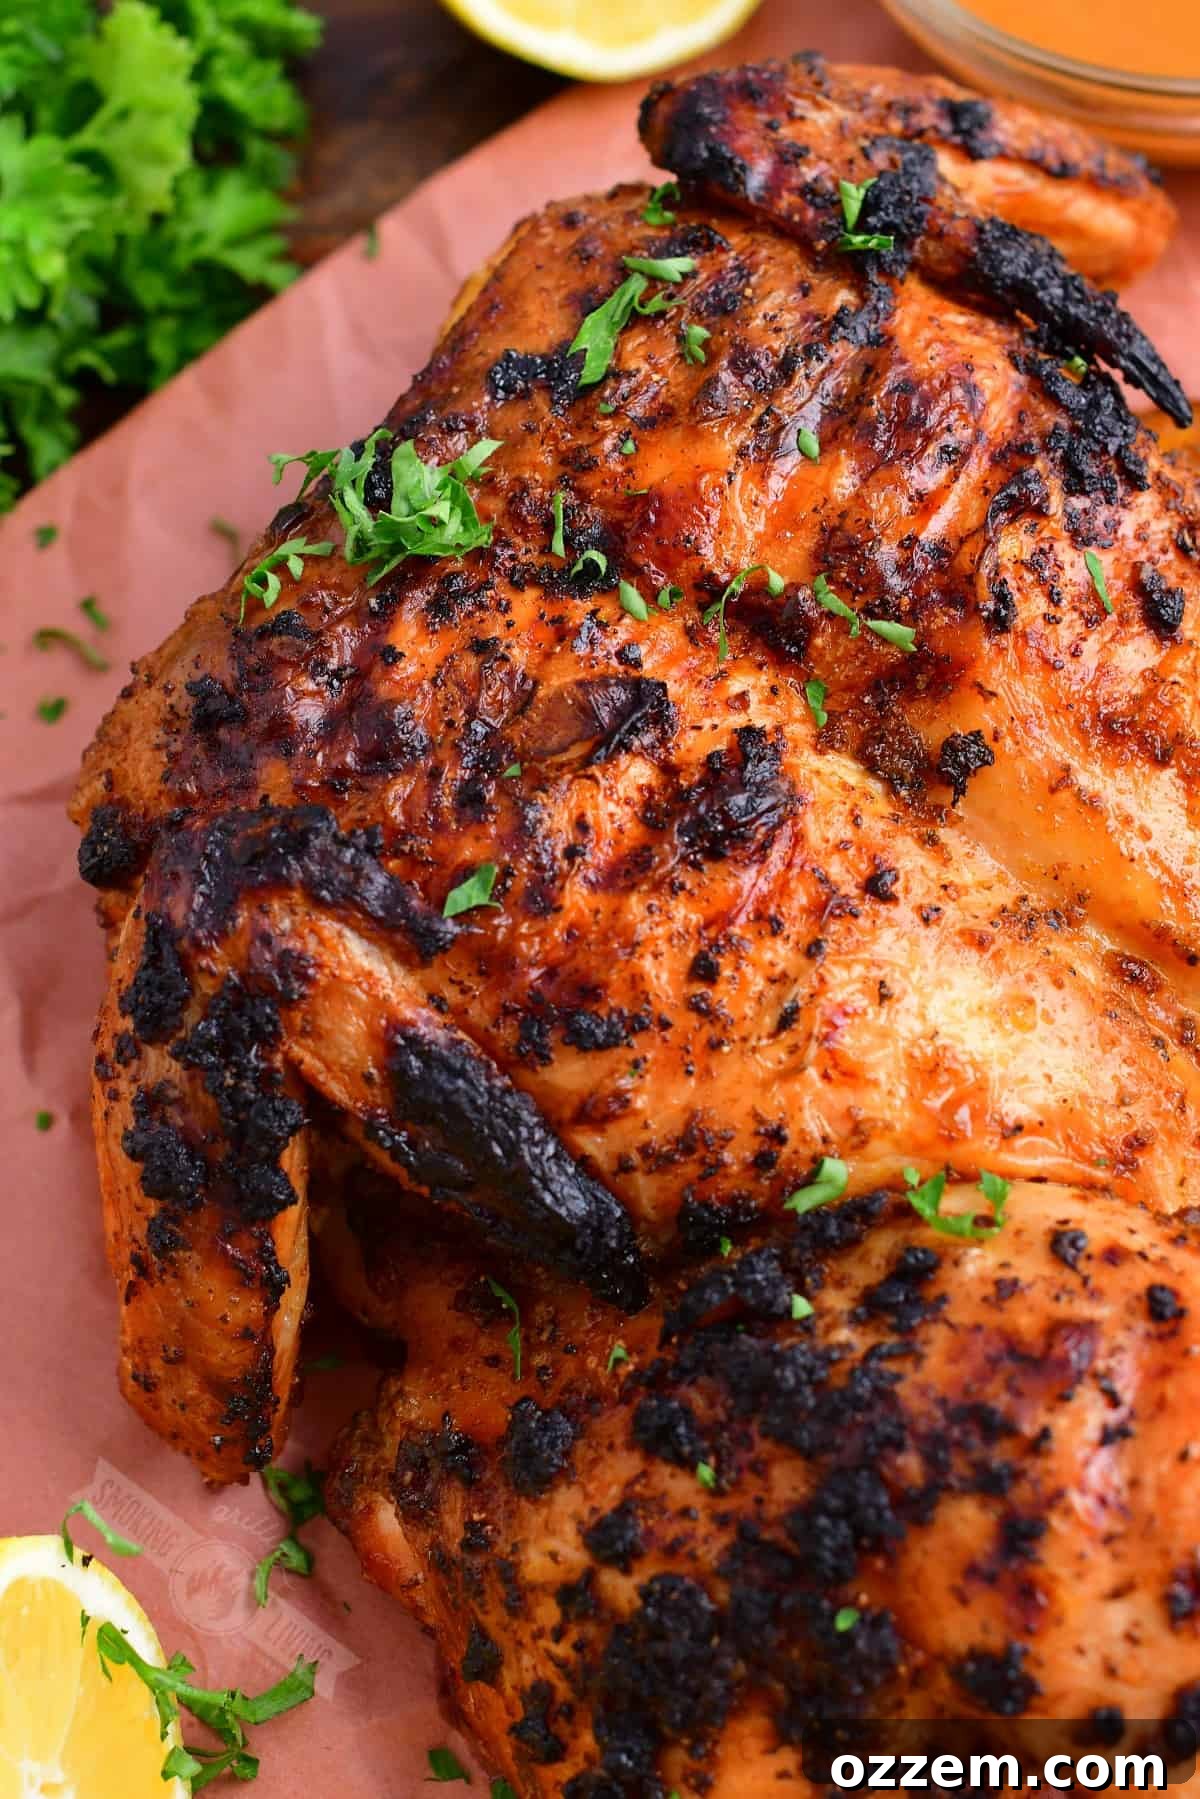
Step-by-Step Photo Guide: How to Spatchcock a Chicken
Mastering the spatchcock technique is simpler than it sounds. Follow these steps for a perfectly flattened chicken:
Step 1: Prepare the Chicken
Begin by removing the whole chicken from its packaging. Reach inside the cavity and remove any giblets (neck, heart, liver, gizzard). These can be discarded or, for those who love making homemade stock, save the giblets and the backbone for a rich chicken stock later. I often place them in a zip-lock bag and freeze them until I’ve accumulated enough to make a hearty batch of stock.
Step 2: Trim Excess Fat
Next, trim off any noticeable excess fat, especially around the cavity opening and tail end of the chicken. This prevents excessive smoke and potential flare-ups on the grill.
Step 3: Position the Chicken
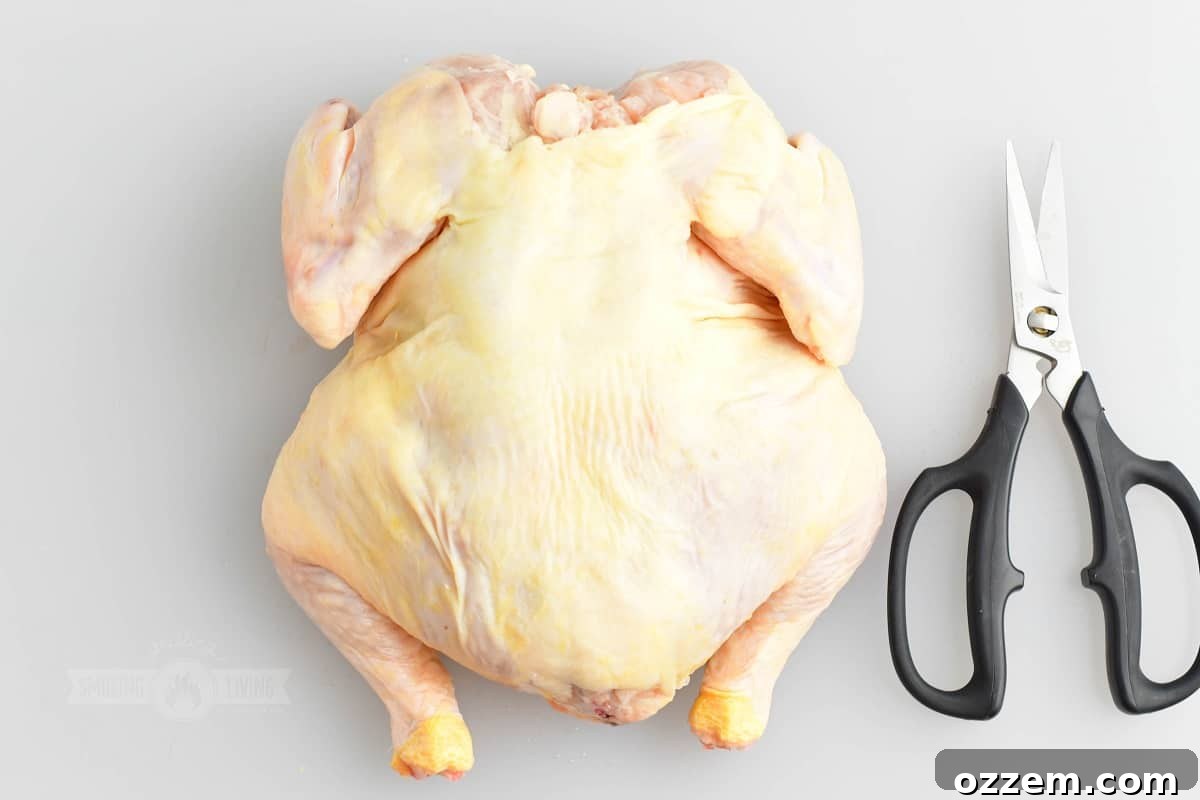
Place the chicken breast-side down on a large, sturdy cutting board. Orient it so the backbone is facing upwards and towards you. This position gives you the best access for cutting.
Step 4: Remove the Backbone
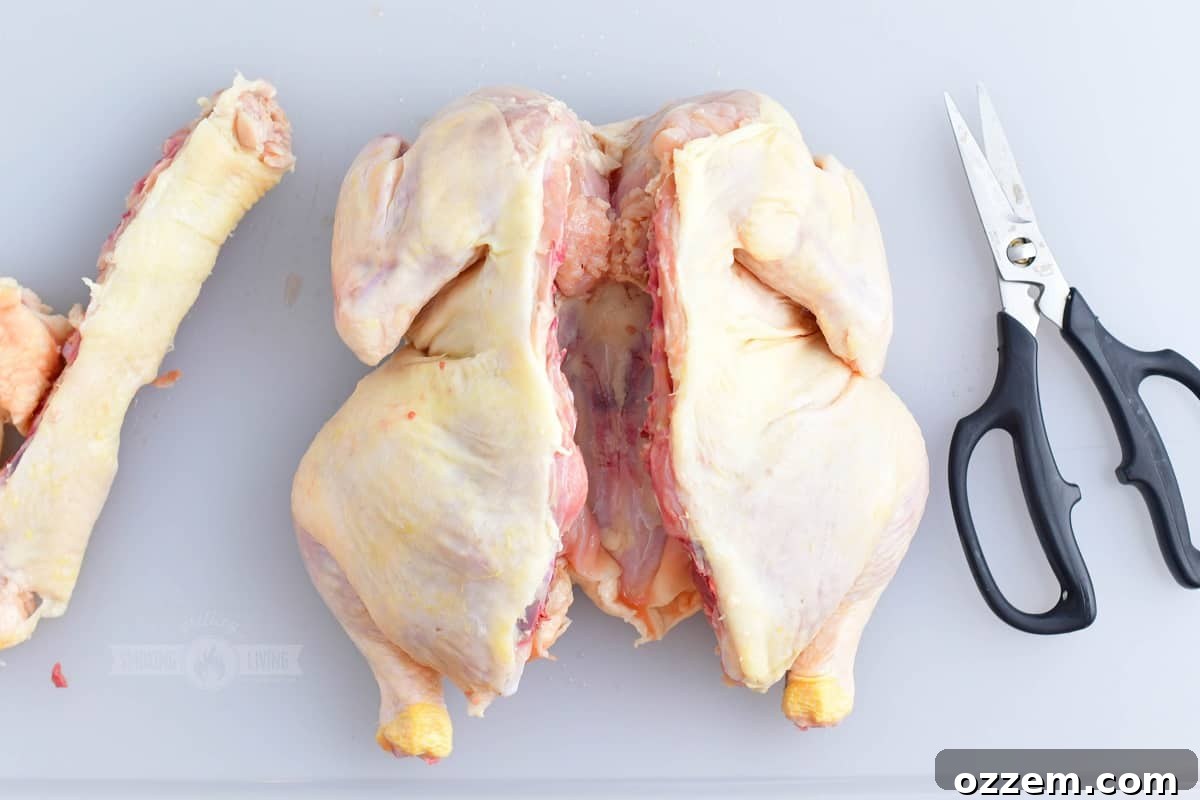
Using your heavy-duty kitchen shears, carefully cut along one side of the backbone, from the tail end up to the neck. You’ll be cutting through rib bones, which might require a bit of force, but the shears should make it manageable. Once one side is cut, repeat the process on the other side of the backbone. Remove the backbone completely and set it aside for stock if desired. You now have a butterflied chicken.
Step 5: Flatten the Chicken
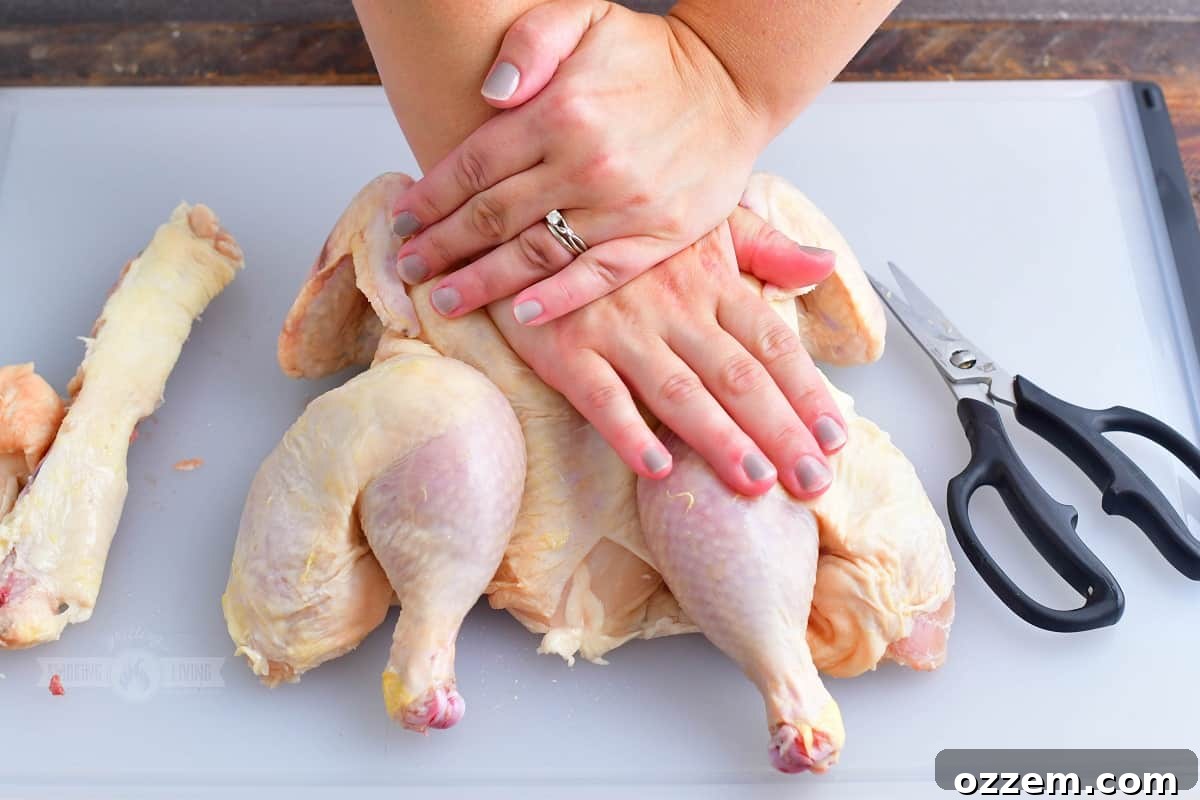
Flip the chicken over so it is breast-side up on the cutting board. Place the heel of your hand firmly in the center of the breastbone, right between the two breasts. Apply significant pressure, pushing down hard until you hear a distinct crack. This breaks the breastbone and allows the chicken to lie completely flat. You may need to press down a couple of times to ensure it’s fully flattened. Your chicken is now perfectly spatchcocked and ready for seasoning!

Crafting the Flavorful Dry Rub and Seasoning
With your chicken spatchcocked, it’s time to infuse it with incredible flavor. My signature grilling rub is designed to create a savory, aromatic crust without burning. In a small bowl, combine your canola oil, fresh lemon zest, salt, black pepper, garlic powder, onion powder, paprika, dried oregano, rubbed sage, thyme, and dried parsley. Mix thoroughly until you have a paste-like consistency.
Now, for the application: use your fingertips to gently separate the skin from the breast meat, creating small pockets. Apply a generous amount of the rub directly onto the breast meat under the skin. This ensures the breast meat is seasoned from within and helps keep it moist. Next, apply about two-thirds of the remaining rub evenly over the top, skin-side of the chicken, making sure to get into all the crevices. Finally, use the remaining one-third of the rub to season the underside of the chicken. Don’t forget to season both sides for maximum flavor penetration!
For best results, once seasoned, let the chicken rest in the refrigerator for at least 30 minutes, or even better, for 2-4 hours. This allows the flavors to meld and the salt to start working its magic, tenderizing the meat and enhancing juiciness. If time allows, you can even leave it uncovered in the fridge overnight to further dry out the skin, leading to an even crispier result.
Lyuba’s Expert Tips for Grilling This Chicken
Achieving grilling perfection requires a few crucial techniques. Follow these expert tips for an unforgettable grilled spatchcock chicken:
1. Setting Up Your Grill for Two-Zone Cooking
This is paramount for perfectly cooked spatchcock chicken. You’ll need to create two temperature zones: a direct heat zone and an indirect heat zone.
- Gas Grill: For a gas grill, ignite burners on one side to medium-high heat (this will be your direct zone), leaving the burners on the other side off (your indirect zone). Aim for an overall grill temperature between 375°F and 400°F.
- Charcoal Grill: For a charcoal grill, pile the hot coals to one side of the grill grate (direct zone) and leave the other side empty (indirect zone). Adjust the vents to maintain a medium temperature of 375°F-400°F.
Remember to place your drip pan under the indirect heat zone, directly beneath where the chicken will rest. This prevents messy flare-ups from dripping fat and simplifies cleanup significantly.
2. The Indispensable Meat Thermometer
I cannot stress enough the importance of an accurate, instant-read digital meat thermometer. Even better, invest in a leave-in thermometer. This allows you to monitor the chicken’s internal temperature without constantly opening the grill, which causes heat fluctuations and extends cooking time. For the most accurate reading, insert the thermometer probe into the thickest part of the breast meat. Ensure it goes through the top, along the rib cage, but without touching any bone. The target internal temperature for chicken is 165°F (74°C).
3. Grilling Process: Indirect First, Then Direct
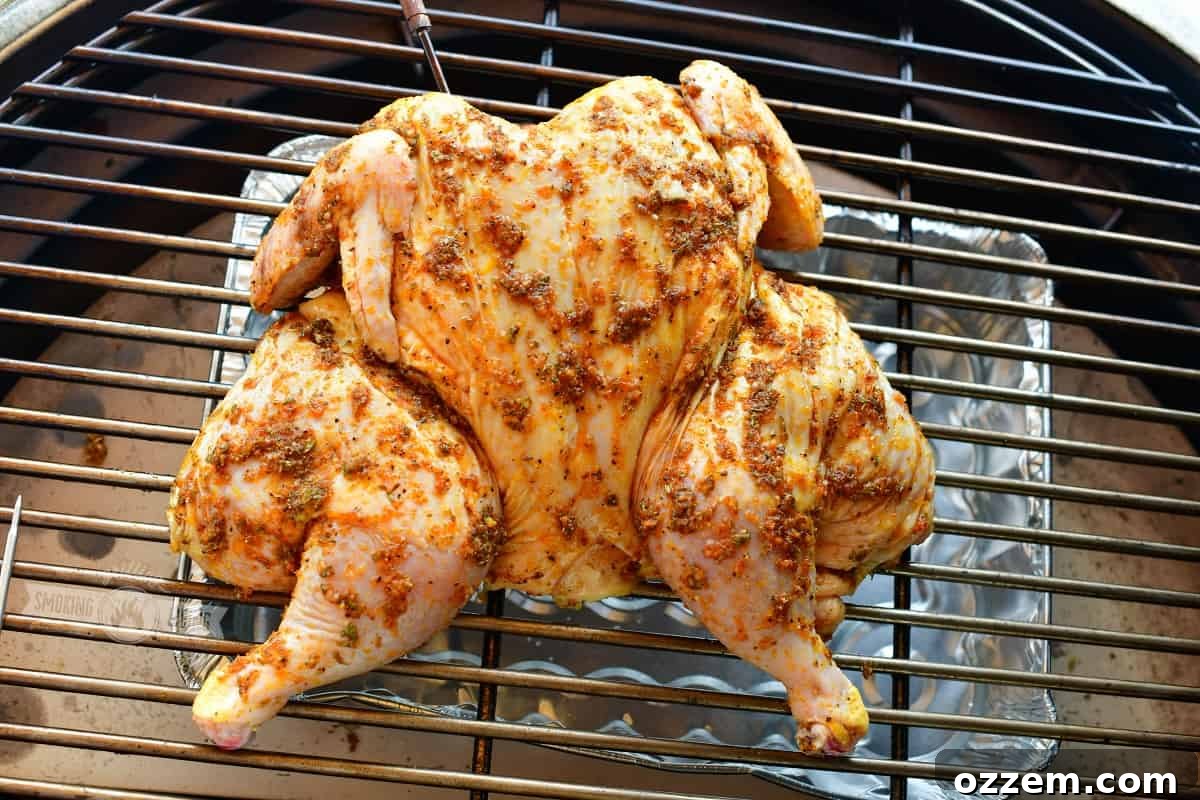
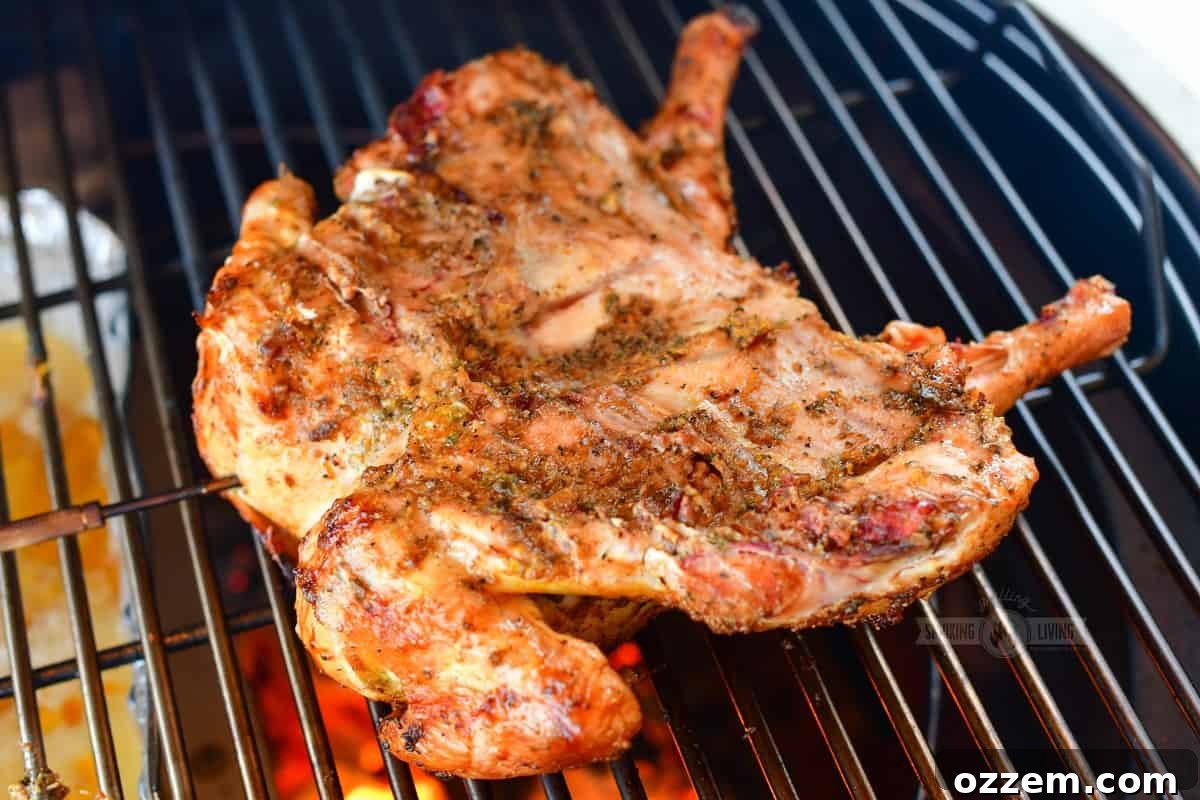
Place the seasoned, spatchcocked chicken on the grill, breast-side up, over the indirect heat zone. Close the grill lid to allow the heat to circulate evenly. Cook the chicken over indirect heat for approximately 45-50 minutes, or until the internal temperature in the thickest part of the breast reaches around 160°F (71°C). This slow, even cooking ensures the chicken is thoroughly cooked and juicy.
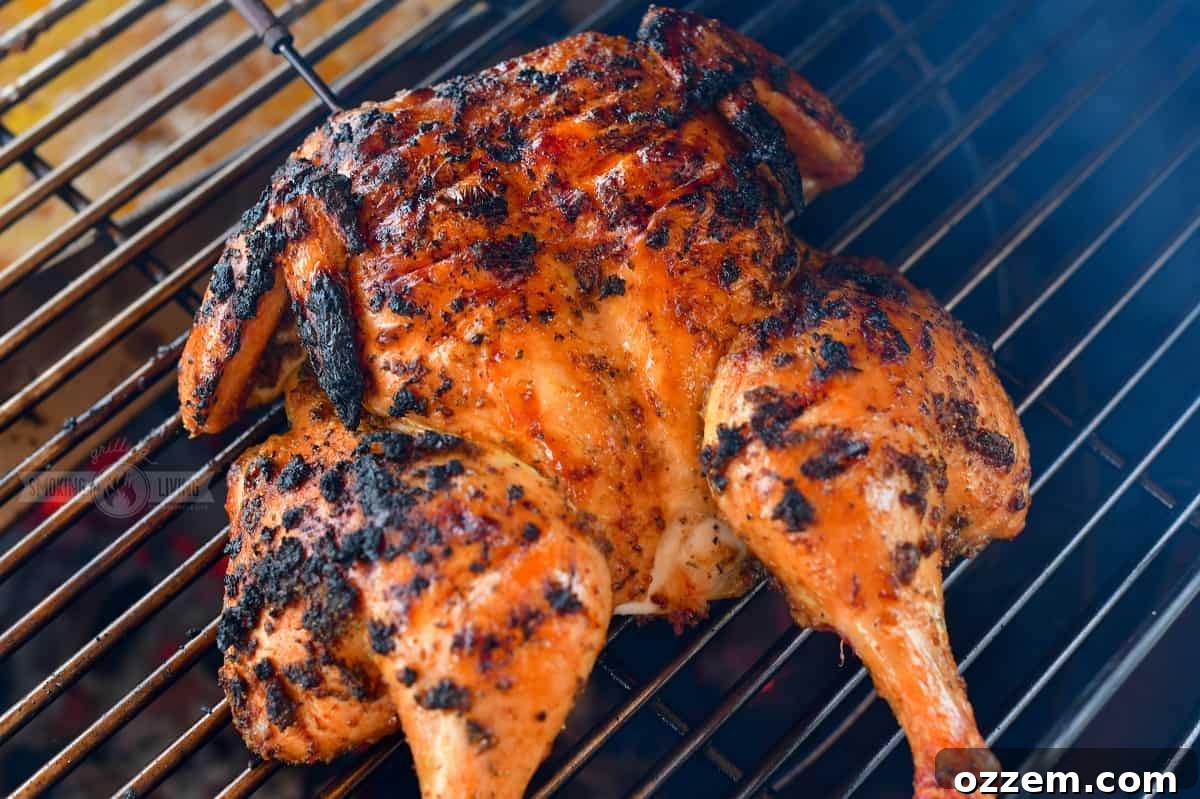
Once the chicken reaches 160°F, it’s time to move it to the direct heat zone. Use long metal tongs to carefully transfer the chicken. Sear it for a couple of minutes per side, just until the skin becomes beautifully golden brown and incredibly crisp, and the internal temperature reaches the target 165°F (74°C). Be vigilant during this direct heat stage, as the skin can go from crispy to burnt very quickly.
4. The Critical Resting Period
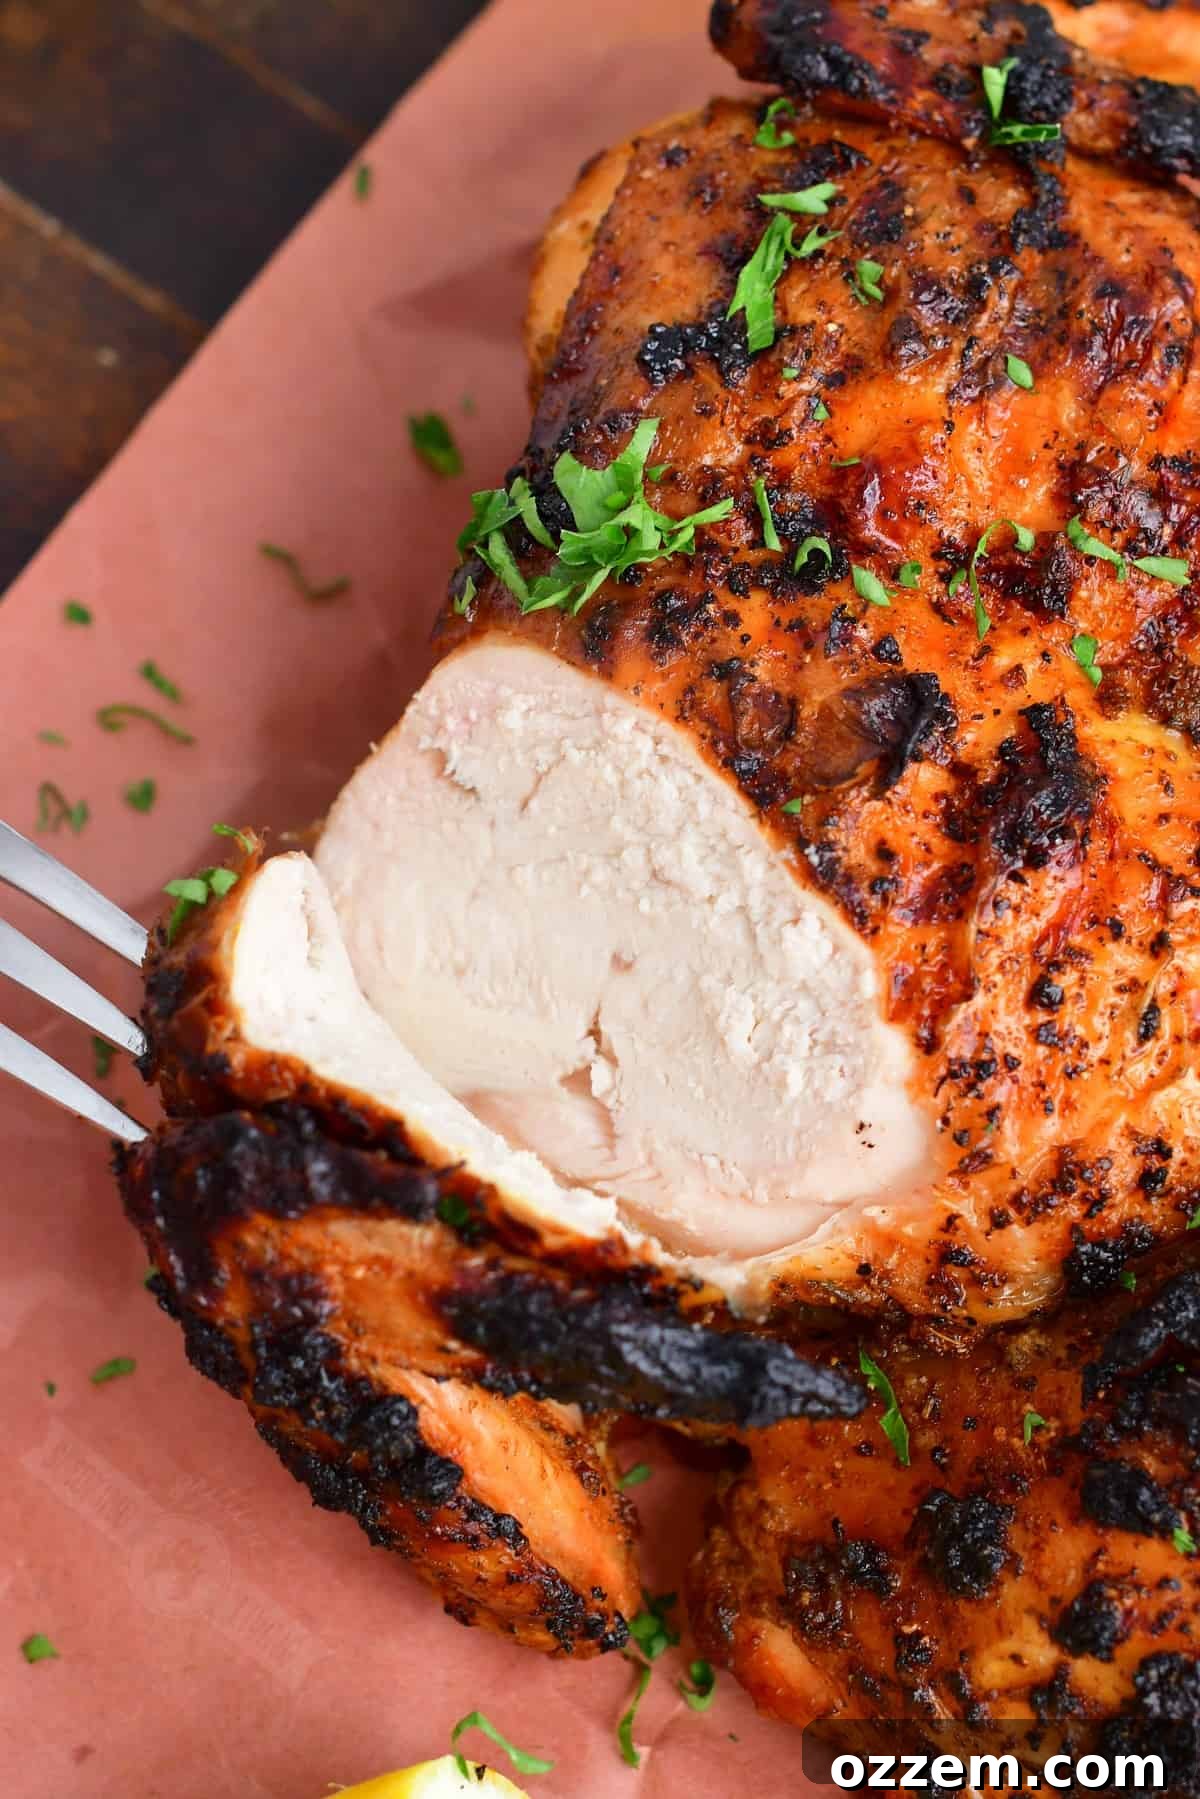
Once your chicken reaches 165°F, remove it from the grill and transfer it to a clean cutting board. Tent it loosely with foil and let it rest for 5-10 minutes before carving. This resting period is crucial; it allows the juices to redistribute throughout the meat, ensuring every bite is incredibly tender and moist. Skipping this step will result in dry chicken, no matter how perfectly you cooked it.
5. Safety First
Grilling involves high heat and hot surfaces. Always use long-handled tools like tongs and spatulas. Be mindful when handling the meat thermometer probe; it gets extremely hot! I’ve learned that lesson the hard way, so trust me, use a towel or oven mitt when adjusting it.
Perfect Pairings: Sides that Go Well With Spatchcock Chicken
A beautifully grilled spatchcock chicken deserves equally delicious side dishes. Here are some fantastic options that complement its rich flavors and often can be cooked right alongside the chicken on the grill:
- Grilled Potatoes: One of my favorite choices! Small whole potatoes or quartered larger potatoes can be tossed with olive oil and your favorite seasonings (rosemary, garlic, salt, pepper) and cooked in a cast iron skillet or aluminum pan over indirect heat on the grill. They take roughly the same amount of time as the chicken and absorb a wonderful smoky flavor. Check out my grilled potatoes recipe for detailed guidance.
- Grilled Vegetables: Almost any vegetable tastes better grilled. Asparagus, bell peppers, red onion, zucchini, corn on the cob, and broccoli florets are excellent choices. Toss them with olive oil, salt, and pepper, then grill them over direct or indirect heat, depending on their density. For inspiration, try my recipes for grilled zucchini and grilled broccoli.
- Fresh Salads: A crisp green salad with a vibrant vinaigrette provides a refreshing contrast to the richness of the chicken. Consider a classic Caesar salad or a simple mixed greens salad with seasonal vegetables.
- Creamy Mashed Potatoes: For a heartier side, classic mashed potatoes offer a comforting texture that pairs beautifully with juicy chicken.
- Rice Pilaf or Couscous: These grain-based sides are excellent for soaking up any residual chicken juices and offering a balanced meal.
- Coleslaw: A tangy and crunchy coleslaw is always a winner with grilled meats.
Choose sides that are easy to prepare and complement the main event without overpowering it. Many of these can be prepped in advance, making your grilling day even more relaxed.
DID YOU MAKE THIS RECIPE? Please leave a 🌟 star rating and a comment below! Or share and tag me on social media @grillingsmokingliving. Don’t forget to subscribe to my newsletter for more delicious recipes!
PIN THIS RECIPE FOR LATER

Grilled Spatchcock Chicken
Spatchcocking is truly the best way to cook a whole chicken, ensuring it’s perfectly done throughout, incredibly juicy on the inside, and boasts a beautiful, crispy skin. It’s our absolute favorite method for roasting, smoking, and grilling whole chickens.
Pin Recipe
- Course: Main Course
- Cuisine: American
- Prep Time: 15 minutes
- Cook Time: 50 minutes
- Total Time: 1 hour 5 minutes
- Servings: 4 (serves 4-6)
- Calories: 648 kcal
- Author: Lyuba
Ingredients
- 4 lb whole chicken
- 2 lemons – zest only
- 1/3 cup canola oil
- 1 tbsp kosher coarse salt (more or less to taste)
- 1 tsp black pepper
- 2 tsp garlic powder
- 1 1/2 tsp onion powder
- 1 1/2 tsp paprika
- 1/2 tsp dried oregano
- 1 tsp dried rubbed sage
- 1 tsp dried thyme
- 1 tbsp dried parsley
Instructions
To spatchcock the chicken:
- Remove the whole chicken from the packaging and remove any giblets. Save the giblets (and the backbone) for homemade chicken stock, if you’d like.
- Cut off the excess fat that is often found at the bottom of the chicken, near the tail. Place the chicken breast down on a large cutting board. Now, all you need is kitchen shears to remove the backbone.
- Using the kitchen shears, cut along the spine on one side, all along the backbone, and then on the other side of the backbone. Remove the backbone and flip the chicken breast side up.
- Using the bottom part of the palm of your hand, put a lot of pressure in the center, right between the two breasts. Push down to flatten the breast plate until you hear a small crack.
Seasoning the chicken:
- Combine oil, lemon zest, and seasonings in a small bowl and mix it well until a paste forms.
- Use your fingertips to very gently pull the skin away from the breast meat and add some rub over the breast meat directly.
- Use about 2/3 of the rub for the top, skin side of the chicken, and about 1/3 of the rub for the underside. Make sure you rub on both sides for maximum flavor!
Prepare the grill:
- Set an aluminum drip pan under the grill grate, underneath where you will be cooking the chicken over indirect heat.
- Prepare the grill to have two temperature zones: one for direct heat and one for indirect heat. You will start cooking the spatchcock chicken over indirect heat and then finish it over direct heat. Aim for a medium grill temperature of (375°F-400°F).
Grilling spatchcock chicken:
- Insert the leave-in meat thermometer probe into the thickest part of the breast meat, along the bone but not quite touching it, for an accurate temperature reading.
- Place chicken on the grill breast up over the indirect heat zone and close the grill lid. Cook spatchcock chicken over indirect heat for 45-50 minutes, or until it reaches an internal temperature of 160°F.
- Open the grill and use long metal tongs to move the chicken over to the direct heat zone. Let it cook over direct heat for a couple of minutes on each side, watching carefully, until the skin is beautifully crispy and the internal temperature gets to 165°F.
- Take chicken off the grill and let it rest on the cutting board, tented loosely with foil, for 5-10 minutes before carving and serving.
Notes
Storing: You can easily store leftover grilled spatchcock chicken in the refrigerator. Place it in an air-tight food storage container. For easier storage, you can break down the chicken into smaller pieces at the joints. Properly stored, it should last for 4-5 days.
Reheating: Our favorite way to reheat the chicken is in an air-fryer because it does an excellent job of preserving the juiciness while re-crisping the skin. In the air-fryer, reheat pieces at 350°F (175°C) for 3-4 minutes, adjusting the time based on the size of the chicken part you are reheating. Alternatively, you can use a microwave for quick reheating; heat pieces for 30-45 seconds at a time, turning in between, until warmed through.