
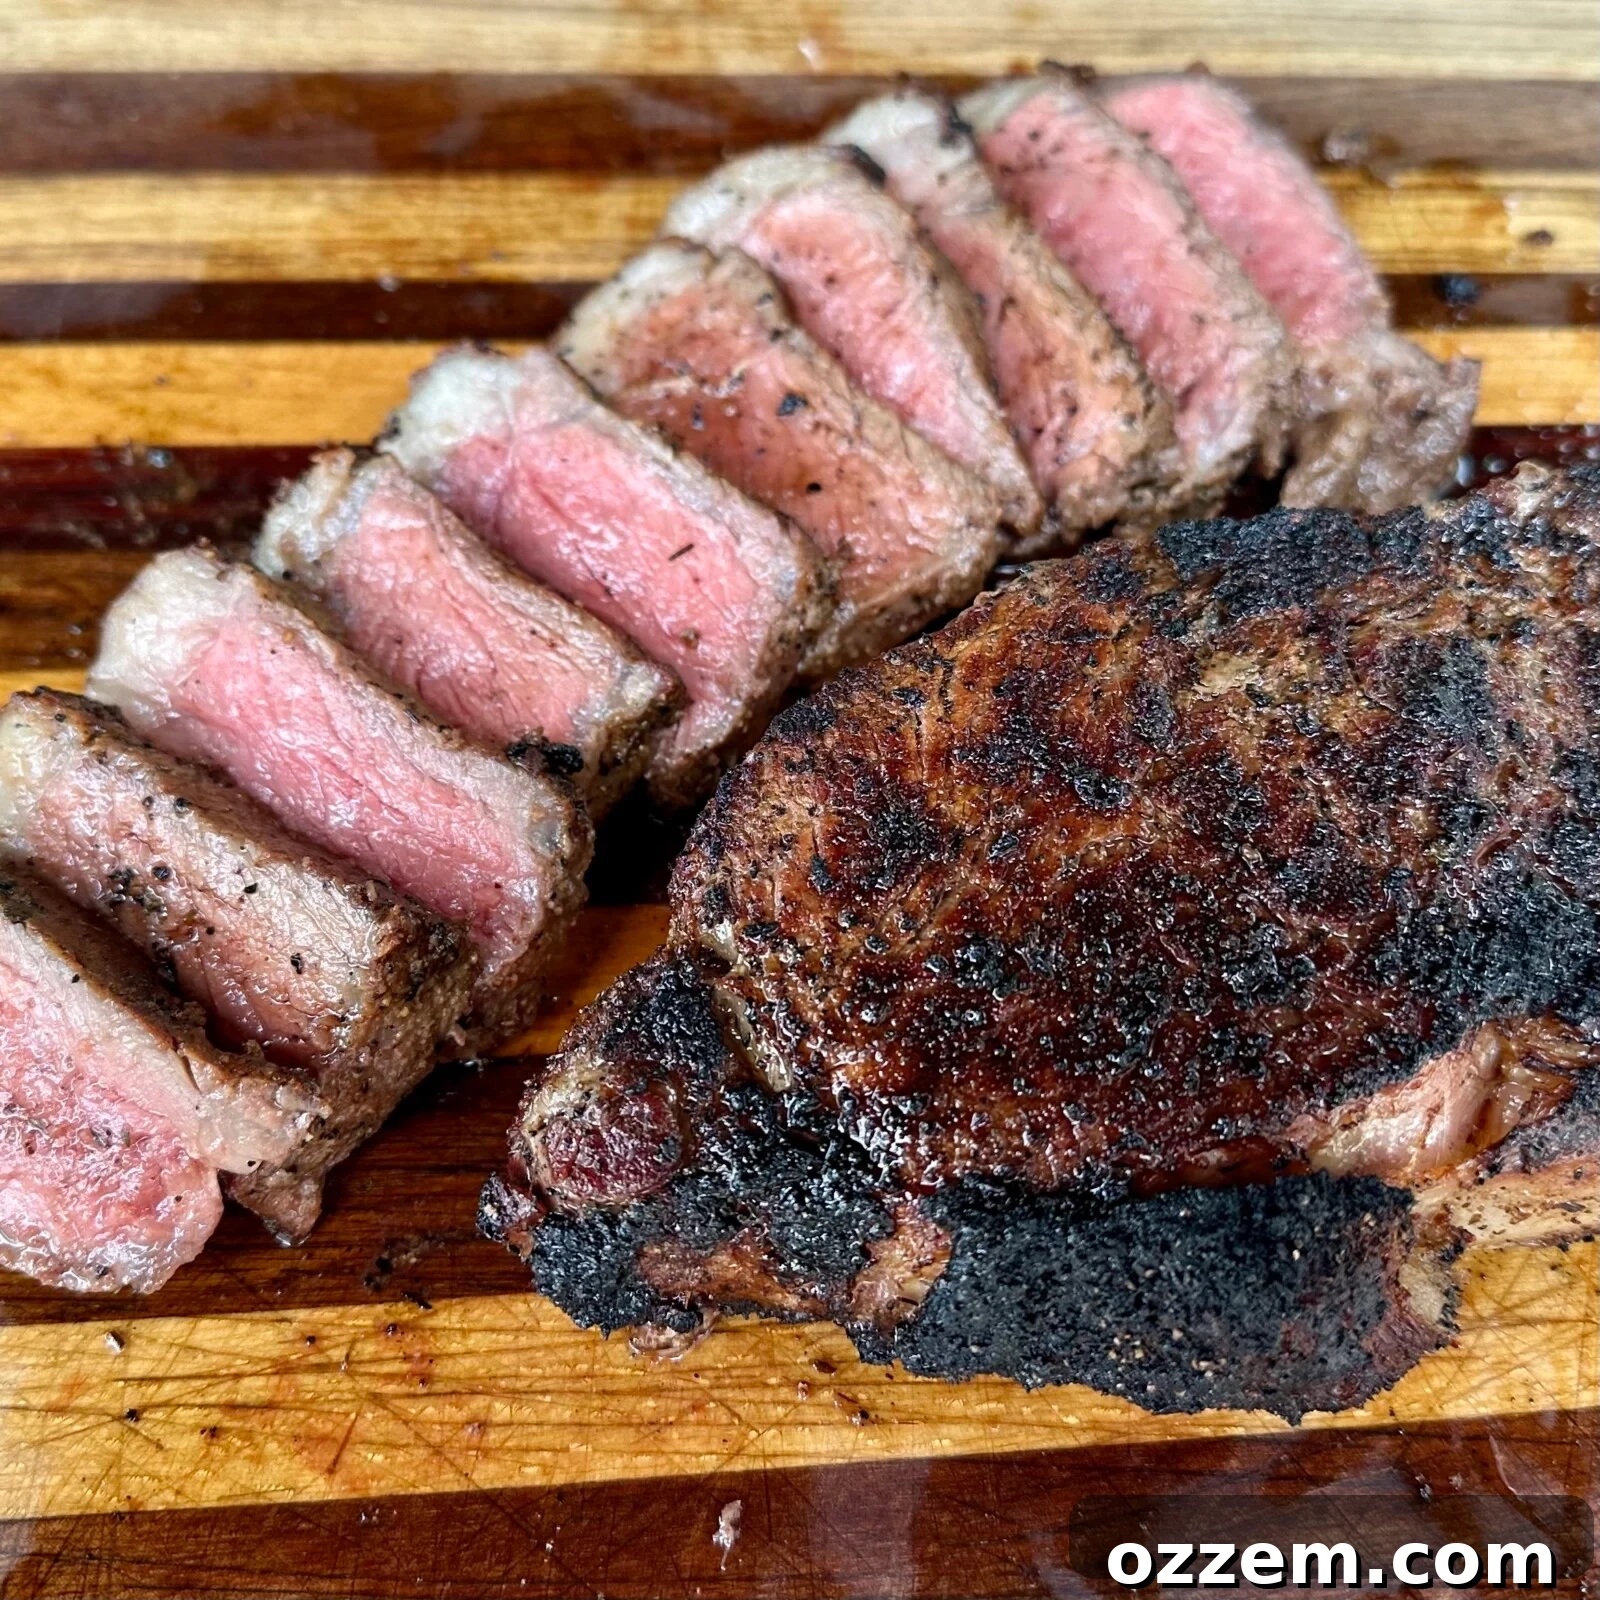
Mastering the Perfectly Grilled NY Strip Steak: Your Ultimate Guide
Grilling a steak that’s perfectly seared on the outside, incredibly juicy on the inside, and bursting with flavor might seem like a daunting challenge to many home cooks. With countless methods and opinions circulating, it’s easy to feel overwhelmed. However, I’ve experimented with them all, and time and again, one technique stands out for its consistent, fool-proof results: the “just keep flipping” method. This approach ensures even cooking, develops a magnificent crust, and prevents overcooking in any single spot. Today, I’m excited to share how you can achieve the absolute best perfectly grilled NY Strip steak, turning your backyard into a gourmet steakhouse.
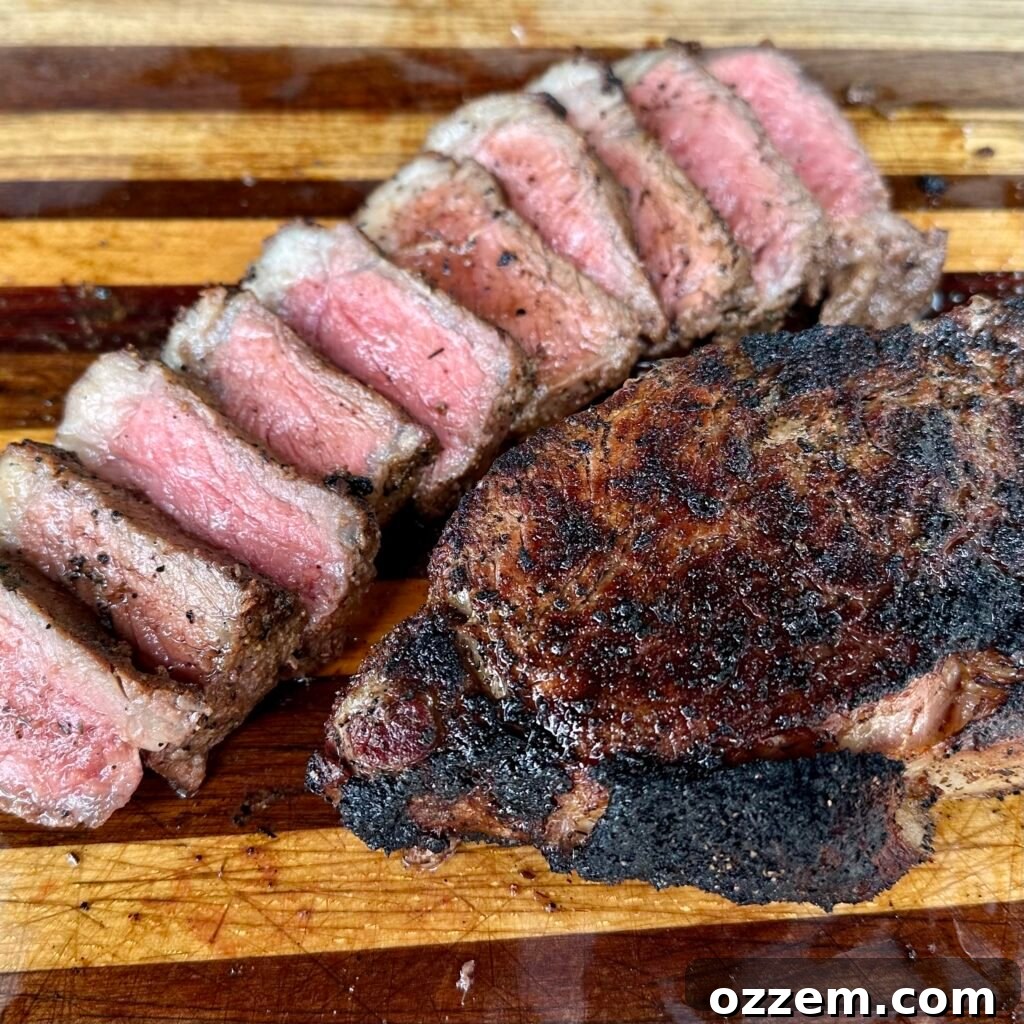
Table of Contents
- Why the NY Strip is Perfect for Grilling
- Step 1: Prep the Steak for Perfection
- Step 2: How to Grill the Perfect NY Strip
- The Art of Resting Your Steak
- Serving Suggestions for Your Grilled NY Strip
- Frequently Asked Questions
- Similar Recipe Ideas
- Perfectly Grilled NY Strip Recipe
Why the NY Strip is Perfect for Grilling
The New York Strip, also known as Kansas City Strip, ambassador steak, or strip loin steak, is a premium cut renowned for its excellent balance of tenderness and robust beefy flavor. Cut from the short loin, it features a good amount of marbling – those tiny flecks of fat distributed throughout the muscle – which melts during cooking, basting the meat from within and contributing to its incredible juiciness and rich taste. Unlike the more tender but less flavorful tenderloin, or the highly marbled but often fattier ribeye, the NY Strip offers a delightful compromise, making it an ideal candidate for high-heat grilling where a beautiful crust is key.
Its consistent shape and thickness also make it easier to cook evenly, especially when utilizing precise temperature control and the “just keep flipping” technique we’ll discuss. Opting for a quality NY Strip means you’re already halfway to a spectacular meal.
Step 1: Prep the Steak for Perfection
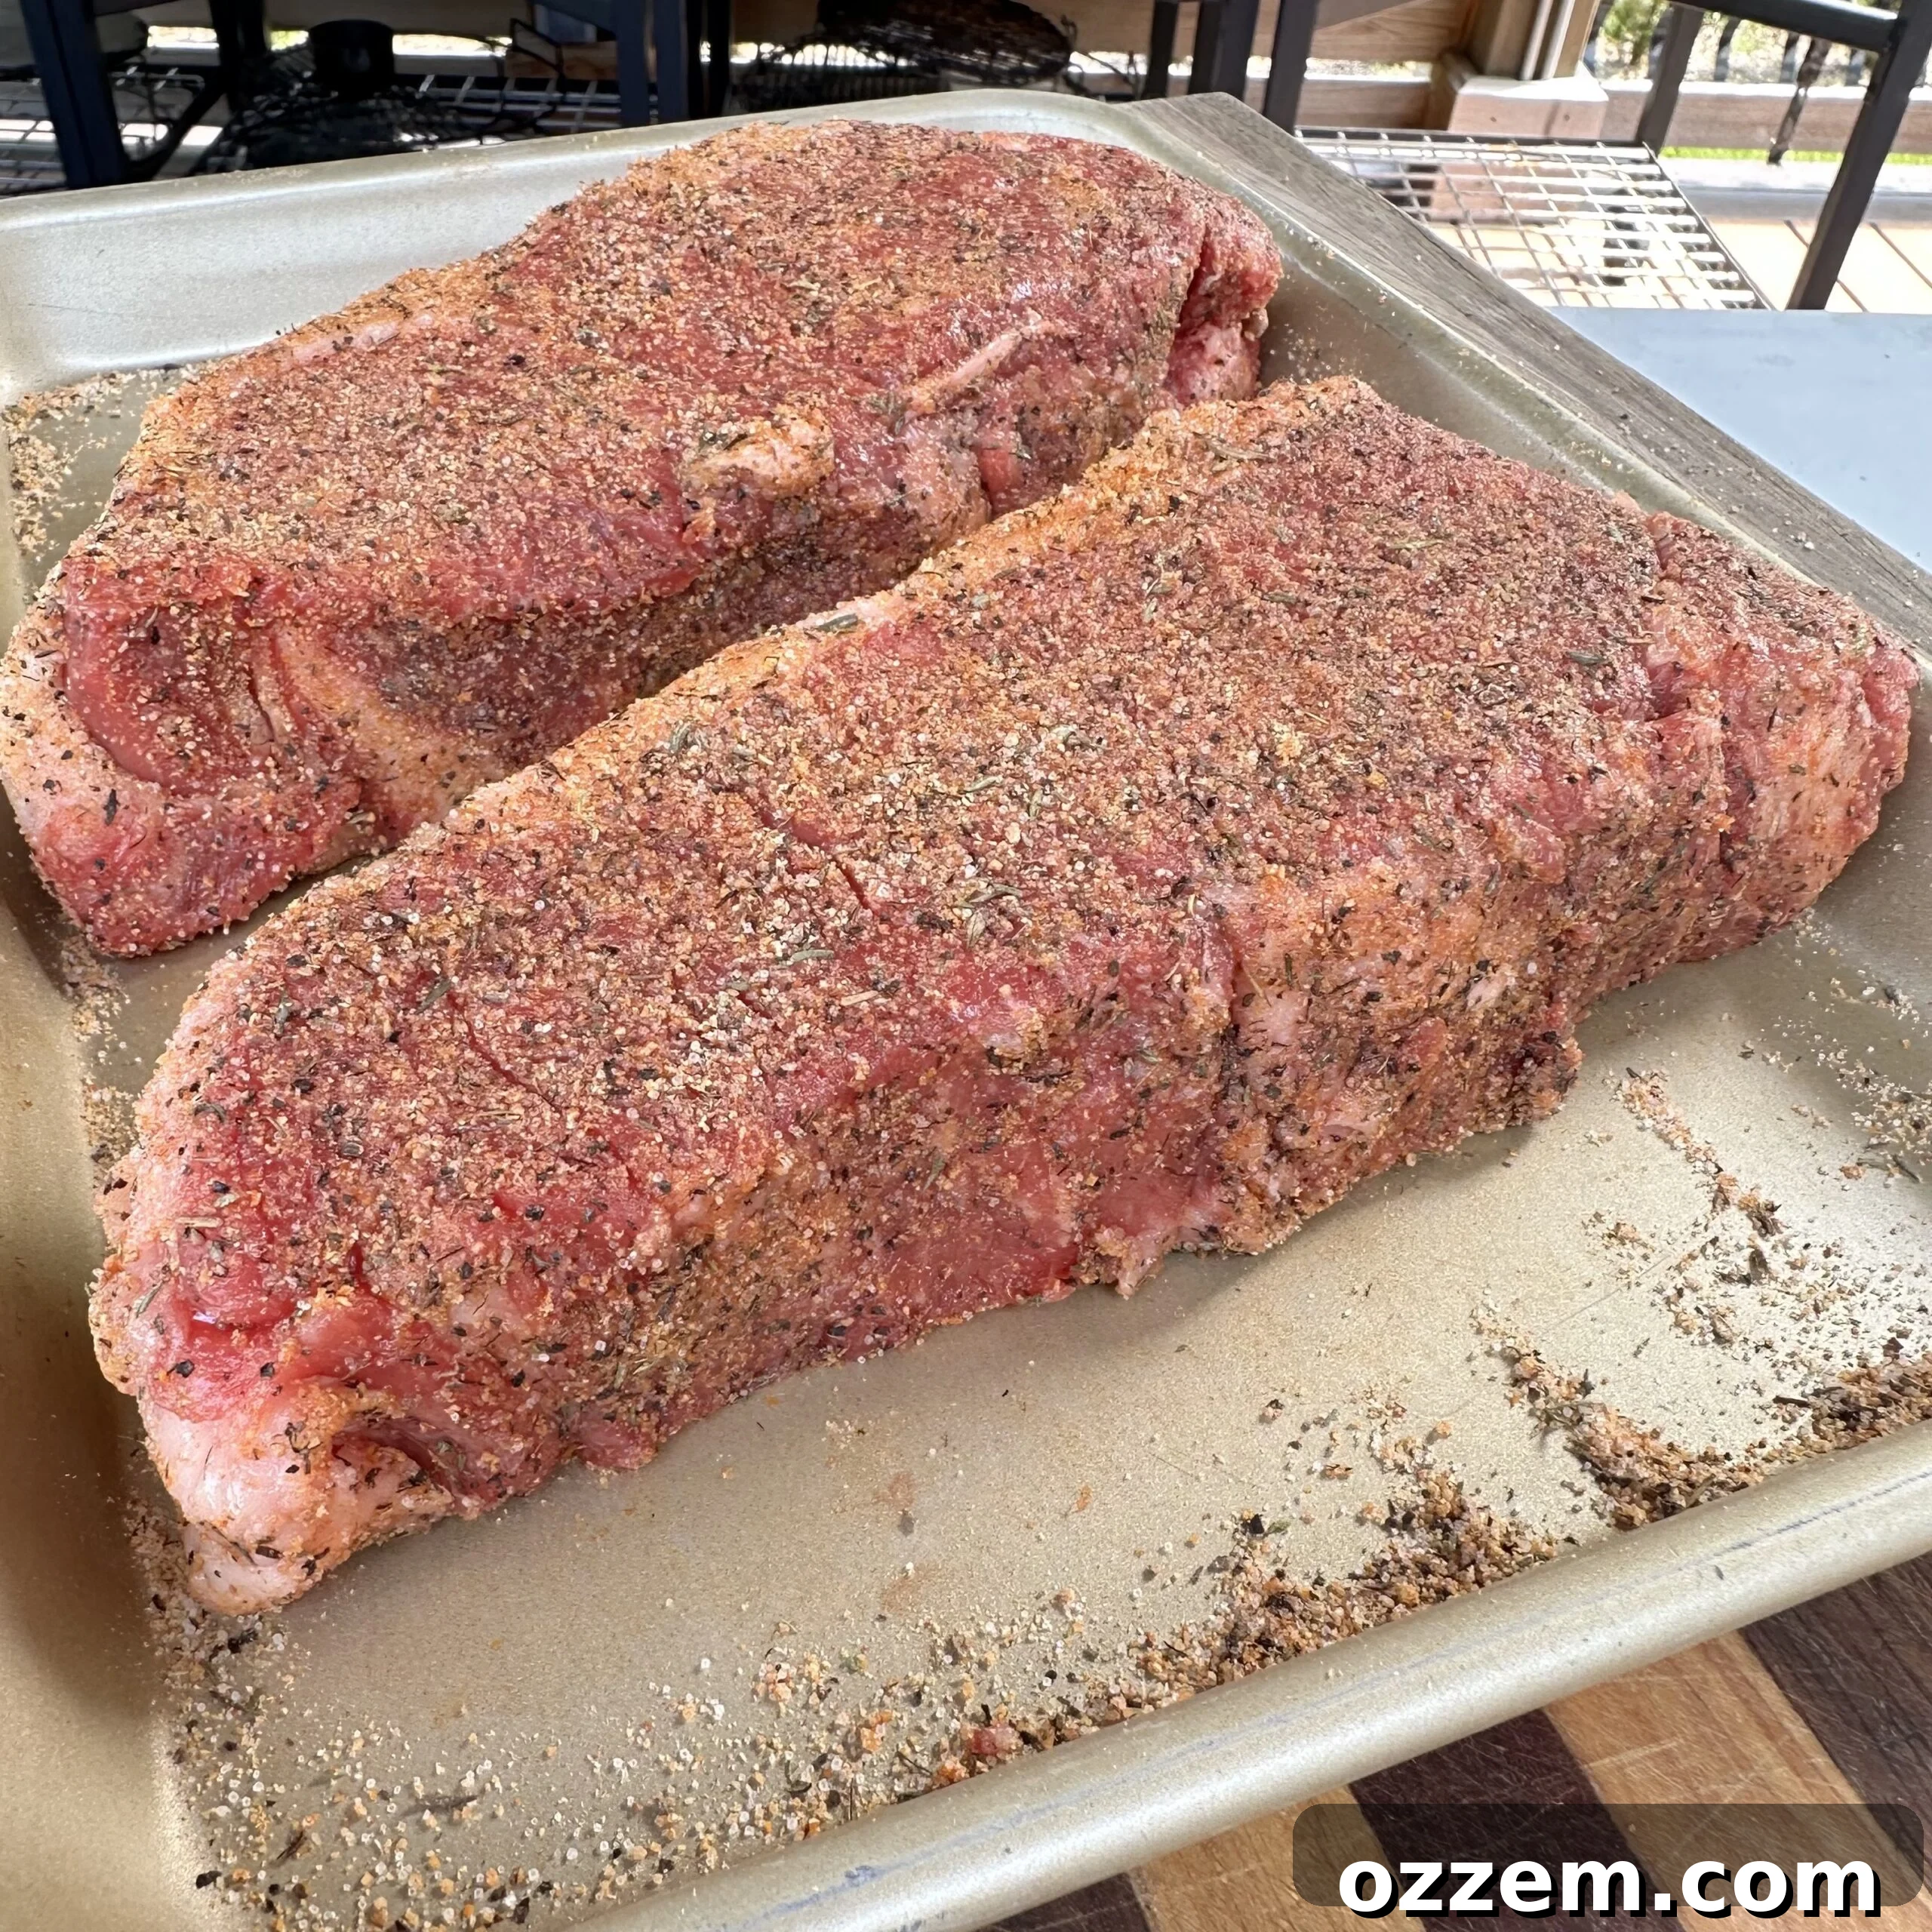
Selecting the Best NY Strip
When you’re at the butcher shop or grocery store, don’t just grab the first steak you see. Take a moment to examine the cuts. You want to look for steaks that are at least 1.5 to 2 inches thick. Thicker cuts are far more forgiving on the grill; they provide a buffer against overcooking and allow you to achieve a perfect sear without turning the interior into shoe leather. Beyond thickness, pay close attention to the marbling. Seek out pieces with ample, evenly distributed white flecks of fat within the red muscle. This intramuscular fat is what renders down during grilling, infusing the steak with moisture, tenderness, and an unbeatable depth of flavor.
Bringing Your Steak to Room Temperature
Before any steak hits the sizzling grates of a grill, it’s absolutely paramount to bring it to room temperature. This isn’t just a chef’s whim; it’s a critical step for even cooking. A cold steak will cook unevenly, with the outside potentially charring before the center reaches your desired doneness. To do this, remove your steaks from the refrigerator about 45 minutes to an hour before you plan to grill. Allow them to sit uncovered on a clean surface or plate.
The Art of Seasoning: Dry Brining for Maximum Flavor
Once your steaks are out and warming up, it’s time to season them generously. Don’t be shy! A robust steak can handle a good amount of seasoning. Apply your chosen steak seasoning liberally to all sides, including the edges. This isn’t just about surface flavor; it’s a process known as “dry brining.” As the salt in the seasoning sits on the meat, it draws out moisture through osmosis. This moisture then dissolves the salt, creating a concentrated brine on the surface. Over time (typically 30-45 minutes at room temperature), this salty liquid is reabsorbed back into the meat, carrying the flavor deep into the muscle fibers. The result is a steak that’s seasoned from within, incredibly juicy, and forms a superior crust when grilled.
For an exceptional flavor profile, I highly recommend a seasoning blend that offers a perfect balance of savory, aromatic, and rich notes. My personal favorite is Dad’s Steak seasoning, which masterfully combines garlic, rosemary, and buttery undertones to complement the natural richness of the beef without overpowering it. It’s the secret weapon for an unforgettable steak.
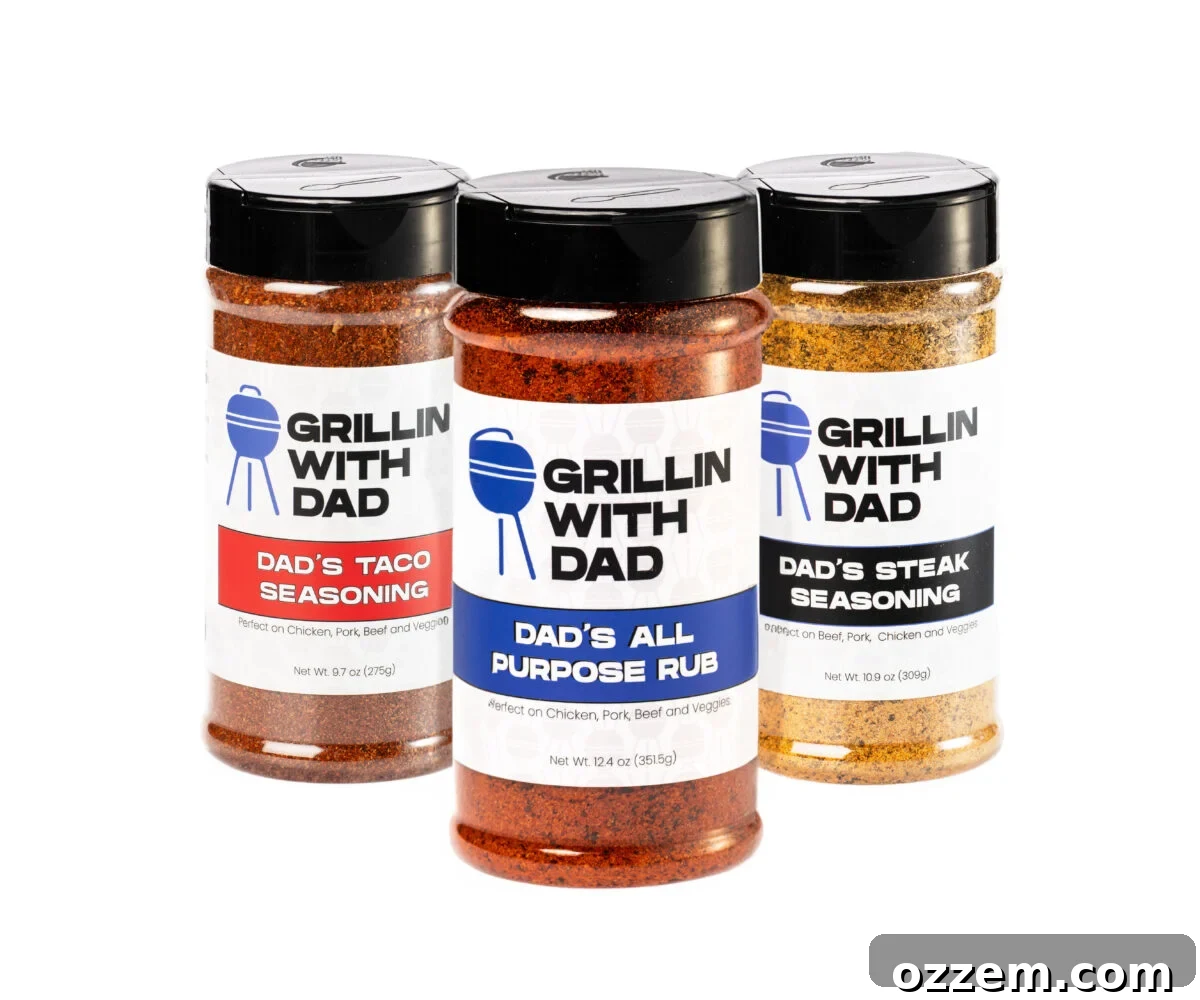
Elevate Your Grilling with Dad’s Seasonings
Essential seasonings for your next grilling adventure!
Step 2: How to Grill the Perfect NY Strip
Preheating for Success: The Importance of High Heat
A successful sear begins long before the steak touches the grates. You need a properly preheated grill, and for a NY Strip, we’re talking serious heat. Set your grill to 500 degrees Fahrenheit (260 degrees Celsius) and configure it for direct heat. It’s incredibly important to allow your grill ample time to reach and maintain this temperature. High heat is essential for two reasons: it creates that coveted, flavorful crust through the Maillard reaction, and it minimizes the cooking time, preventing the steak from drying out. A hot grill also prevents sticking, ensuring those beautiful grill marks. Close the lid and let it preheat for at least 10-15 minutes.
The “Just Keep Flipping” Method: Searing and Even Cooking
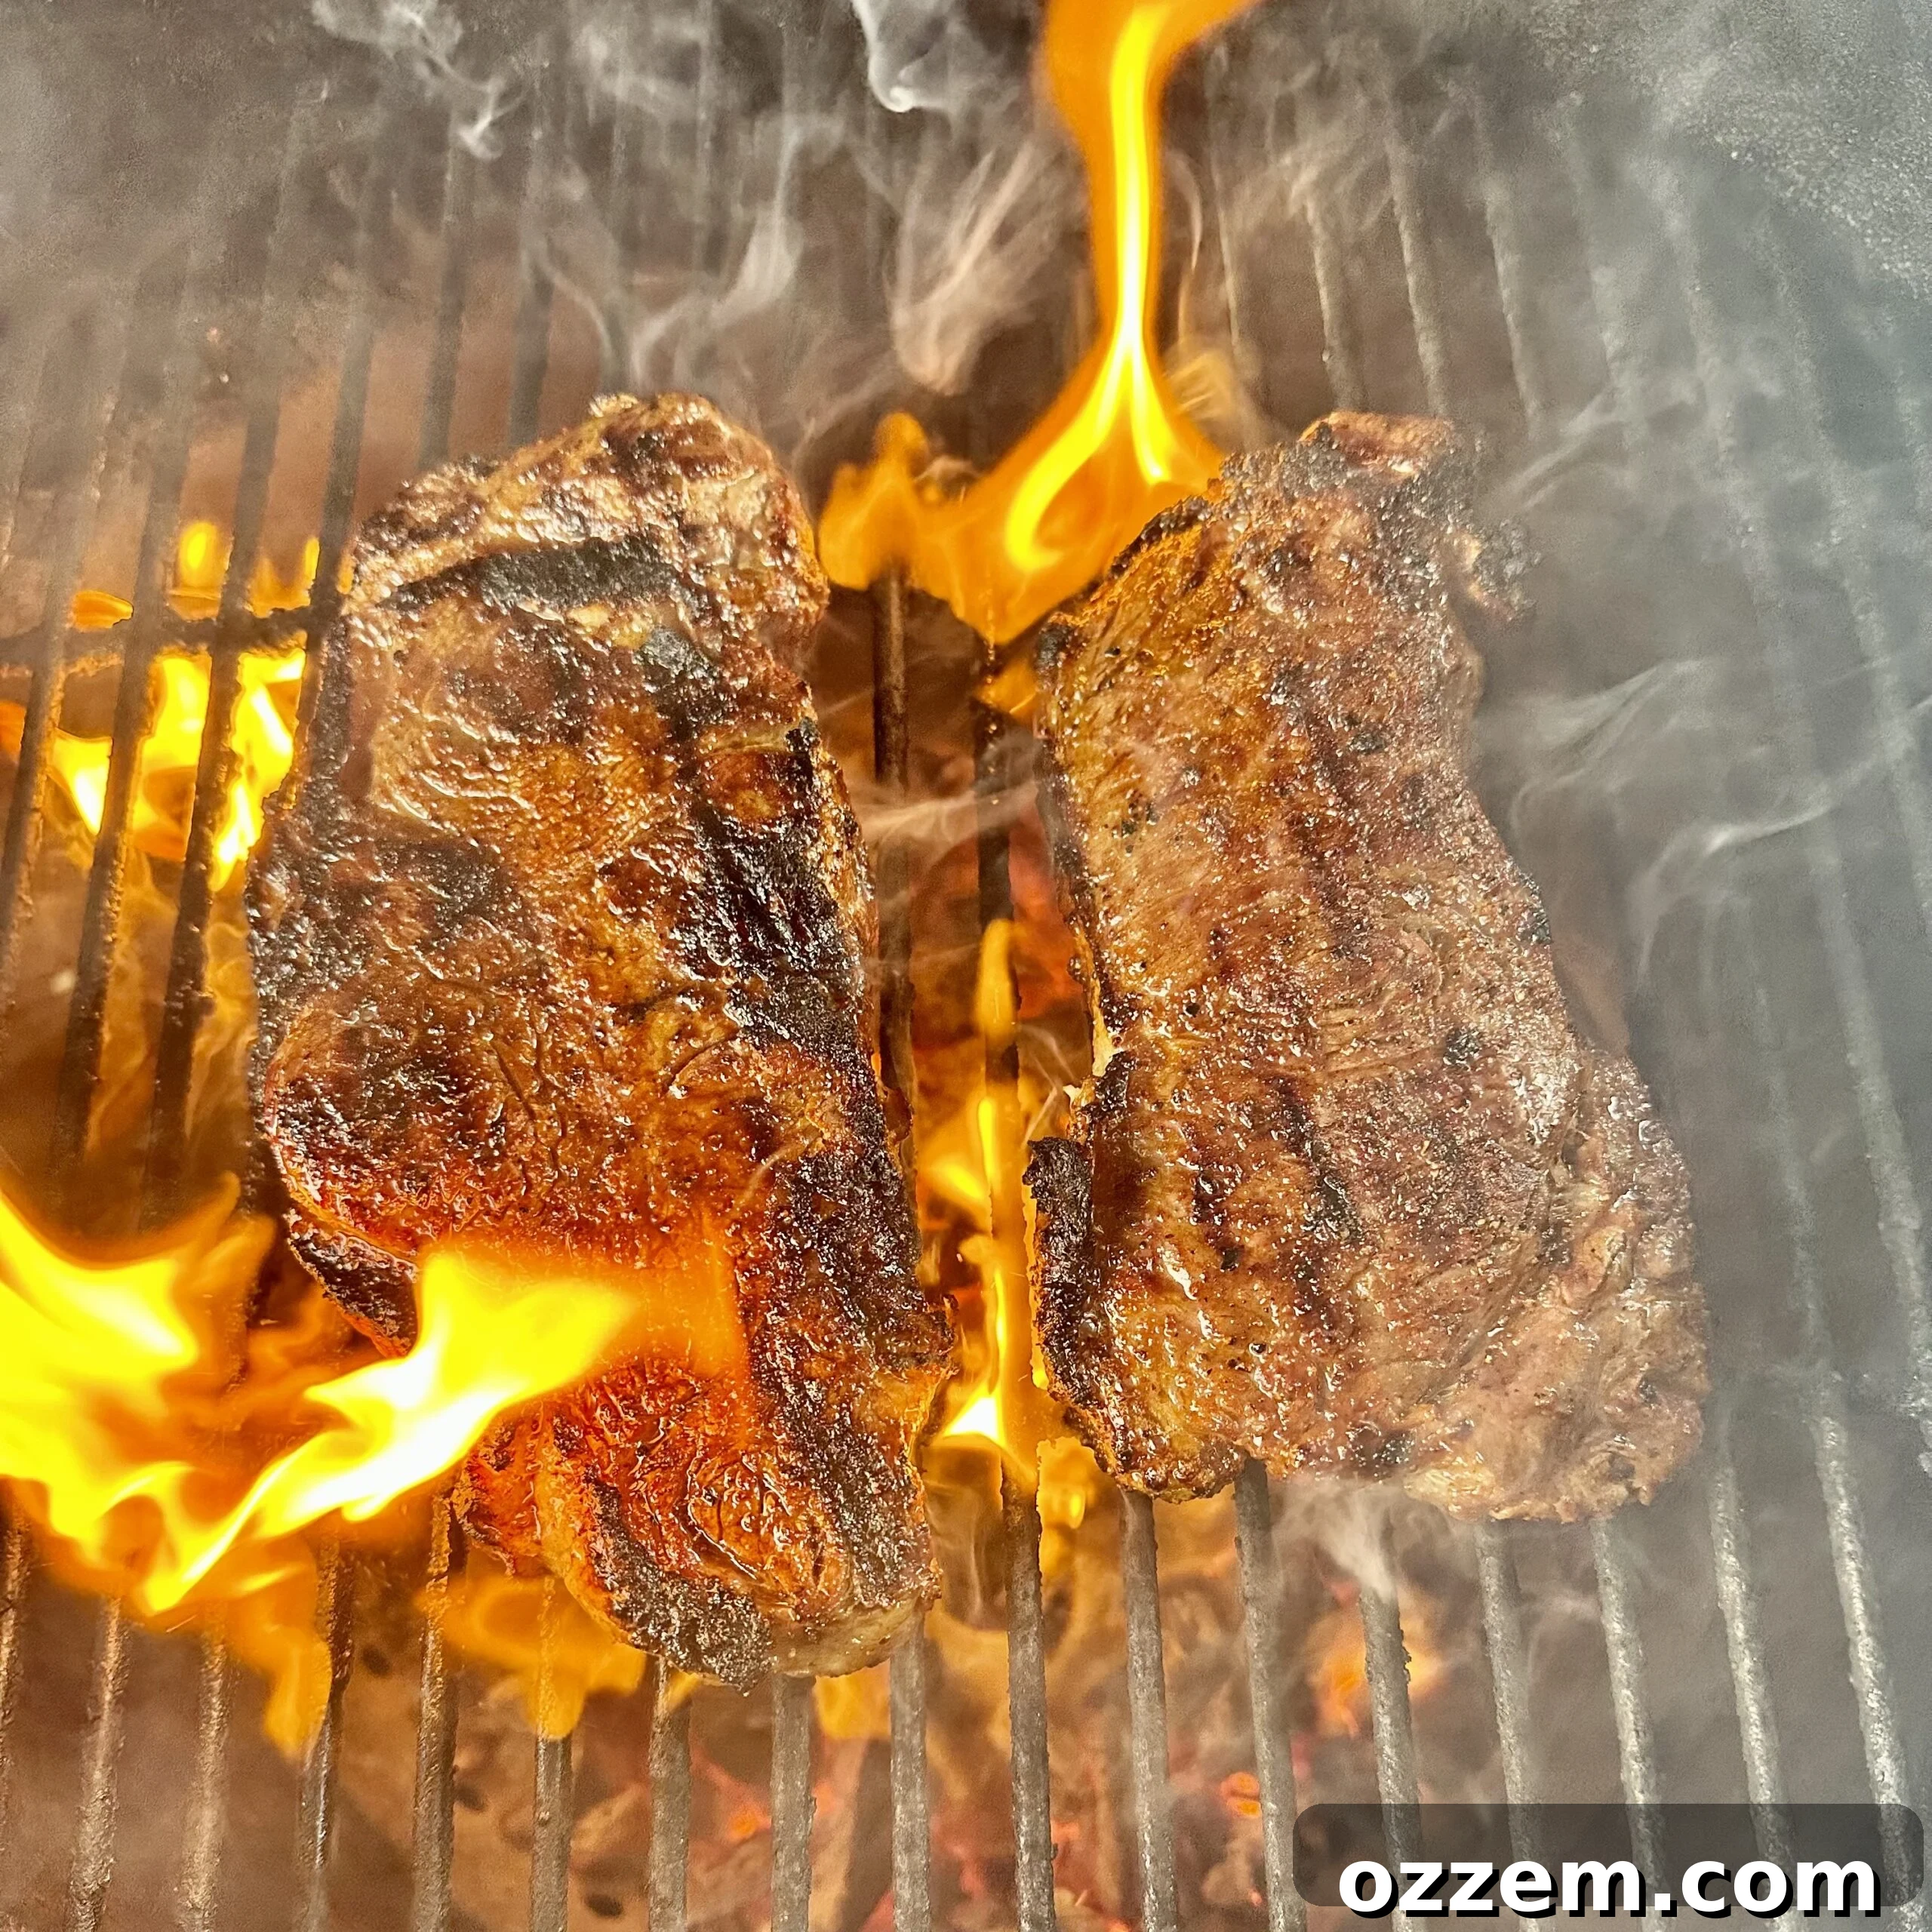
Now for the main event: grilling the steak. Place your seasoned, room-temperature NY Strip directly over the hottest part of the grill. The “just keep flipping” method involves searing the steak for a total of approximately 5-7 minutes, but instead of leaving it on one side for several minutes, you’ll flip it every 30-40 seconds. This frequent flipping achieves several crucial things:
- Even Heat Distribution: It prevents any one side from getting too hot or too cold, leading to a more evenly cooked interior.
- Superior Crust Development: Each flip allows the surface to dry out slightly before hitting the heat again, enhancing the Maillard reaction and building a thicker, more uniform crust on both sides.
- Faster Cooking: Believe it or not, frequent flipping can actually cook the steak faster by keeping both sides actively heated.
Monitoring Doneness: The Key to Perfection
To guarantee your steak reaches your preferred level of doneness, a reliable meat thermometer is your best friend. Don’t guess; measure! Insert the thermometer into the thickest part of the steak, avoiding any bone or large pockets of fat. Here’s a guide to internal temperatures (remember that steaks will continue to cook a few degrees after removal from the grill, known as “carryover cooking”):
- Rare: 120-125°F (49-52°C) – Very red, cool center.
- Medium-Rare: 125-130°F (52-54°C) – Red, warm center. This is often considered the ideal for NY Strip.
- Medium: 135-140°F (57-60°C) – Pink, warm center.
- Medium-Well: 140-145°F (60-63°C) – Slightly pink center.
- Well-Done: 150-155°F (66-68°C) – Little to no pink.
For a perfect medium-rare, aim to remove your steak from the grill when its internal temperature reaches 120-125 degrees Fahrenheit. Continue flipping every 30-40 seconds until this temperature is achieved. I personally rely on a Thermoworks meat thermometer for its exceptional accuracy and durability, which are invaluable when grilling.
The Art of Resting Your Steak
This final step is non-negotiable and as important as the grilling itself. Once your steak reaches the target internal temperature, remove it from the grill and place it on a clean cutting board or plate. Tent it loosely with foil and let it rest for at least 10 minutes. This resting period is crucial because it allows the muscle fibers, which have contracted during cooking, to relax. As they relax, the juices that have migrated to the center of the steak during the high-heat cooking process redistribute evenly throughout the entire cut. If you slice into a steak immediately after grilling, those precious juices will flood onto your cutting board, leaving you with a dry, less flavorful piece of meat. Resting ensures every bite is as tender, moist, and flavorful as possible. Trust me, patience here pays off in a big way. Enjoy!
Serving Suggestions for Your Grilled NY Strip
A perfectly grilled NY Strip is a star on its own, but pairing it with the right accompaniments can elevate your meal to a truly memorable experience. Classic pairings include a creamy mashed potato or a crispy baked potato. For a touch of freshness, consider a vibrant green salad with a light vinaigrette, or some grilled asparagus and corn. A simple pat of herb butter melting over the hot steak just before serving adds an extra layer of decadence. Don’t forget a bold red wine like a Cabernet Sauvignon or a full-bodied craft beer to complement the rich flavors of the beef.
Frequently Asked Questions:
The best cut of steak for grilling depends on your desired outcome and cooking method. For a “hot and fast” approach like the one described here, look for cuts with excellent marbling that can withstand high heat and develop a beautiful crust. Top choices include the Ribeye (for maximum marbling and flavor) and the NY Strip (a great balance of tenderness and beefy taste). Other excellent options include Sirloin or even a well-marbled Porterhouse or T-bone. If you’re cooking a roast or stew, you’d typically opt for tougher, meatier cuts like a chuck roast or short ribs, which benefit from longer, slower cooking methods.
The internal temperature for removing your steak is entirely dependent on your preferred level of doneness, keeping in mind the concept of carryover cooking (the steak will continue to cook a few degrees after it’s removed from the heat). For a perfect medium-rare, aim to remove the steak when it reaches an internal temperature of 120-125 degrees Fahrenheit (49-52°C). For a medium steak, pull it off between 135-140 degrees Fahrenheit (57-60°C). Anything cooked beyond 145-150°F (63-66°C) will generally fall into the medium-well to well-done categories. Always use a reliable meat thermometer for accuracy, and remember to rest the meat for 10 minutes before slicing to allow the juices to redistribute.
Absolutely! While this guide focuses on grilling, the core principles of steak preparation – bringing to room temperature, seasoning, searing, and resting – are universally applicable. You can certainly achieve a fantastic steak using an oven-safe cast iron skillet on the stovetop (searing vigorously) and finishing in a hot oven, or by reverse-searing for thicker cuts. You do not need a specialized “big green egg” or a specific Weber grill to achieve delicious results. The techniques presented here can be adapted to your preferred cooking equipment with excellent outcomes.
Achieving perfect grill marks is a combination of high heat and minimizing movement once the steak is placed on the grates. Ensure your grill is extremely hot (500°F or higher) and clean. After placing the steak on the grill, avoid moving it for the first 30-40 seconds of the “flipping” cycle. For cross-hatch marks, you can rotate the steak 45 degrees after the initial sear on one side (without flipping it over), then flip and repeat on the second side. Remember, good grill marks are a sign of a great sear, but consistent, even cooking and internal doneness are ultimately more important for flavor and texture.
Similar Recipe Ideas:
Beef
Steak Pinwheel
Beef
Grilled Tomahawk Steak
Beef
Steak and Shrimp Dinner
Beef
Beef Tataki
A printer-friendly recipe for your convenience is available below:
Perfectly Grilled NY Strip Steak
Maciek Zurawski
Unlock the secret to a perfectly medium-rare steak with a fantastic sear using the hot and fast “just keep flipping” method. Master your grilling skills this season!
2 minutes
5-7 minutes
4 People
Ingredients
- 2 Thick NY Strips (1.5 – 2 inches thick)
- 4 tbsp Dad’s Steak seasoning (or your preferred steak seasoning)
Instructions
- Remove the NY Strip steaks from the refrigerator 45-60 minutes before grilling to allow them to reach room temperature. Generously season all sides with Dad’s Steak seasoning (or your preferred blend) and let the meat “sweat” as the salt performs a dry brine.
- Preheat your grill to 500 degrees Fahrenheit (260°C) and set it for direct heat. Ensure the grill is thoroughly hot before proceeding.
- Place the seasoned steaks on the hot grill. Sear the steak using the “just keep flipping” method, turning it every 30-40 seconds for a total of 5-7 minutes. Continue flipping until the internal temperature reaches 120-125 degrees Fahrenheit (49-52°C) for a perfect medium-rare. Adjust cooking time for desired doneness: 135-140°F (57-60°C) for medium, 140-145°F (60-63°C) for medium-well.
- Remove the steak from the grill and place it on a clean cutting board or plate. Tent loosely with foil and let it rest for a minimum of 10 minutes. This crucial step allows the juices to redistribute, ensuring a tender and juicy steak.
- Slice against the grain and serve immediately. Enjoy your perfectly grilled NY Strip!
Nutrition (Approximate per serving)
| Protein: 23g
| Fat: 17g
| Saturated Fat: 7g
| Polyunsaturated Fat: 1g
| Monounsaturated Fat: 7g
| Cholesterol: 90mg
| Sodium: 59mg
| Potassium: 354mg
| Calcium: 26mg
| Iron: 2mg
Check out our Recipes Page for other tasty grilling ideas and expand your culinary repertoire!