
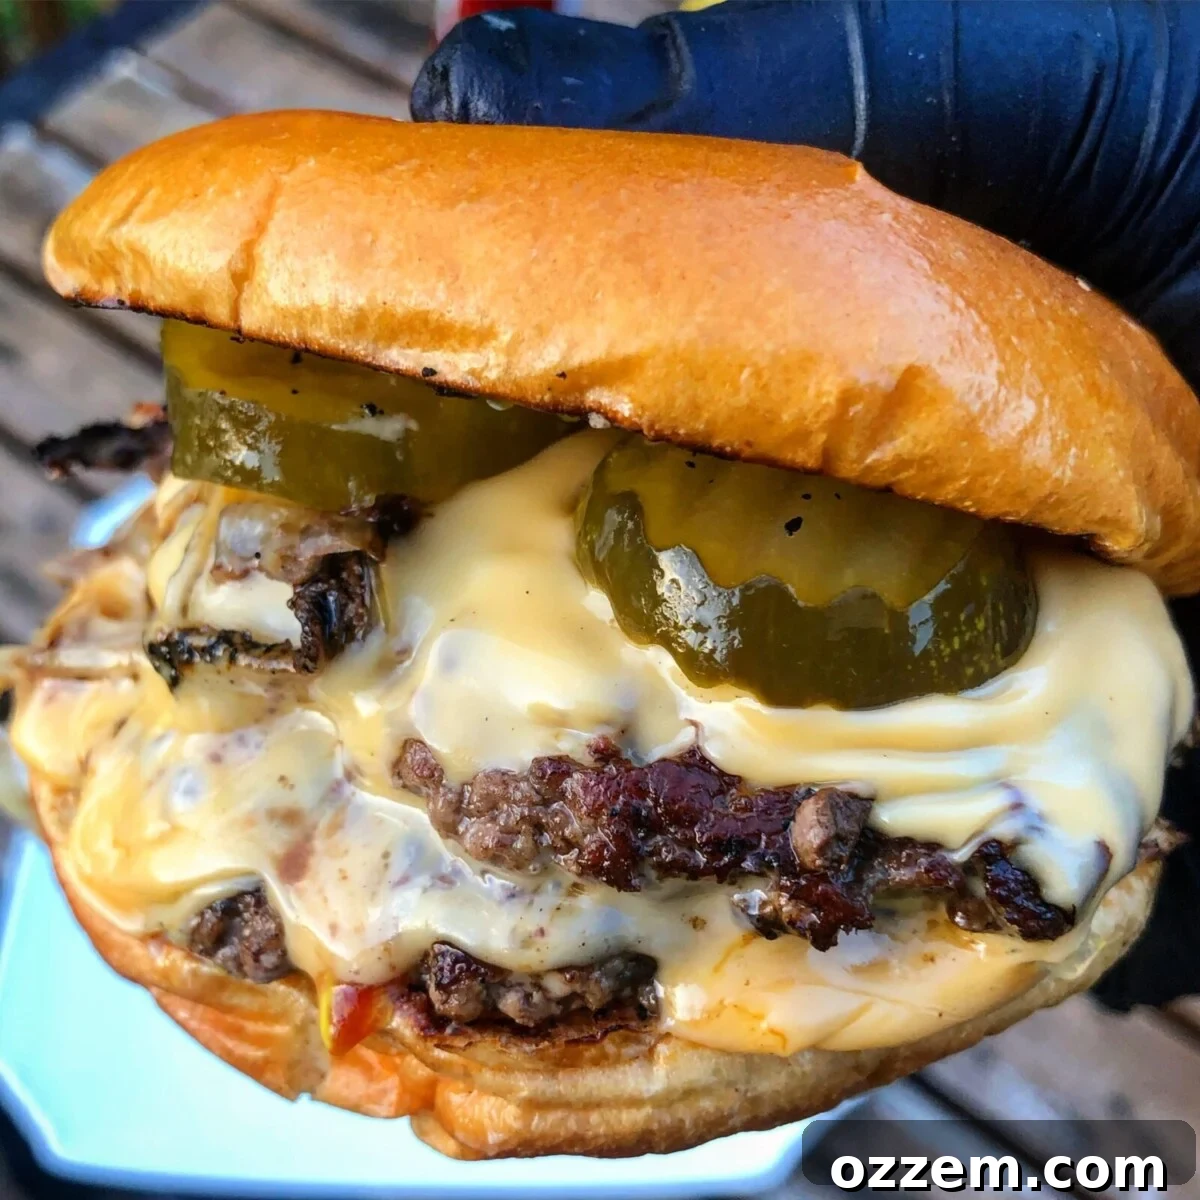
There’s nothing quite like a perfectly cooked burger, and when it comes to quick, incredibly flavorful meals, the smash burger stands in a league of its own. This isn’t just a burger; it’s a culinary experience defined by its irresistibly crispy crust, juicy interior, and lightning-fast cooking time, making it an ideal choice for any day of the week. The beauty of the smash burger lies in its simplicity and the phenomenal results achieved through a unique cooking method that maximizes flavor and texture. If you’re looking to elevate your grilling game and impress friends and family with a truly epic burger, you’ve come to the right place. We’ll dive deep into the art and science of crafting the ultimate smash burger, ensuring every bite is a revelation.
Craving more burger inspiration? Don’t miss out on exploring other delicious variations like my mouthwatering Juicy Lucy burger or the comforting BBQ Patty Melt. Each offers a unique twist on this classic American favorite!
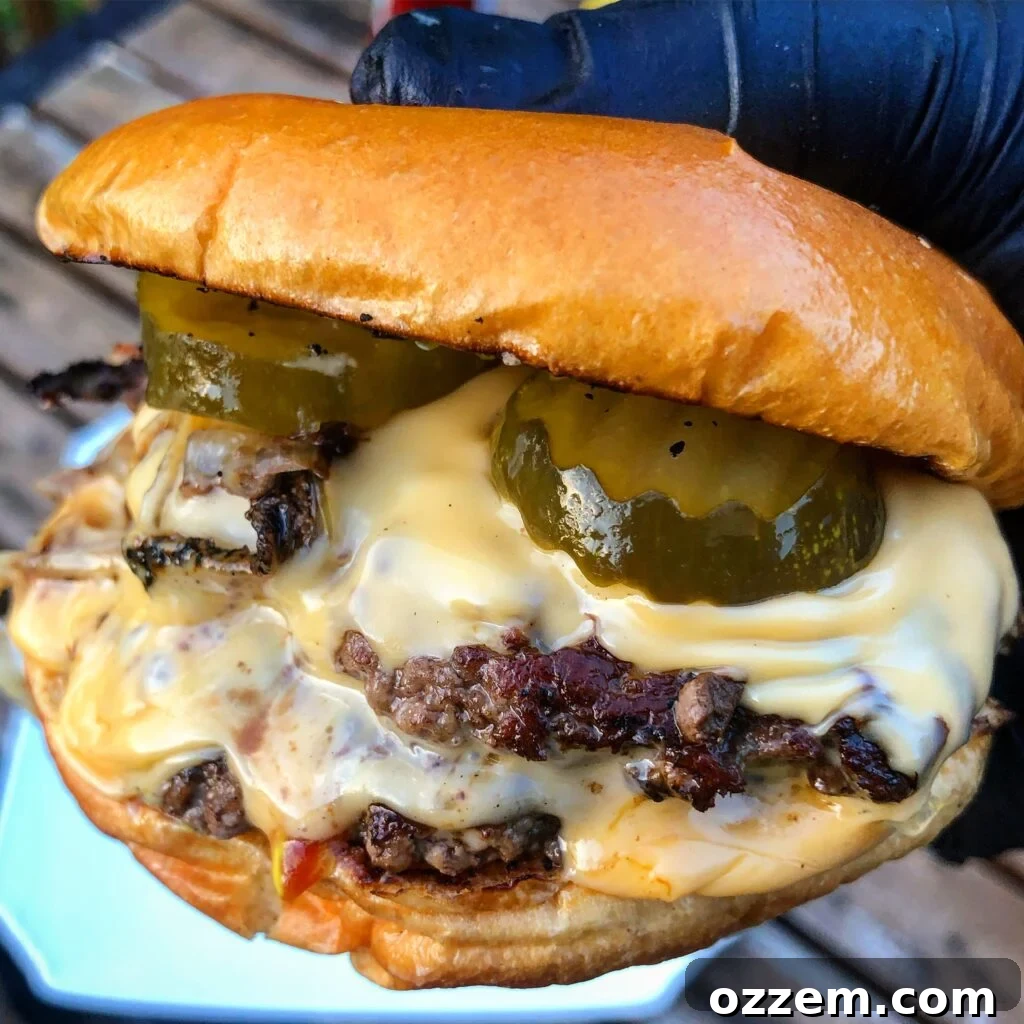
Table of Contents
- The Essence of a Smash Burger
- Ingredient List for Smash Burgers
- Step 1: Perfectly Prepping Your Beef Patties
- Step 2: Grilling the Smash Burgers to Perfection
- Step 3: Assembling Your Masterpiece: The Smash Burger
- Frequently Asked Questions
- Smash Burgers Recipe Card
The Essence of a Smash Burger: Why It’s So Good
What makes a smash burger truly exceptional? It all comes down to the technique. By taking a loosely formed ball of ground beef and “smashing” it onto a blazing hot cooking surface, you create an incredible amount of surface area that comes into direct contact with the heat. This rapid contact leads to the Maillard reaction – the complex chemical process that gives food its irresistible browning and deep, savory flavors. The result is a thin, crispy-edged patty with an intensely beefy taste that locks in moisture, ensuring a juicy center. Unlike thicker burgers that might remain pink in the middle, smash burgers prioritize that beautiful, flavorful crust, making them incredibly satisfying and uniquely delicious. It’s a technique that’s simple to master but delivers restaurant-quality results every single time.
Ingredient List for Smash Burgers: Building Blocks of Flavor
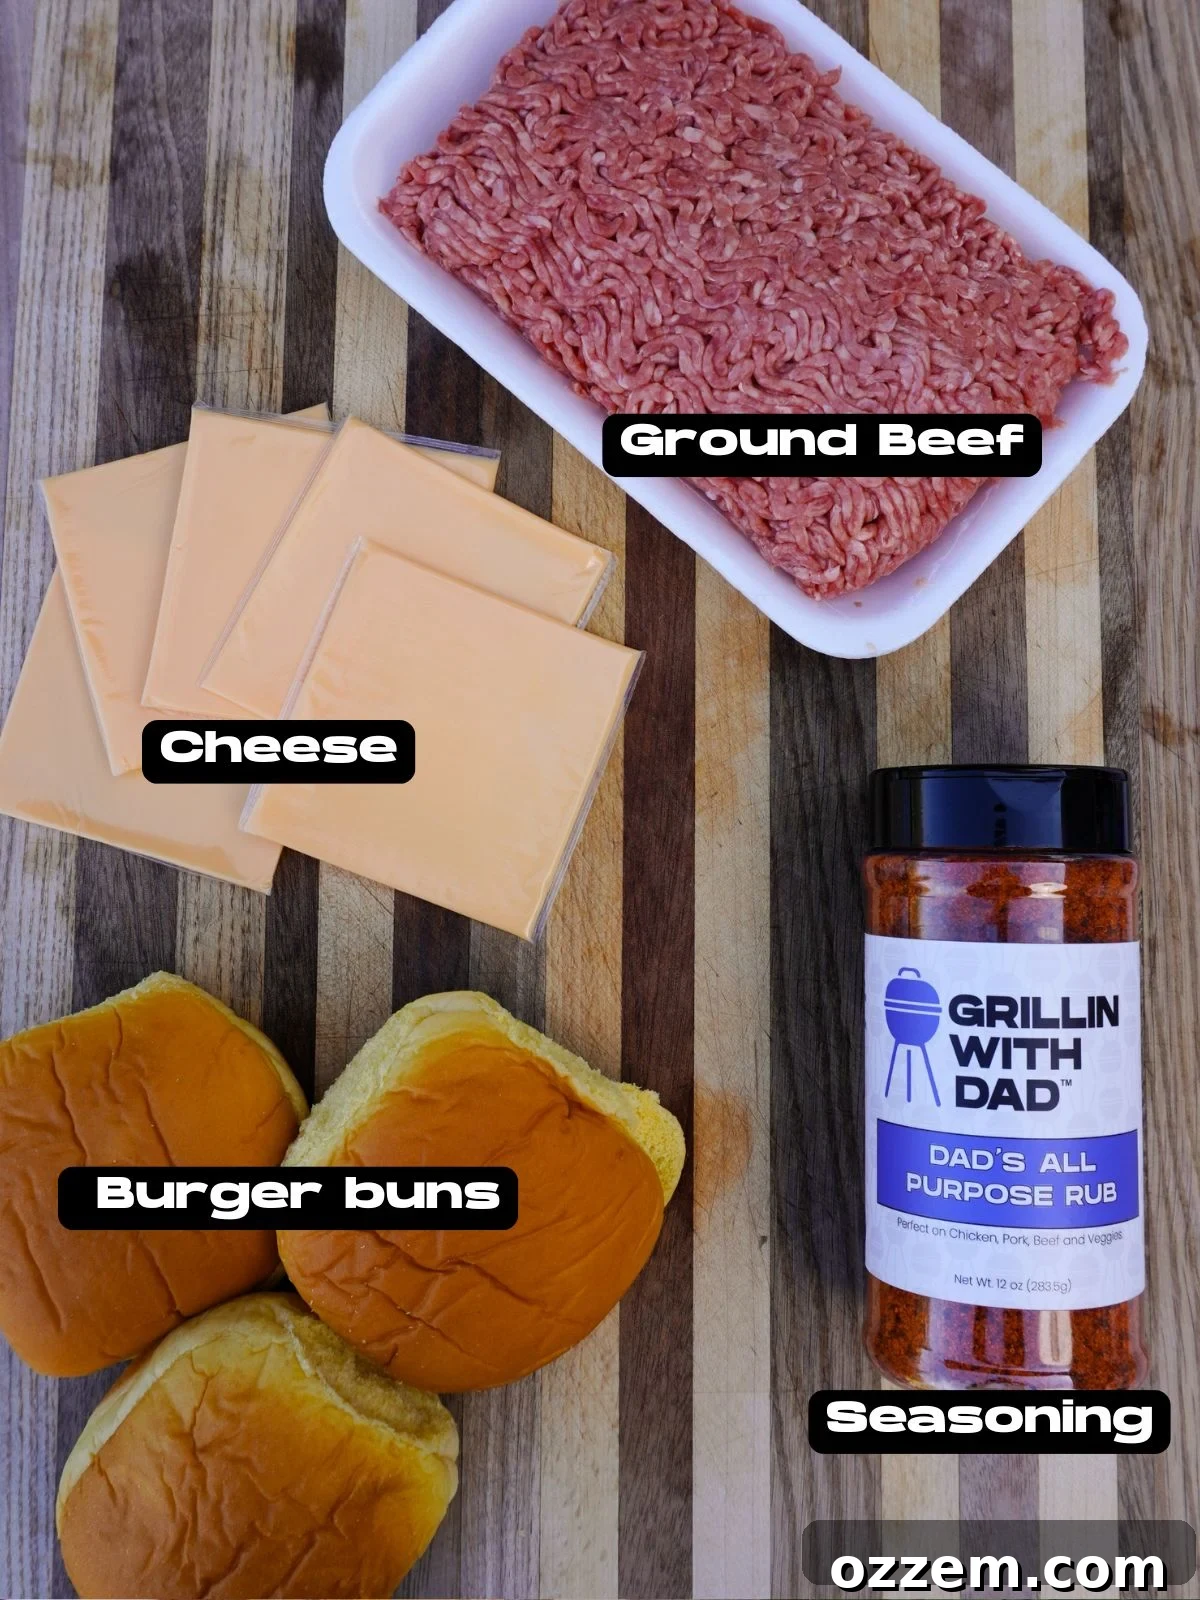
Crafting the perfect smash burger starts with selecting the right ingredients. While the concept is simple, the quality and choice of each component play a crucial role in the final flavor and texture. Here’s a detailed look at what you’ll need to create an unforgettable smash burger:
- Ground Beef: The Foundation
For an authentic and incredibly juicy smash burger, an 80/20 lean-to-fat ratio ground chuck is absolutely ideal. This ratio ensures enough fat to render down and create that coveted crispy crust without drying out the patty, while also keeping it together when smashed. The fat melts and essentially fries the beef, imparting a rich flavor and contributing to the incredible texture. While other ratios can work, 80/20 offers the perfect balance. Aim for freshly ground beef if possible, as it tends to have better flavor and texture. - Cheese: The Melty Topping
American cheese is a non-negotiable for traditional smash burgers. Its low melting point means it melts quickly and evenly, creating a perfectly gooey, creamy layer that drapes over the hot patty. It complements the rich beef flavor without overpowering it. If you’re feeling adventurous or prefer a bolder taste, sharp cheddar or pepper jack can be excellent alternatives, offering a different flavor profile while still melting beautifully. - Buns: The Perfect Embrace
A soft, slightly sweet bun is crucial for a smash burger. Potato rolls or brioche buns are highly recommended. Their tender crumb and slight sweetness provide a wonderful contrast to the savory beef and crisp crust. More importantly, they hold up well to the juicy patties and condiments without falling apart, ensuring a satisfying bite every time. Don’t skip toasting them – it adds another layer of texture and prevents sogginess. - Seasoning: Enhancing the Flavor
While some purists stick to just salt and pepper, a good all-purpose seasoning can truly elevate your smash burger. My personal favorite is Dad’s All Purpose Rub, which adds a balanced blend of savory notes that perfectly complement the beef. The key is to season *after* smashing the patties on the hot griddle; this ensures the seasoning adheres directly to the meat and contributes to the crust formation without drawing out moisture prematurely. - Condiments & Toppings: Personalizing Your Burger
For a classic smash burger experience, simple is often best: ketchup, mustard, and pickle slices. These provide a tangy, sweet, and zesty counterpoint to the rich beef. However, the beauty of a smash burger is its versatility. Consider adding thinly sliced red onion, crisp lettuce, ripe tomato, or even caramelized onions for an extra layer of flavor and texture. A special sauce, such as a homemade aioli or a secret burger sauce, can also take your creation to the next level.
Step 1: Perfectly Prepping Your Beef Patties
The name “smash burger” tells you everything you need to know about a crucial part of the cooking process: taking a ball of ground beef and literally smashing it onto a hot surface. But before you get to the exciting smashing part, proper patty preparation is key to success. This step ensures even cooking and that signature crispy edge.
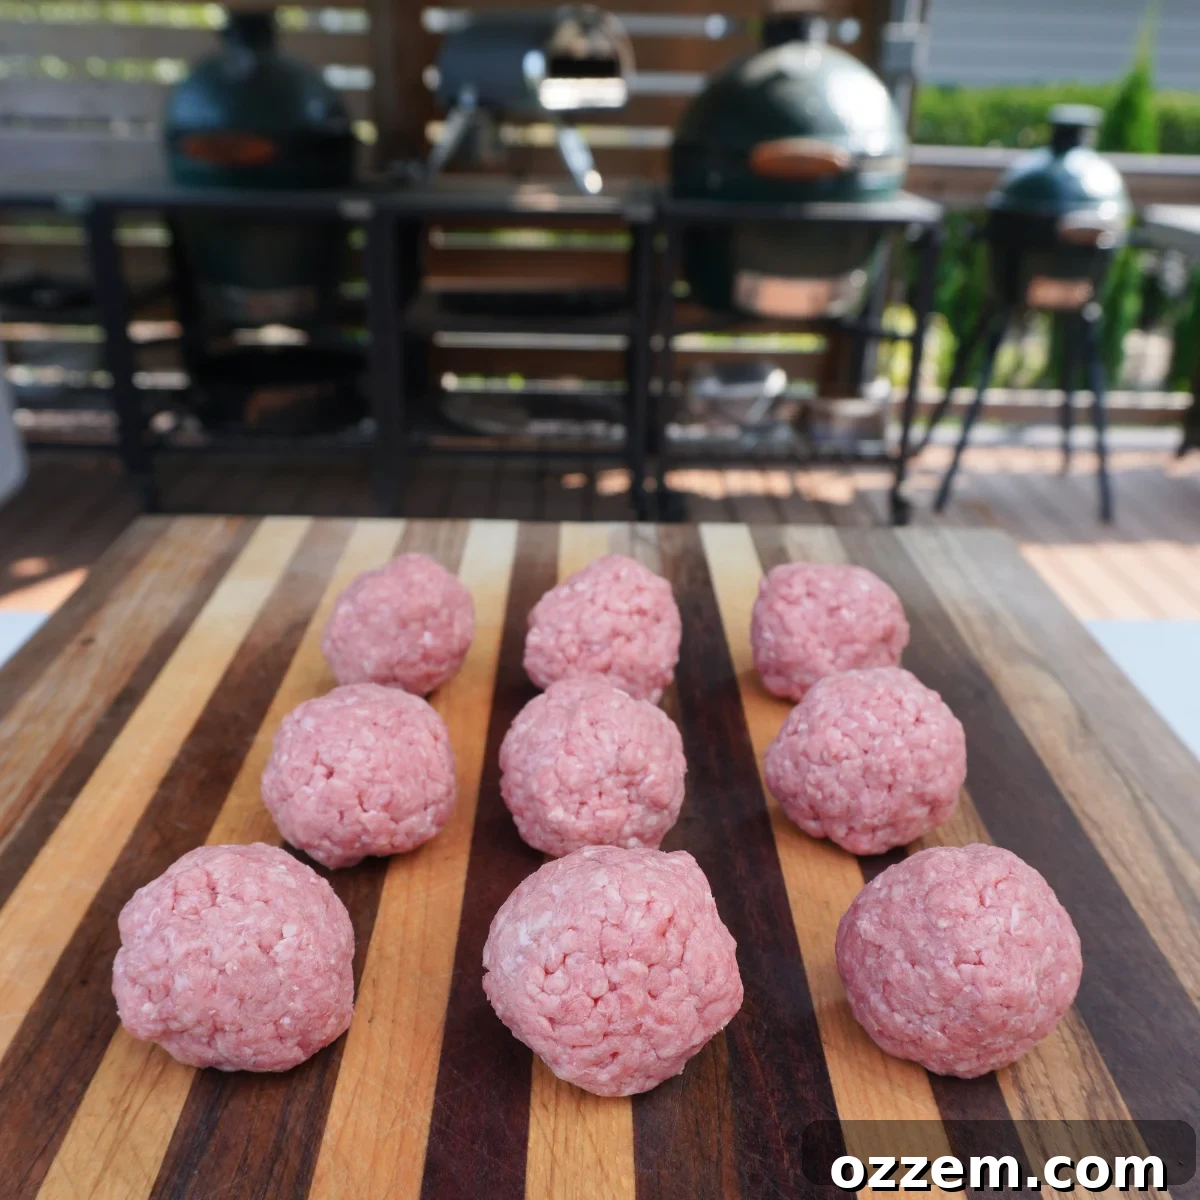
I always start with an 80/20 ground beef blend. This fat content is crucial, as it provides enough juiciness and flavor, and the fat renders out to create that desirable crust. Begin by dividing your ground beef into equal portions. For a standard smash burger, aim for about 2.5 to 3 ounces per ball, which is slightly larger than a golf ball. Gently roll each portion into a loose ball – do not compress them too tightly. The looser the ball, the easier it will be to smash, and the more rugged surface area you’ll create for maximum crust development.
A critical tip: Do not season the meat at this stage. Adding salt too early can draw moisture out of the beef, making the patties dry and less flavorful. Seasoning will happen once the patties are flattened on the griddle, ensuring the spices adhere to the newly exposed surface and become part of that delicious crust.
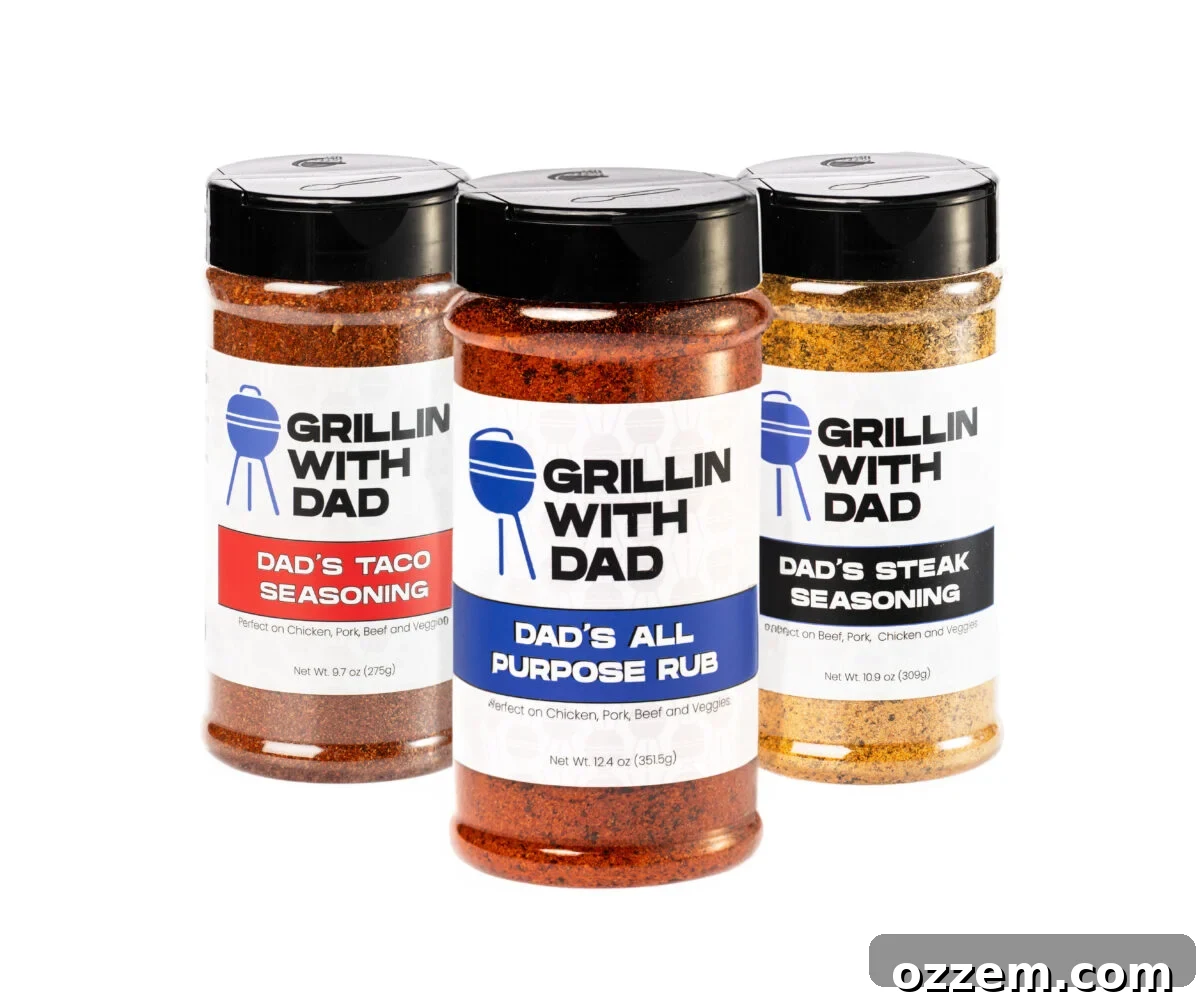
Dad’s Seasonings
Unlock incredible flavor for all your grilling adventures with our must-have seasonings!
Step 2: Grilling the Smash Burgers to Perfection
This is where the magic truly happens! Cooking smash burgers requires a specific technique and, more importantly, a searing hot surface to achieve that signature crispy crust and juicy interior. Understanding the right equipment and precise steps will make all the difference.
Choosing Your Equipment: Griddle vs. Cast Iron
The absolute ideal way to cook smash burgers is on a dedicated flattop grill. Its expansive, evenly heated surface allows you to cook multiple patties simultaneously and ensures consistent results. If a flattop isn’t an option, a heavy-duty cast iron griddle or even a large cast iron skillet will work wonderfully. The key is a surface that can retain and distribute high heat. I highly recommend cooking these outdoors if possible. Not only does it keep your kitchen clean from splattering fat and smoke, but it also adds to the grilling experience.
Preheating is Paramount
Start by getting your griddle or cast iron pan blazing HOT. This step cannot be overstated. We’re aiming for a beautiful, dark crust on the burgers, and that’s only achievable with intense, direct heat that initiates the Maillard reaction almost instantly. Let your griddle preheat for at least 10-15 minutes on high heat. You might even see a slight wisp of smoke, which indicates it’s ready. While the grill is warming up, take a moment to thinly slice one small yellow onion. These will cook with the burgers, infusing them with a subtle sweetness and extra flavor.
The Smash Technique
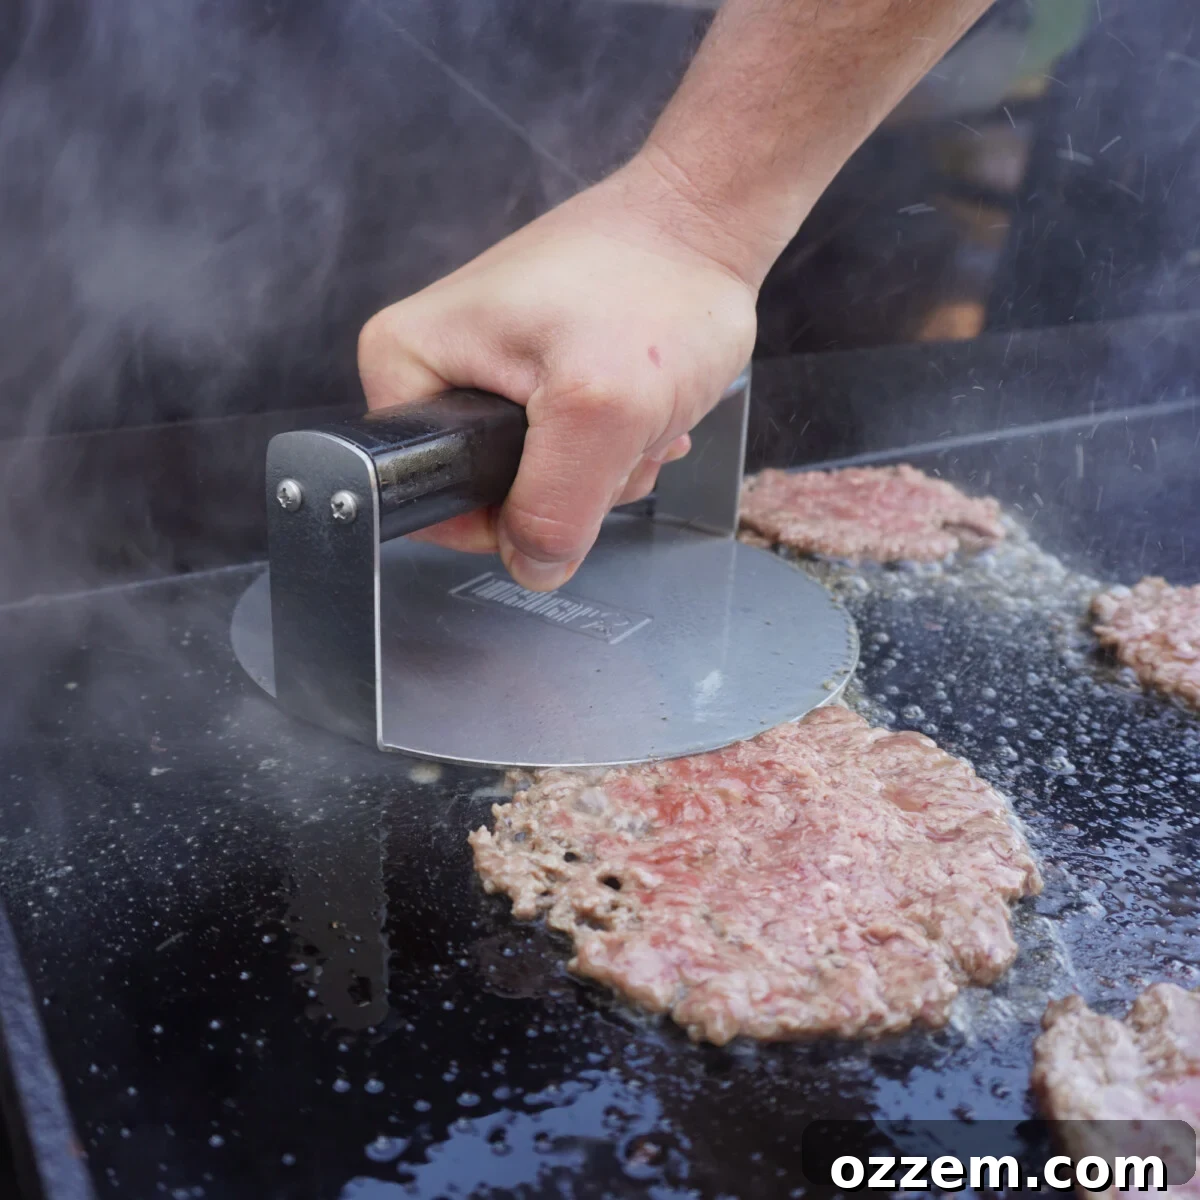
Once your cooking surface is screaming hot, place your loosely formed balls of ground beef onto the griddle. Immediately, using a sturdy metal spatula or a dedicated burger press, smash them down hard and fast. Apply firm, even pressure for about 10 seconds to flatten the ball into a thin patty, approximately ¼ to ½ inch thick. The goal is to maximize contact with the hot surface and create those irregular, crispy edges. If you have trouble with meat sticking to your spatula, place a piece of parchment paper over the beef ball before smashing. After smashing, season the top of each patty generously with Dad’s All Purpose Rub or your preferred salt and pepper blend.
Cooking and Melting
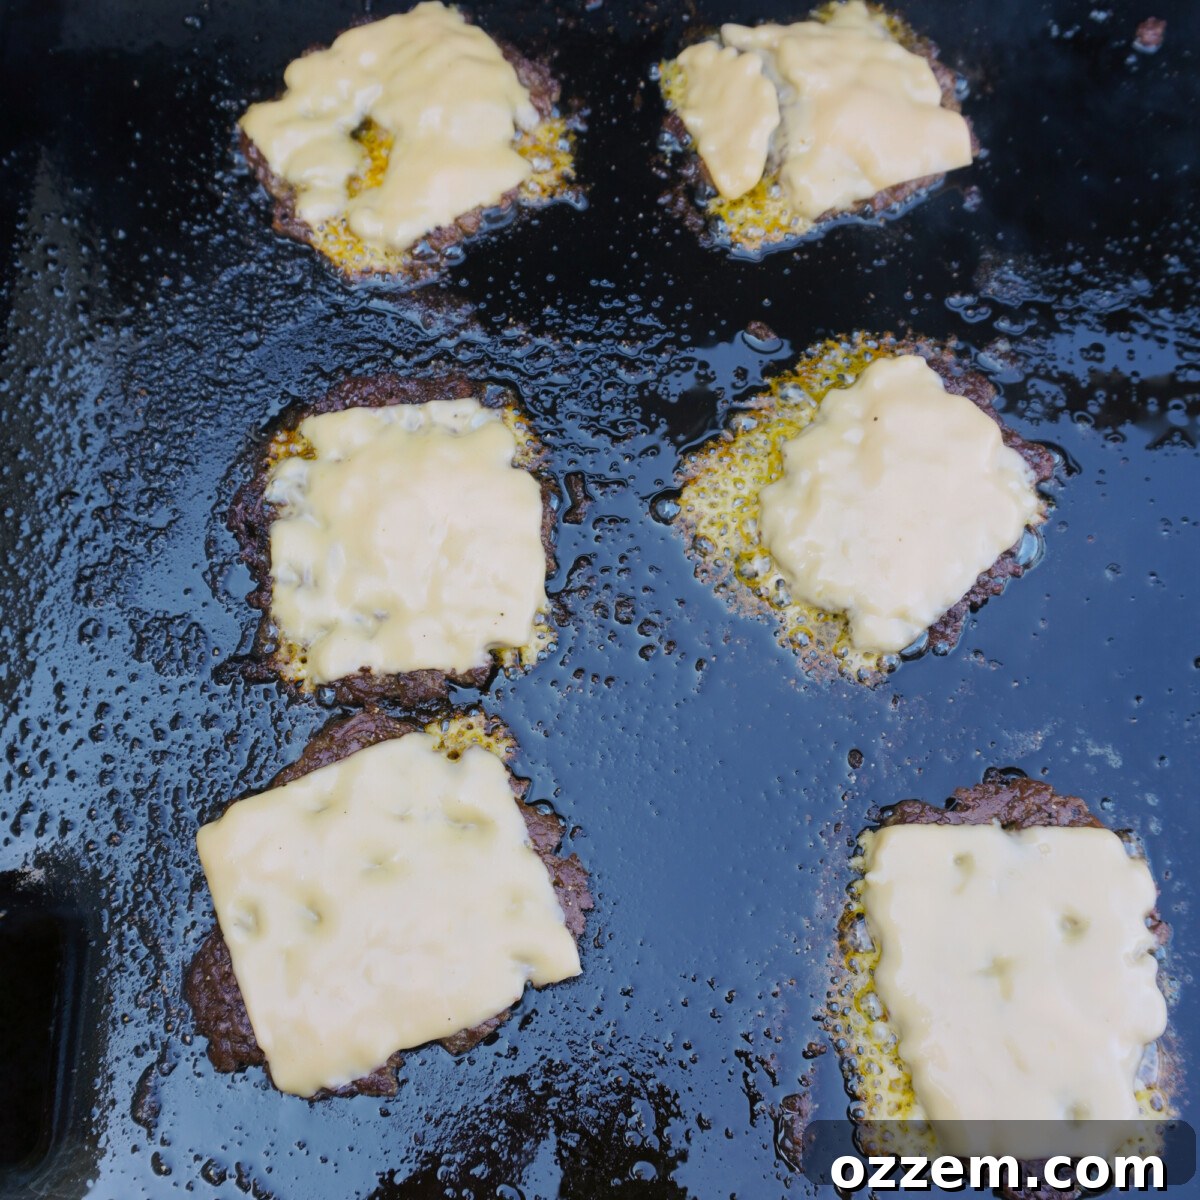
Allow the patty to grill for about 60-90 seconds on the first side, undisturbed. You’ll know it’s ready when a deep brown, crispy crust has formed and you start to see juices bubbling up through the top of the patty. At this point, carefully scrape under the patty with your spatula, ensuring you get all those delicious crusty bits, and flip it. Immediately after flipping, add some of your thinly sliced onions directly on top of the cooked side of the patty. The onions will soften and caramelize slightly as they cook with the meat, adding incredible depth of flavor. Cook this second side for another 1-2 minutes. Then, place a slice of American cheese on top of each patty. To achieve the perfect melt, you can cover the burgers with a metal dome or an inverted bowl for about 30 seconds, trapping the heat and creating a beautifully melted, gooey cheese layer.
Toasting the Buns
While the cheese is melting, butter your brioche or potato buns generously and place them cut-side down directly on the griddle alongside the burgers. Toast them for about 1-2 minutes, until they are golden brown and slightly crisp. This step is essential for adding texture and preventing your burger from getting soggy from the juicy patties and condiments.
Step 3: Assembling Your Masterpiece: The Smash Burger
With your perfectly grilled, cheesy patties and toasted buns ready, it’s time to bring everything together into a sensational smash burger. The assembly order might seem trivial, but it can significantly impact the eating experience, ensuring every bite is balanced and delicious.
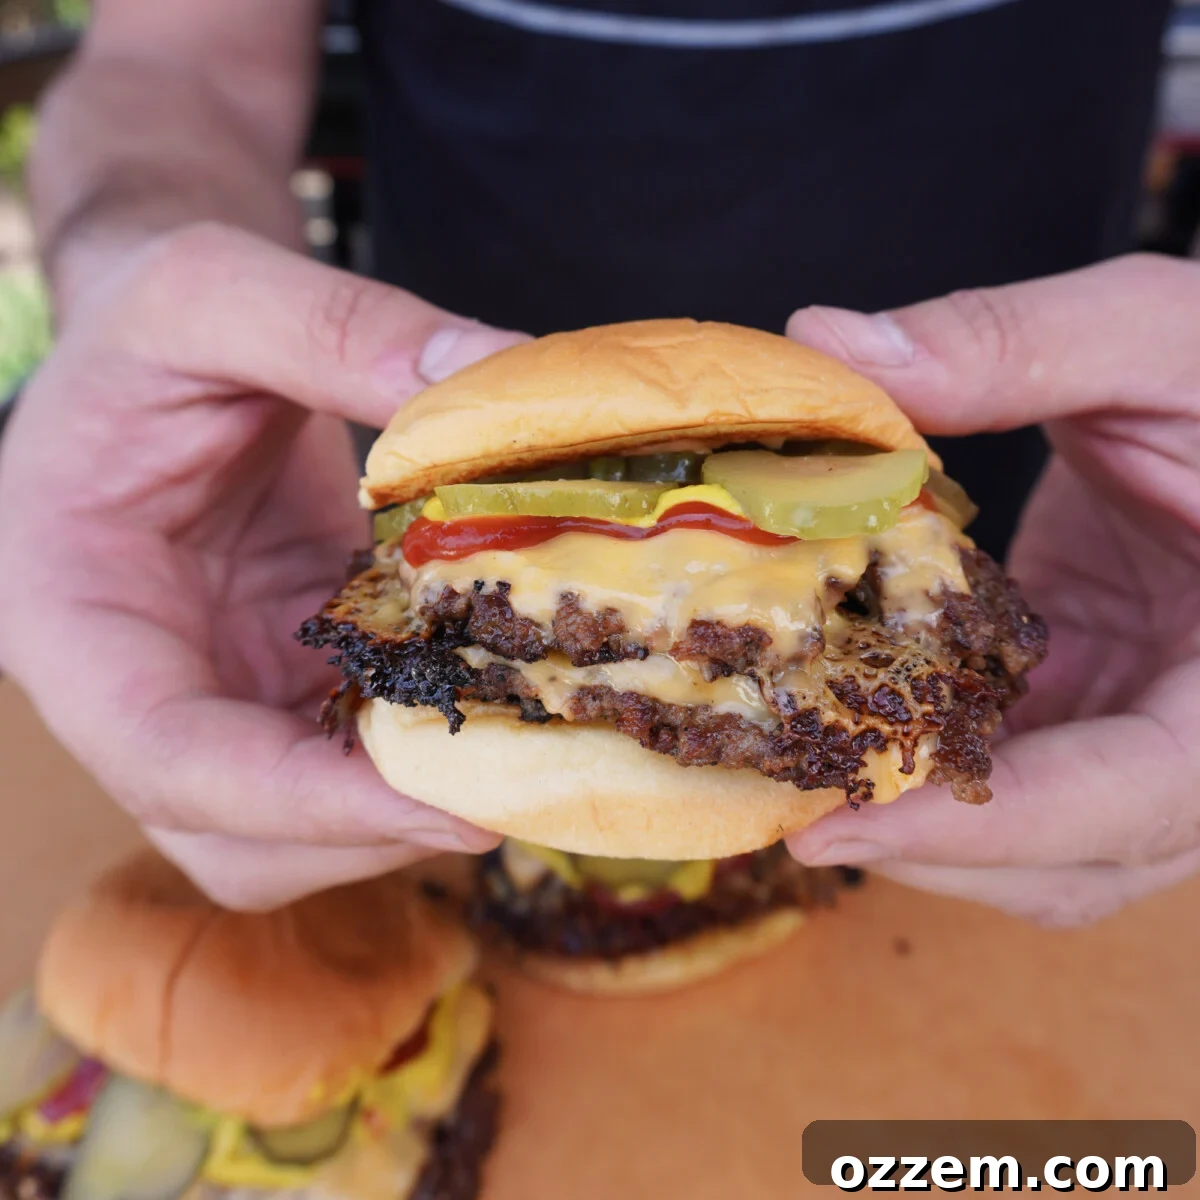
Start with the bottom half of your toasted bun. Spread a generous amount of your favorite condiments – classic ketchup and mustard are always a win. The condiments act as a barrier, preventing the bun from getting soggy from the juicy patties. Next, carefully place two of your crispy, cheesy patties, complete with those flavorful cooked onions, directly on top of the condiments. Double patties are a hallmark of the smash burger, offering double the crust and double the flavor!
Finish your burger with a few crisp pickle slices. These add a crucial tangy counterpoint that cuts through the richness of the beef and cheese. Finally, crown your creation with the top bun. Press down ever so slightly to bring all the components together. And just like that, you have your incredibly simple, yet profoundly tasty smash burger ready to be devoured! Serve immediately with your favorite sides like crispy fries or a fresh salad. Enjoy the fruits of your griddle mastery!
Want to save this recipe for future grilling sessions? Bookmark this page or print it out! You’ll always have access to these easy steps and fantastic flavors.
Frequently Asked Questions About Smash Burgers
The primary secret to a great smash burger is achieving a perfect, deeply caramelized crust through the Maillard reaction. This is done by smashing a loose ball of ground beef onto an extremely hot cooking surface (like a griddle or cast iron skillet) and allowing it to cook undisturbed for a minute or so per side. This high-heat, high-surface-area contact maximizes flavor and texture.
The key ingredient in a perfect smash burger is the meat itself. Using a higher fat content ground beef, typically an 80/20 lean-to-fat ratio, is crucial. The fat acts as a binder and helps the patty hold together once it hits the hot griddle and is smashed. Avoid overworking the meat when forming the balls, as this can make them dense and prone to crumbling.
A sturdy, heavy-duty metal spatula with a flat edge is ideal for smashing. Alternatively, a dedicated burger press can provide more even pressure. Some people even use a bacon press or the bottom of a heavy pot, often with a piece of parchment paper to prevent sticking.
While a griddle or flat top is preferred, you can absolutely make smash burgers on a traditional grill. You’ll need a cast iron griddle or a heavy cast iron skillet that fits over your grill grates. Heat it to a very high temperature before adding the beef and following the smashing technique outlined above.
Seasoning the ground beef too early can draw moisture out of the meat, leading to a drier burger. By seasoning immediately after smashing onto the hot griddle, the salt and spices adhere to the newly formed crust, enhancing the flavor and contributing to the browning without impacting the patty’s juiciness.
Smash Burgers
Maciek Zurawski
Tasty and easy to make, smash burgers are a no-brainer for any meal. Follow this simple recipe to create cheesy, crispy, and incredibly satisfying burgers right in your own kitchen or backyard.
15 minutes
30 minutes
4 People
Ingredients
- 1 lb 80/20 Ground Beef
- 4 Brioche buns (or potato rolls)
- 8 Slices American cheese (or preferred melting cheese)
- 1 tbsp All Purpose Rub (or salt and pepper to taste)
- 1 small yellow onion, thinly sliced
- Butter, for toasting buns
- Ketchup, mustard, and pickle slices, for serving
Instructions
- Divide the pound of ground beef into 8 equal-sized, loosely formed balls. Do not press them too firmly.
- Preheat your flattop grill or cast iron griddle to a very high temperature until it’s smoking slightly. This intense heat is crucial for the perfect crust.
- Place the beef balls onto the HOT griddle. Immediately, using a sturdy spatula (and parchment paper if needed), smash them down flat to about ¼ to ½ inch thickness. Press hard and quick for maximum surface contact.
- Season the top of the smashed patties generously with your chosen all-purpose rub or salt and pepper.
- Immediately add some of the thinly sliced yellow onion right on top of each patty.
- Grill the patties for about 60-90 seconds until a deep brown, crispy crust has formed on the bottom.
- Using your spatula, carefully scrape underneath and flip each burger. Cook the second side for an additional 1-2 minutes.
- Once flipped, quickly place a slice of cheese on top of each patty. For an extra melty finish, cover the burgers with a metal dome or inverted bowl for 30 seconds.
- While the cheese melts, butter your brioche buns and place them cut-side down on the griddle to toast until golden brown, about 1-2 minutes.
- To assemble your glorious smash burgers: spread mustard and ketchup on the bottom toasted bun. Stack two cheesy patties (with onions!) on top of the condiments. Finish with a few pickle slices and the top bun.
Notes & Expert Tips
Meat Selection: Always opt for an 80/20 ground beef (preferably chuck) for the best flavor and fat content, which is essential for that signature crispy, juicy smash burger.
Cheese Choice: While American cheese is the classic for its superior melt, feel free to experiment with other good melting cheeses like sharp cheddar, provolone, or pepper jack for a different flavor profile.
Seasoning Timing: Remember to season the patties *after* they are smashed onto the hot griddle. This prevents moisture loss and ensures the spices become part of the crust.
The Smash: Use firm, quick pressure when smashing. Don’t press too hard for too long, as this can squeeze out too much juice. Aim for a thin patty with irregular edges.
Don’t Crowd the Griddle: Cook in batches if necessary to maintain high heat. Overcrowding can lower the griddle temperature and prevent proper crust formation.
Toasting Buns: This step is non-negotiable! Toasted buns add structural integrity, prevent sogginess, and provide a pleasant textural contrast to the soft interior and crispy patty.
Nutrition
Calories: 793kcal
|
Carbohydrates: 41g
|
Protein: 39g
|
Fat: 53g
|
Saturated Fat: 26g
|
Polyunsaturated Fat: 1g
|
Monounsaturated Fat: 12g
|
Trans Fat: 1g
|
Cholesterol: 256mg
|
Sodium: 524mg
|
Potassium: 356mg
|
Fiber: 0.4g
|
Sugar: 0.1g
|
Vitamin A: 1099IU
|
Vitamin C: 0.4mg
|
Calcium: 408mg
|
Iron: 4mg
Enjoyed this recipe? Share your thoughts below!
Don’t stop here! Explore more mouth-watering dishes on our Recipes page and continue your grilling journey with exciting new flavors and techniques.