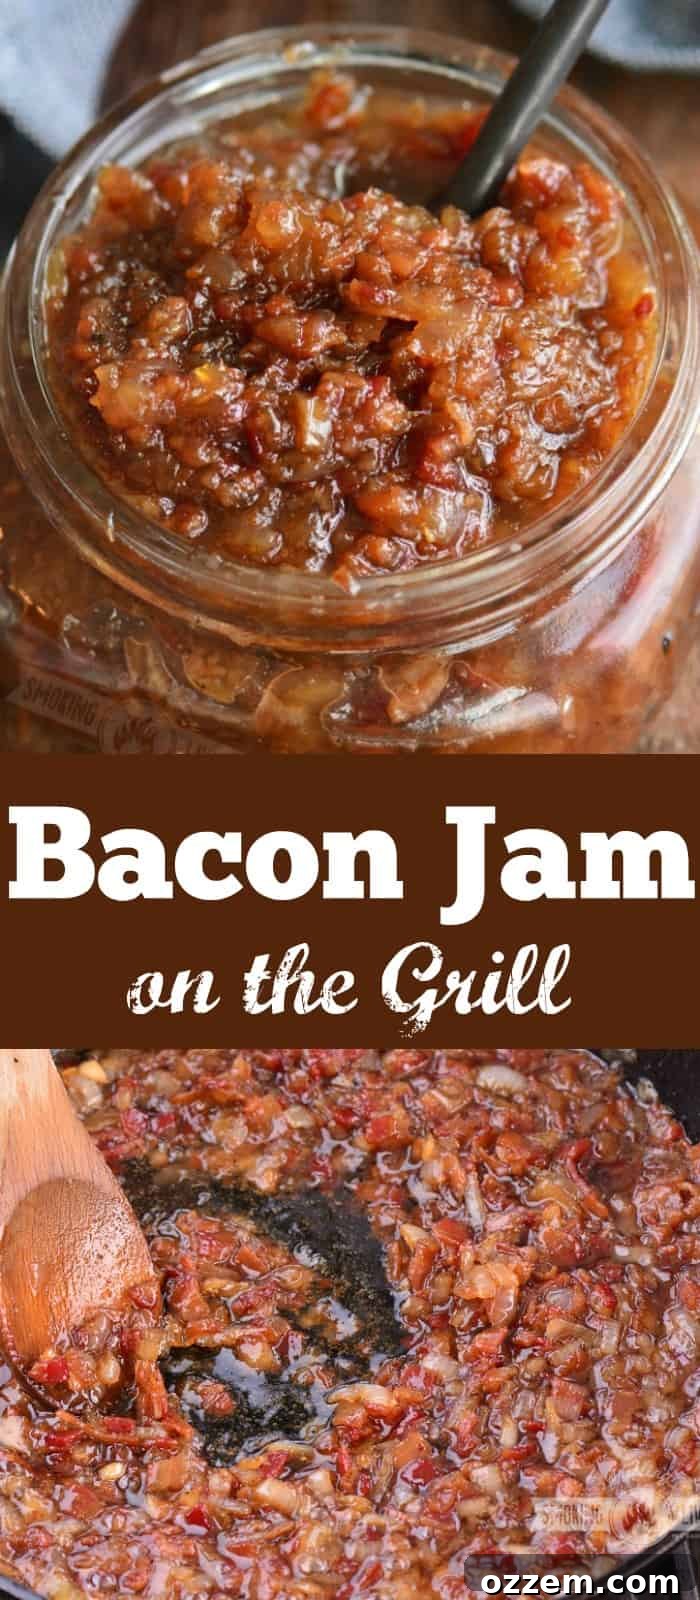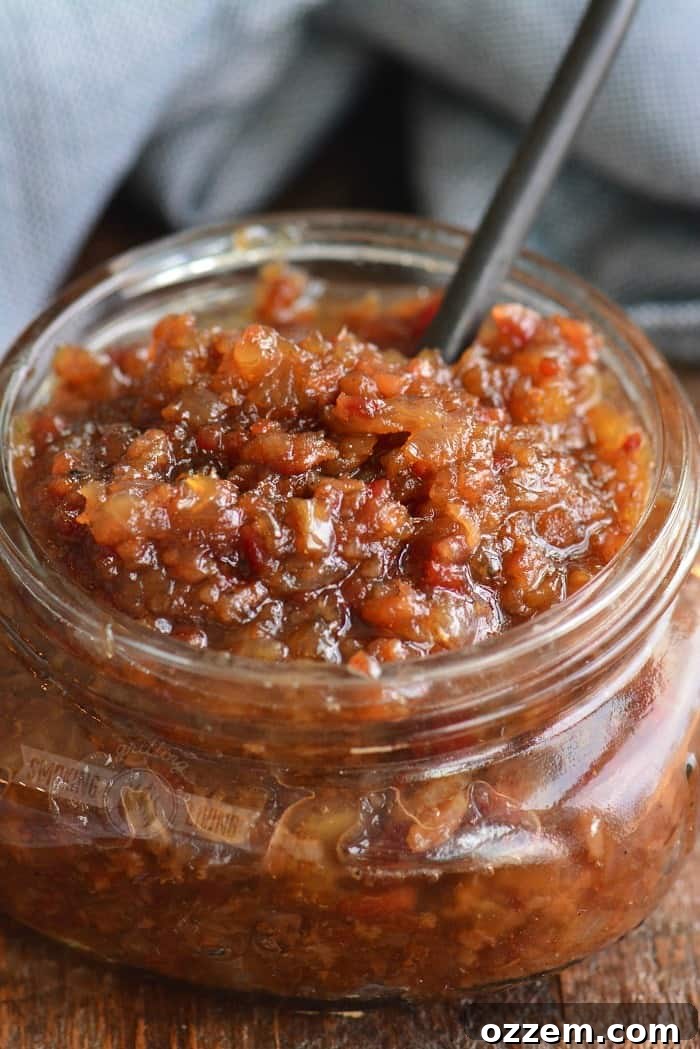
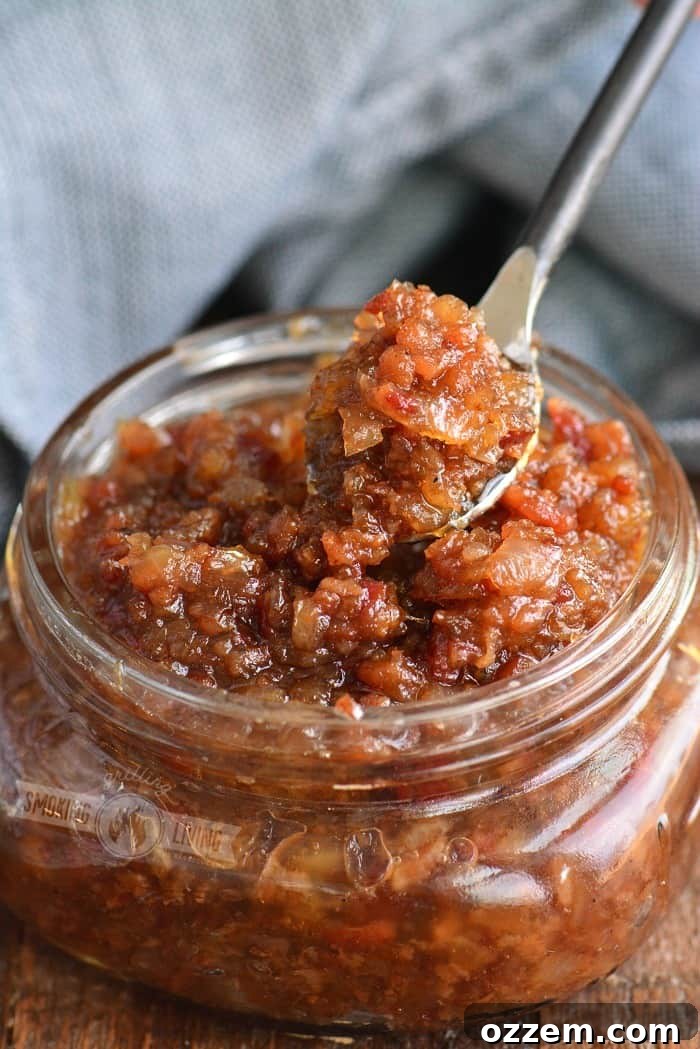
Bacon Jam is a culinary revelation, far beyond a mere spread for crackers, bread slices, or sandwiches. It’s an intensely flavorful creation designed to elevate even the simplest dishes, transforming a plain chicken breast into a gourmet experience. Prepare to fall head over heels for the rich combination of caramelized onions and crispy bacon, all cooked in its own rendered grease. This irresistible base is then enhanced with the sweet complexity of brown sugar and maple syrup, the tangy brightness of white balsamic vinegar, and a subtle kick from a pinch of cayenne pepper. What makes this specific recipe truly exceptional is its preparation on the grill, infusing every spoonful of this beautiful spread with an unmistakable, authentic smoky flavor that sets it apart.
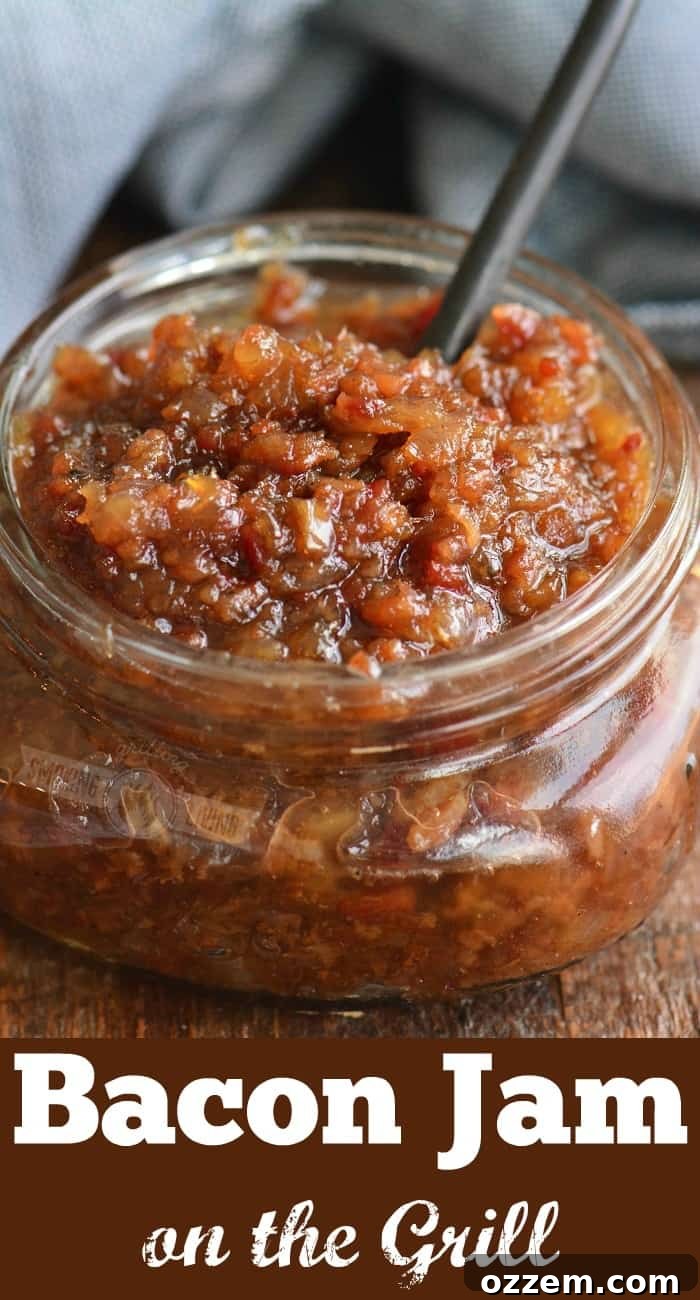
Irresistible Bacon Jam: The Ultimate Sweet & Savory Grill Recipe
If you’ve yet to experience the magic of bacon jam, then I only have four words for you: “What are you waiting for?” Seriously, the first time I tasted this phenomenal condiment, it wasn’t just a meal; it was a revelation that genuinely changed my culinary perspective.
The story of my introduction to bacon jam began with my husband and me eager to try a highly-talked-about new restaurant in town. As expected, securing a table was an odyssey. This place was notoriously popular, often boasting wait times of two hours or more, sometimes even closing their list because of overwhelming demand. But persistence paid off, and we finally landed a reservation. When you invest that much time waiting for a dining experience, your expectations soar, hoping for a meal that lives up to the hype.
And it did. The food was absolutely everything we hoped for and more. I ordered what appeared to be a simple burger, but it was anything but. The patty itself was a master blend of three distinct cuts of beef, cooked to absolute perfection – incredibly juicy and tender. But the true star, the secret ingredient that catapulted this burger into legendary status, was the topping: a generous dollop of bacon jam. That inaugural bite of this savory-sweet masterpiece rocked my world. The very next weekend, fueled by obsession, I set out to recreate it at home. Since then, bacon jam has become a staple in our kitchen, and we’ve been utterly captivated by its versatility and depth of flavor.
PIN THIS RECIPE FOR LATER!
What Exactly Is Bacon Jam? A Culinary Delight Explained
Often described as the greatest spread in the world, bacon jam is more akin to a rich, complex relish than a traditional fruit jam. It’s a symphony of flavors crafted from a core of crispy bacon, deeply caramelized onions, aromatic garlic, the rich sweetness of brown sugar and maple syrup, the bright tang of white balsamic vinegar, and a hint of warmth from cayenne pepper. This exquisite blend creates an unparalleled sweet and savory profile, making it a perfect enhancement for an array of dishes. Imagine it as the ultimate upgrade for your burgers, sandwiches, grilled chicken, pork chops, or even as a standout appetizer.
Our method for preparing bacon jam on the grill introduces a unique twist and an incredible depth of smoky flavor that simply can’t be achieved indoors. One significant difference in this grilling technique is my decision *not* to drain the bacon grease after browning the bacon. While it might seem counterintuitive, there’s a practical and flavorful reason for this. Maneuvering a scalding hot pan brimming with bacon grease around a backyard or through the house to dispose of it is both difficult and frankly, unsafe. Attempting to drain hot grease right next to a fiery grill also poses a considerable hazard. So, I strategically leave most of it in the skillet during the initial stages of cooking. This residual bacon fat plays a crucial role: it acts as a rich medium for caramelizing the onions to perfection and helps to infuse all the subsequent ingredients with that delectable bacon essence. Once the jam is cooked and ready for the food processor, I carefully spoon out the bacon and onion mixture, deliberately leaving behind a significant portion of the rendered grease. This ensures that the final jam is rich and flavorful without being overly greasy, striking the perfect balance.
Mastering the Art of Bacon Jam on the Grill: Step-by-Step Guide
Crafting this incredible bacon jam on the grill is an experience in itself, adding layers of smoky flavor that can’t be replicated elsewhere. Follow these detailed steps to ensure a perfectly delicious outcome:
NOTE: Safety is paramount when grilling. Fire-resistant gloves are highly recommended, as the area directly over the grill, and especially the cast iron skillet, will become extremely hot during the cooking and stirring process.
Preparation is Key: Your Mise en Place
Before you even think about lighting the grill, get all your ingredients ready. If you’re using charcoal, start your coals in a chimney starter. While they heat up, focus on your prep work:
- Bacon: For the best texture and even cooking, dice your cold bacon into small, uniform pieces. Using cold bacon makes it much easier to achieve clean cuts. The smaller pieces will crisp up nicely and render their fat efficiently, contributing to the jam’s rich base.
- Onions: Similarly, dice your large Vidalia onions into small pieces. Vidalia onions are excellent for this recipe due to their natural sweetness, which enhances the caramelization process beautifully. Don’t worry too much about absolute uniformity, as they will soften and eventually be blended, but smaller pieces cook faster and more evenly.
- Garlic: Smash and finely mince your garlic cloves. Freshly minced garlic provides the best aroma and flavor.
- Other Ingredients: Measure out your brown sugar, maple syrup, white balsamic vinegar, and cayenne pepper. Having everything measured and easily accessible (your “mise en place”) ensures a smooth cooking process, especially crucial when working over a hot grill.
Setting Up Your Grill for Success
Once your coals are glowing hot and ready from the chimney, carefully transfer them to your grill. Arrange them to create a two-zone fire: spread the majority of the hot coals evenly on one half of the grill grate, leaving the other half entirely free of coals. This setup allows you to control the cooking temperature, moving your skillet between direct high heat for browning and indirect lower heat for simmering and caramelizing. Place a heavy-duty cast iron skillet directly over the hot coals, close the grill lid, and allow it to preheat for about 5-7 minutes. A properly preheated skillet is essential for achieving a good sear on the bacon.
Cooking the Bacon and Caramelizing Onions
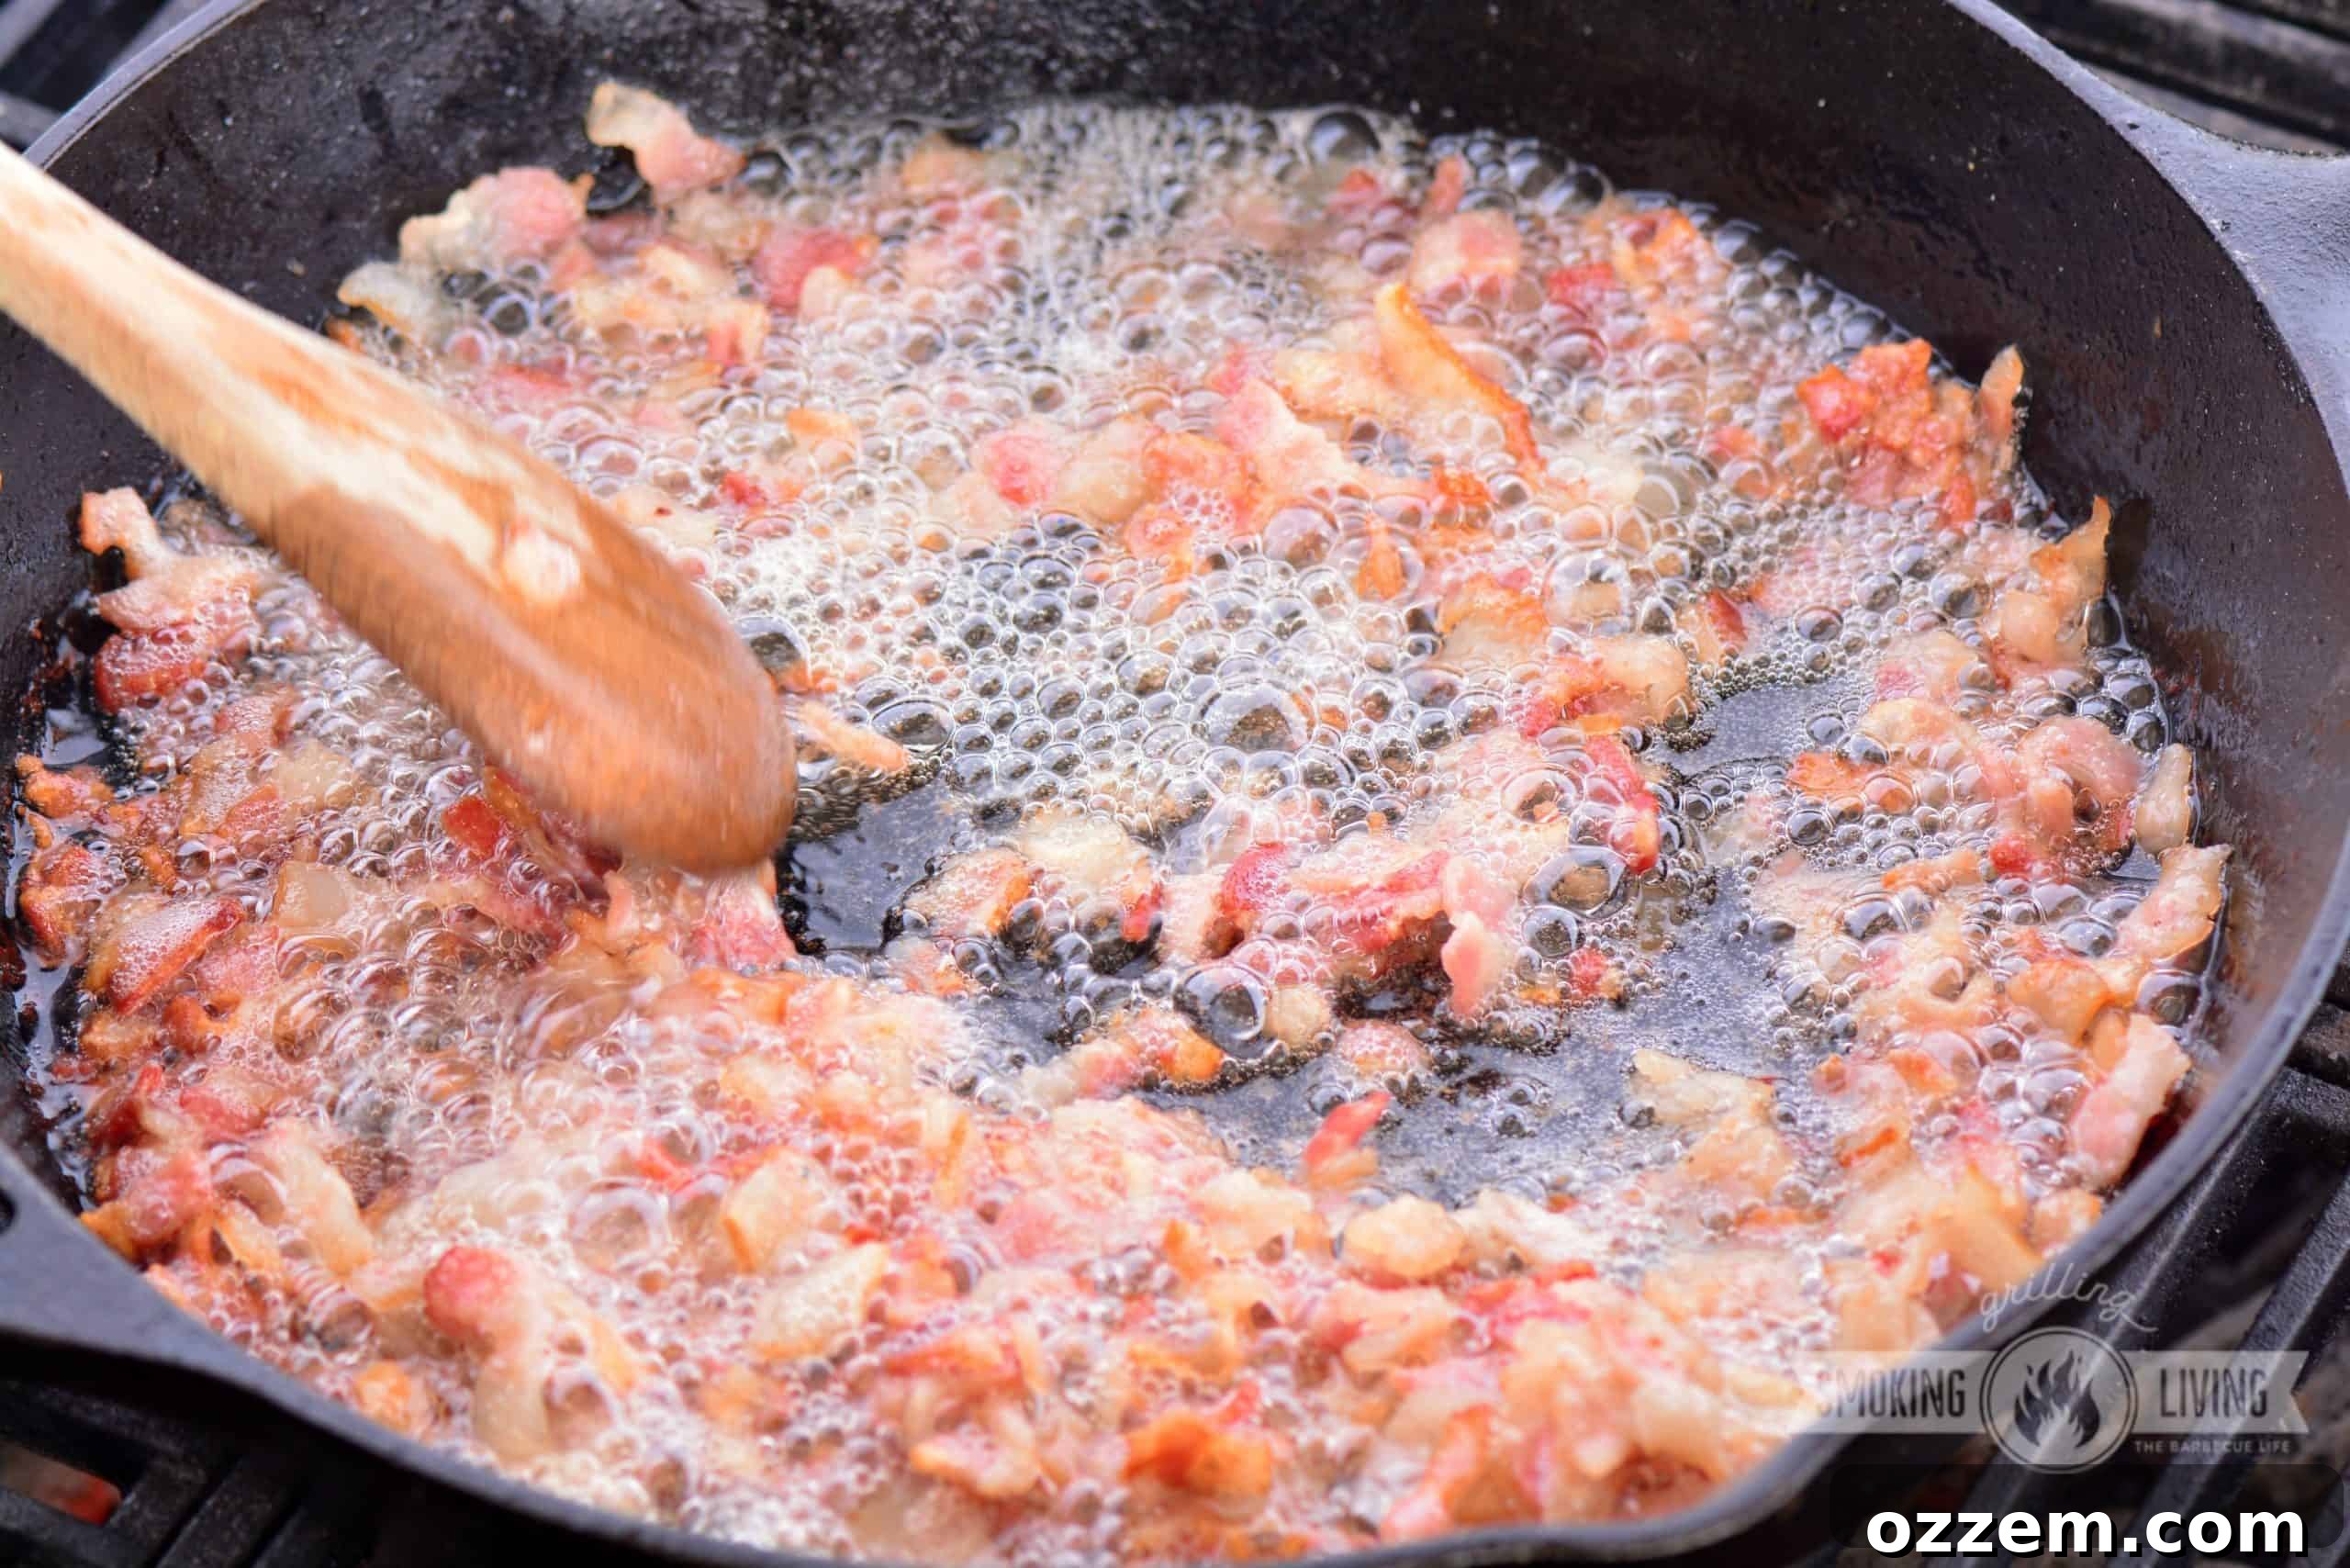
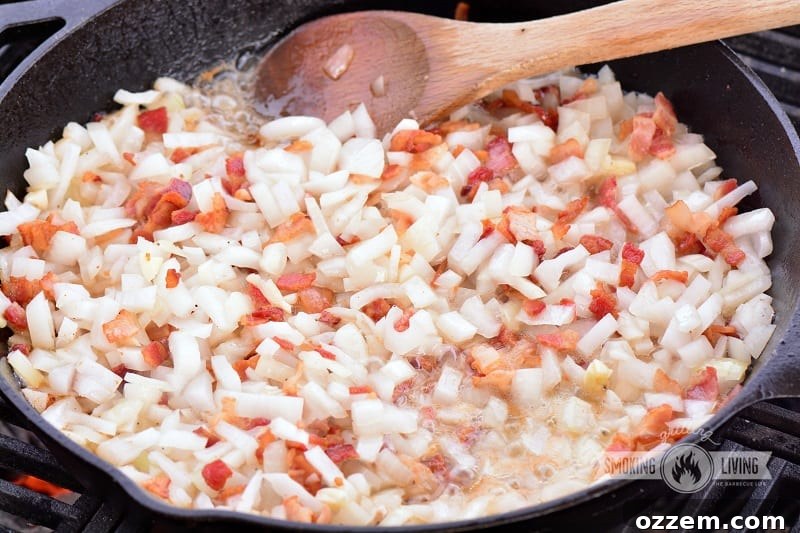
- Once the cast iron skillet is piping hot, add the canola or vegetable oil. Immediately add your diced bacon pieces. Cook the bacon, stirring frequently to ensure even browning and crisping, until it reaches your desired level of crispness. This typically takes about 8-10 minutes. The goal is to render out as much fat as possible while achieving a beautiful golden-brown color.
- After the bacon is browned, carefully move the skillet off the direct heat zone and onto the cooler, indirect side of the grill. Do NOT drain the bacon grease at this stage – it’s a crucial flavor component! Add the minced garlic, diced onions, and brown sugar to the skillet. Stir everything together, ensuring the onions are well coated in the bacon grease and sugar.
- Let the onions cook and caramelize slowly for 15-20 minutes, stirring occasionally. This slow cooking over indirect heat is where the magic happens. The onions will soften, turn a beautiful golden-brown, and develop a deep, sweet, and complex flavor profile that forms the backbone of your bacon jam. Don’t rush this step; patience here is rewarded with incredible depth.
Simmering and Flavor Infusion
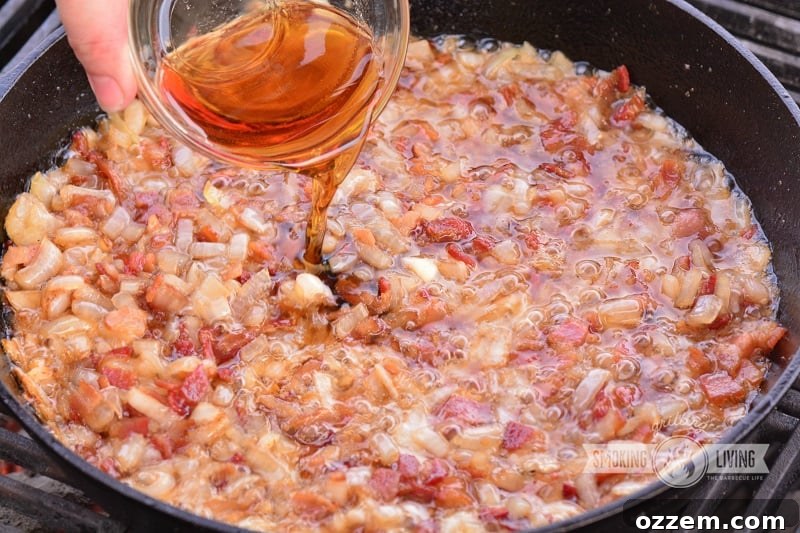
- Now, carefully slide the skillet back over the direct heat zone. Add the maple syrup, white balsamic vinegar (sherry vinegar or red wine vinegar are also excellent alternatives if you prefer), and a pinch of cayenne pepper. The vinegar adds a crucial tang to cut through the richness, while the maple syrup enhances the sweetness.
- Stir all the ingredients together thoroughly. Let the mixture simmer over direct heat for just a few minutes, allowing the liquids to combine and reduce slightly. If you desire a spicier kick, feel free to add a little more cayenne pepper to taste at this point.
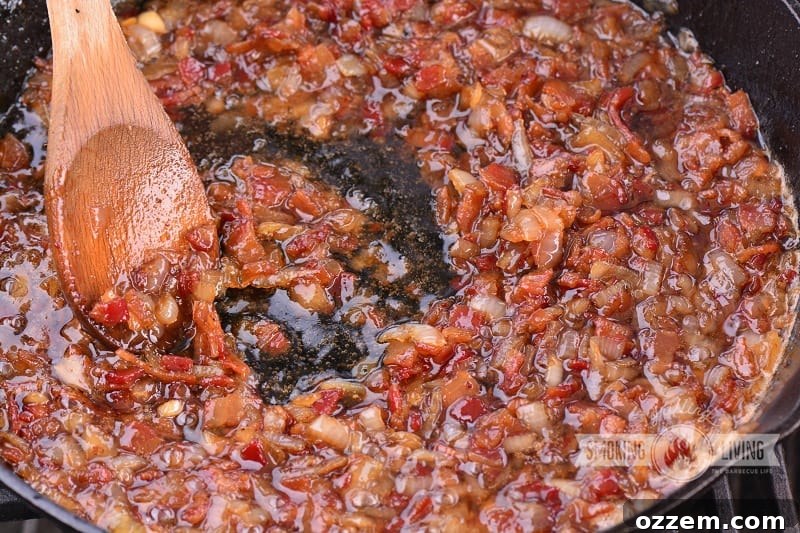
- Once simmered, move the skillet back to the cooler, indirect side of the grill. Continue to cook for another 15 minutes or so, stirring occasionally. This extended simmer allows all the flavors to meld beautifully, deepen, and the jam to thicken slightly to a rich, spreadable consistency.
Blending to Perfection
- Remove the skillet from the grill. It’s now ready for the final step: blending. Carefully spoon the bacon and onion mixture into a food processor. This is where the decision about the bacon grease comes in – spoon out the solids but aim to leave about three-quarters of the excess grease liquid behind in the skillet. You want some fat for flavor and texture, but not too much.
- Pulse the mixture in the food processor a few times until you reach your desired consistency. Some prefer a chunky, relish-like jam, while others might opt for a smoother spread. Avoid over-processing; you want a rustic texture, not a paste.
And there you have it – your homemade, smoky grilled bacon jam is ready to impress!
Grill Notes for Optimal Flavor
To get the most out of your grilled bacon jam, keep these tips in mind:
- Coals: Both briquettes and lump coal work wonderfully. Lump coal tends to burn hotter and impart a more natural, subtle smoky flavor, while briquettes offer consistent heat.
- Grill Temperature: Aim for a medium temperature range, typically between 350°F and 425°F. For charcoal, this usually means filling about 1/2 to 2/3 of your chimney starter with coals.
- Placement on the Grill: The two-zone fire setup is crucial. You’ll be utilizing both direct heat (over the coals for browning and initial simmering) and indirect heat (away from the coals for slow caramelization and gentle simmering).
- Wood if desired: To enhance the smoky flavor even further, consider adding a few wood chips (soaked for about 30 minutes, then drained) to your coals. Applewood offers a sweet, fruity smoke, pecan delivers a rich, nutty flavor, and maple provides a mild, subtly sweet smoke. A small amount goes a long way in flavoring the jam.
Storing Your Delicious Bacon Jam
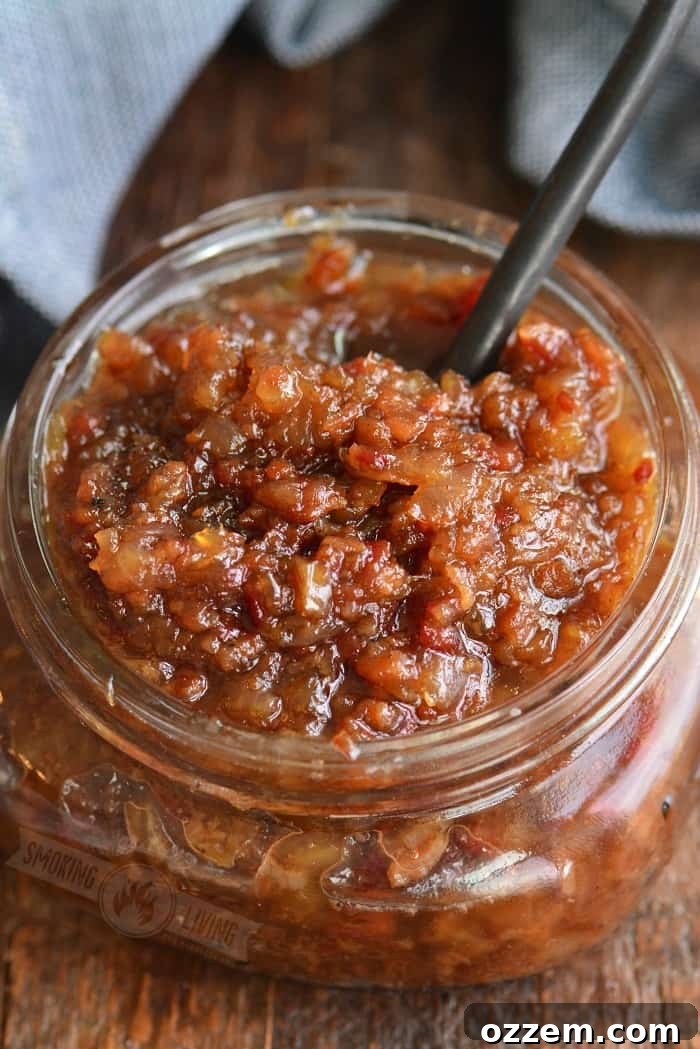
Once your bacon jam is prepared, proper storage is essential to maintain its freshness and flavor. Make sure to let the jam cool completely before transferring it to an airtight container.
Refrigerator Storage
Always keep your homemade bacon jam in the refrigerator. Transfer the cooled jam into a clean, lidded jar – a Mason jar works perfectly. When you’re ready to enjoy some, use a clean spoon each time to scoop out the desired amount. This prevents contamination and helps extend its shelf life. Stored this way, bacon jam will last a delightful 2-4 weeks in the refrigerator.
Freezing for Longer Preservation
Bacon jam is also freezer-friendly, allowing you to enjoy this treat for much longer. To freeze it, transfer the cooled jam into freezer-safe zip-top bags. Press out as much air as possible before sealing tightly. Label the bags with the date of preparation. You can also portion the jam into several smaller freezer bags or even ice cube trays (and then transfer the frozen cubes to a bag) for convenient single servings.
To thaw, simply move the frozen bag or container of bacon jam from the freezer to the refrigerator and let it slow-thaw overnight. Once thawed, transfer it to a lidded jar and store it in the refrigerator. In the freezer, bacon jam will maintain its quality for up to 2 months.
Creative Ways to Enjoy Your Bacon Jam
The beauty of bacon jam lies in its incredible versatility. Its irresistible sweet, savory, and smoky profile makes it a fantastic addition to countless dishes:
- The Ultimate Burger & Sandwich Enhancer: A spoonful of bacon jam transforms any burger, deli sandwich, or hot dog into a gourmet experience. It adds layers of flavor that are simply unmatched.
- Elevate Main Courses: Spread it generously over grilled chicken breasts, pan-seared pork chops, or tender pork loin for an instant flavor boost. It also makes a fantastic glaze or topping for roasted vegetables.
- Sophisticated Appetizers: Serve it as an elegant appetizer. Spoon it onto crispy crostini, toasted baguette slices, or even delicate cucumber slices for a delightful bite. Pair it with creamy cheeses on a charcuterie board.
- Breakfast & Brunch Brilliance: Take your breakfast to the next level by serving bacon jam alongside scrambled or fried eggs and toast. It’s also phenomenal in breakfast sandwiches or even spread on pancakes and waffles for a truly indulgent start to your day.
- Cheese Boards & Platters: A must-have on any cheese board, complementing a wide variety of cheeses, from sharp cheddar to creamy brie.
- Beyond the Obvious: Get creative! Stir it into macaroni and cheese, use it as a base for a unique pizza, or whisk it into vinaigrettes for a smoky dressing.
Discover More Delicious Recipes to Try
If you loved this bacon jam recipe, explore these other fantastic creations to elevate your grilling and cooking game:
Steaks with The Best Cream Steak Sauce – A rich and decadent sauce to perfectly complement any cut of steak.
White BBQ Sauce – A tangy, unique twist on traditional barbecue sauce, perfect for chicken and pork.
Burger Sauce – The ultimate homemade sauce to take your burgers from good to unforgettable.
Southern Pimento Cheese – A classic Southern spread, creamy, savory, and utterly addictive.
If you’ve made any of my recipes and shared them on Instagram, make sure to tag me @grillingsmokingliving and use #grillingsmokingliving so I can see all the delicious dishes you’ve tried!
Connect with Grilling Smoking Living!
Be sure to click below and follow me on my social media channels, so you never miss a new recipe or grilling tip.
PIN THIS RECIPE
Bacon Jam on the Grill
Print Recipe
Pin Recipe
Ingredients
- 2 tbsp canola or vegetable oil
- 1 lb bacon, diced (cold for easier dicing)
- 2 large Vidalia onions, diced
- 2 garlic cloves, smashed and minced
- 1/4 cup brown sugar
- 1/4 cup maple syrup
- 1/4 cup white balsamic vinegar (can also use sherry vinegar or red wine vinegar)
- pinch cayenne pepper (add more for extra heat if desired)
Instructions
-
NOTE: Fire-resistant gloves are highly recommended for safety, as temperatures over the grill will be very hot while stirring.
-
Start your coals in a chimney starter (if using charcoal). While the coals are heating, prepare all your ingredients as described above (dice bacon and onions, mince garlic, measure liquids).
-
Once coals are ready, add them to the grill and arrange a two-zone fire (coals on one half, empty on the other). Place a cast iron skillet over the coals, close the grill, and preheat for a few minutes.
-
When the skillet is hot, add oil and the diced bacon. Cook, stirring occasionally, until the bacon is beautifully browned and crispy.
-
Move the skillet off direct heat to the cooler side of the grill. Add garlic, onions, and brown sugar to the bacon and its rendered grease. Let the onions cook and caramelize for 15-20 minutes over indirect heat, stirring occasionally, until deeply golden and soft.
-
Place the skillet back over direct heat. Add maple syrup, vinegar, and a pinch of cayenne pepper. Stir everything together and let it simmer for a few minutes to combine flavors and reduce slightly. (Add more cayenne if you desire a spicier jam).
-
Move the skillet back to the cooler, indirect side and let it cook for about 15 more minutes, stirring occasionally, allowing the flavors to meld and the jam to thicken.
-
Carefully take the skillet off the grill. Let it cool slightly before blending. Spoon the bacon and onion mixture into a food processor, but make sure to leave behind approximately 3/4 of the excess rendered grease in the skillet.
-
Pulse the mixture in the food processor a few times until you achieve your desired consistency (chunky or smoother). Your smoky grilled bacon jam is now ready!
-
Store the cooled bacon jam in a clean jar with a lid in the refrigerator. Use a clean spoon for serving each time.
Notes
Nutrition