
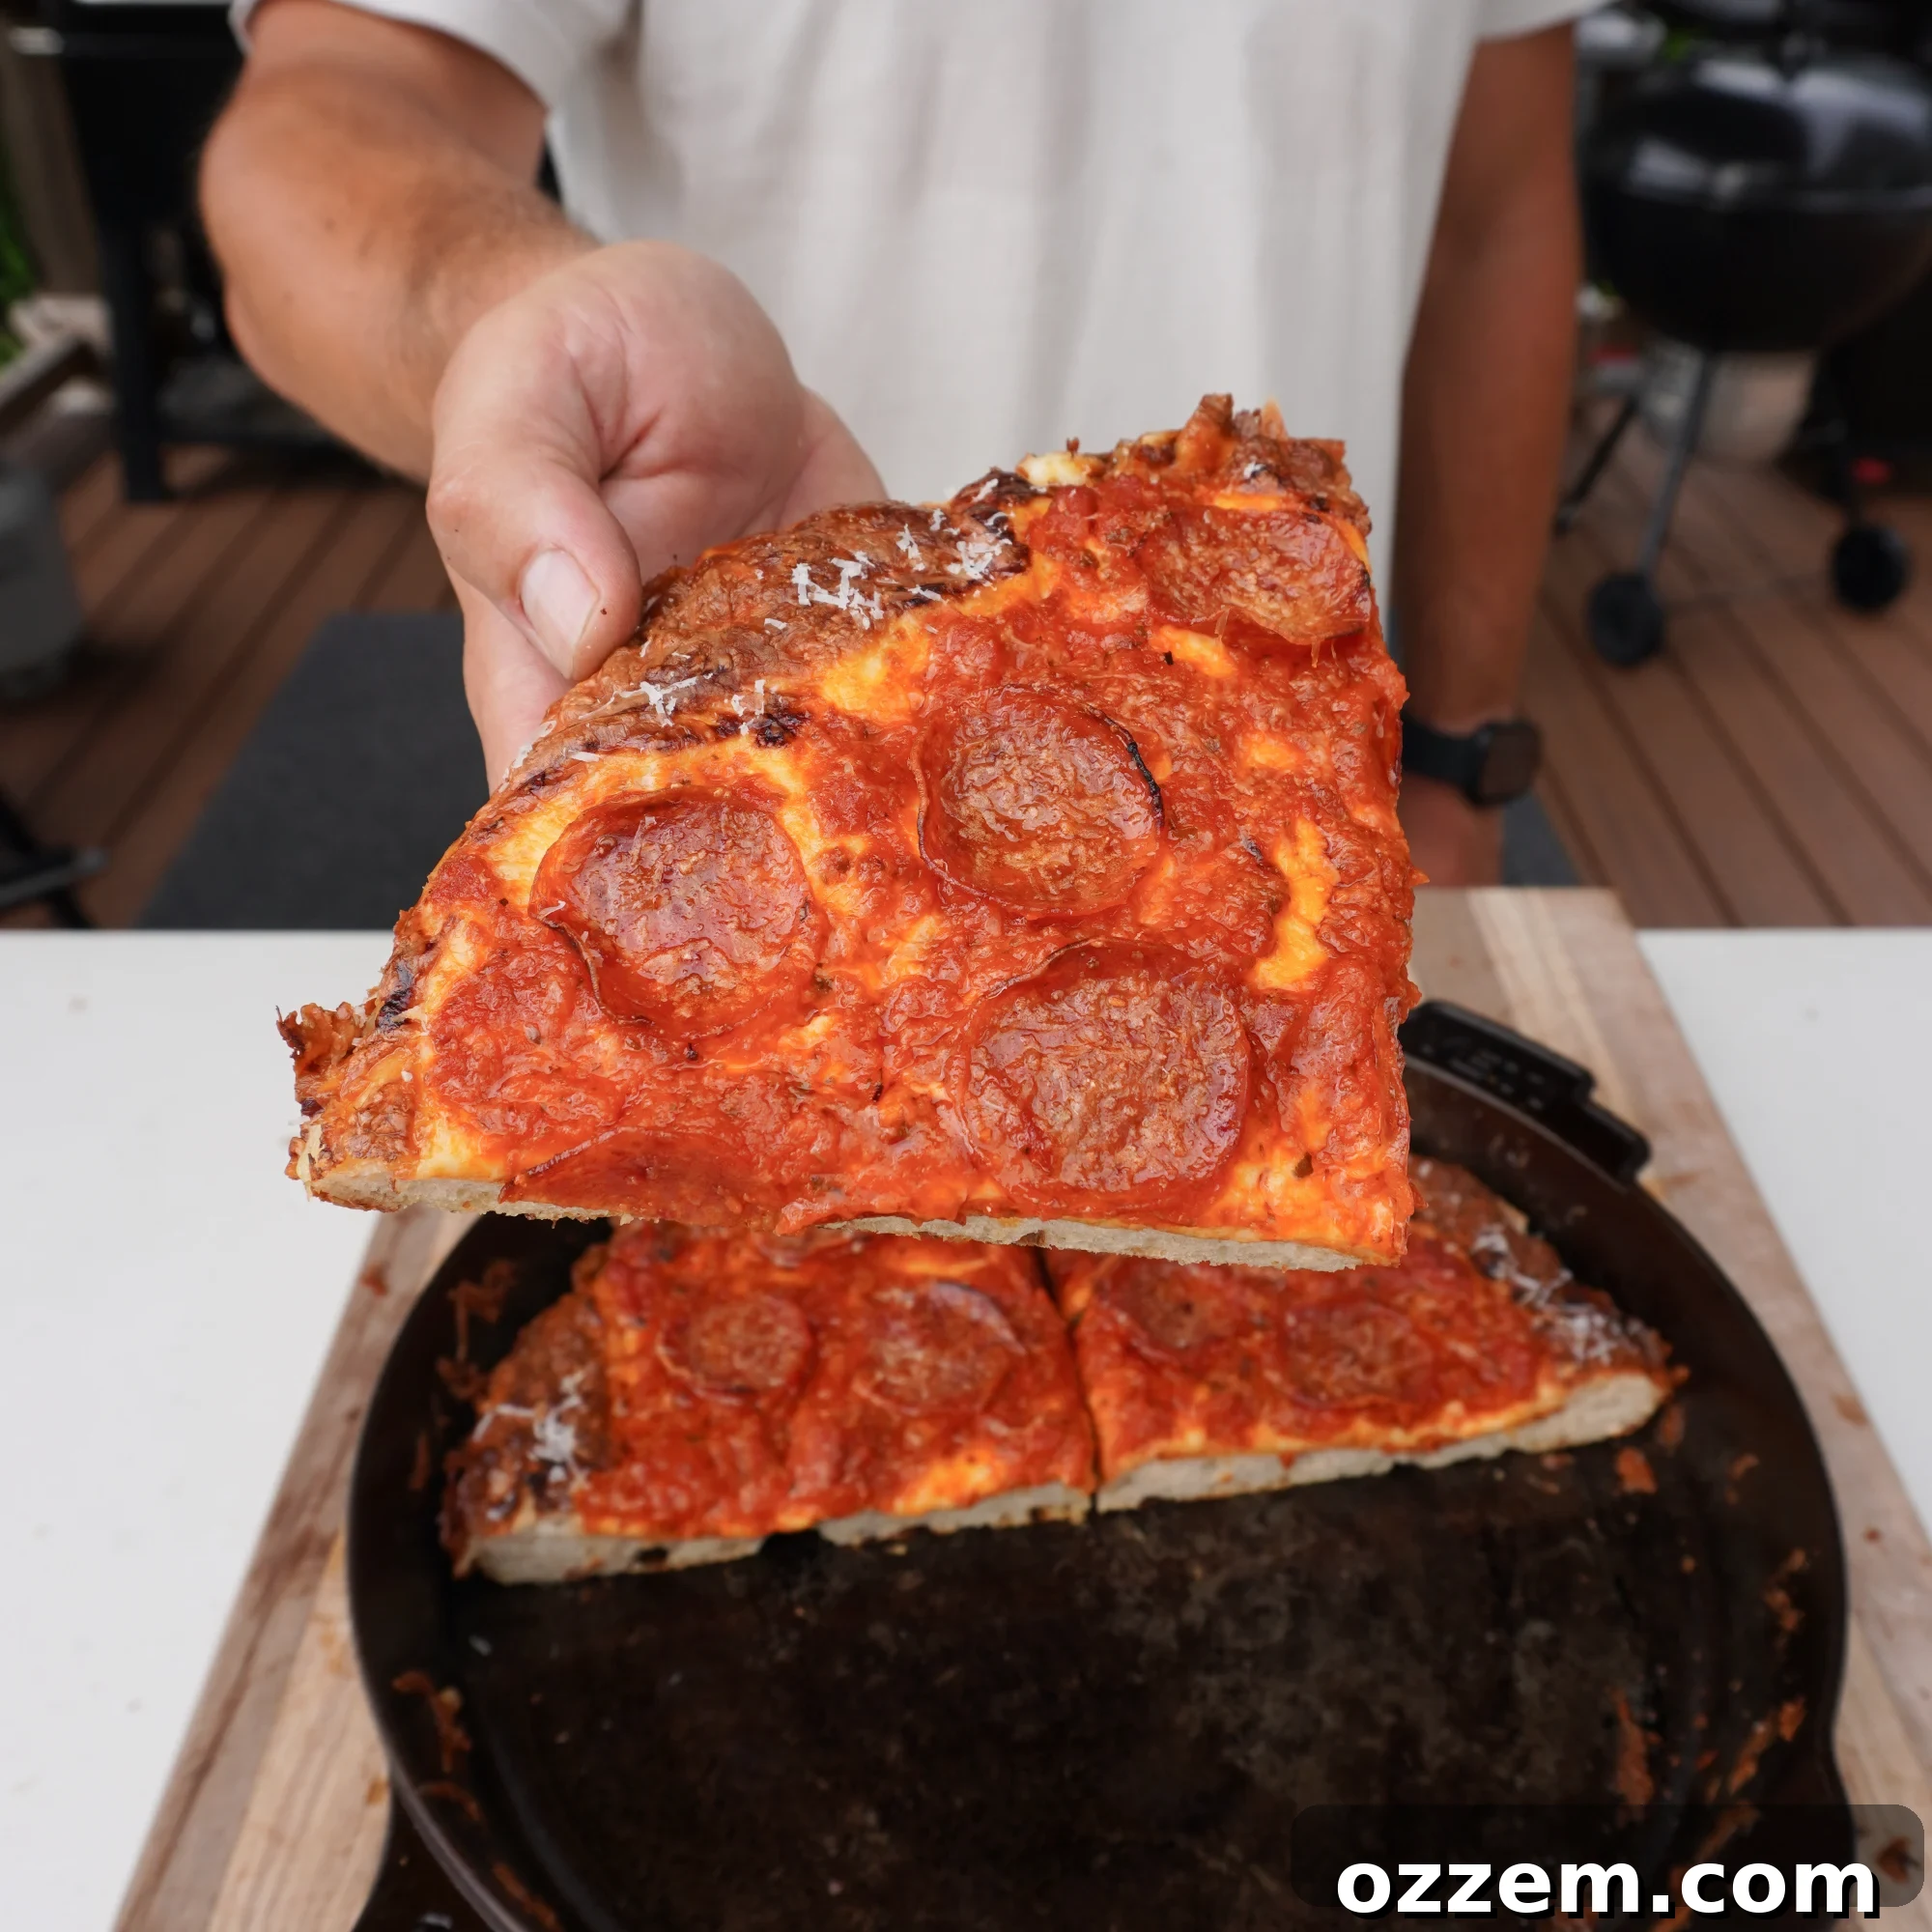
Unleash Flavor: The Ultimate Easy Cast Iron Pizza Recipe for a Crispy, Bubbly Crust
Who doesn’t love a perfectly crafted pizza? Imagine one with a crust that’s both **pillowy soft** on the inside and incredibly **crispy** on the outside, bursting with rich, savory flavor. Achieving this culinary masterpiece at home might seem daunting, but with our easy cast iron pizza recipe, it’s simpler than you think! This guide will walk you through creating a flawless homemade pizza dough, perfectly suited for your trusty cast iron skillet. Get ready to add your favorite toppings and savor a truly exceptional pizza experience right in your own kitchen.
While I often cook this pizza in my Gozney pizza oven for that authentic touch, this recipe is meticulously designed to deliver outstanding results using a conventional home oven as well. The magic truly lies in the cast iron skillet, which provides unparalleled heat retention, essential for that signature crispy bottom. I found my inspiration for this fantastic recipe from the talented Rafi Fronzaglia; make sure to check out his culinary journey on Instagram.
Searching for more easy and delicious meal or snack ideas? Explore other crowd-pleasing recipes like our Smoked Meatball Biscuits, the incredibly popular Big Mac Crunchwrap, or these satisfying Puff Pastry Meat Pockets. Each offers a unique way to enjoy homemade goodness.
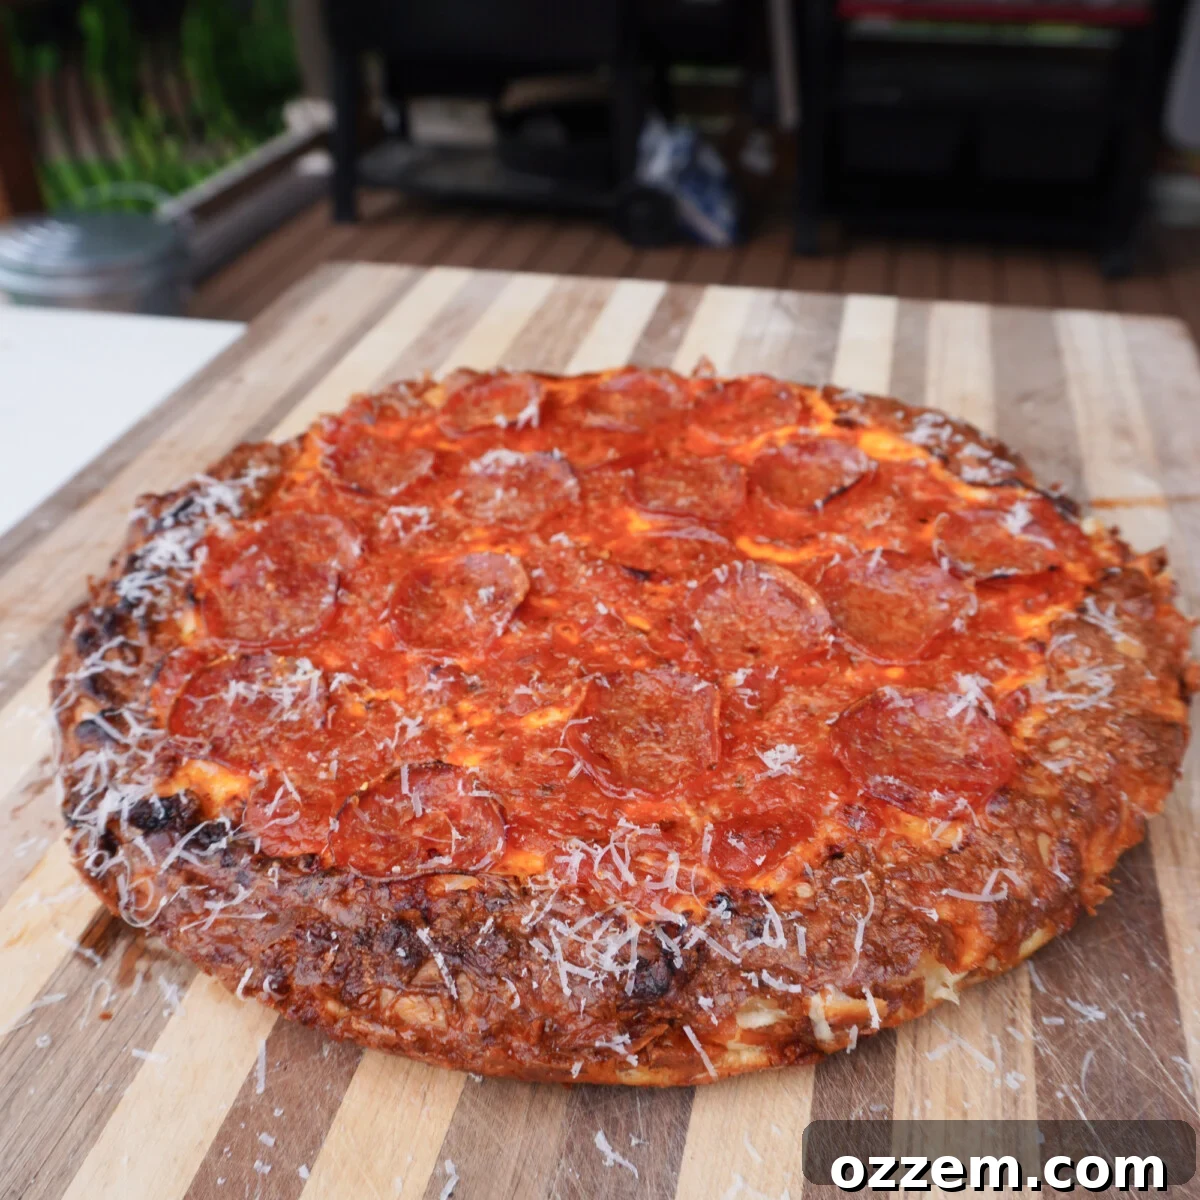
Table of Contents
- Why Choose Cast Iron for Your Pizza?
- Essential Ingredients for Your Easy Cast Iron Pizza
- Crafting the Perfect Homemade Pizza Dough
- Tips for a Perfect Pizza Dough
- Assembling Your Easy Cast Iron Pizza
- Baking Your Cast Iron Pizza to Perfection
- Chef’s Tip for the Ultimate Crispy Crust
- Serving and Customizing Your Cast Iron Pizza
- Frequently Asked Questions About Cast Iron Pizza
- More Delicious Grilled and Baked Dough Recipes
- Easy Cast Iron Pizza Recipe Card
Why Choose Cast Iron for Your Pizza?
The secret to an unbelievably crispy pizza crust often lies in the cooking surface, and few tools rival the performance of a cast iron skillet. Cast iron is renowned for its exceptional heat retention and even heat distribution. This means that when you preheat your skillet to a high temperature, it holds that heat beautifully, transferring it directly to the pizza dough. This intense, consistent heat is crucial for rapidly cooking the bottom of the crust, creating that desirable golden-brown crispness that mimics brick oven pizza. Furthermore, the oil used to coat the skillet combined with the high heat creates a slightly fried, incredibly flavorful texture on the bottom of the crust, preventing sogginess and adding a depth of flavor that baking on a regular sheet pan simply can’t achieve. It’s a game-changer for homemade pizza lovers!
Essential Ingredients for Your Easy Cast Iron Pizza
Crafting the perfect pizza starts with selecting quality ingredients. Here’s a detailed look at what you’ll need for both the signature dough and your delicious toppings, along with explanations for why each component is vital:
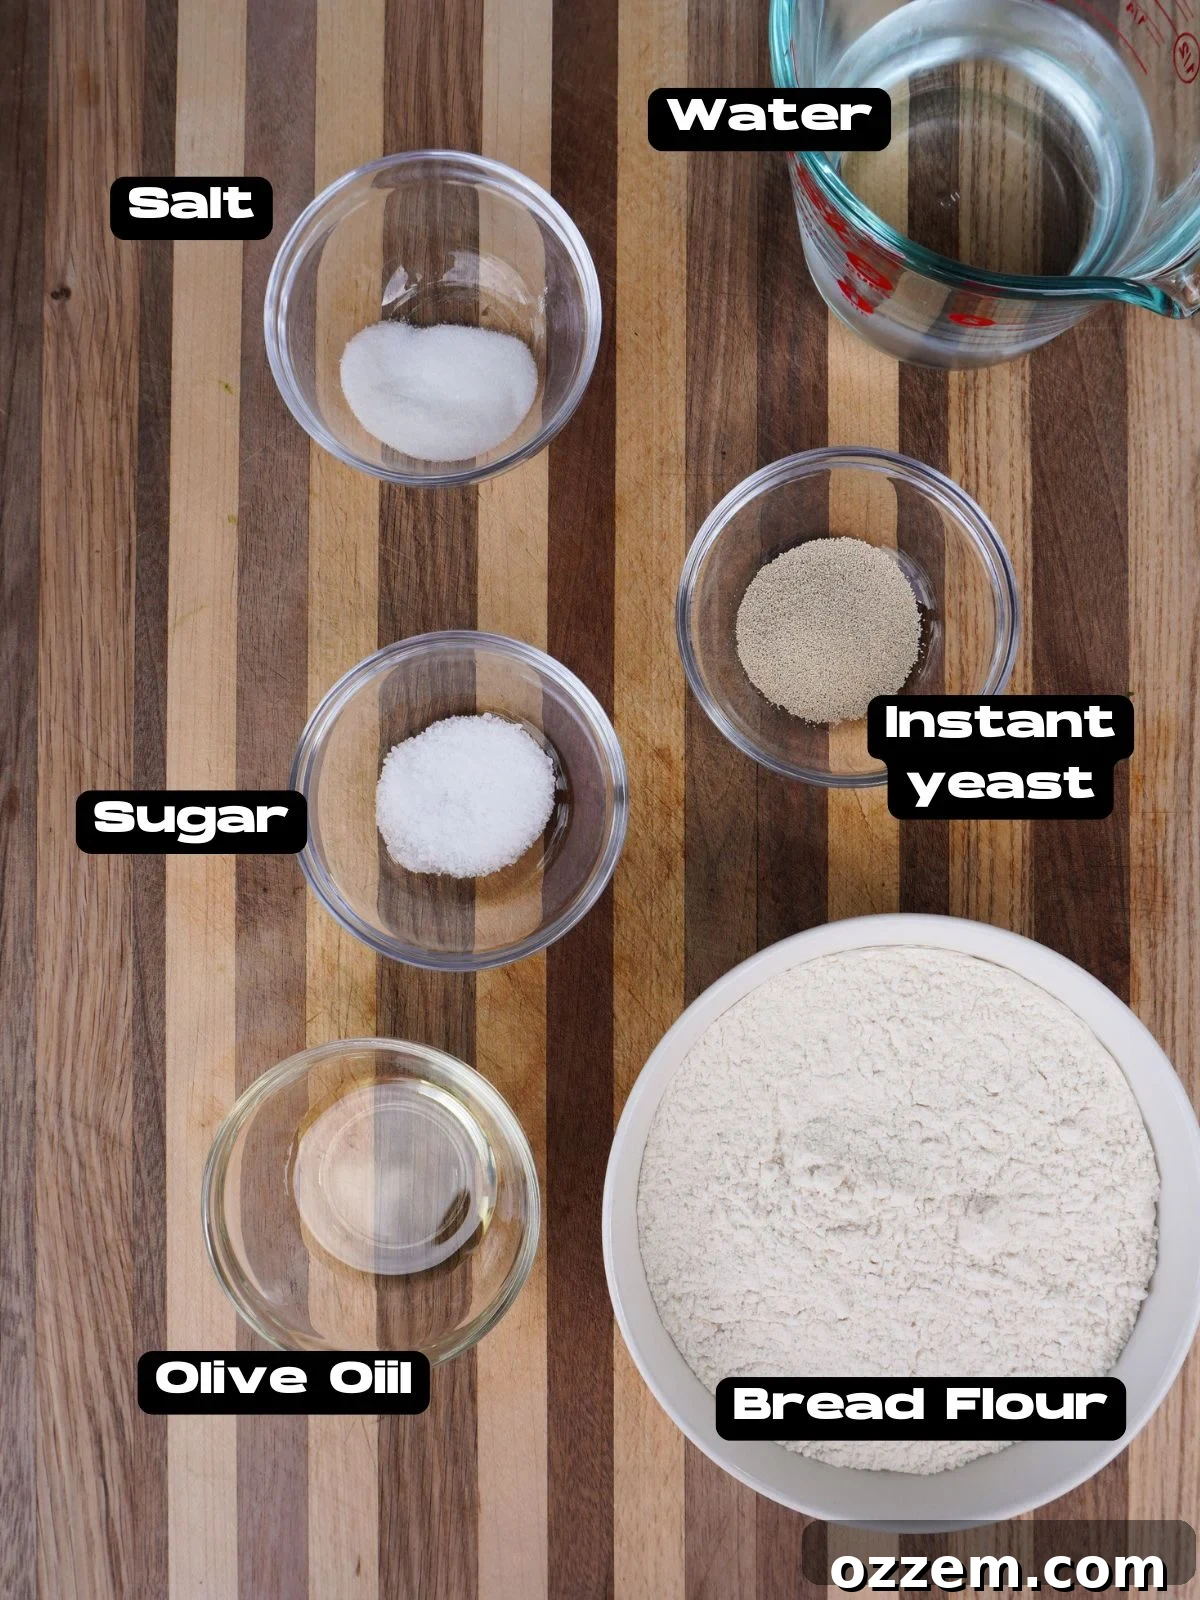
- Bread Flour: This is our top choice for pizza dough, and for good reason! Bread flour boasts a higher protein content compared to all-purpose flour. This extra protein is key to developing more gluten during the kneading process. The result? A dough that is wonderfully elastic and stretchy, making it easy to work with and ensuring that classic chewy, yet airy, pizza crust texture.
- Warm Water: Acting as the liquid base for our dough, warm water (ideally around 100°F or 38°C) is essential. It activates the instant yeast, kickstarting the fermentation process effectively and ensuring a robust rise for your dough.
- Salt: More than just a seasoning, salt plays a crucial role in enhancing the overall flavor of the dough. It also helps to regulate the yeast’s activity, preventing it from rising too quickly and allowing for better gluten development.
- Sugar: A small amount of sugar works wonders by providing immediate fuel for the yeast, helping it to ferment actively. This contributes to a lighter, more airy dough and also aids in browning the crust beautifully during baking.
- Instant Yeast: This is the leavening agent that makes our dough rise. Instant yeast is particularly convenient because it doesn’t require prior proofing in water, allowing it to be mixed directly with the dry ingredients. It ensures a faster and more efficient rise.
- Olive Oil: A drizzle of quality olive oil adds a fantastic depth of flavor to the dough itself. It also contributes to a tender interior crumb and helps create that coveted crispy crust when cooked in the cast iron skillet. Don’t skip it!
- Pizza Sauce: The foundation of any great pizza. While I opted for a classic tomato-based sauce, feel free to experiment with other delicious options like a creamy white sauce, a vibrant pesto, or even a spicy arrabiata sauce to match your preference.
- Cheese: For optimal melt and stretch, part-skim, low-moisture mozzarella cheese is unbeatable for homemade pizza. Shredding it fresh from the block ensures superior coverage and that irresistible “cheese pull” everyone loves. While pre-shredded works, freshly grated offers a better experience.
- Your Favorite Toppings: From classic pepperoni to fresh vegetables, savory mushrooms, or even gourmet meats, the choice is yours! Personalize your pizza to create a meal you’ll truly adore.
Crafting the Perfect Homemade Pizza Dough
The heart of any exceptional pizza, especially a cast iron one, is its dough. Over the years, I’ve experimented with countless dough recipes, and this particular formulation has proven itself perfect for a skillet or pan-style pizza. It yields a dough that’s distinctly thicker, wonderfully airy, and achieves an incredible crispiness – a true triumph of texture and flavor.
- Combine Dry Ingredients: In a large mixing bowl, measure out your bread flour, salt, sugar, and instant yeast. Give them a quick whisk to combine thoroughly. This ensures even distribution of the yeast and seasoning throughout the dough.
- Add Wet Ingredients: Pour in the warm water (ensure it’s around 100°F or 38°C – too hot will kill the yeast, too cold won’t activate it) and the olive oil into the dry ingredients.
- Initial Mix: With clean hands, begin mixing all the ingredients together. Start gently, incorporating the flour into the liquid until a shaggy, sticky ball forms. Don’t worry if it looks messy at this stage; it’s part of the process.
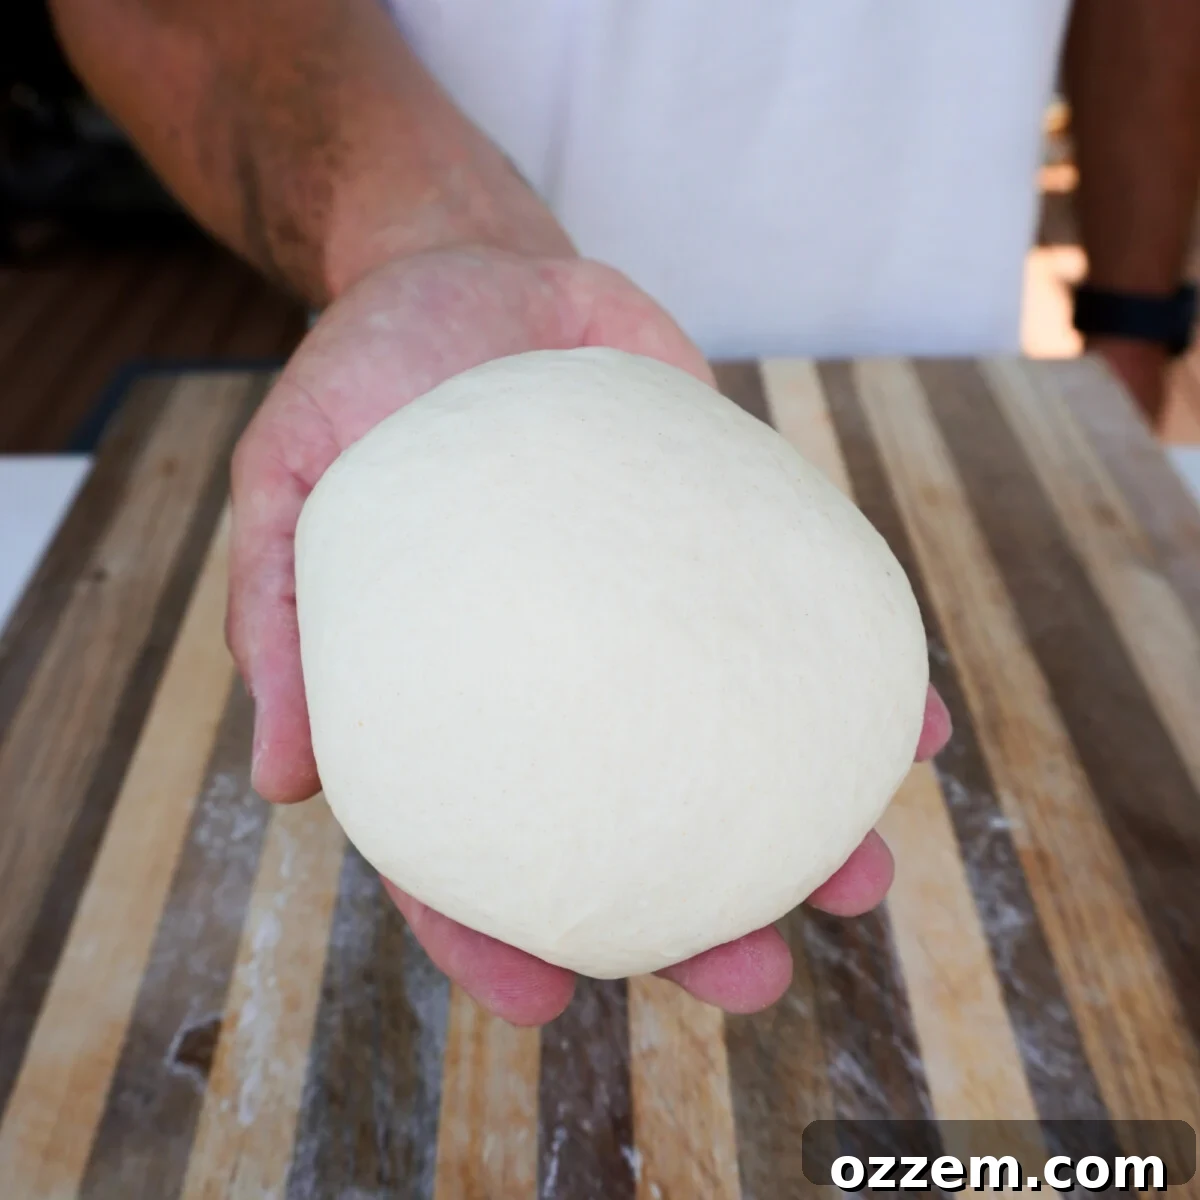
- Kneading Process: Once a sticky ball has formed, transfer it from the bowl to a clean, lightly floured flat surface. Begin kneading the dough vigorously. Use a dough scraper to gather any bits that stick to the surface. Continue to knead for 7-10 minutes. The goal is to transform the sticky mass into a smooth, elastic, and non-sticky dough ball. This consistent kneading is crucial for developing the gluten structure, which gives the pizza its chewiness and strength.
Tips for a Perfect Pizza Dough
For those with a stand mixer, this step can be a breeze! Attach the dough hook and let the mixer knead the dough on low speed until it becomes plump, smooth, and passes the “poke test” – meaning it springs back when gently poked with a finger. This usually takes about 5-7 minutes. Scrape the dough from the bowl and shape it into a neat ball.
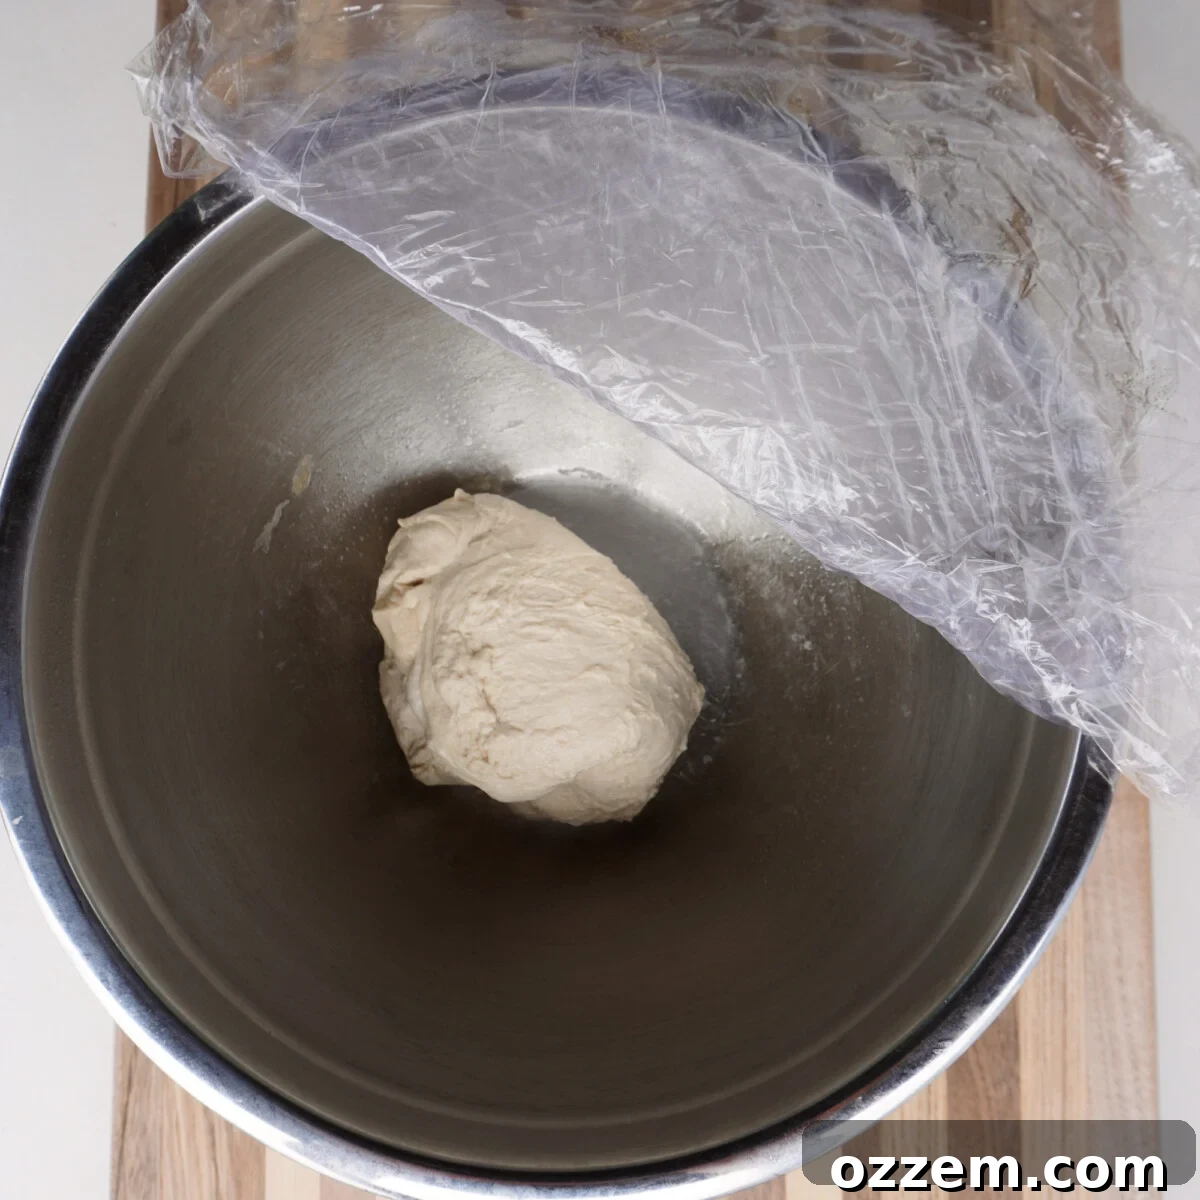
- First Rise (Bulk Fermentation): Place the kneaded dough ball back into the large mixing bowl. Cover the bowl tightly with a clean kitchen towel or plastic wrap to prevent a skin from forming. Allow the dough to rest and rise at room temperature for 2-3 hours. During this time, the dough should roughly double in size, indicating that the yeast is actively working.
- Stretch and Fold Technique: Approximately halfway through the rising process (after about 1 to 1.5 hours), gently uncover the bowl. Perform a “stretch and fold” by taking one edge of the dough, stretching it upwards, and folding it over the center. Rotate the bowl a quarter turn and repeat this process 3-4 times around the dough. This technique further strengthens the gluten structure, contributing to a more elastic and airy final crust. Recover the dough and allow it to finish rising.
Assembling Your Easy Cast Iron Pizza
Once your dough has completed its beautiful rise and is perfectly elastic, it’s time to prepare it for its cast iron journey to pizza perfection. This step is crucial for ensuring a crispy bottom and a well-formed crust.
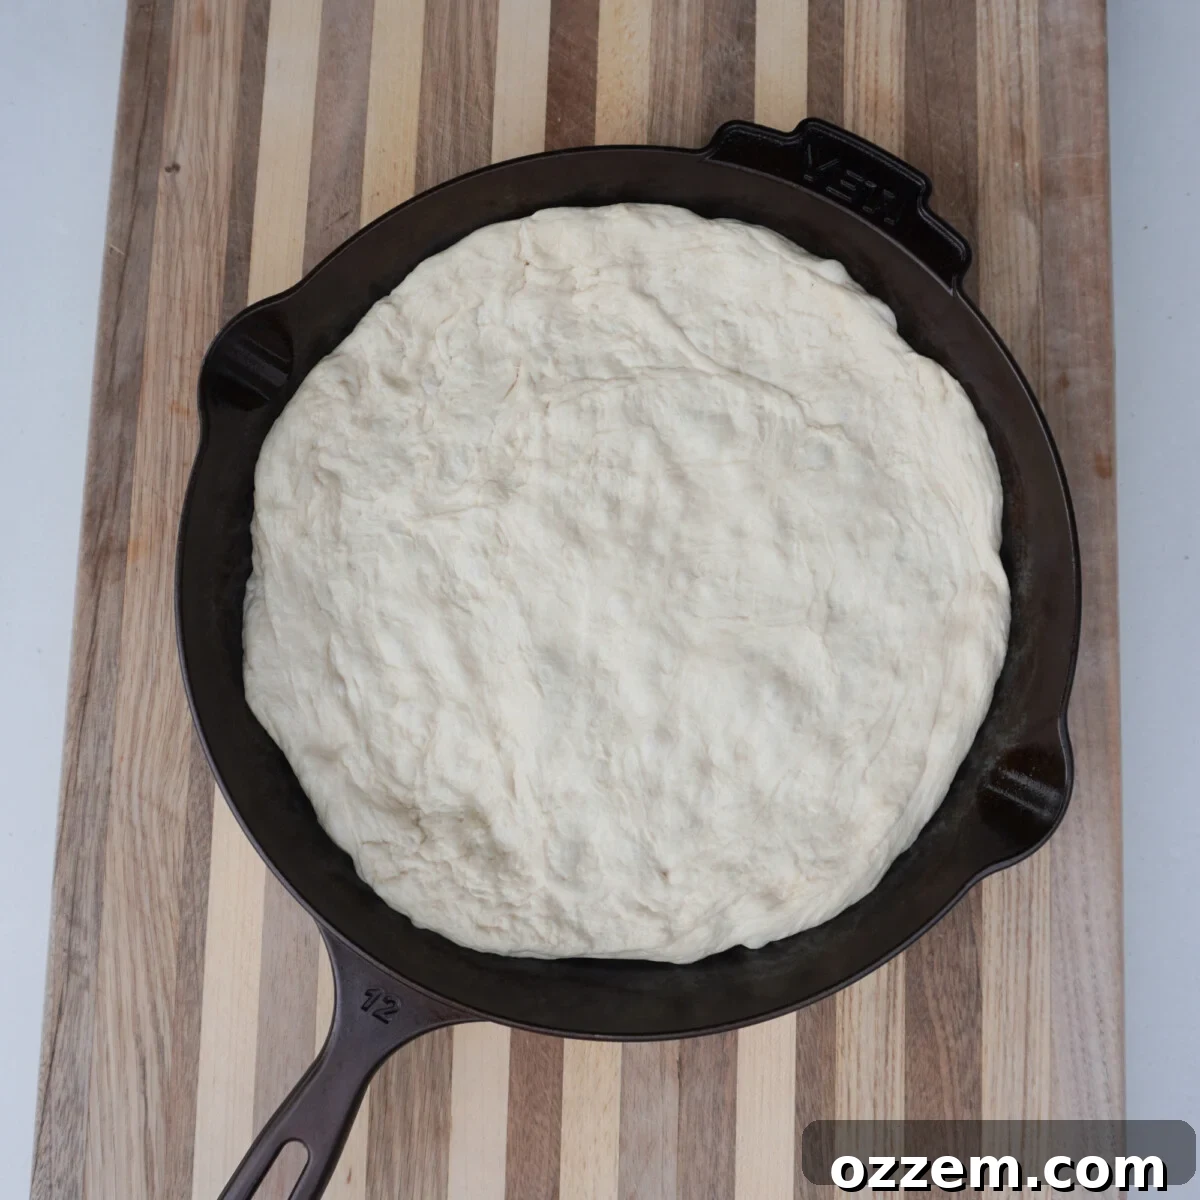
- Prepare the Cast Iron Skillet: For this Easy Cast Iron Pizza recipe, I recommend using a 12-inch Yeti cast iron skillet, or any similar heavy-duty cast iron pan. Generously coat the entire bottom and sides of the skillet with olive oil. This is a critical step that serves two purposes: it prevents the dough from sticking during cooking, and more importantly, it promotes a delightfully crispy, golden-brown crust on the bottom of your pizza.
- Place and Stretch the Dough: Carefully transfer your risen pizza dough into the prepared cast iron skillet. Begin to gently stretch the dough outwards to cover the bottom of the pan. The dough may spring back slightly – this is normal due to its elasticity. Don’t force it too much.
- Second Rise (Proofing in Skillet): Once the dough is stretched as far as it comfortably goes, cover the skillet with plastic wrap. Let the dough rest at room temperature for another hour. During this second proofing, the dough will naturally relax and spread out further, conforming to the shape of the cast iron skillet and developing even more air pockets for that signature bubbly texture. This hands-off approach ensures a perfectly shaped crust without excessive handling.
Baking Your Cast Iron Pizza to Perfection
Now, for the moment of truth: cooking your pizza! Whether you’re using a specialized pizza oven or your standard kitchen oven, the key is high heat to achieve that ideal crispy crust and perfectly melted toppings.
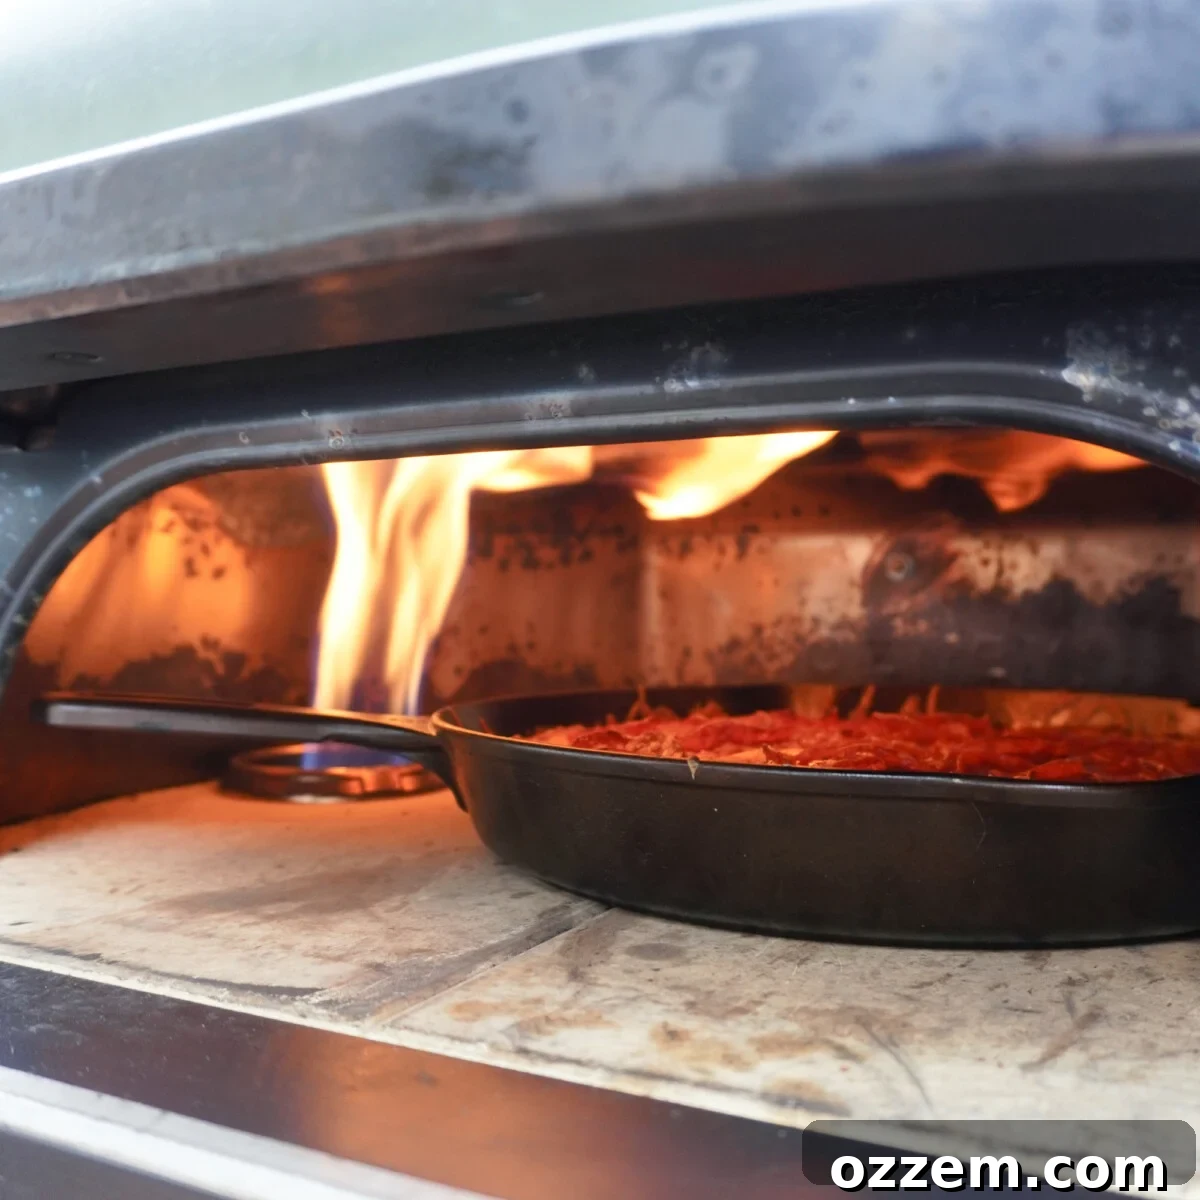
- Preheat Your Oven: Start by preheating your oven to a blazing 500°F (260°C). This high temperature is vital for rapidly cooking the pizza and achieving professional-grade crispiness. If using a dedicated pizza oven like my Gozney Dome, ensure it reaches its maximum operating temperature.
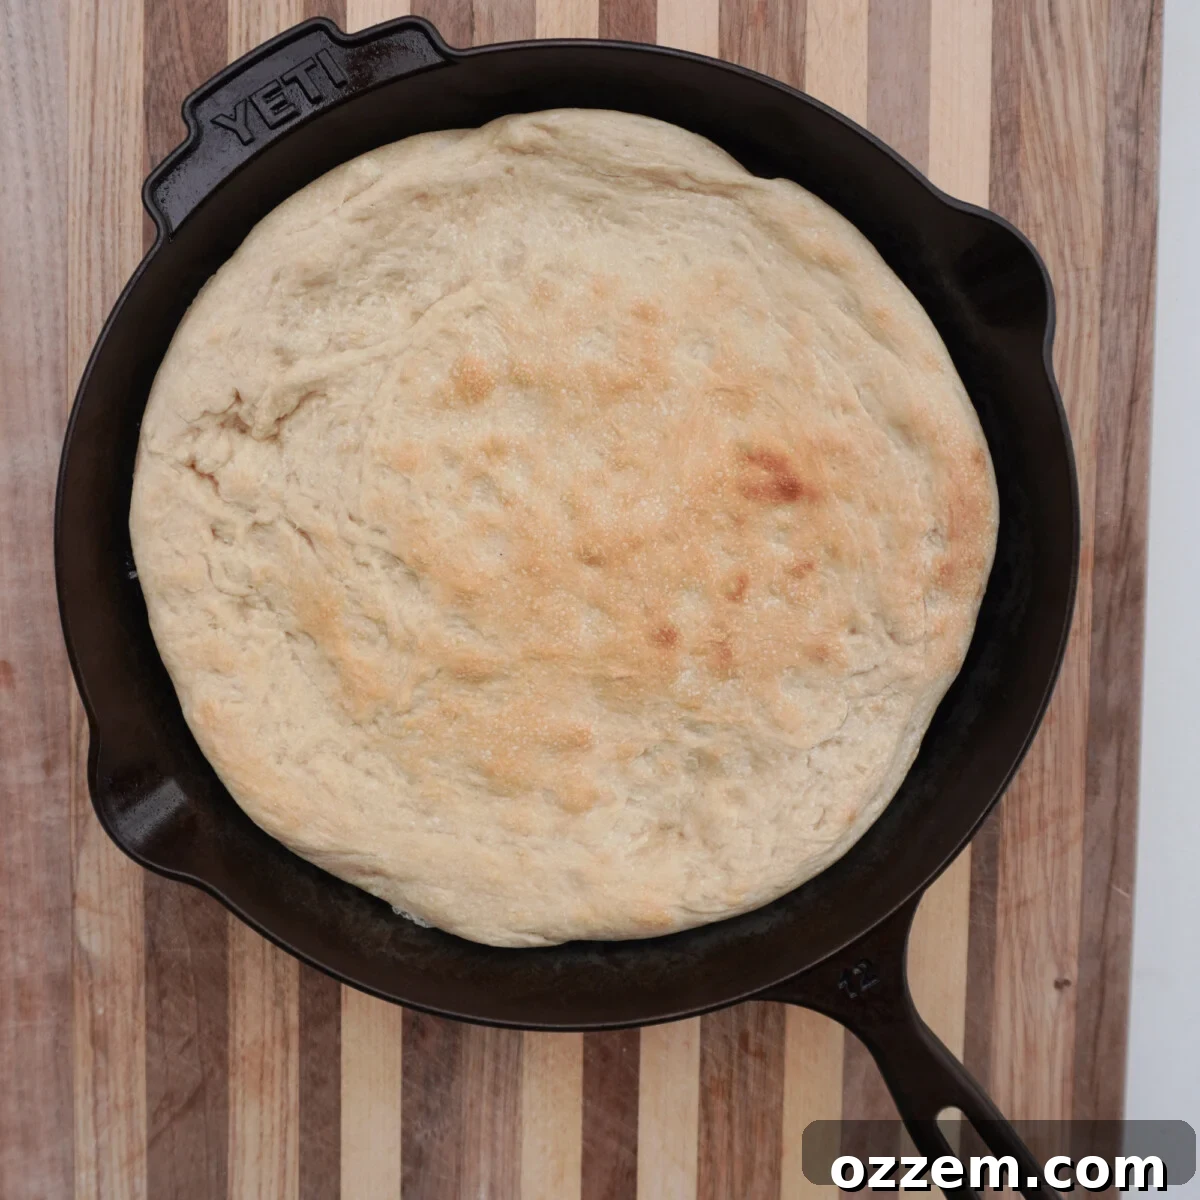
- Pre-bake the Dough: Once your oven is screaming hot, carefully place the cast iron skillet, with the stretched dough inside (plastic wrap removed), directly into the preheated oven. Because this recipe features a thicker, airy crust, pre-cooking the dough is crucial. This step prevents a soggy bottom and helps the crust develop structure and initial crispness. Bake for 10 minutes, or until the top of the dough just begins to turn a light golden brown.
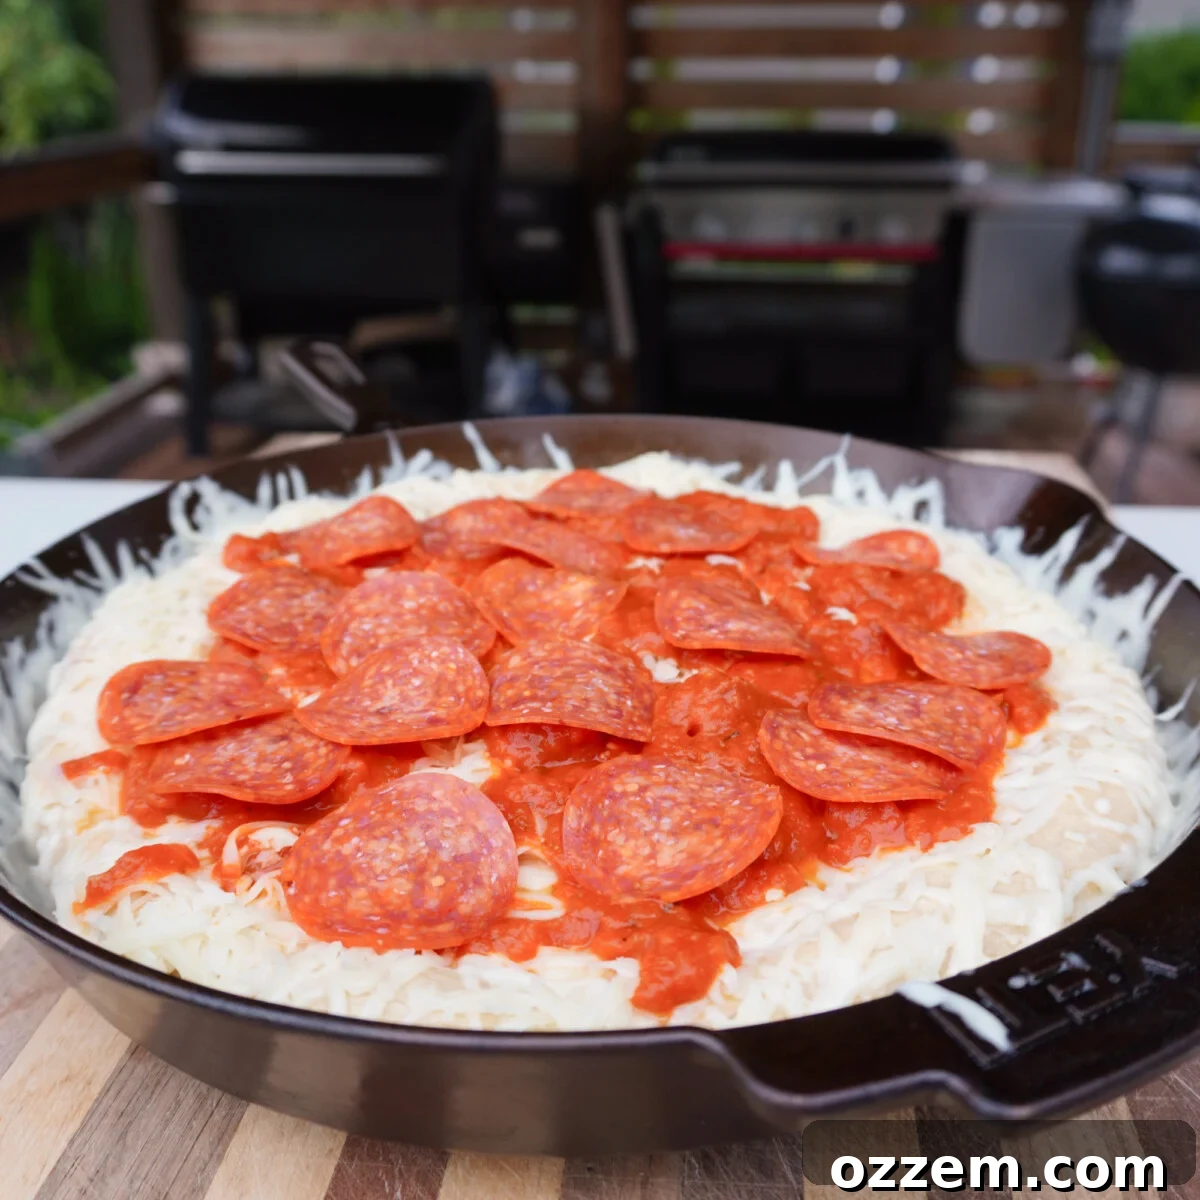
- Add Your Toppings: Carefully remove the skillet from the oven. Now it’s time to get creative!
- Cheese First: Always start with the cheese. Distribute a generous amount of mozzarella, especially around the edges of the crust. As it melts and caramelizes, this cheese will help create those wonderfully crispy, golden-brown “cheese walls” that many cast iron pizzas are famous for. While pre-shredded cheese works for convenience, freshly grated cheese melts more smoothly and provides better coverage.
- Sauce Second: Next, add a thin, even layer of your chosen pizza sauce over the cheese. Avoid overloading with sauce, as too much moisture can make the pizza soggy.
- Final Toppings: Finally, add the rest of your favorite toppings. I often stick with simple pepperoni, a perennial favorite in my household!
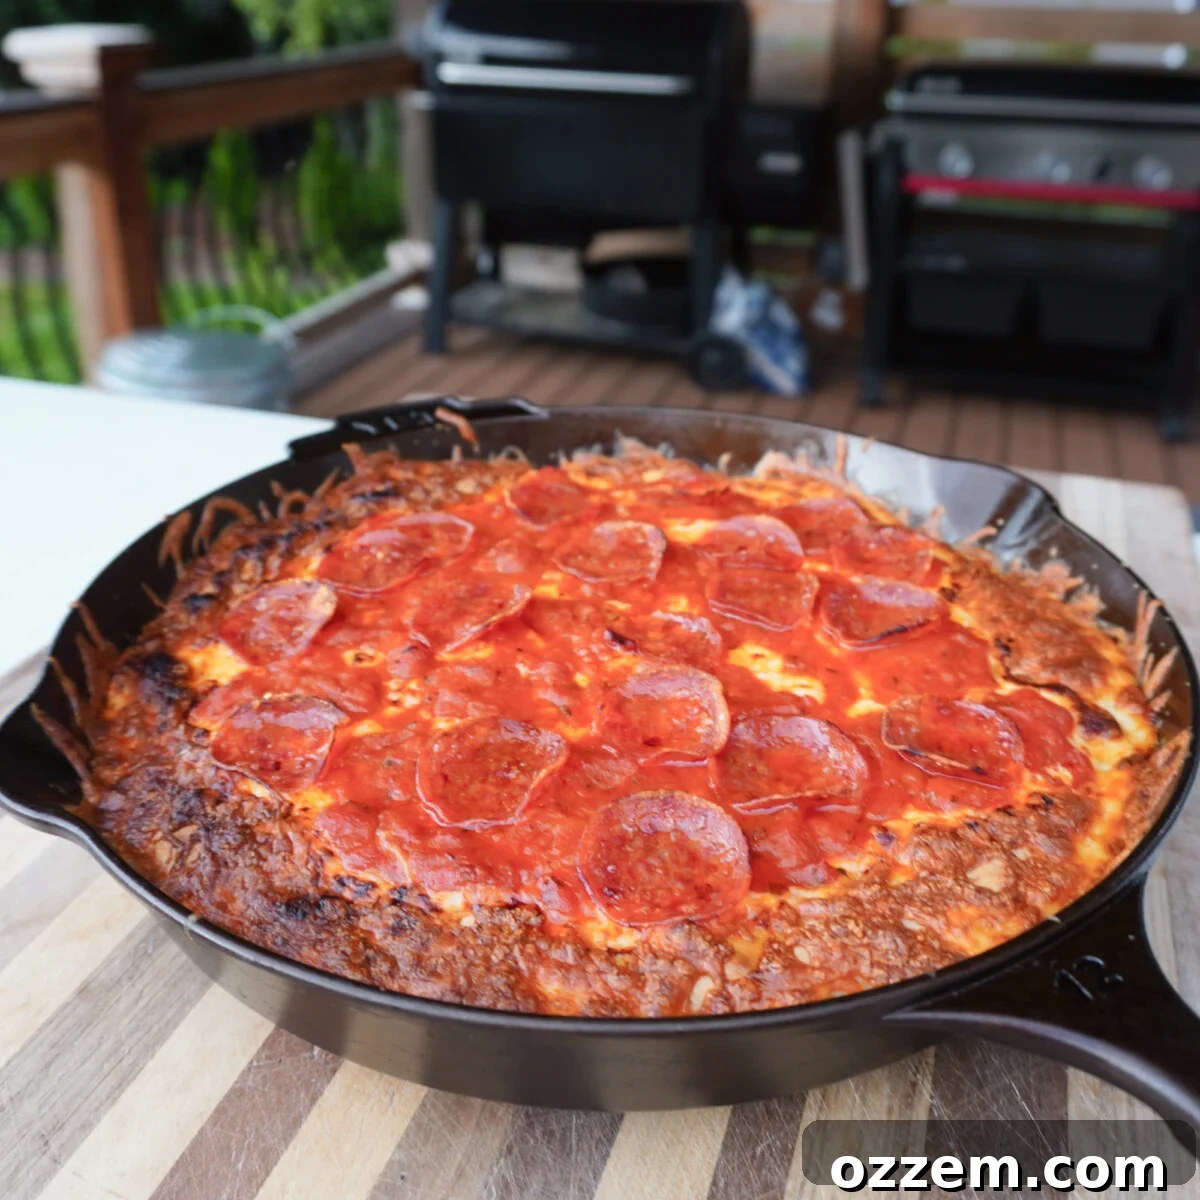
- Final Bake: Return the fully topped skillet to the 500°F (260°C) oven. Cook for another 8-10 minutes, or until the cheese is completely melted, bubbly, and the crust edges are a beautiful golden brown. For an extra charred, restaurant-quality top, you can finish the pizza under the broiler for 1-2 minutes, but watch it very closely to prevent burning.
Chef’s Tip for the Ultimate Crispy Crust
To achieve an even crispier bottom crust, after removing the pizza from the oven, place the cast iron skillet (with the pizza still inside) directly on your stovetop over medium-high heat for an additional 4-5 minutes. This direct contact heat will crisp up the base wonderfully.
Serving and Customizing Your Cast Iron Pizza
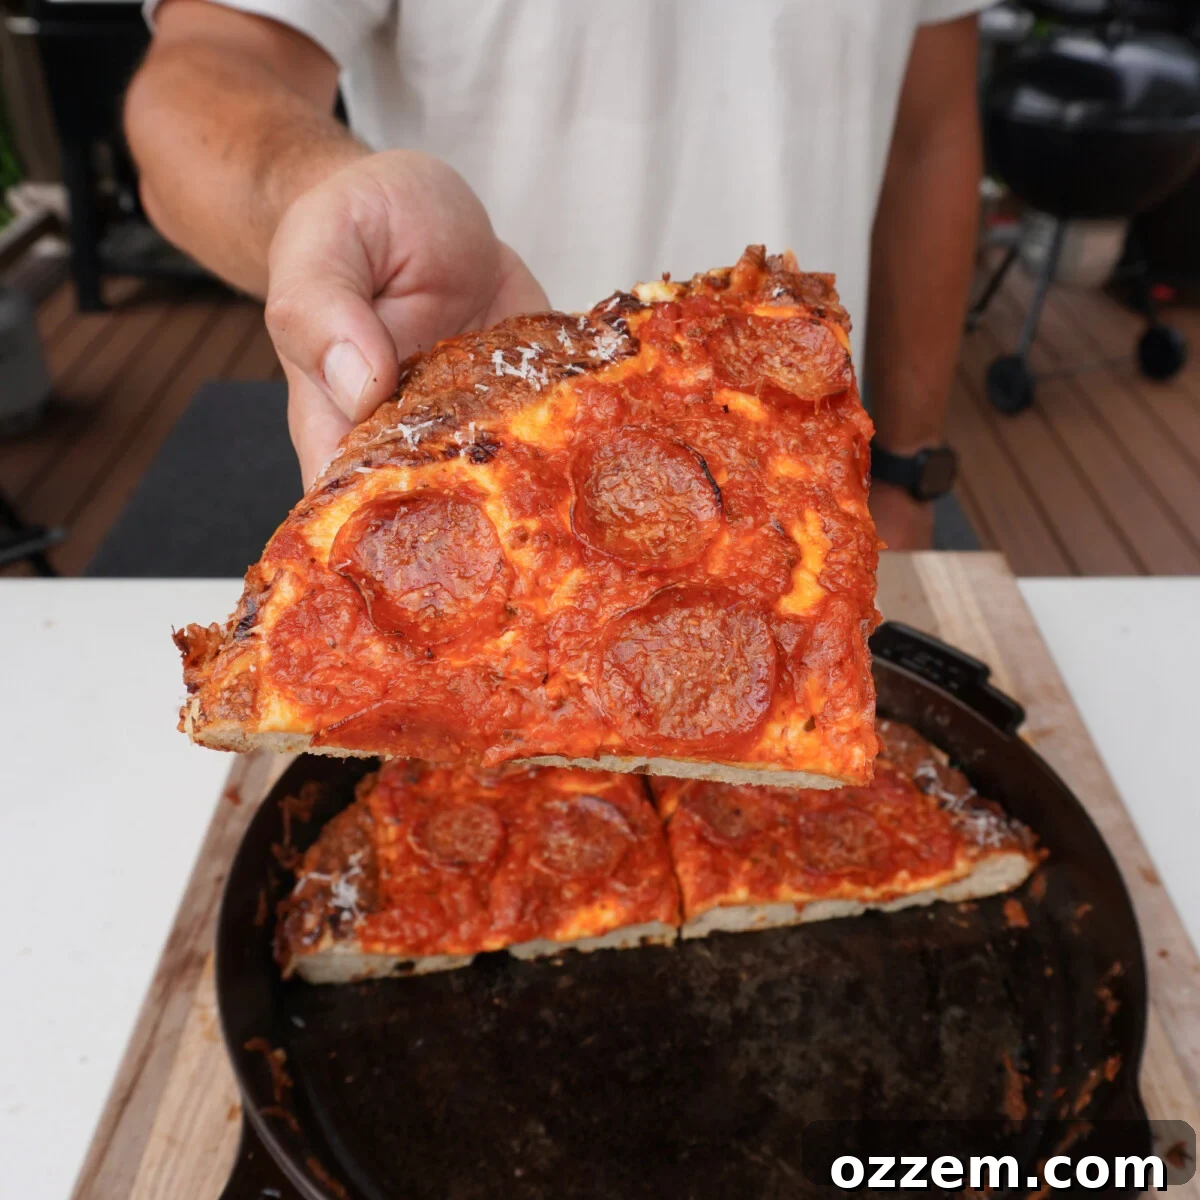
Once your pizza is cooked to golden perfection, remove it from the oven or grill. Allow it to cool for a few minutes in the skillet – this helps the cheese set slightly and makes for easier removal. Gently run a butter knife or a thin spatula around the edge of the cast iron skillet to loosen the pizza. Then, slowly and carefully lift the entire pizza and transfer it to a flat cutting surface, such as a large wooden board.
For an extra touch of gourmet flavor, I love to finish my pizza with a generous sprinkle of freshly grated Parmesan cheese. Slice it into wedges, serve immediately, and enjoy the unparalleled taste and texture of your homemade Easy Cast Iron Pizza!
Frequently Asked Questions About Cast Iron Pizza
Absolutely! While a dedicated pizza oven like the Gozney Dome offers unique advantages, all my recipes, including this Easy Cast Iron Pizza, are designed to be successfully replicated in a conventional kitchen oven. The key is to preheat your cast iron skillet well and cook at a high temperature. For a truly crispy bottom, you can finish it on the stovetop over medium-high heat for a few minutes after baking, as detailed in our chef’s tip.
Yes, a cast iron pan or skillet is an outstanding choice for making homemade pizza. Its superior ability to retain and distribute high heat evenly is unparalleled. This results in a remarkably crispy crust that develops quickly, while the center of the pizza remains soft and chewy. It effectively mimics the intense heat of a professional pizza oven, bringing restaurant-quality results to your home kitchen.
Several factors contribute to a crispy crust. First, the pre-baking step for the dough in the cast iron skillet is crucial. Second, ensure your oven is preheated to a very high temperature (500°F). Third, avoid overloading your pizza with excessive sauce or watery toppings. Finally, finishing the pizza on the stovetop for a few minutes after baking can add extra crispiness to the bottom.
Yes, you can! After the initial kneading and first rise, you can place the dough ball in an oiled bowl, cover it tightly with plastic wrap, and refrigerate it for up to 24-48 hours. When you’re ready to make pizza, take the dough out of the refrigerator about 1-2 hours before use to allow it to come to room temperature and relax, making it easier to stretch in the skillet.
The possibilities are endless! Beyond classic pepperoni, consider options like thinly sliced mushrooms, bell peppers, onions, olives, or spinach for vegetable lovers. For meat enthusiasts, cooked sausage, bacon, or shredded chicken are great. You could also try a white pizza with ricotta, mozzarella, and garlic, or a pesto-based pizza with cherry tomatoes and fresh basil. Just remember not to overload the pizza to ensure even cooking.
More Delicious Grilled and Baked Dough Recipes to Explore:
Side Dish
Irresistible Homemade Garlic Bread
Pork
Savory Homemade Calzones
Tailgating
Fun Pull Apart Pepperoni Pizza
Pork
The Best Homemade Pizza Dough
If you tried this Easy Cast Iron Pizza recipe or any other recipe on my blog, please leave a 🌟 star rating and let me know how it went in the 📝 comments. I love hearing from you!
Print Recipe
Easy Cast Iron Pizza
Maciek Zurawski
3 minutes
10 minutes
4 People
Ingredients
Pizza Dough Ingredients
- 300 grams Bread flour
- 210 grams Warm water (100 degrees Fahrenheit)
- 6 grams Salt
- 6 grams Sugar
- 6 grams Instant yeast
- 10 grams Olive oil
Pizza Ingredients
- 1 cup Pizza sauce
- 12 oz Mozzarella cheese
- 1/2 cup Pepperonis
Instructions
How to make pizza dough
-
In a large bowl, combine all the pizza dough ingredients (bread flour, warm water, salt, sugar, instant yeast, and olive oil) and mix by hand until a sticky ball forms.
-
Transfer the sticky dough ball to a clean, flat surface. Knead the dough for 7-10 minutes, scraping any sticking bits, until it becomes smooth and non-sticky.
-
Place the dough ball back in the bowl and cover with a clean kitchen towel or plastic wrap.
-
Leave the covered bowl at room temperature for 2-3 hours, until the dough doubles in size. Halfway through, gently perform a “stretch and fold” technique.
-
Generously oil the bottom and sides of a 12-inch cast iron skillet. Transfer the risen dough from the bowl to the skillet.
-
Gently stretch the dough as best as you can to cover the bottom of the skillet. Cover the skillet with plastic wrap and let it sit at room temperature for another hour to relax and spread.
Pizza Time
-
Preheat your grill or oven to 500°F (260°C).
-
Remove the plastic wrap from the skillet and place it in the preheated oven for 10 minutes to pre-cook the dough.
-
Carefully remove the skillet from the oven. Evenly add the mozzarella cheese (especially around the edges), then a thin layer of pizza sauce, and finally your pepperoni or preferred toppings.
-
Place the skillet back in the oven and cook for 8-10 minutes, or until the cheese is fully melted and bubbly, and the crust is golden brown. You can use the broiler for 1-2 minutes for extra char if desired.
-
Remove the skillet from the oven. Run a butter knife around the edge to help release the pizza. Carefully transfer the pizza from the skillet to a flat surface and let it cool for a few minutes.
-
Slice, serve, and enjoy your delicious Easy Cast Iron Pizza!
Notes
- For convenience, if you have a stand mixer, you can use it to knead the dough until it’s plump and springs back when poked.
- Pre-cooking the dough is essential to prevent a soggy bottom and ensure a perfectly crispy crust.
- While pre-shredded cheese works, freshly shredded low-moisture mozzarella melts best and provides superior flavor and texture. Avoid hard Italian cheeses as your primary cheese unless used in addition to mozzarella.
- For an extra crispy bottom, place the skillet with the cooked pizza on the stovetop over medium-high heat for 4-5 minutes after removing it from the oven.
Nutrition
Carbohydrates: 63g |
Protein: 29g |
Fat: 29g |
Saturated Fat: 12g |
Polyunsaturated Fat: 3g |
Monounsaturated Fat: 11g |
Trans Fat: 0.5g |
Cholesterol: 64mg |
Sodium: 1719mg |
Potassium: 415mg |
Fiber: 3g |
Sugar: 5g |
Vitamin A: 610IU |
Vitamin C: 4mg |
Calcium: 421mg |
Iron: 2mg