
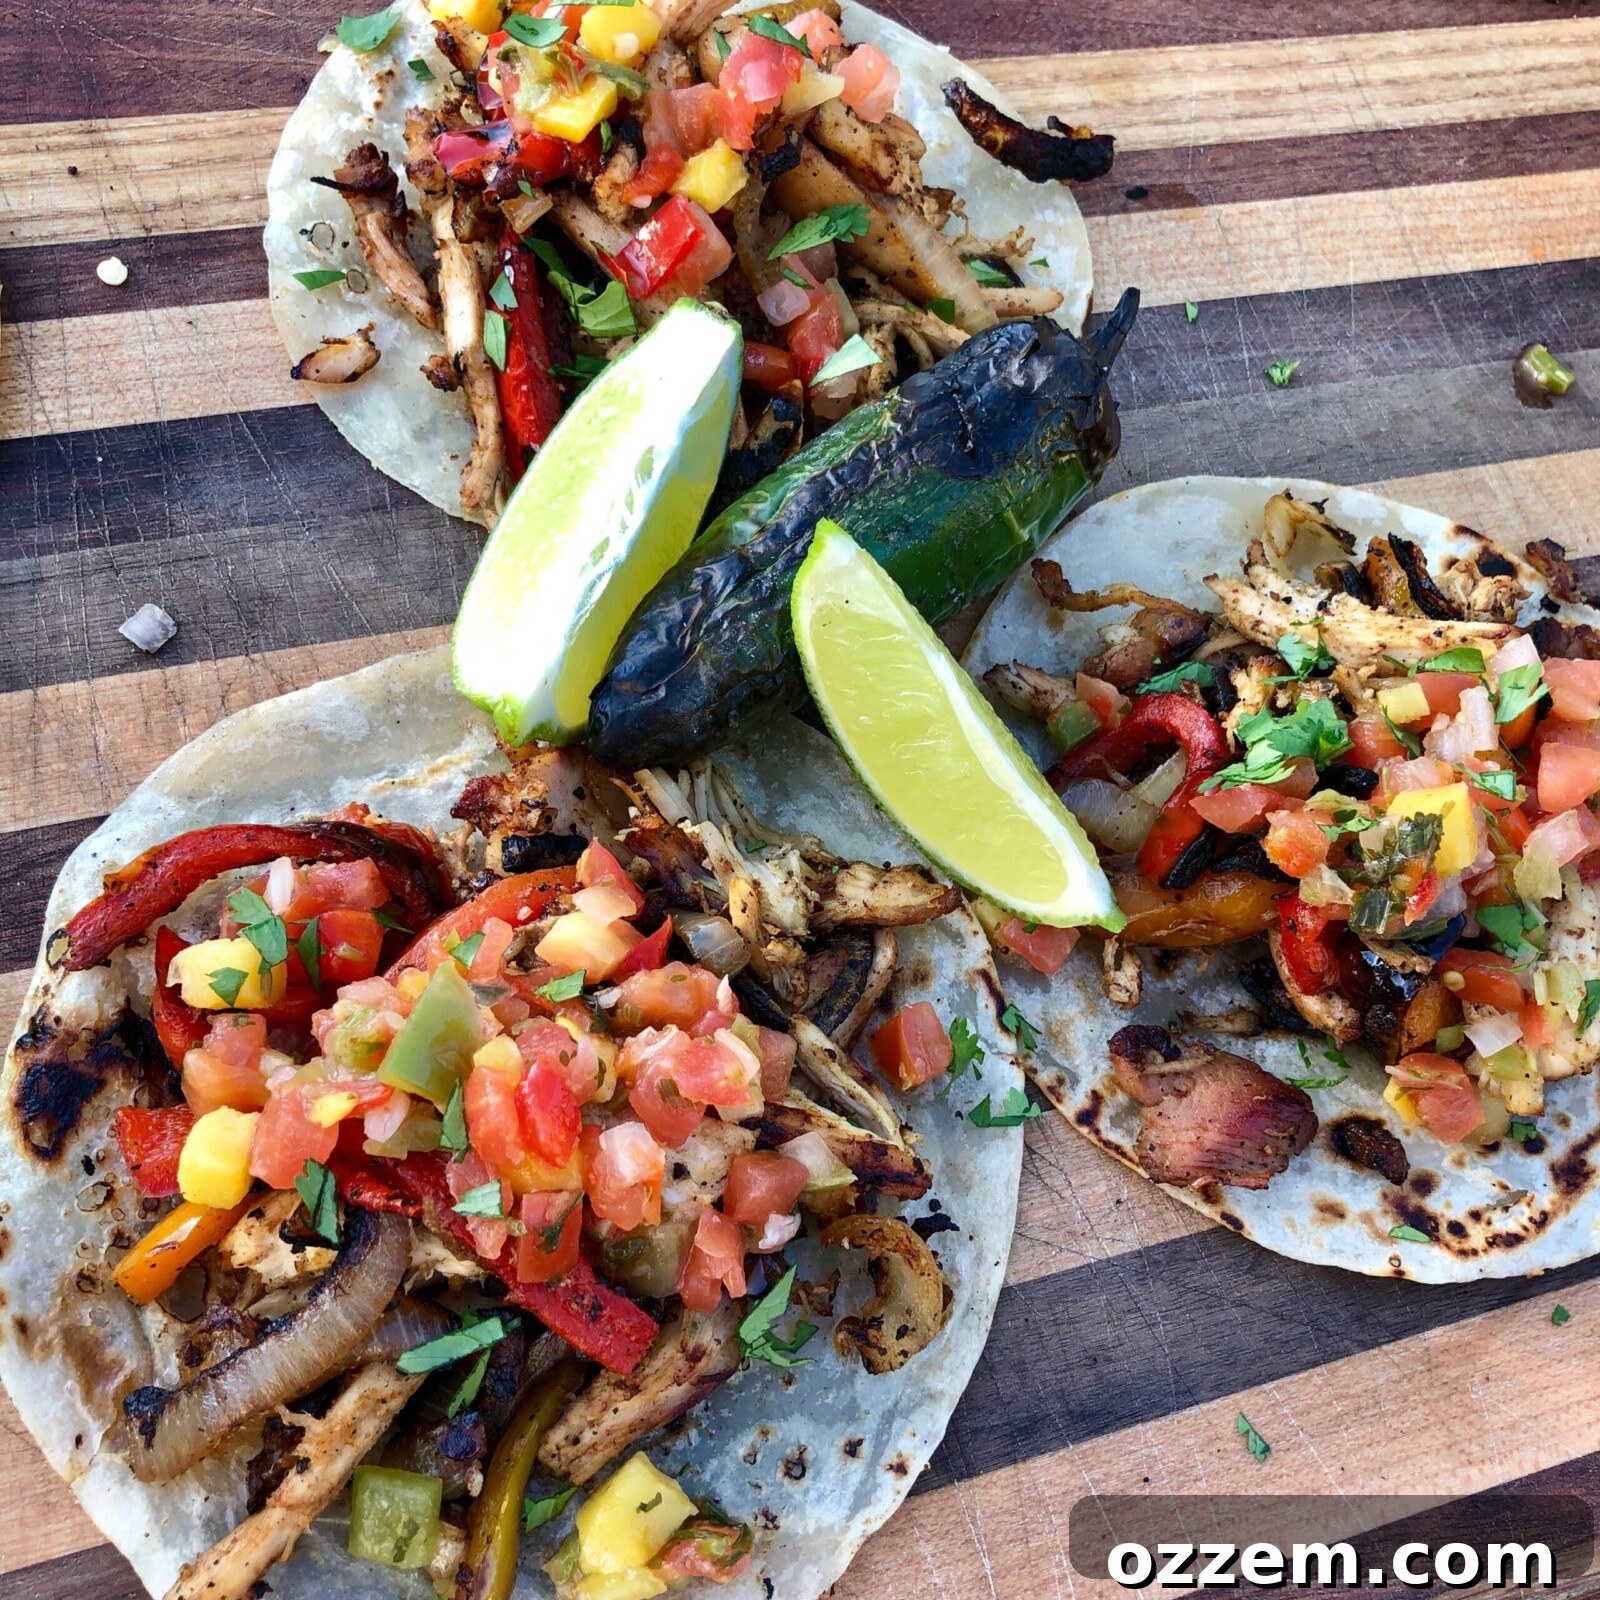
Whether you’ve got some leftover grilled chicken from last night or a convenient store-bought rotisserie chicken, you’re just a few simple steps away from creating incredibly flavorful chicken fajita tacos. This recipe is designed for ease, speed, and maximum taste, making it an absolute winner for any weeknight meal or a casual gathering. Get ready to turn that chicken into a vibrant, sizzling taco fiesta!
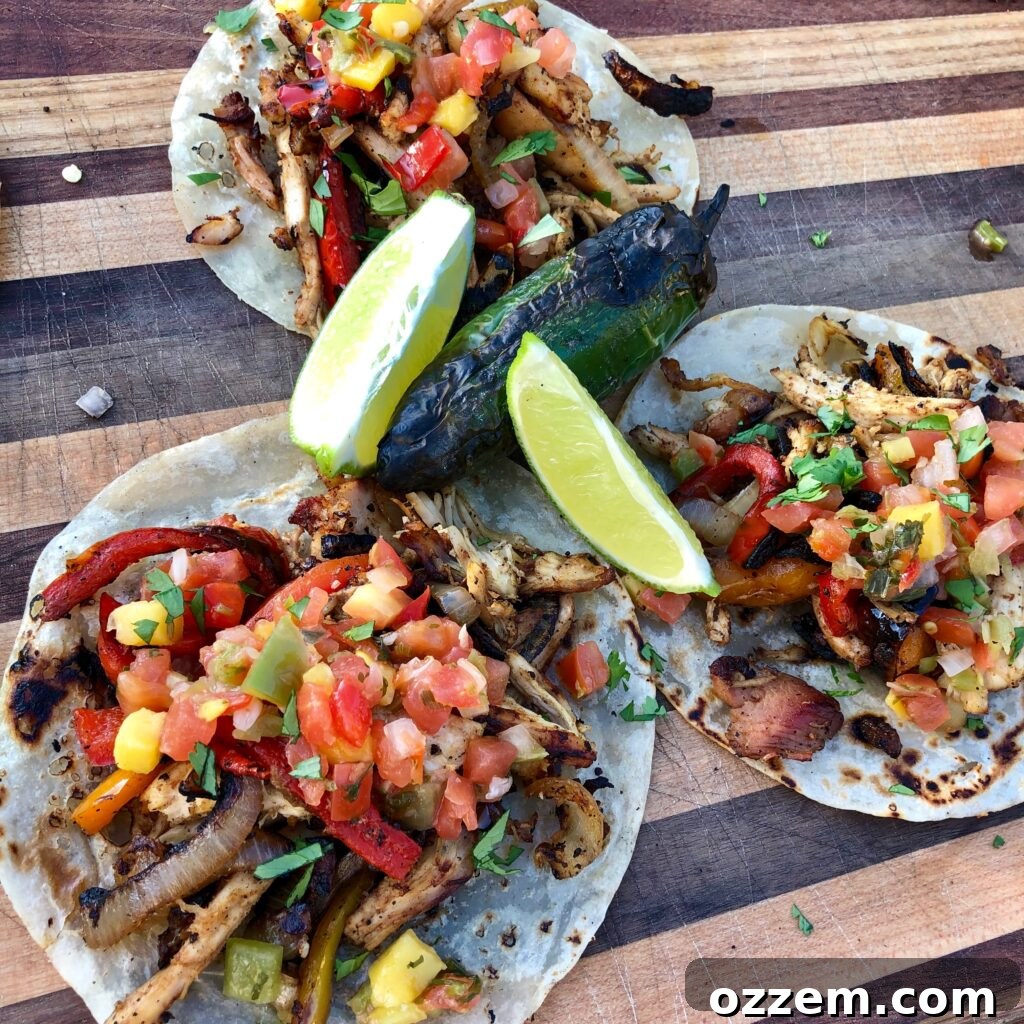
Table of Contents
- Step 1: Grilling Perfect Chicken Thighs (if starting fresh)
- Step 2: Preparing Your Flavorful Fajita Mix
- Step 3: Assembling the Ultimate Chicken Fajita Tacos
- Why You’ll Love These Chicken Fajita Tacos
- Frequently Asked Questions
- Chicken Fajita Tacos Recipe Card
Step 1: Grilling Perfect Chicken Thighs (if starting fresh)
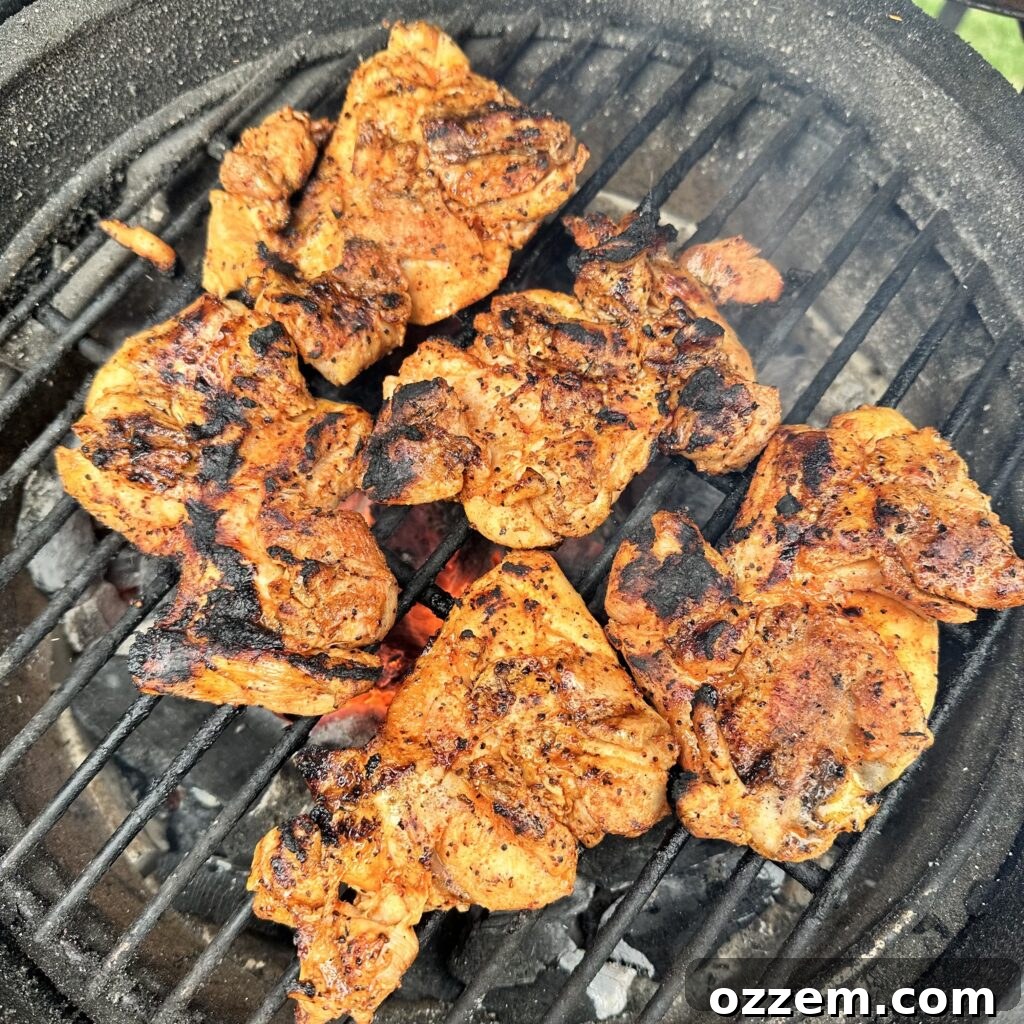
If you don’t have pre-cooked chicken ready to go, don’t worry! Grilling up some fresh chicken thighs is incredibly simple and adds an extra layer of smoky flavor to your fajitas. Chicken thighs are a fantastic choice for fajitas due to their rich flavor and inherent juiciness, which prevents them from drying out during cooking. They hold up beautifully to high heat and absorb seasonings wonderfully.
Choosing and Seasoning Your Chicken Thighs
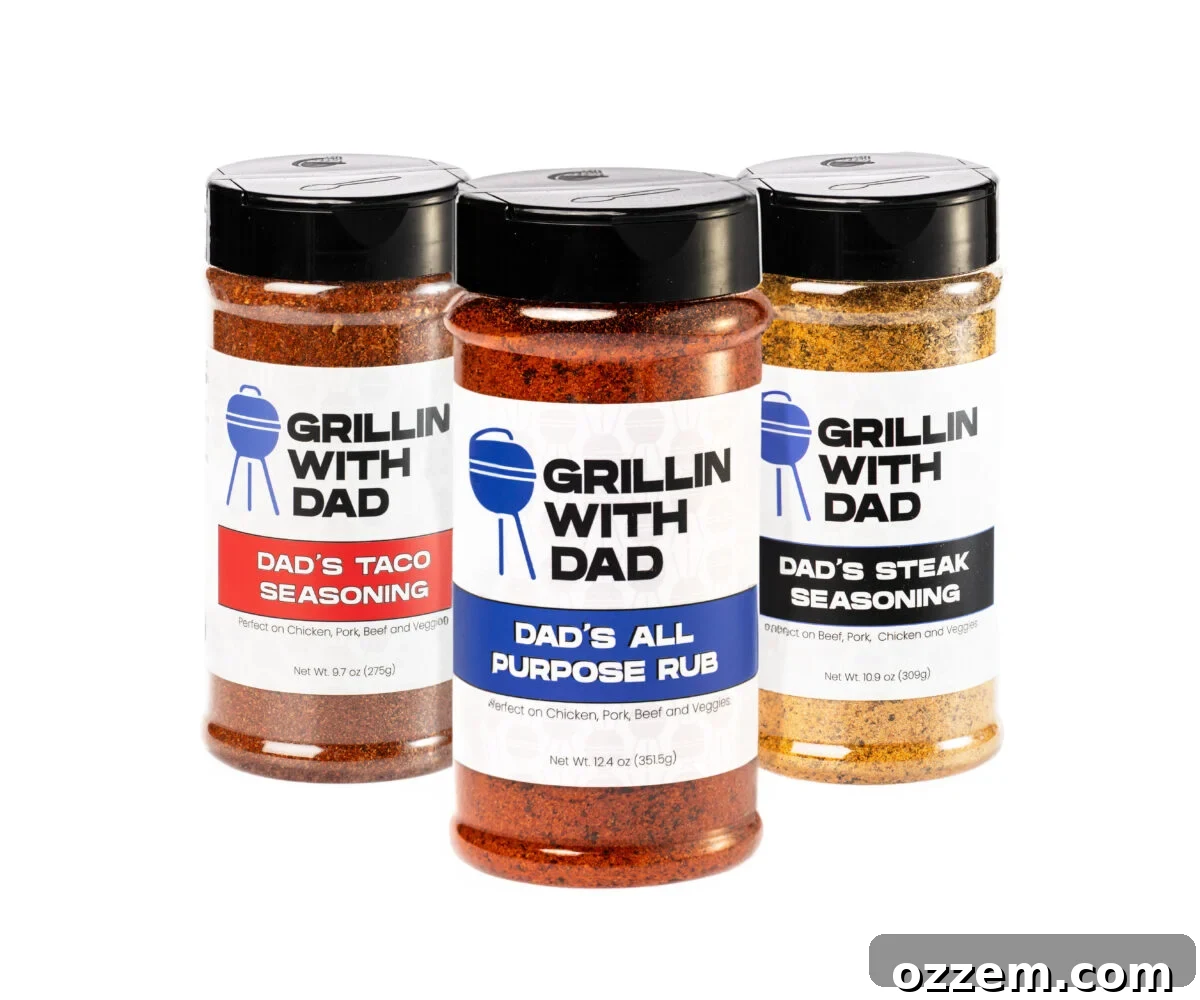
For this recipe, we recommend bone-in, skin-on chicken thighs, though boneless, skinless thighs work just as well and cook faster. Start by patting your chicken thighs dry with paper towels. This helps the seasoning adhere better and promotes a crispier skin (if applicable). Next, generously season them. While any quality fajita or taco seasoning will work, we love using Dad’s Taco Seasoning for its perfect blend of savory, smoky, and slightly spicy notes that truly elevate the chicken. If you prefer to make your own blend, a mix of chili powder, cumin, paprika, garlic powder, onion powder, salt, and black pepper is an excellent alternative.
Grilling for Perfection
Preheat your grill to a medium-high heat (around 375-400°F or 190-200°C). For best results, consider a two-zone cooking setup if your grill allows it: one side with direct heat and the other with indirect heat. Place the seasoned chicken thighs on the direct heat side of the grill. Cook for approximately 5-7 minutes per side, or until beautiful grill marks appear and the internal temperature reaches 170°F (77°C). Use an instant-read thermometer inserted into the thickest part of the thigh, avoiding the bone, to ensure accuracy. If you’re using bone-in thighs, you might want to finish them on the indirect side to cook through without charring too much. Once cooked, remove the chicken from the grill and, crucially, allow it to rest for at least 10 minutes. Resting lets the juices redistribute throughout the meat, guaranteeing a tender and moist result. After resting, you can shred or slice the chicken into fajita-ready strips.
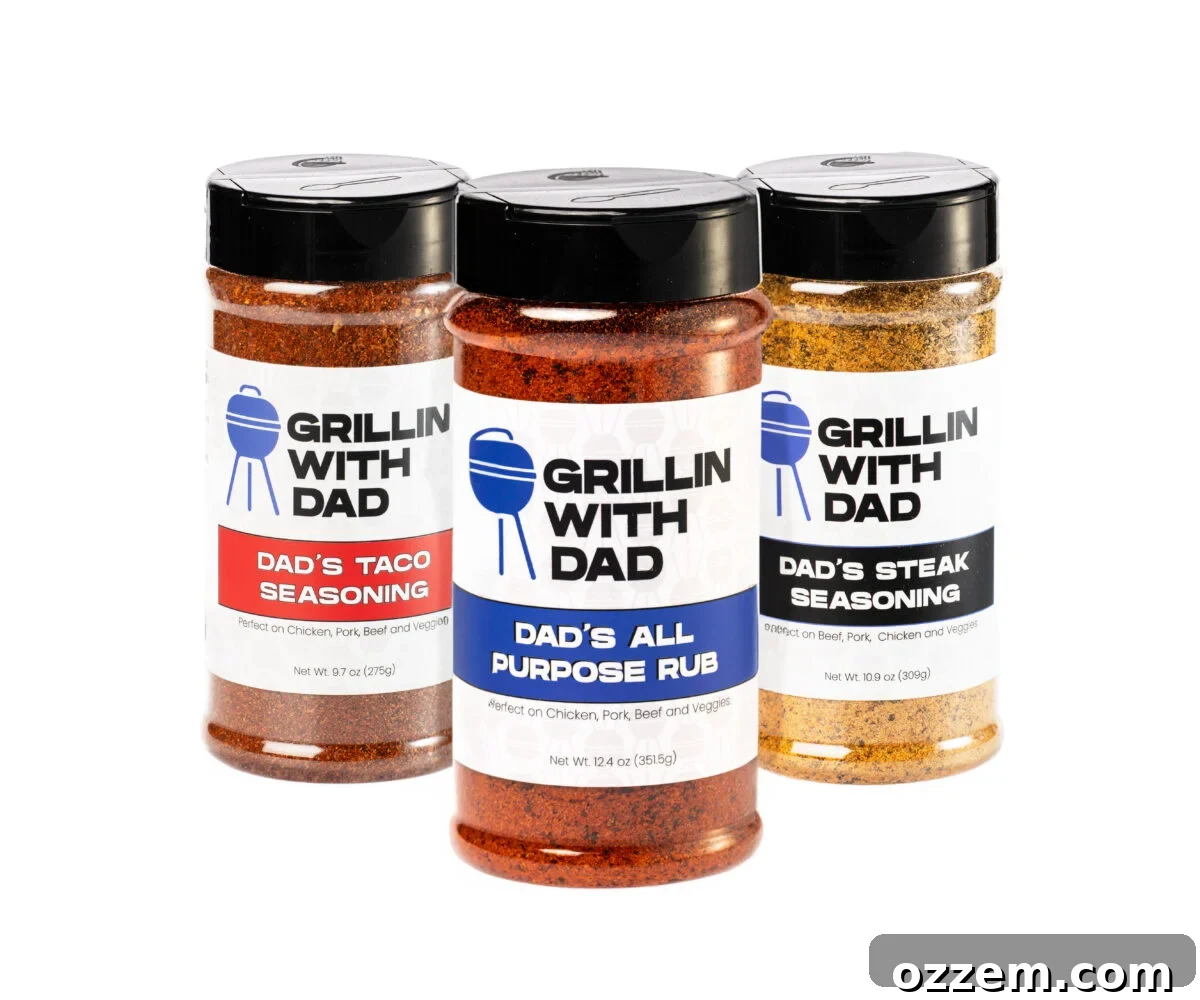
Explore Dad’s Seasonings
Your must-have grillin’ seasonings for unbeatable flavor!
Step 2: Preparing Your Flavorful Fajita Mix
Creating the perfect fajita filling is where the magic truly happens! Tacos are a beloved family favorite in our home, offering a quick, customizable, and delicious way to use up leftovers while minimizing food waste – a win-win in every aspect.
Sautéing the Fajita Vegetables
Begin by slicing one medium-sized onion and two bell peppers. Feel free to use a mix of colors like red, yellow, and green bell peppers for a vibrant and varied flavor profile. Red and yellow peppers tend to be sweeter, while green offers a slightly more traditional, earthy note. Fire up your grill again, or if you prefer, use your stovetop. Place a cast iron skillet or a cast iron griddle over high heat. Add a tablespoon of olive oil to the hot skillet, then toss in your sliced onions and bell peppers. The key here is to get a nice char on the vegetables, which adds depth of flavor and that authentic fajita taste.
Seasoning and Combining
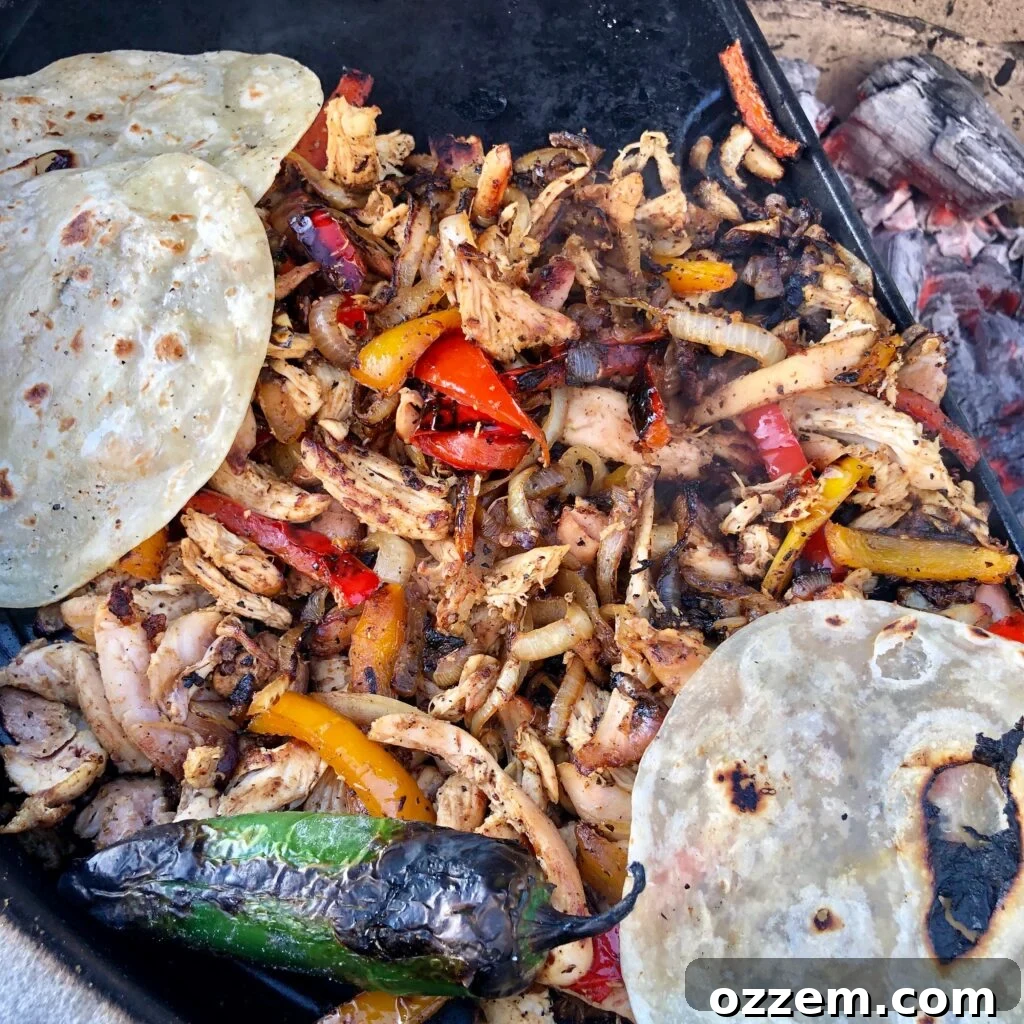
Once the vegetables are in the hot skillet, it’s time to season them. A generous sprinkle of Dad’s Taco Seasoning will infuse them with incredible flavor. Stir the seasoning through the vegetables, ensuring every slice is coated. Cook for about 5-7 minutes, stirring occasionally, until the onions are translucent and the peppers have softened but still retain a slight bite – you want them tender-crisp, not mushy. Now, add your shredded cooked chicken to the skillet with the vegetables. Mix everything together thoroughly, ensuring the chicken is evenly distributed and warmed through, soaking up all those delicious fajita flavors. Continue cooking for another 5 minutes or so, until the chicken is hot and the vegetables are perfectly cooked.
Get Your Seasonings Today!
Elevate your cooking with our premium grilling seasonings!
Step 3: Assembling the Ultimate Chicken Fajita Tacos
With your perfectly cooked chicken and sizzling vegetables ready, it’s time for the best part: assembling your delicious fajita tacos! The quality of your tortillas can truly make or break a taco, so investing in good ones is key. We highly recommend Caramelo Tortillas, known for their authentic, handmade Sonora-style flour tortillas that are incredibly soft, pliable, and flavorful. They truly are a game-changer for any taco enthusiast.
Warming the Tortillas
A warm tortilla is essential for a great taco experience. Cold tortillas can tear easily and diminish the overall enjoyment. You can warm your tortillas directly on the cast iron griddle alongside your chicken and veggies, or if you prefer, stack them and wrap them in foil to heat in the oven, or even a quick zap in the microwave. You want them to be pliable, soft, and warm to the touch, ready to cradle your delicious filling.
Crafting Your Taco Masterpiece
Now, for the moment you’ve been waiting for! Take a warm tortilla and generously fill it with the succulent chicken and vibrant veggie mix. Don’t be shy with the filling – these tacos are meant to be hearty. Customizing your tacos with a variety of toppings is what makes them truly special. While we love a sweeter salsa on our fajitas, especially a fresh mango salsa, feel free to use your favorite. Other popular choices include pico de gallo, traditional red salsa, sour cream or Greek yogurt for a creamy tang, slices of avocado or guacamole, and shredded Monterey Jack cheese.
To finish, add a bright squeeze of fresh lime juice over the top – its acidity perfectly cuts through the richness of the chicken and veggies, awakening all the flavors. A generous sprinkle of fresh cilantro adds a burst of herbaceous freshness and a beautiful pop of color. And just like that, your exquisite chicken fajita taco is ready to be devoured! Serve immediately, perhaps with a side of Mexican rice or refried beans for a complete and satisfying meal.
Why You’ll Love These Chicken Fajita Tacos
These chicken fajita tacos are more than just a meal; they’re a celebration of flavor and convenience. You’ll adore this recipe because it’s incredibly versatile, allowing you to utilize leftover chicken efficiently and reduce food waste. It’s perfect for busy weeknights, offering a fast and easy cooking process without compromising on taste. The blend of savory chicken, vibrant, perfectly seasoned vegetables, and fresh toppings creates a balanced and satisfying dish that appeals to all ages. Plus, the interactive nature of assembling your own tacos makes dinner fun for the whole family!
Frequently Asked Questions:
Absolutely! Any chicken thigh recipe can be easily adapted for chicken breast. Chicken breast is leaner, so it cooks faster and can dry out if overcooked. To ensure a tender and juicy chicken breast for your fajitas, remove the meat from the heat once it reaches an internal temperature of 160°F (71°C), then allow it to rest for 5-10 minutes. The residual heat will continue to cook it to the safe temperature of 165°F (74°C) while keeping it moist.
Yes, definitely! All our recipes are designed to be flexible and can be replicated using various cooking methods. You don’t need a specific grill (like a big green egg or a Weber) to achieve fantastic results. For the oven, you can roast the chicken and vegetables on a sheet pan at 400°F (200°C) until cooked through. For the stovetop, simply use a large skillet (cast iron works best) to cook the chicken and sauté the vegetables, following the same seasoning and temperature guidelines. The key is to get good browning on your ingredients for maximum flavor.
A printer-friendly version of this recipe is provided below for your convenience.

Print Recipe
Chicken Fajita Tacos
Maciek Zurawski
10 minutes
20 minutes
4
People
Ingredients
-
1
Medium Sized Onion,
Sliced -
2
Bell Peppers,
Sliced (any color) -
1
cup
Fully Cooked Shredded Chicken -
6
Tortillas (flour or corn) -
1
tbsp
Fajita Seasoning (or Dad’s Taco Seasoning) -
1
tbsp
Olive Oil -
1/4
cup
Mango Salsa (or your preferred salsa) -
1
Lime, quartered for serving - Fresh Cilantro, chopped (for garnish, optional)
Instructions
-
Heat 1 tbsp of olive oil in a HOT cast iron skillet or griddle over medium-high heat. Add the sliced onions and bell peppers.
-
Season the vegetables with the fajita seasoning and cook for approximately 5-7 minutes, stirring occasionally, until softened and slightly charred.
-
Add the shredded, fully cooked chicken to the skillet with the vegetables. Mix well and cook for an additional 5-10 minutes, until the chicken is thoroughly warmed through and integrated with the vegetables.
-
While the chicken and veggies are warming, heat your tortillas on the griddle or in a separate skillet until soft and pliable.
-
Assemble your tacos: fill each warm tortilla with a generous portion of the chicken and veggie mix. Top with 1 tbsp of mango salsa (or your favorite salsa), a squeeze of fresh lime juice, and a dash of fresh cilantro. Serve immediately and enjoy!
Nutrition Information (per serving, approximate)
Calories:
230kcal
|
Carbohydrates:
30g
|
Protein:
7g
|
Fat:
9g
|
Saturated Fat:
2g
|
Polyunsaturated Fat:
2g
|
Monounsaturated Fat:
4g
|
Trans Fat:
0.01g
|
Cholesterol:
10mg
|
Sodium:
451mg
|
Potassium:
285mg
|
Fiber:
4g
|
Sugar:
5g
|
Vitamin A:
326IU
|
Vitamin C:
55mg
|
Calcium:
90mg
|
Iron:
2mg
Did you enjoy this recipe? We’d love to hear your thoughts!
Share your experience and leave a comment below!
For more delicious and inspiring dishes, be sure to explore our comprehensive Recipe page!