
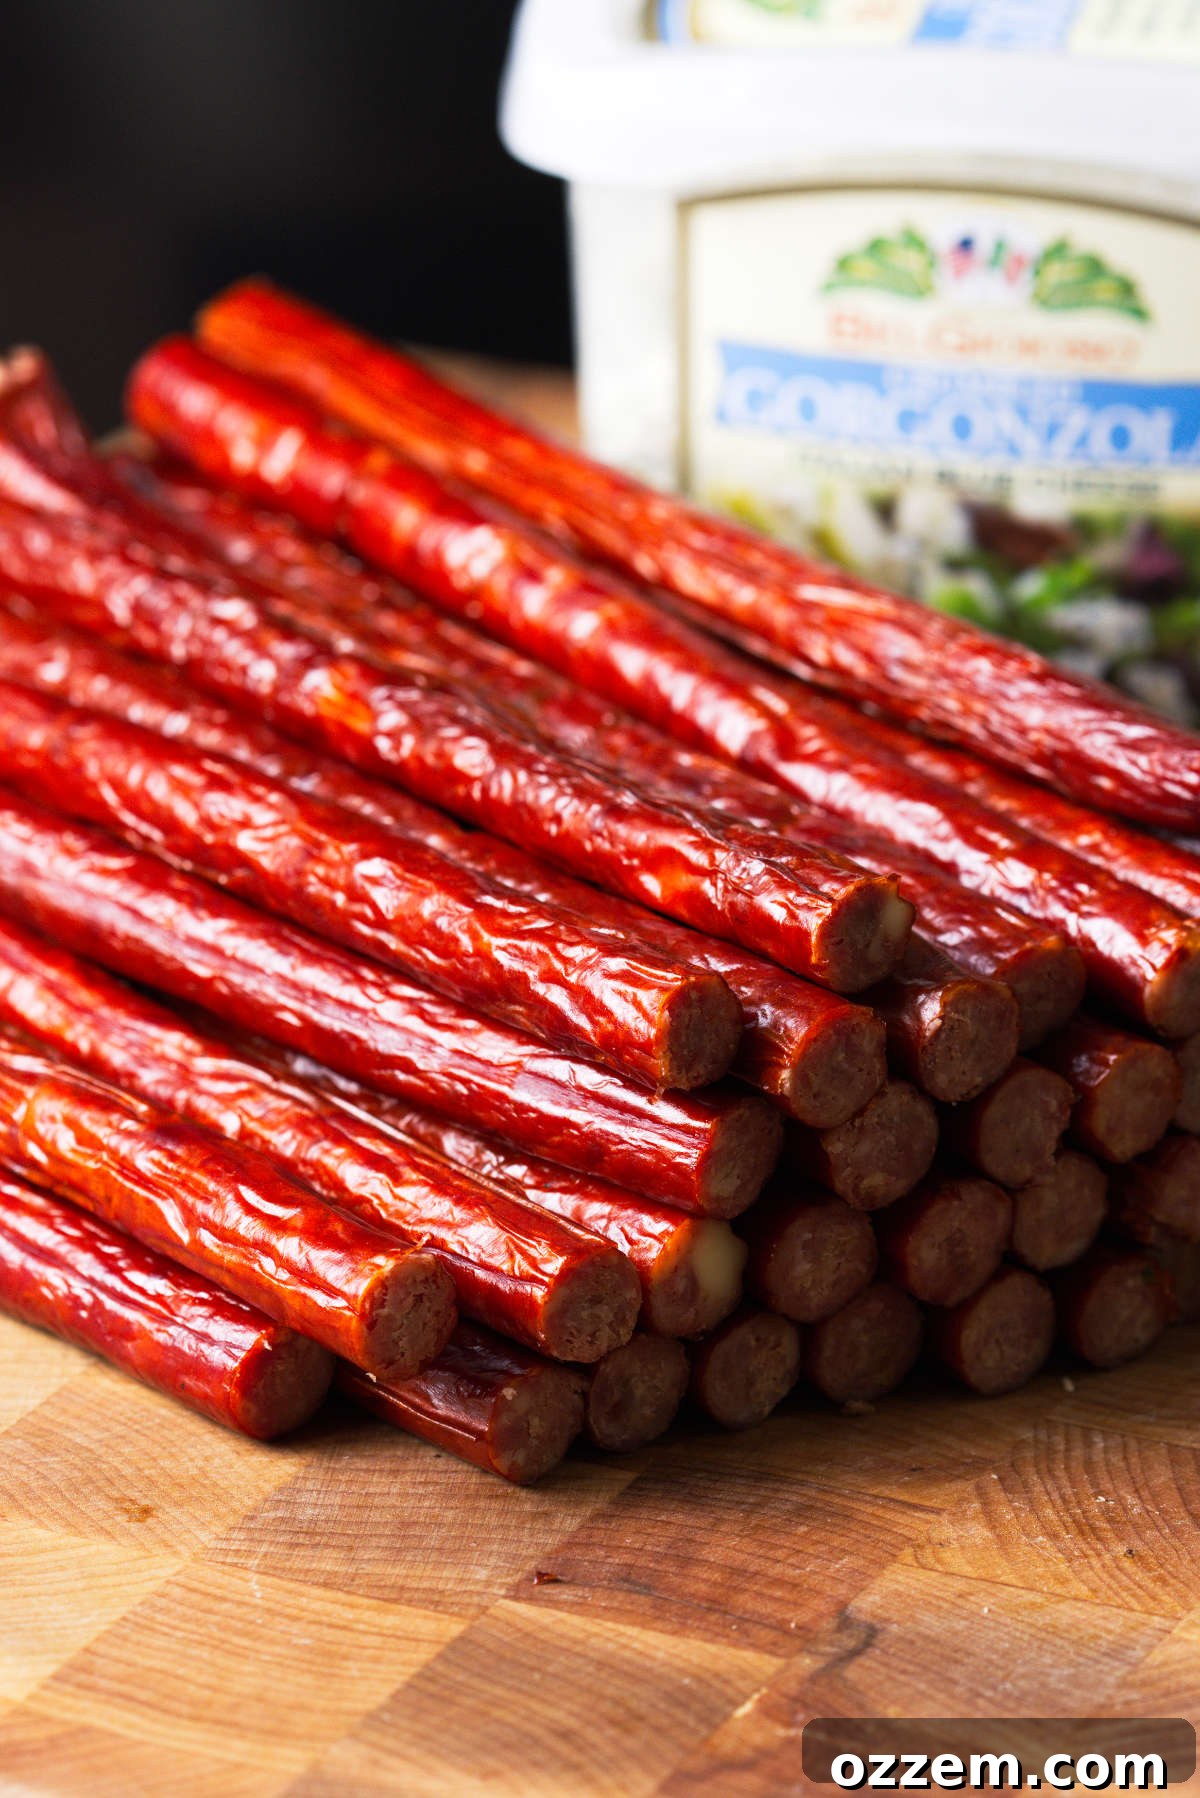
These Blue Cheese Bacon Venison Snack Sticks are smoky, rich, and bursting with bold flavor. Ground venison is combined with pork and pork back fat, then mixed with crisp bacon bits and cold gorgonzola to create snack sticks with a savory, tangy bite you won’t forget.
This recipe makes a 5-pound batch—manageable to prepare and generous enough to stock up for hunting trips, parties, or snack boards.
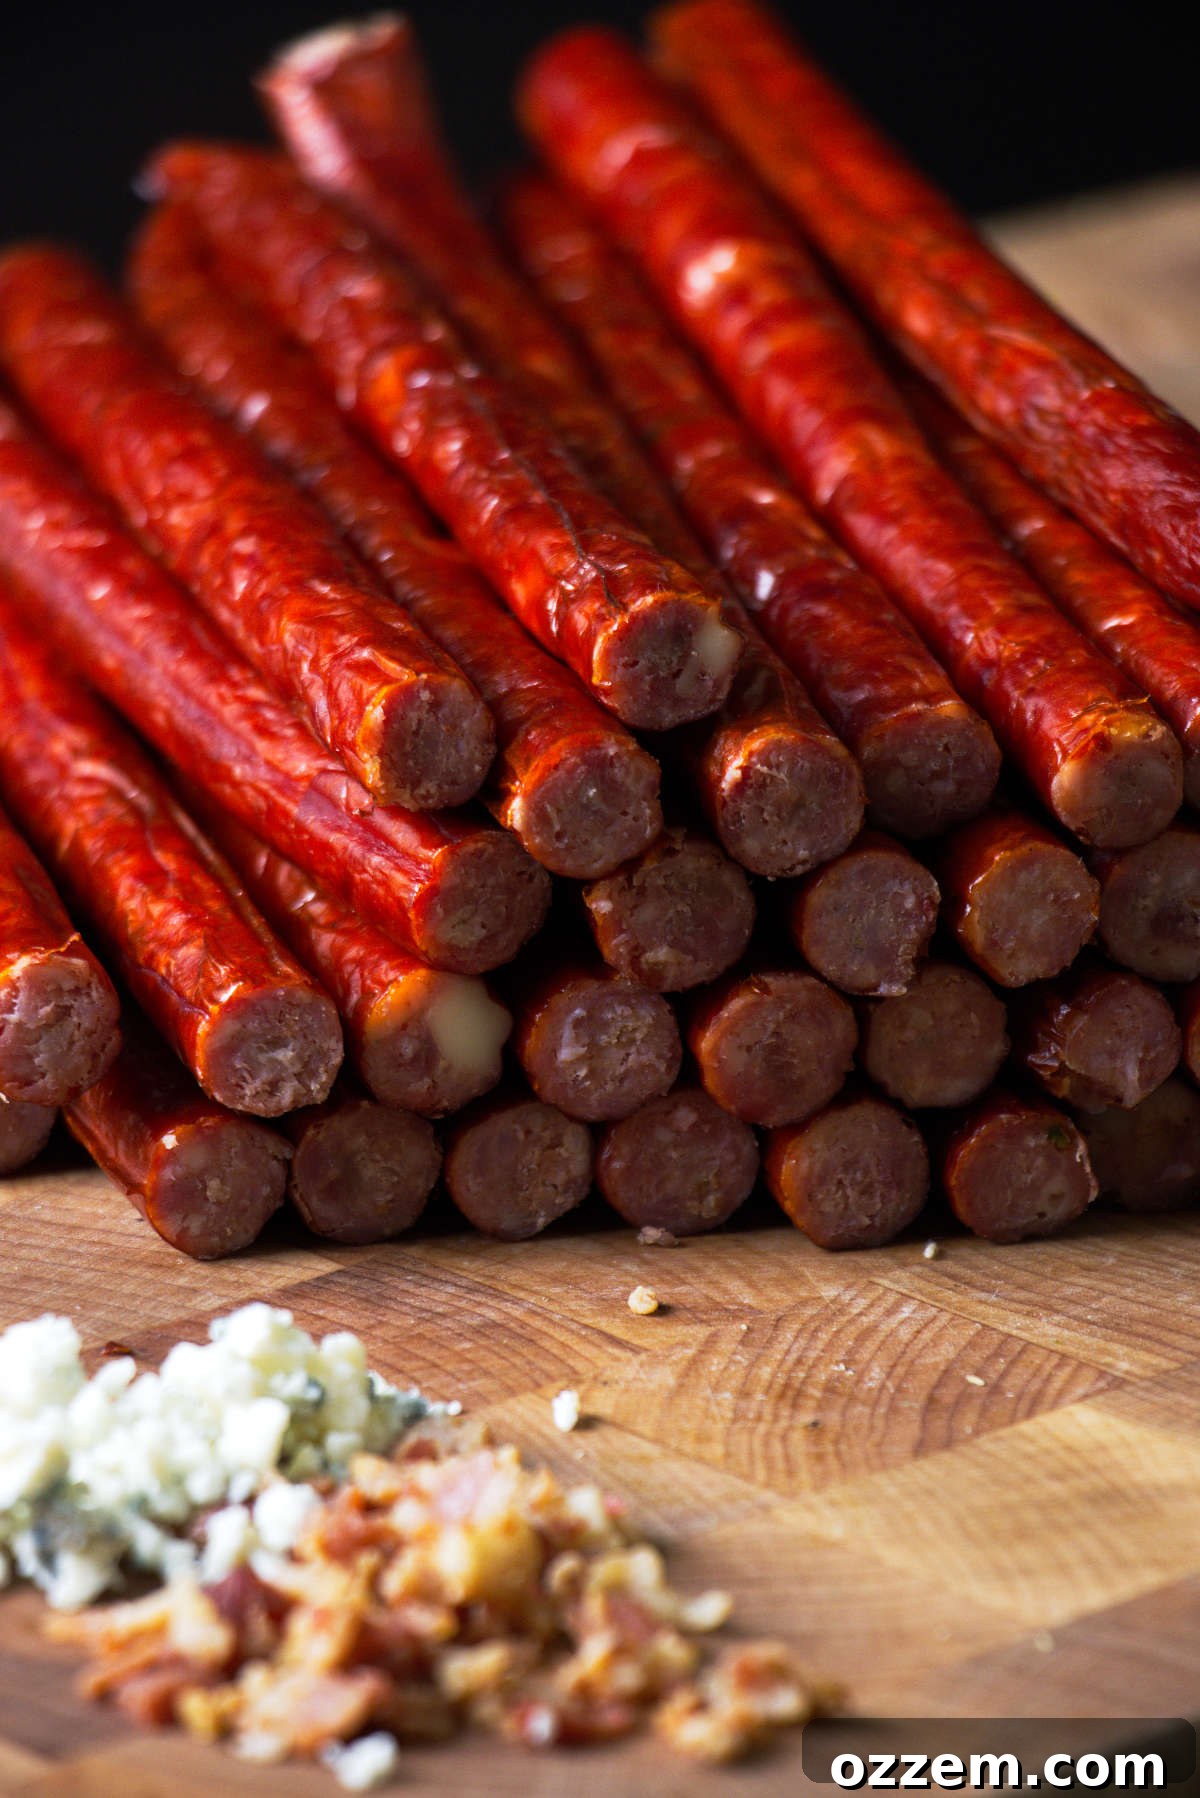
Why These Smoked Snack Sticks Work
The key to these snack sticks is balance. Gorgonzola brings a sharp, tangy blue cheese note without overwhelming the meat, while bacon contributes salty, smoky depth. Venison provides the lean, game-forward character, and pork plus pork back fat add enough richness to keep the sticks juicy through the smoke.
Using a fermenting culture like Fermento gives the sticks the familiar snack-stick tang, and nonfat dry milk powder helps the mixture bind so the finished texture is firm and sliceable.
Pro Tips for the Best Blue Cheese Bacon Snack Sticks
Keep everything cold: Chill the meat, fat, bacon, cheese, grinder plates, and bowls. Cold fat grinds cleanly, cold cheese holds its shape in pockets, and a cold mixture is easier to stuff without smearing.
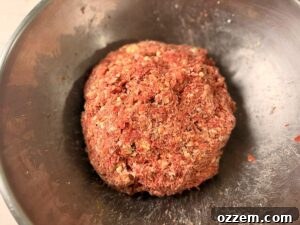
Mix until tacky: Combine the ground meat, cure, binder, water, and seasonings until the mixture becomes sticky. That tacky texture is what helps the snack sticks bind. Fold in bacon and gorgonzola gently so the cheese remains in small pockets.
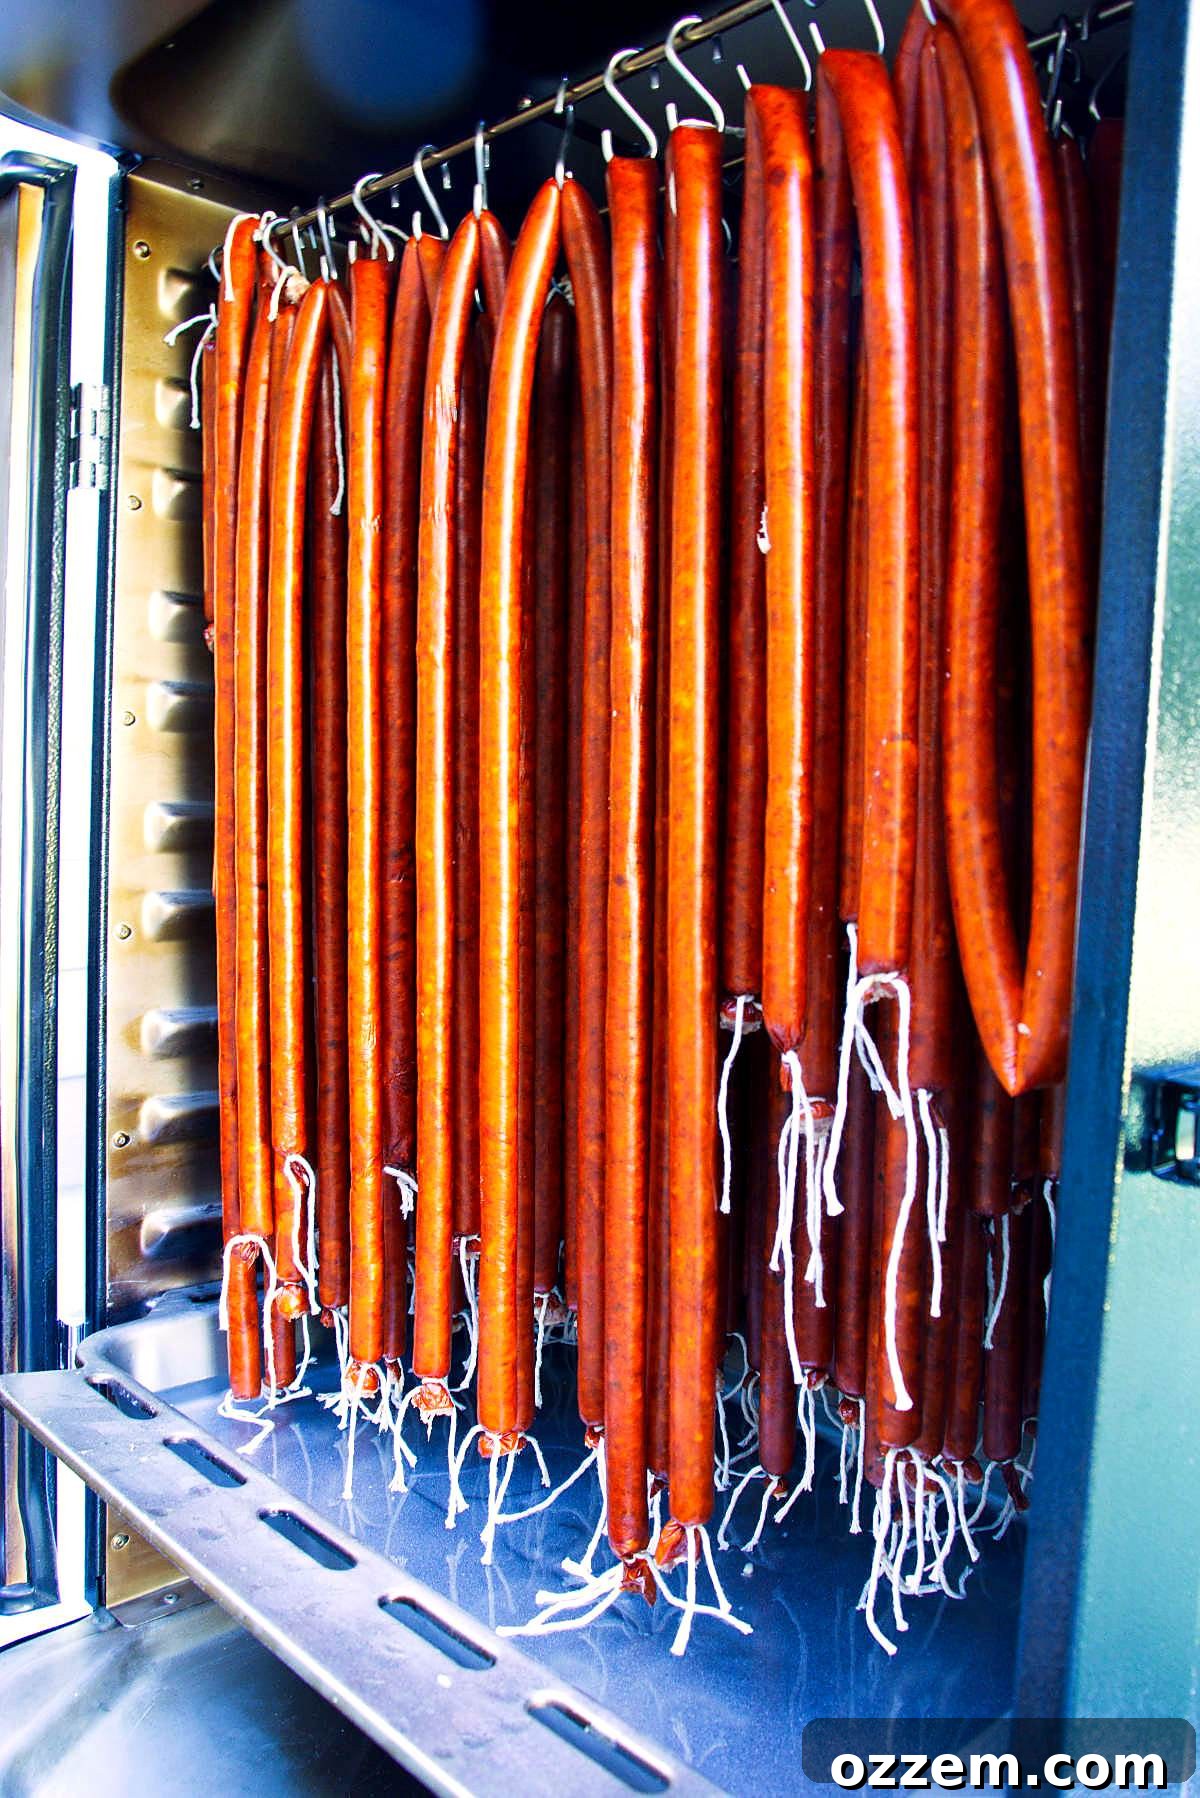
Cook to internal temperature: Smoke low and steady. Start with a drying stage, increase the smoker temperature gradually, and finish when sticks reach about 160°F internal temperature.
Cool and bloom: Rapidly chill the smoked sticks in ice water to stop carryover cooking. Let them sit at room temperature to bloom for a short period so they develop a deep color and a crisp snap before refrigeration.
Substitutions and Variations
Cheese: Gorgonzola offers a pronounced blue-cheese character, but you can choose a milder blue if you want the bacon and smoke to take the lead. High-heat cheeses such as cheddar, pepper jack, or Swiss can also work. The recipe uses roughly ¾ to 1 ounce of blue cheese per pound of meat; increasing cheese significantly can change texture and flavor balance.
Bacon: Cooked and drained bacon bits are best. They add concentrated flavor without introducing excessive warm fat into the mixture. Cool and chill the bacon before folding it in. Chop larger pieces small enough to pass through the stuffer and casing.
Casings: This recipe works well with 17mm collagen snack-stick casings for a slim, classic shape. You can also use 19mm or 21mm casings—larger casings will change cooking time and produce a thicker snack stick.
If you want a change-up, try a jalapeño-cheddar version or other flavor pairings using the same basic method and timing.
Ingredients
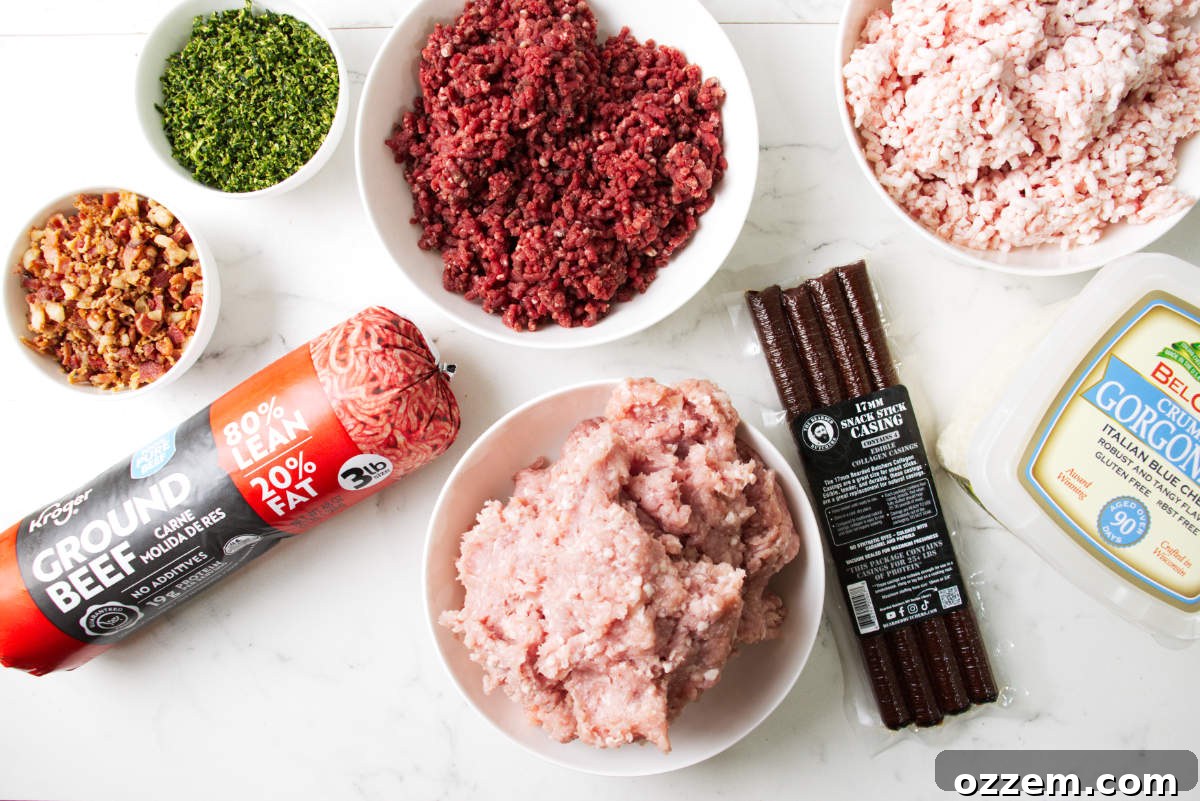
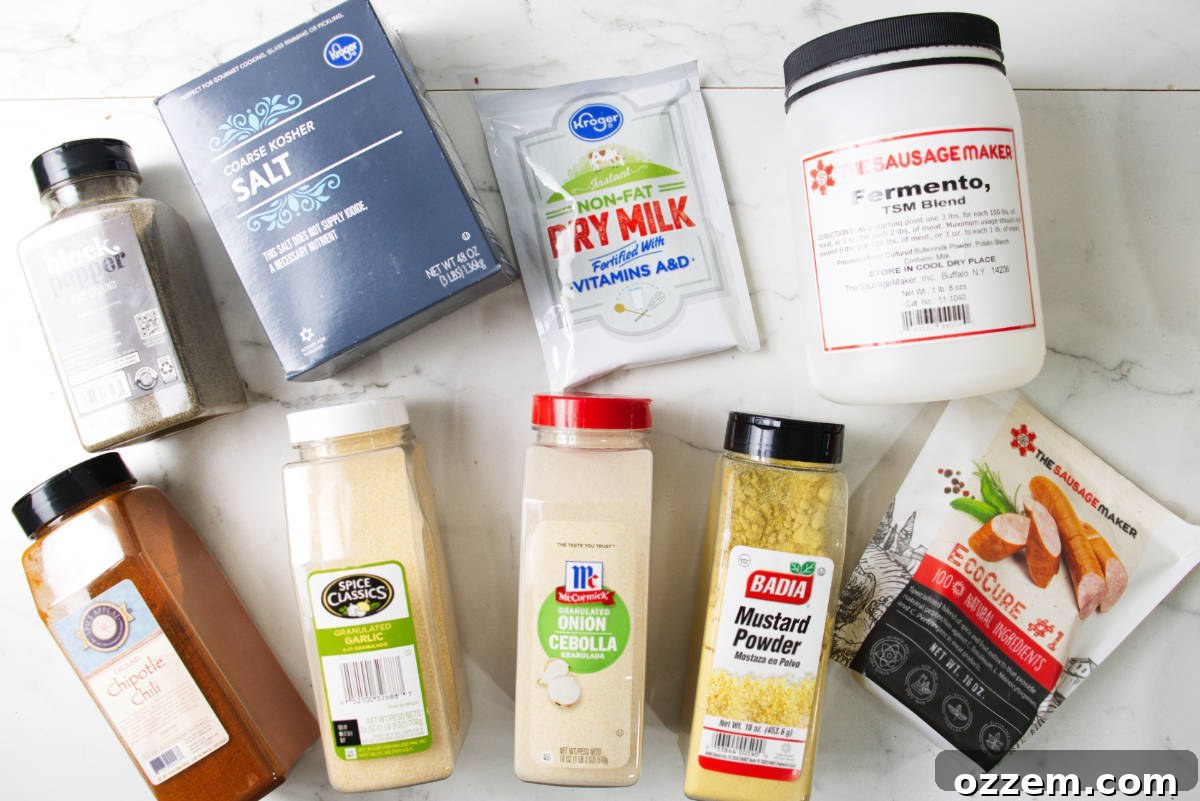
This recipe uses a balanced meat block of venison, pork, and pork back fat. Measure cure, Fermento, nonfat milk powder, salt, and seasonings precisely—these components influence flavor, safety, texture, and binding.
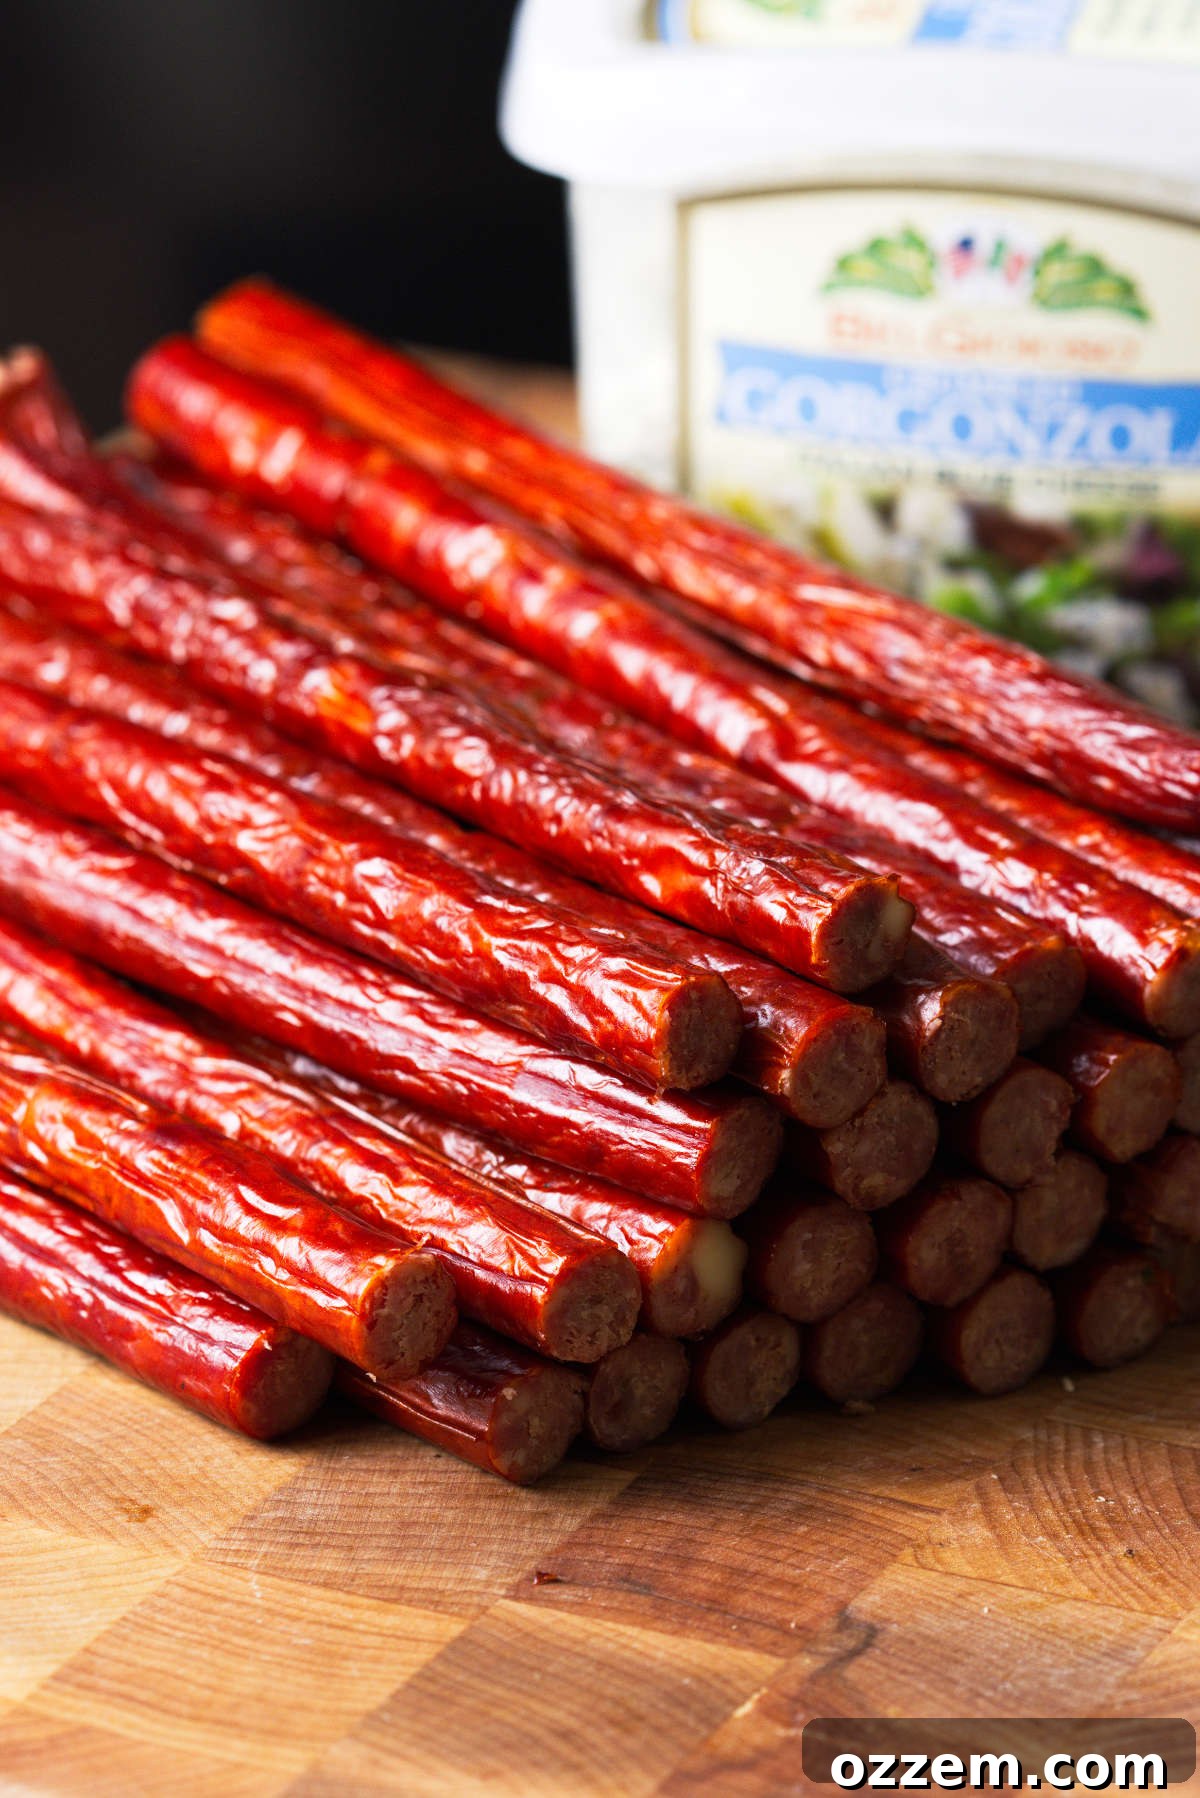
Keep the bacon and gorgonzola very cold before mixing. The bacon adds smoky-salty notes, while gorgonzola forms tangy pockets through the sticks.
Storing and Serving Suggestions
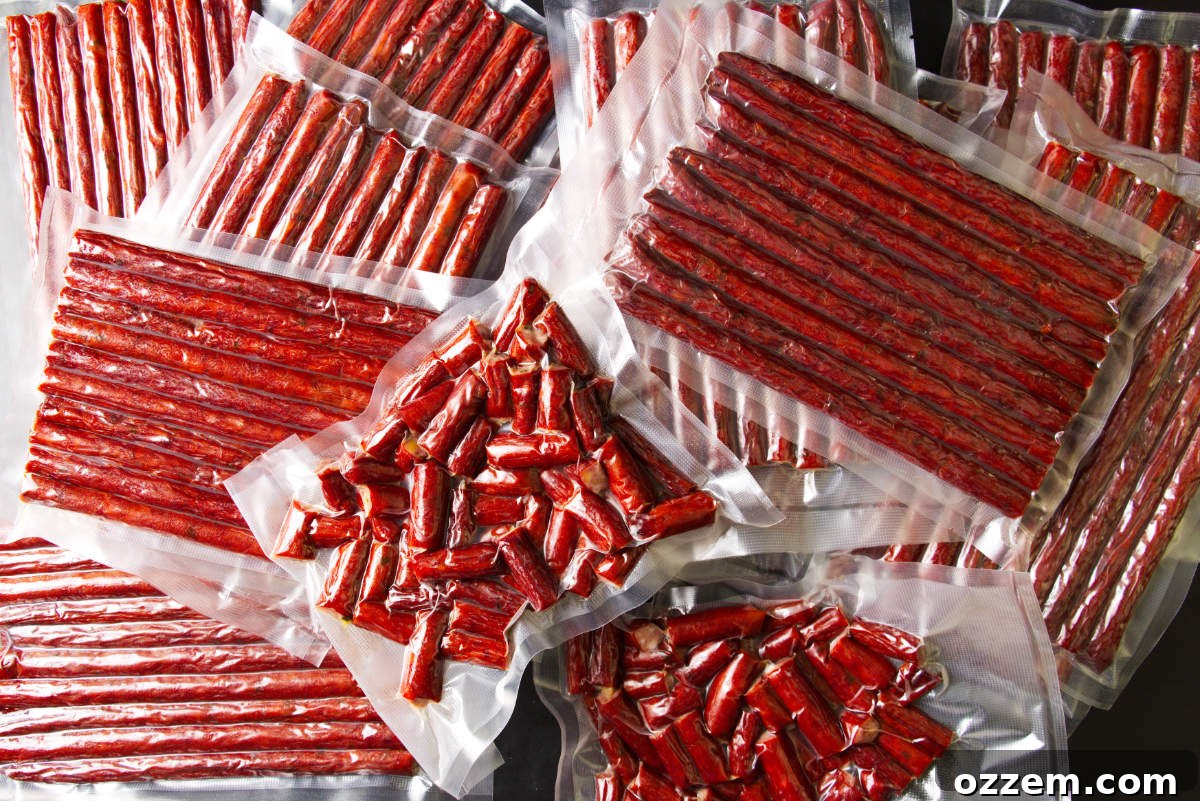
Allow the snack sticks to cool fully and rest in the refrigerator for one day before packaging. This brief rest helps flavor develop and moisture stabilize.
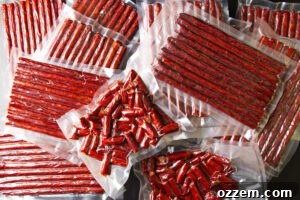
Vacuum seal when the sticks are cold to avoid trapping steam. Portion them into packs sized for how quickly you’ll eat them.
Fridge: Unsealed snack sticks keep about one week in an airtight container. Vacuum-sealed packs can last two to three weeks refrigerated.
Freezer: Wrap tightly and freeze for two to three months, or vacuum-seal and freeze up to six months. After opening a vacuum pack, consume refrigerated within about one week.
Serve chilled on a snack board, sliced for appetizers, packed for trips, or paired with crackers, pickles, or sharp cheese.
Frequently Asked Questions
Yes. Blue cheese works well if kept very cold and folded in after the meat mixture becomes tacky so it stays in pockets rather than blending in.
Collagen casings are convenient and uniform for homemade snack sticks. This recipe uses 17mm collagen casings, though 19mm or 21mm will also work.
Yes. Cook, drain, cool, and chill the bacon bits. Raw bacon can release excess fat and change the texture during smoking.
Cook until an internal temperature of 160°F is reached. Smoke low and slow, increasing the smoker temperature in stages to help the fat and cheese stay in the sticks.
An ice bath quickly stops cooking and helps the casing remain tight against the meat. After the bath, dry and allow the sticks to bloom before refrigerating.
Yes. Cool completely, vacuum seal, and freeze in smaller packs for easy thawing and portion control.
CONNECT WITH A LICENSE TO GRILL!
Follow the author on social channels and share your results in the comments.
- YouTube
- TikTok
Did you make this recipe? Tell us about it in the comments below!
Blue Cheese Bacon Venison Snack Sticks
Use 17mm collagen casings for slim snack sticks. Smoke them low and slow, cool quickly, allow them to bloom, then chill before slicing and packaging.
Pin
Review Recipe
Equipment
-
Vertical or chamber smoker (large enough to hang snack sticks)
-
Instant-read or probe thermometer
-
Meat grinder and sausage stuffer or stuffer attachment
Ingredients
- 2 lb venison, well chilled
- 1¾ lb pork, well chilled
- 1¼ lb pork back fat, well chilled or partially frozen
- ⅞ oz curing salt (use the amount recommended for your cure)
- 2½ oz Fermento (or similar culture)
- 1 oz nonfat dry milk powder
- ⅔ cup ice cold water
- 1⅓ oz kosher salt (about 8 tsp Morton or 13 tsp Diamond Crystal)
- 2 tsp black pepper
- 2½ tsp garlic powder
- 1 tsp onion powder
- 2 tsp chipotle powder
- 4½ tsp spicy pepper flakes
- 1 tsp mustard powder
- 1¼ tsp granulated sugar
- 4 oz bacon bits, cooked, drained, and well chilled
- 4 oz gorgonzola, crumbled and very cold
- 1 full collagen casing, 17mm (have extra on hand)
Instructions
-
If grinding at home, chill the venison, pork, fat, grinder plates, and mixing bowl. Briefly freeze the meat for about an hour if needed so it stays cold during grinding.
-
Grind the meat and fat first through a coarse plate, then again through a fine plate. Keep the meat cold between grinds to maintain fat solidity.
-
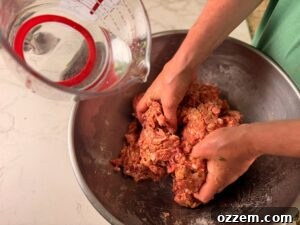
Mix cure, Fermento, nonfat milk powder, salt, and seasonings together. Sprinkle over the ground meat, then add ice-cold water.

-
Mix until the meat becomes tacky and well bound. The mixture should feel sticky before you add bacon and cheese.
-
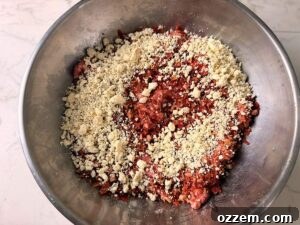
Fold in chilled bacon bits and very cold gorgonzola just until evenly distributed—avoid overmixing so the cheese remains in pockets.
-
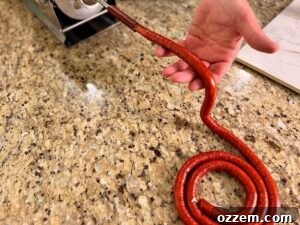
Stuff the mixture into 17mm collagen snack-stick casings, avoiding overfilling or large air pockets.
-
Let the stuffed sticks rest while the smoker preheats to 120°F.
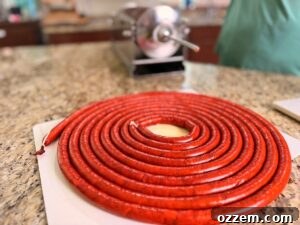
Smoke the Snack Sticks
-
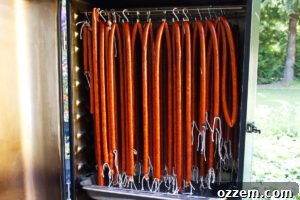
Smoke for 1 hour at 120°F. Then raise the smoker in stages to 140°F, 150°F, and 160°F, smoking about an hour at each stage.
-
Increase the smoker to 170°F and cook until the sticks reach an internal temperature of 160°F, about 2–3 more hours depending on thickness.
-
Cool quickly in an ice water bath to stop cooking and keep the casing tight against the meat.
-
Bloom the sticks by letting them rest at room temperature for 1–2 hours to develop color and texture.
-
Chill in the refrigerator for 12–24 hours before slicing and vacuum sealing for storage.
Notes
For the Meat
This mix of venison, pork, and back fat balances lean game flavor with enough fat to stay juicy through smoking. If grinding yourself, keep all components cold and return meat to the freezer briefly if it softens.
Bacon and Gorgonzola
Use chilled, cooked bacon bits and very cold gorgonzola. Warm bacon fat or softened cheese will smear and alter the texture and appearance.
Casings
17mm collagen casings yield a classic slim snack stick. Collagen does not require soaking and works well with this recipe; 19mm or 21mm are alternatives for thicker sticks or chunkier add-ins.
Mixing
Mix to a tacky texture before folding in add-ins. That tackiness helps the sticks bind firmly rather than crumble.
Cooling and Blooming
Ice baths stop cooking quickly and prevent casing separation. After drying, allow snack sticks to bloom at room temperature for 1–2 hours, then chill fully before packaging.
Timing
Cook by internal temperature, not just time. Start monitoring around the 4-hour mark and remove when the center reaches 160°F.
Nutrition
Carbs: 3 g,
Protein: 17 g,
Fat: 30 g
Nutrition information is an approximation and should be used as a guide only.
Additional Info
Tried this recipe?
Share your results and tag the author on social media.