
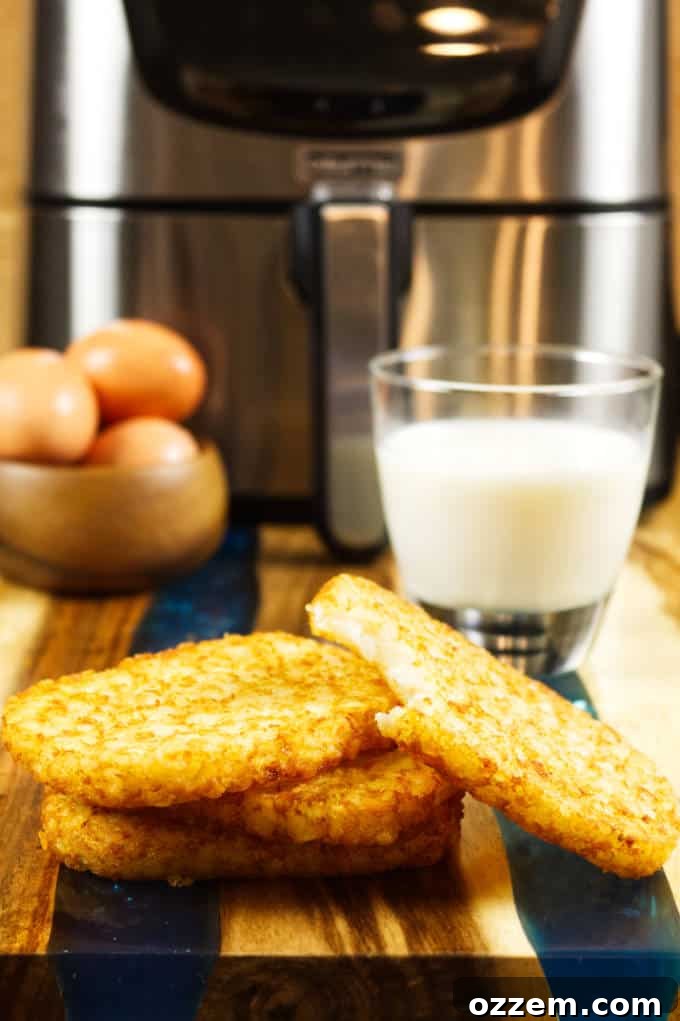
Congratulations on your new air fryer, whether it was a holiday gift or a well-deserved treat for yourself! You’ve just unlocked a world of culinary possibilities that promises delicious, crispy results with incredible ease. As an enthusiastic air fryer user, I’ve gathered a wealth of knowledge, essential tips, and clever tricks over the past several months, all designed to help you master this versatile kitchen appliance. This comprehensive guide will walk you through everything you need to know, from achieving that perfect crisp to troubleshooting common issues, and even includes some mouth-watering recipes to kickstart your air frying journey.
The air fryer has quickly become a cornerstone of modern kitchens, celebrated for its ability to transform everyday meals into healthier, crispier delights. It’s incredibly user-friendly, simplifies cooking processes, and makes cleanup a breeze – often taking up no more counter space than a standard stand mixer. What truly sets it apart is its power to deliver unbelievably crispy textures, rivaling traditional deep-frying without the excess oil. I often find myself air frying vegetables or potato wedges as a quick and convenient side dish while grilling my main course. It’s truly effortless, and my goal is to ensure you get the absolute most out of your air fryer. So, dive in and discover how to make air frying a seamless and enjoyable part of your cooking routine!
Unlocking Crispy Perfection: The Role of Oil in Your Air Fryer
One of the most frequently asked questions about air frying is whether to use oil. My short answer is almost always yes! While air fryers are renowned for healthy cooking with minimal oil, a small amount can significantly enhance your results. Oil acts as a crucial agent, coating your food to help seasonings adhere better and creating that desirable golden-brown crisp. More importantly, it forms a protective barrier, preventing food from sticking stubbornly to the air fryer basket, which can otherwise ruin the crispy exterior you’ve worked so hard to achieve.
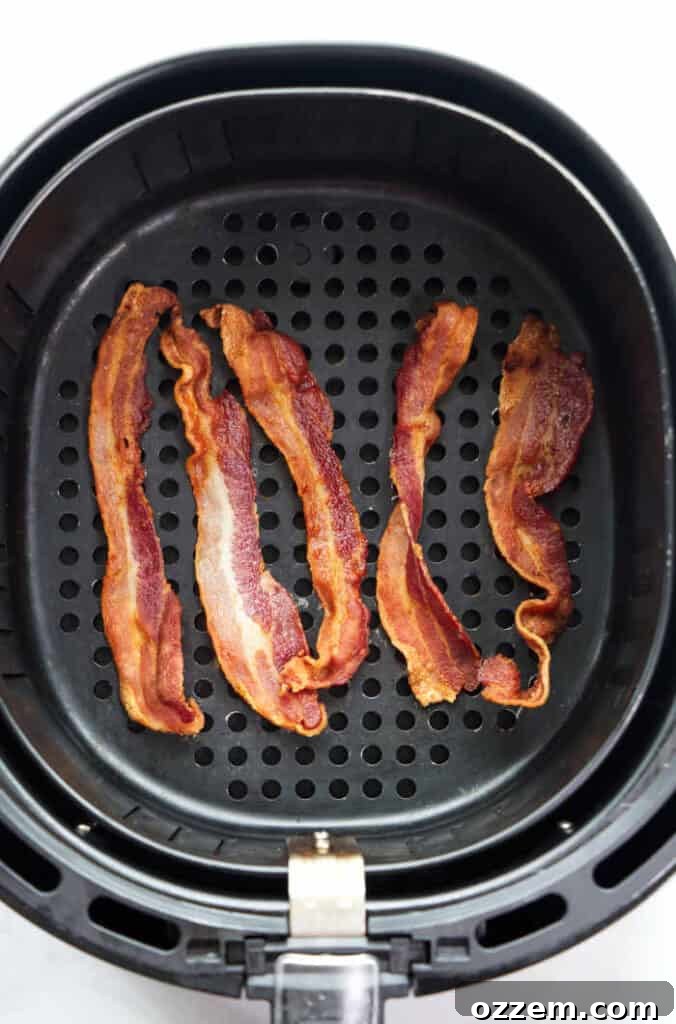
However, if you’re committed to truly low-fat cooking or prefer to omit oil for dietary reasons, there are viable alternatives. You can use parchment paper or aluminum foil to line the basket and prevent sticking. It’s vital to remember that the air fryer’s core function relies on circulating hot air. Therefore, when using liners, you might need to shake the basket more frequently or flip your food during cooking to ensure even crisping on all sides, especially the bottom. Additionally, for foods that are naturally high in fat, such as bacon or certain cuts of chicken, you’ll find that adding extra oil is often unnecessary as they release their own fats during cooking.
Choosing the Right Oil: A Guide to High Smoke Point Options
Few things are as frustrating as food sticking to the air fryer basket, often tearing away the perfectly crispy skin and spoiling the dish. To avoid this, I always recommend lightly coating the bottom of the air fryer basket or the food itself with a suitable oil. But selecting the right oil isn’t as simple as grabbing any bottle from your pantry. Several factors come into play: ensuring the oil doesn’t damage your air fryer’s nonstick coating, preventing unpleasant burnt residue, and most critically, choosing an oil with a high smoke point.
Understanding Smoke Points for Optimal Air Frying
The smoke point of an oil is the temperature at which it begins to smoke and break down, producing an acrid smell and potentially unhealthy compounds. This is particularly important for air frying, as these appliances often operate at high temperatures, and their contained ventilation can quickly concentrate any smoke produced. Using an oil with a low smoke point can lead to excessive smoke pouring from your air fryer, triggering smoke alarms and imparting an undesirable flavor to your food. To ensure a smooth, smoke-free cooking experience, always opt for oils with higher smoke points. My personal go-to is avocado oil, as its exceptionally high smoke point typically exceeds any temperature reached in an air fryer, minimizing the risk of smoking.
The smoke points of common cooking oils and fats:
- Extra Virgin Olive Oil: 325°F (Not ideal for high-temp air frying)
- Butter: 350°F
- Coconut Oil: 350°F
- Lard: 370°F
- Grapeseed Oil: 420°F
- Ghee: 450°F
- Palm Oil: 450°F
- Peanut Oil: 450°F
- Soybean Oil: 450°F
- Vegetable Oil: 450°F
- Safflower Oil: 510°F
- Avocado Oil: 520°F (Highly recommended for air frying)
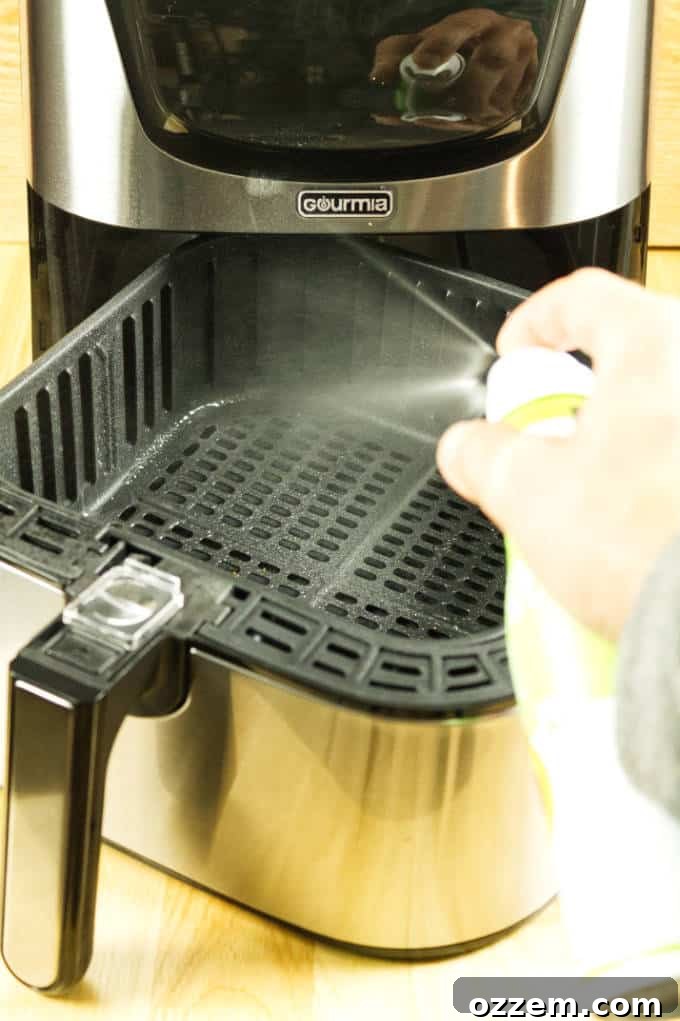
Best Practices for Applying Oil to Your Air Fryer and Food
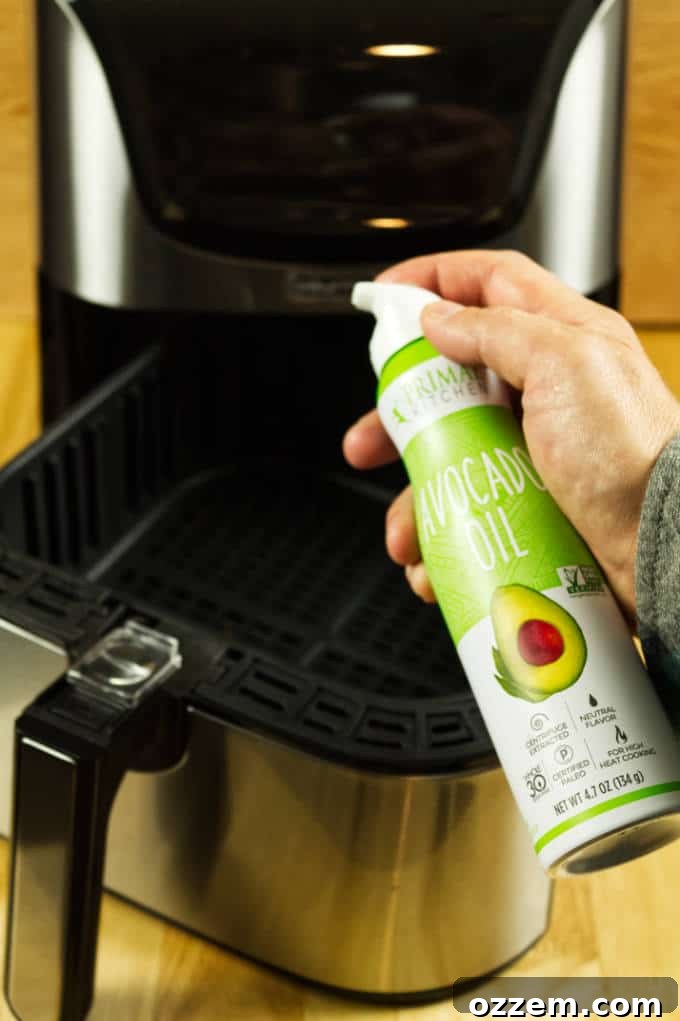
As illustrated in the images above, my preferred method for oil application in the air fryer is using a pump-style spray. Specifically, I favor Primal Kitchen Avocado Oil Spray because it contains only 100% pure avocado oil and compressed air as a propellant. This simple composition is key to avoiding issues commonly associated with other aerosol cooking sprays.
Many conventional aerosol sprays contain harsh propellants like hydrocarbons (butane and propane) or carbon dioxide. While these are generally deemed food-safe by regulatory bodies like the FDA, spraying combustible gases near a heating element, especially directly onto your food, is something I personally avoid. Beyond my own reservations, these chemical propellants can unfortunately deteriorate the nonstick coating of your air fryer over time, leading to a nasty, almost burnt, brown film that accumulates after heating. This residue can be incredibly difficult to clean and significantly reduce the lifespan and effectiveness of your appliance’s nonstick surface. For a safer, more economical, and environmentally friendly alternative, consider investing in a reusable oil mister, such as a Misto aluminum spray bottle. These allow you to fill them with your preferred high-smoke-point oil, giving you complete control over ingredients and avoiding detrimental chemicals.
Effective Alternatives: Keeping Food from Sticking Without Oil
While a touch of oil is often beneficial, there are excellent alternatives if you prefer not to use any. The crucial principle to remember is that an air fryer cooks by circulating hot air around your food to create crispiness. Therefore, any liner or accessory you use should minimize interference with this airflow.
- Aluminum Foil: It is generally safe to use aluminum foil in your air fryer. Simply line the bottom of the basket, being careful not to cover too much of the sides or block airflow vents. Ensure the foil doesn’t touch the heating element to prevent burning or potential damage. Foil is particularly useful for catching drips from greasy foods.
- Parchment Paper: Parchment paper is another fantastic option. I often cut out a circular piece to fit the bottom of my basket, which is usually sufficient for preventing sticking. It’s widely available and a convenient solution for most foods. Like foil, ensure it doesn’t obstruct essential airflow.
- Reusable Mats: I’m a big fan of reusable air fryer mats, which often come in multi-packs. These typically include a mesh mat designed to allow oils to drip away and air to circulate freely beneath the food. Some sets also feature pyramid-structured silicone mats that effectively lift food off the surface, maximizing air exposure and promoting exceptional crispiness on all sides. These are durable, eco-friendly, and very effective.
Tackling the Smoke Signal: Why Your Air Fryer Might Be Smoking
It can be alarming to see a cloud of white smoke emanating from your air fryer, especially when cooking delicious high-fat foods like bacon or fatty cuts of chicken. Rest assured, this is often a completely normal occurrence and typically signals that excess fat or grease has dripped down into the bottom of the basket and is burning on the heating element. While normal, it can certainly trigger an annoying smoke alarm! Fortunately, there are several simple and effective steps you can take to prevent this smoky situation.
Foolproof Methods to Prevent Air Fryer Smoking
- Add a Small Amount of Water to the Basket: This is a surprisingly effective trick. Adding just a couple of tablespoons of water to the very bottom of the air fryer basket (underneath the removable rack where the food sits) can make a significant difference. The water helps to cool down any dripping oils, preventing them from splattering directly onto the heating element and burning. It creates a barrier that traps the oils, reducing smoke production.
- Utilize Bread to Absorb Grease: For particularly greasy items, like bacon, a slice of bread can be your best friend. Simply remove the removable rack at the bottom of the basket, place a single slice of bread underneath it, and then replace the rack. As the food cooks, the bread will effectively soak up the excess grease, keeping it away from the heating element and dramatically reducing smoke. Be sure the bread doesn’t touch the heating element itself.
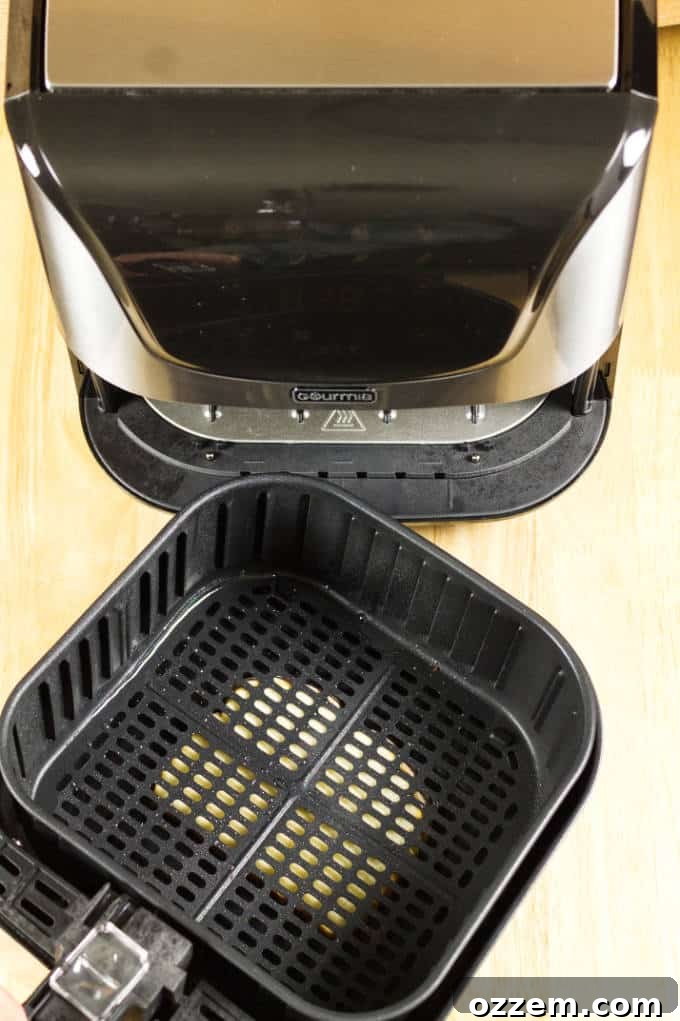
By implementing these simple preventative measures, you can enjoy your favorite crispy, high-fat foods without the inconvenience of excessive smoke or a blaring smoke detector. Remember to clean your air fryer regularly, especially after cooking greasy items, to prevent residue buildup that could also contribute to smoking.
Achieving Uniform Results: The Power of Preheating Your Air Fryer
Of all the invaluable tips for mastering your air fryer, preheating is one I sometimes admittedly overlook when I’m in a hurry. However, for genuinely superior and consistently cooked results, preheating your air fryer is a step that shouldn’t be skipped. Just like a conventional oven, allowing your air fryer to reach its target temperature before adding food ensures that cooking begins immediately and evenly.
While air fryers are celebrated for their rapid cooking capabilities, beginning with a hot basket provides a crucial advantage. It helps achieve a more uniform cook, develops a better crust, and often prevents food from sticking as much. When food hits a preheated surface, it starts to cook instantly, locking in moisture and crisping the exterior more effectively. Most air fryers, especially newer models, may have a dedicated preheat setting. If yours doesn’t, it’s simple to preheat manually: just set your desired cooking temperature and let the air fryer run empty for about 2-5 minutes. The smaller your air fryer, the less time it will need to come up to temperature. This small investment of time will pay dividends in the quality and consistency of your air-fried dishes.
The Golden Rule of Air Frying: Don’t Overcrowd the Basket!
One of the most common mistakes air fryer users make, leading to disappointing results, is overcrowding the basket. Air fryers work by circulating intensely hot air rapidly around your food. This convection cooking method is what creates that signature crispiness and cooks food so efficiently. However, when the basket is packed too full, it restricts this vital airflow.
Imagine trying to dry laundry in a crowded dryer; the clothes clump together and remain damp. The same principle applies here: if food items are piled on top of each other or too close together, the hot air cannot reach every surface. This results in uneven cooking, some parts becoming crispy while others remain soggy or undercooked. To achieve that consistently crispy, perfectly cooked outcome, always arrange your food in a single layer, ensuring there’s ample space around each piece for the air to circulate freely. If you have a large batch of food, it’s always better to cook it in multiple, smaller batches than to cram it all in at once. Patience here will be rewarded with superior texture and flavor.
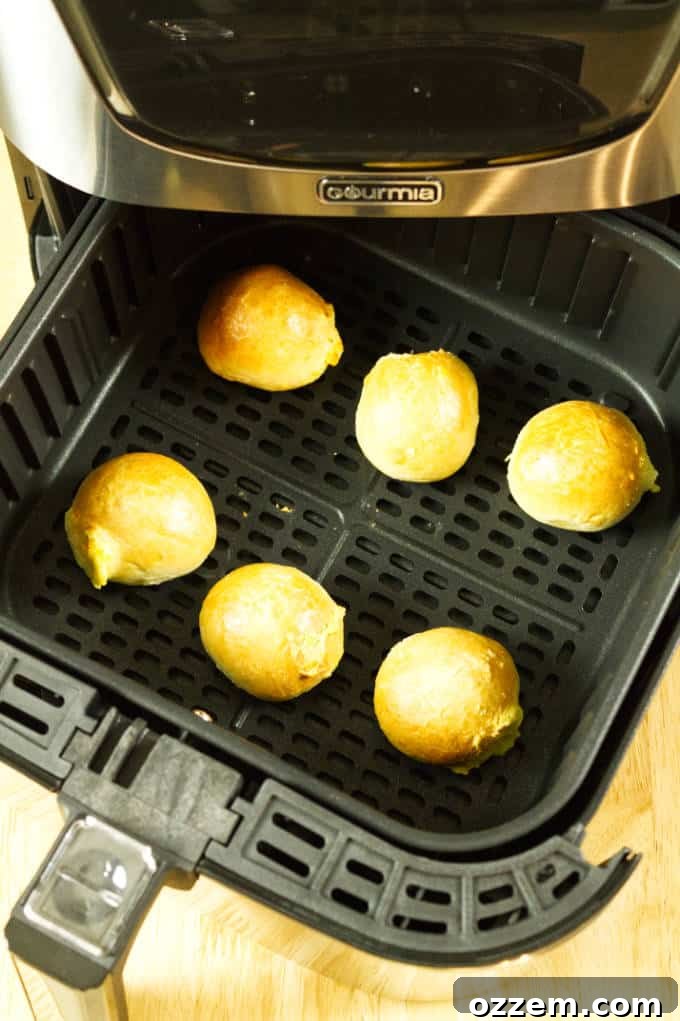
Shake and Flip Your Way to Evenly Crispy Results
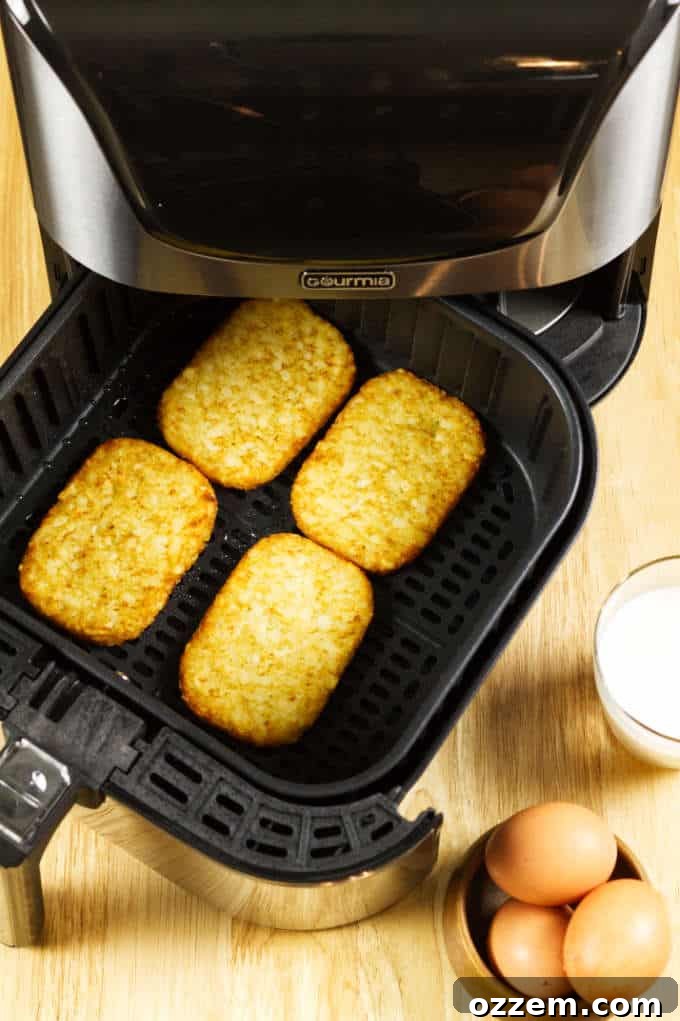
Complementing the importance of leaving adequate space in your air fryer basket, regularly shaking or flipping your food during the cooking process is another critical step for achieving optimal crispiness and even cooking. Think of it as rotating food in a conventional oven or stirring a pan on the stovetop – it ensures all surfaces get equal exposure to the heat.
Because the air fryer circulates hot air, the side of the food facing the heating element (usually the top) tends to crisp faster. By shaking the basket (for smaller, looser items like fries, vegetables, or chicken nuggets) or flipping larger items (like chicken breasts, fish fillets, or hash browns) halfway through the cooking time, you expose different surfaces to direct heat. This not only promotes uniform browning and crispiness but also helps prevent certain parts from burning while others remain undercooked. This simple act takes mere seconds but makes a monumental difference in the final texture and doneness of your air-fried meals.
Mastering Recipe Conversion: Adapting Any Dish for Your Air Fryer
One of the most exciting aspects of owning an air fryer is its versatility, allowing you to adapt countless traditional recipes. However, air fryers cook food much more efficiently than conventional ovens, largely due to their powerful convection heating mechanism and smaller cooking chamber. This means that a direct translation of oven temperatures and cooking times often results in overcooked or burnt food.
As a general rule of thumb, when adapting a recipe for your air fryer, I recommend setting the cooking temperature approximately 10% lower than the conventional oven temperature. For cooking time, you’ll typically want to reduce it by about 20%. For example, if an oven recipe calls for 400°F for 20 minutes, try 360°F for 16 minutes in your air fryer as a starting point. This is merely a guideline, and some experimentation will be necessary based on the specific food item, its size, and your particular air fryer model. Always monitor your food closely throughout the cooking process, especially during your first few attempts with a new recipe. Opening the basket to check on progress or shake/flip food is perfectly fine and often encouraged.
To make conversions even easier, handy tools like the air fryer temperature and cooking time converter can be incredibly helpful. Simply input the original recipe’s temperature and time, and it will provide adjusted recommendations for air fryer use, simplifying the adaptation process significantly.
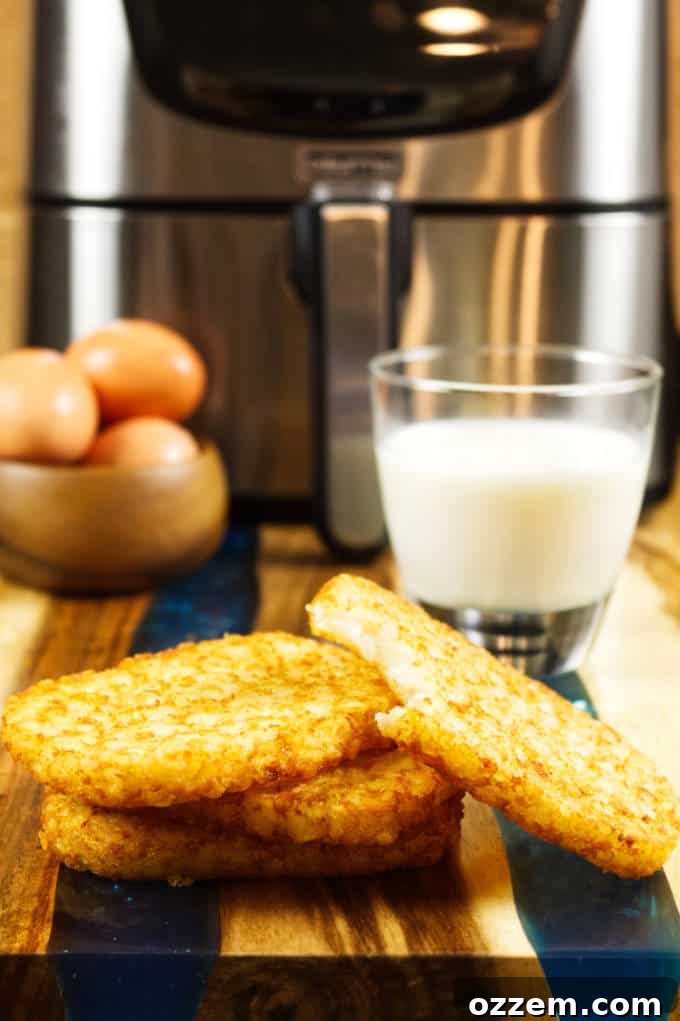
Delicious Air Fryer Recipes You’ll Absolutely Love!
Now that you’re equipped with all the essential tips and tricks, it’s time to put your air fryer to work! Here are some tried-and-true recipes that consistently deliver fantastic results, showcasing the air fryer’s capabilities for everything from breakfast to dessert:
Crispy, Mess-Free Bacon! Forget the greasy stovetop and oven splatters. Cooking bacon in the air fryer is a game-changer. It comes out perfectly crispy every time, with minimal mess and no need to worry about spilling hot grease. This air fryer bacon recipe is an absolute must-try for your next breakfast or brunch, guaranteeing perfectly cooked strips with effortless cleanup.
Ultimate Crispy Chicken Wings! Chicken wings are arguably one of the air fryer’s greatest triumphs. They emerge incredibly crispy on the outside and wonderfully juicy on the inside, rivaling deep-fried versions without the oil. Explore these delectable air fryer honey mustard chicken wings for a sweet and savory kick. And if you’re working with frozen wings, don’t fret – these air fryer buffalo chicken wings from frozen deliver fantastic results directly from the freezer to your plate.
Irresistible Brussels Sprouts with Bacon! Getting more vegetables into your diet has never been easier or tastier! Brussels sprouts are transformed in the air fryer, ditching the mushiness often associated with boiling and instead crisping up beautifully. The addition of bacon takes them to a whole new level of deliciousness. Grab this fantastic recipe for air fryer Brussels sprouts with bacon and convert even the most skeptical eaters.
Perfectly Baked Chocolate Chip Oatmeal Cookies! Who says the air fryer is just for savory dishes? For a delightful dessert, keeping a stash of frozen cookie dough means you’re always minutes away from fresh-baked goodness. These air fryer chocolate chip oatmeal cookies are a revelation – perfectly crisp on the outside with a wonderfully gooey, melted chocolate interior. They’re ideal for satisfying those sudden sweet cravings.
Connect With A License To Grill and Share Your Air Fryer Success!
You’ve now got a comprehensive toolkit of air fryer tips and tricks to elevate your cooking game. It’s your turn to put them into practice! I’d love to hear how this guide has helped you achieve amazing results in your kitchen. What delicious, crispy dishes have you created with your air fryer? Drop a comment below and share your culinary triumphs and favorite new recipes!
Stay connected with us for more grilling, air frying, and cooking inspiration!
Facebook * Instagram * Pinterest * YouTube * Twitter
Did you make any of these recipes or apply these tips? Tell us all about your experience in the comments section below!