
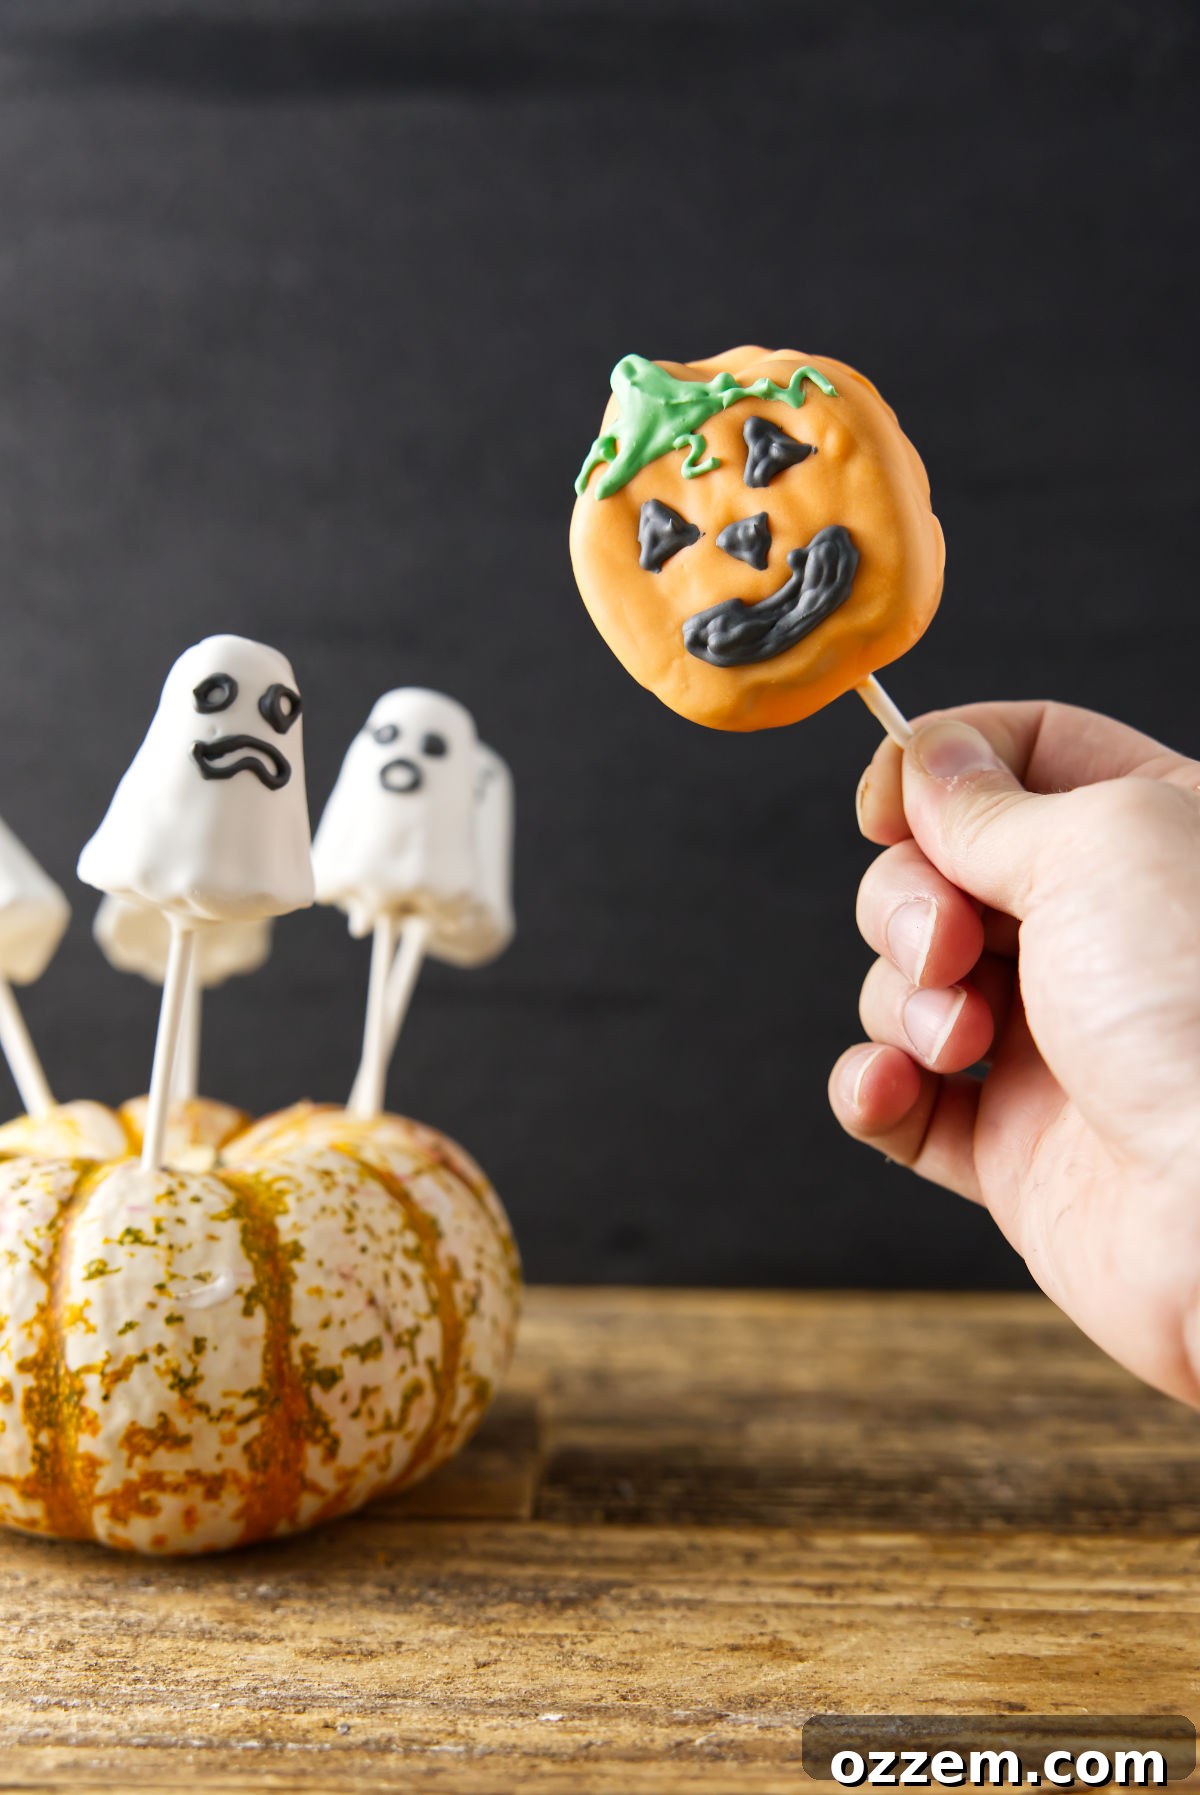
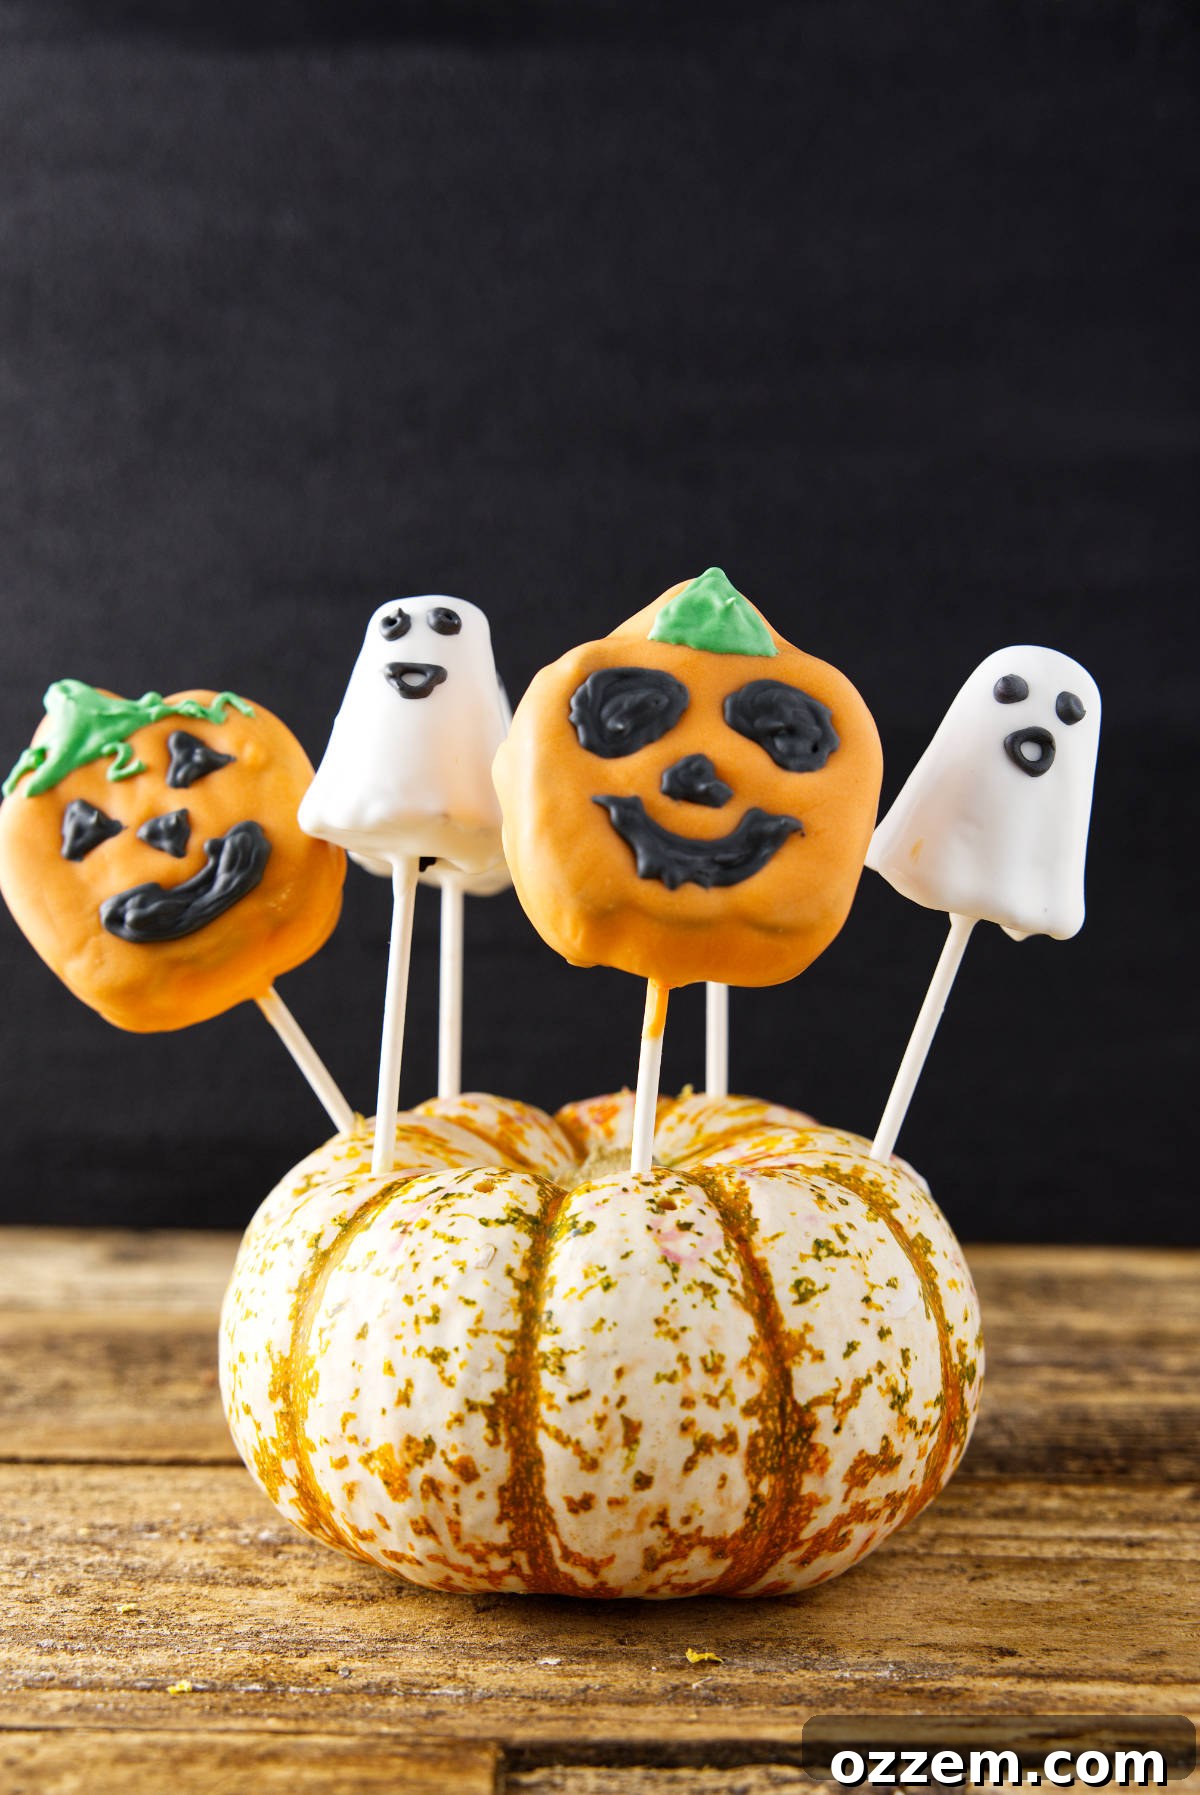
Get ready to enchant your taste buds and delight every ghoul and goblin with these utterly charming and irresistibly delicious Halloween Cake Pops! Far more than just a dessert, these delightful bites are a celebration of the spooky season, combining the rich flavors of a moist chocolate cake with a velvety chocolate buttercream. But the magic doesn’t stop there! Shaped into adorable pumpkins and friendly ghosts using clever silicone molds, each cake pop is then expertly dipped in vibrant candy melts and adorned with intricate royal icing designs, transforming them into edible works of art. This recipe promises not just a sweet treat, but a memorable, fun-filled family activity that will leave everyone smiling. Imagine the joy of creating these whimsical Halloween treats together, from crumbling the cake to painting on tiny, expressive faces. These homemade Halloween Cake Pops are guaranteed to be the star of your dessert table, bringing a touch of homemade charm and spooky sweetness to any Halloween party or gathering.
Baking for Halloween is a cherished tradition for many, and these cake pops offer a unique blend of creativity and culinary pleasure. They are designed to be a delightful hands-on experience, inviting bakers of all ages to gather in the kitchen, embrace a little delightful mess, and craft some truly adorable — and incredibly tasty — Halloween magic. The combination of a deeply flavorful chocolate cake base, a smooth, rich chocolate buttercream, and a crisp, sweet candy coating makes for an explosion of texture and taste in every bite. Whether you’re hosting an elaborate Halloween bash or simply looking for a festive activity to do with loved ones, these customizable cake pops are the perfect canvas for your spooky imagination. Prepare for endless compliments as these pumpkin and ghost-shaped confections steal the show, proving that Halloween treats can be both terrifyingly cute and utterly delectable.
🎃 Why These Halloween Cake Pops Are a Must-Make Treat
- Unbelievably Moist Chocolate Cake: At the heart of these delightful Halloween cake pops is our highly acclaimed, reader-favorite chocolate cake recipe. This isn’t just any cake; it’s a foundation of rich, intensely chocolatey flavor and an incredibly tender, moist crumb that melts in your mouth. Every bite delivers a concentrated burst of exquisite chocolate goodness, setting these cake pops apart from the ordinary.
- Velvety Smooth Chocolate Buttercream: The perfectly balanced chocolate buttercream is the secret to both flavor and texture. It provides just the right amount of sweetness and luxurious creaminess, binding the cake crumbs into a malleable mixture without overpowering the deep chocolate notes. Its smooth consistency ensures a delightful mouthfeel, making these Halloween dessert pops truly irresistible.
- Engaging Fun for All Ages: These Halloween cake pops are more than just a recipe; they’re an experience! Gather your family and friends for an unforgettable baking night. Kids and adults alike will relish the hands-on process of shaping the cake mixture, dipping the pops in colorful candy melts, and unleashing their creativity with royal icing decorations. It’s a fantastic way to bond and make cherished holiday memories.
- Versatile & Adjustable Size: Whether you prefer petite, bite-sized morsels or larger, more substantial treats, this recipe accommodates all preferences. Utilize whimsical silicone molds to create perfectly shaped pumpkins and ghosts, or embrace the rustic charm of free-form, hand-rolled cake balls. The flexibility in size ensures you can tailor your spooky cake pops to any occasion.
- Endless Festive & Customizable Decorations: Let your imagination run wild! The vibrant orange and white candy melts provide a striking base, ready to be transformed. Embellish your Halloween cake pops with an array of colorful royal icing designs, from eerie ghost eyes to grinning pumpkin smiles, or even intricate spiderwebs. Explore different colors, sprinkles, and edible glitter for truly unique and personalized Halloween treats that reflect your festive spirit.
- The Ultimate Spooky Party Centerpiece: Searching for a show-stopping dessert that doubles as a festive decoration? Look no further! These Halloween cake pops are designed to be the highlight of any Halloween party or autumnal gathering. Their charming appearance and delightful taste make them an instant hit, adding a touch of spooky charm and edible artistry to your dessert spread. They’re sure to be the talk of the party!
🗒️ Essential Ingredients for Perfect Halloween Cake Pops
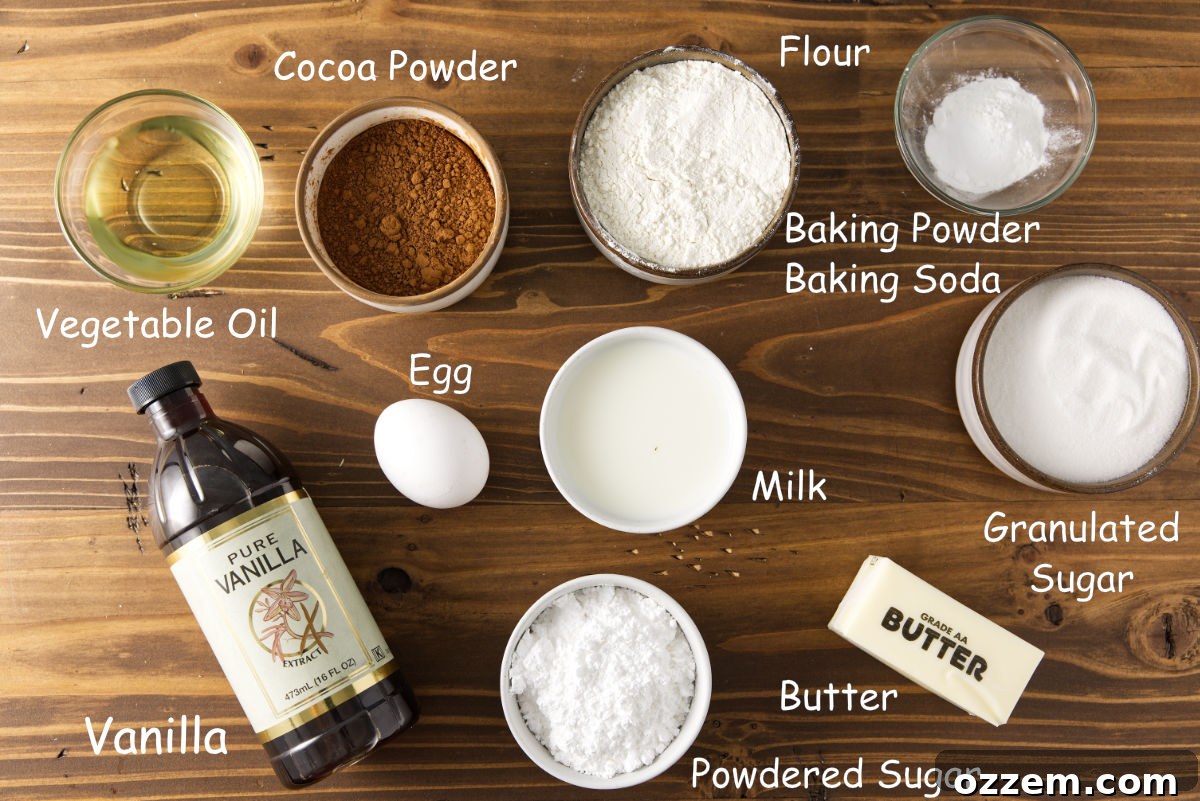
Crafting these delectable Halloween cake pops requires a thoughtful selection of ingredients, ensuring both a rich flavor profile and a sturdy, moldable texture. Below is a concise list of everything you’ll need. Remember, while we suggest classic Halloween colors, feel free to experiment with different shades of candy melts and food dyes to personalize your spooky creations. For precise measurements and detailed quantities, kindly refer to the comprehensive recipe card located further down this page.
Essential Equipment for Cake Pop Success
Having the right tools makes all the difference when tackling a project like cake pops. These key pieces of equipment will ensure a smooth and enjoyable baking and decorating experience:
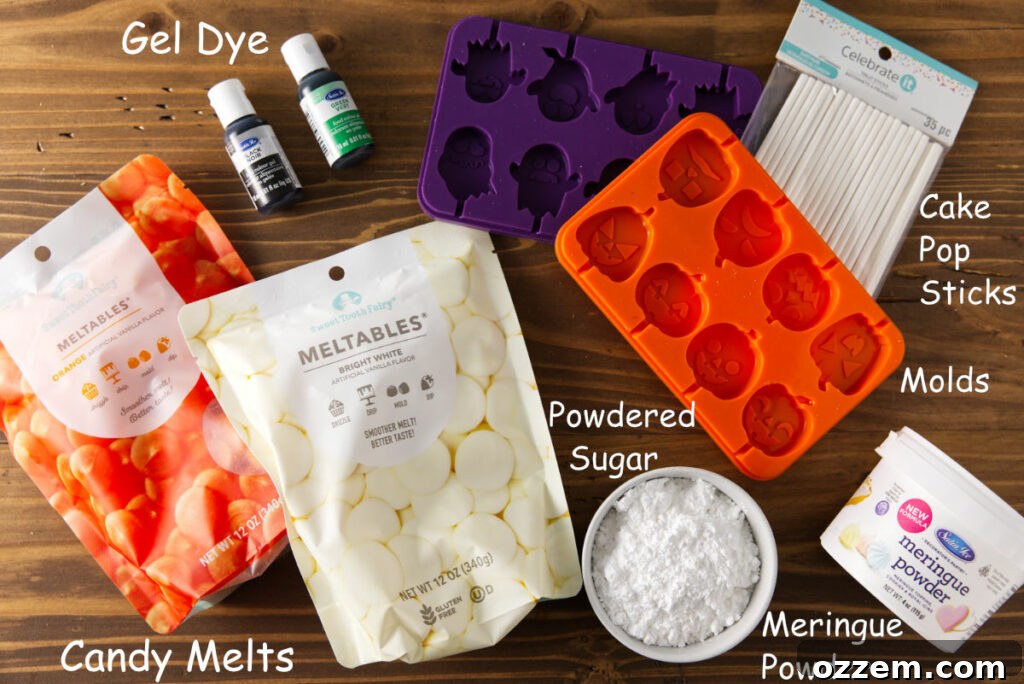
- Halloween Jack-O-Lantern Mold and Ghost Molds: These silicone molds are key for creating those iconic pumpkin and ghost shapes that make these Halloween cake pops so festive and fun. They ensure consistent shapes and easy removal.
- Cake Pop Sticks: Essential for holding and dipping your cake pops, transforming them into easy-to-eat lollipops. Choose sturdy sticks that can support the weight of the cake and coating.
- Stand Mixer: A stand mixer with a paddle attachment is invaluable for effortlessly combining the cake ingredients, creating a smooth batter, and later, for mixing the crumbled cake with buttercream into a perfect, pliable consistency for molding.
- Hand Mixer: While a stand mixer is ideal, a hand mixer offers excellent versatility, especially for whipping up the buttercream to fluffy perfection. It’s also handy for smaller mixing tasks.
Ingredients for the Irresistible Chocolate Cake
The foundation of these Halloween cake pops is a rich, moist chocolate cake that’s easy to bake and absolutely delicious. Each ingredient plays a crucial role in creating that perfect crumb and deep flavor:
- Unsweetened Cocoa Powder: This is where the magic begins! High-quality unsweetened cocoa powder imparts a profound, intense chocolate flavor and a beautiful dark color to the cake, making it truly decadent.
- Hot Water: Surprisingly, hot water is key for blooming the cocoa powder. It helps dissolve the cocoa solids more effectively than cold liquids, enhancing the chocolate’s depth and ensuring a smoother, more integrated flavor throughout the cake batter.
- Granulated Sugar: Sweetens the cake to perfection and contributes significantly to its tender, moist texture. It caramelizes slightly during baking, adding subtle depth.
- Vegetable Oil: Unlike butter, vegetable oil remains liquid at room temperature, ensuring an exceptionally moist and tender cake crumb that stays soft for longer. It provides richness without imparting a strong flavor.
- Milk: Adds essential moisture and a lovely richness to the cake batter, creating a more cohesive and tender texture. Any type of milk works well here.
- Large Egg: Acts as a binder, providing structure to the cake while contributing to its moisture and richness. A room temperature egg incorporates more evenly into the batter.
- Vanilla Extract: A classic pairing with chocolate, vanilla extract enhances and deepens the overall chocolate flavor, adding a warm, aromatic dimension to the cake.
- All-Purpose Flour: The primary structural component of the cake, providing the necessary body and framework for a perfectly baked crumb.
- Baking Powder & Baking Soda: These dual leavening agents work in harmony to give the cake its light, airy, and fluffy texture. Baking soda reacts with the acidic cocoa, while baking powder provides an extra lift.
- Salt: A pinch of salt is crucial for balancing the sweetness and intensifying the chocolate notes, preventing the cake from tasting overly sugary and bringing out the best in all other flavors.
Ingredients for the Velvety Chocolate Buttercream
This creamy chocolate buttercream is the binding agent and flavor enhancer that turns your chocolate cake into the perfect cake pop consistency. It’s simple to make and adds a luxurious touch:
- Unsalted Butter (softened): The foundation of any great buttercream, softened butter whips up to a light, creamy consistency and provides a rich, indulgent flavor. Using unsalted butter allows you to control the salt content.
- Powdered Sugar (confectioners’ sugar): Sweetens the frosting and creates its signature smooth, melt-in-your-mouth texture. Sifting it helps prevent lumps.
- Unsweetened Cocoa Powder: Infuses the buttercream with an extra layer of deep, delicious chocolate flavor, perfectly complementing the cake base.
- Pinch of Salt: Essential for cutting through the sweetness of the sugar and cocoa, balancing the flavors and making the buttercream more complex and satisfying.
- Vanilla Extract: A splash of vanilla extract brightens the chocolate flavor in the buttercream, adding warmth and a delightful aroma.
- Milk or Cream: Used sparingly, milk or cream adjusts the buttercream’s texture, thinning it out to achieve a smooth, spreadable, and easy-to-mix consistency for combining with the cake crumbs.
Dazzling Decorations for Spooky Cake Pops
The fun truly begins when it’s time to decorate! These ingredients will bring your pumpkin and ghost cake pops to life with vibrant colors and expressive details:
- Orange Candy Melts: These specially formulated melting wafers create a perfectly smooth, bright orange shell for your pumpkin cake pops. They melt easily and set quickly, providing a beautiful, festive coating that is a hallmark of Halloween treats.
- White Candy Melts: Ideal for creating the smooth, pristine white coating for your ghost cake pops. Like the orange melts, they offer excellent coverage and a quick-setting finish, perfect for your spooky specters.
- Powdered Sugar (for Royal Icing): The essential base for your royal icing, providing the sweetness and fine texture needed to create intricate, crisp decorative details that harden beautifully.
- Meringue Powder: A crucial ingredient for royal icing, meringue powder stabilizes the icing, gives it a beautiful sheen, and helps it dry to a hard, durable finish, ensuring your decorations stay perfectly in place.
- Water: Used to adjust the consistency of the royal icing. A small amount creates a thick consistency for piping outlines and details, while a little more can thin it for flood icing.
- Black & Green Food Gel Dye: These concentrated gel dyes deliver intense, vibrant colors without significantly altering the icing’s consistency. Black is perfect for spooky faces on ghosts and pumpkins, while green can be used for pumpkin stems or other eerie accents, bringing your Halloween designs to life.
👨🍳 Step-by-Step Guide: How to Make Spooktacular Halloween Cake Pops
Embarking on the journey of making these Halloween cake pops is an exciting and rewarding culinary adventure. While the process involves a few stages, each step is straightforward and contributes to the magic of these festive treats. Here’s a streamlined overview of the process to get you started on your spooky baking journey. For comprehensive, highly detailed instructions, including specific quantities and expert tips, please refer to the complete recipe card below.
Phase 1: Crafting the Perfect Chocolate Cake Base
Every great cake pop begins with a stellar cake. Our moist chocolate cake recipe ensures a rich flavor and ideal texture for molding.
- Prepare for Baking: Begin by preheating your oven to 350°F (175°C). Take a 9-inch round cake pan and line its bottom with parchment paper. Lightly grease and flour the sides of the pan to prevent sticking.
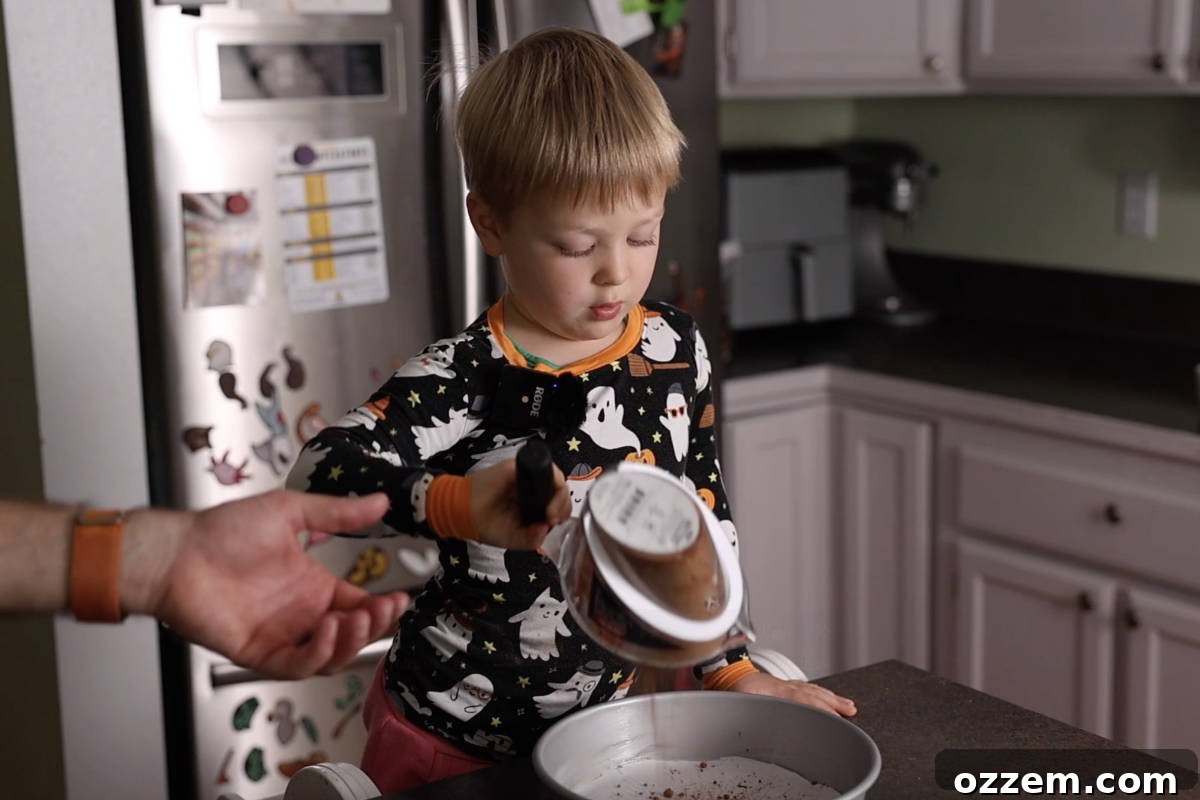
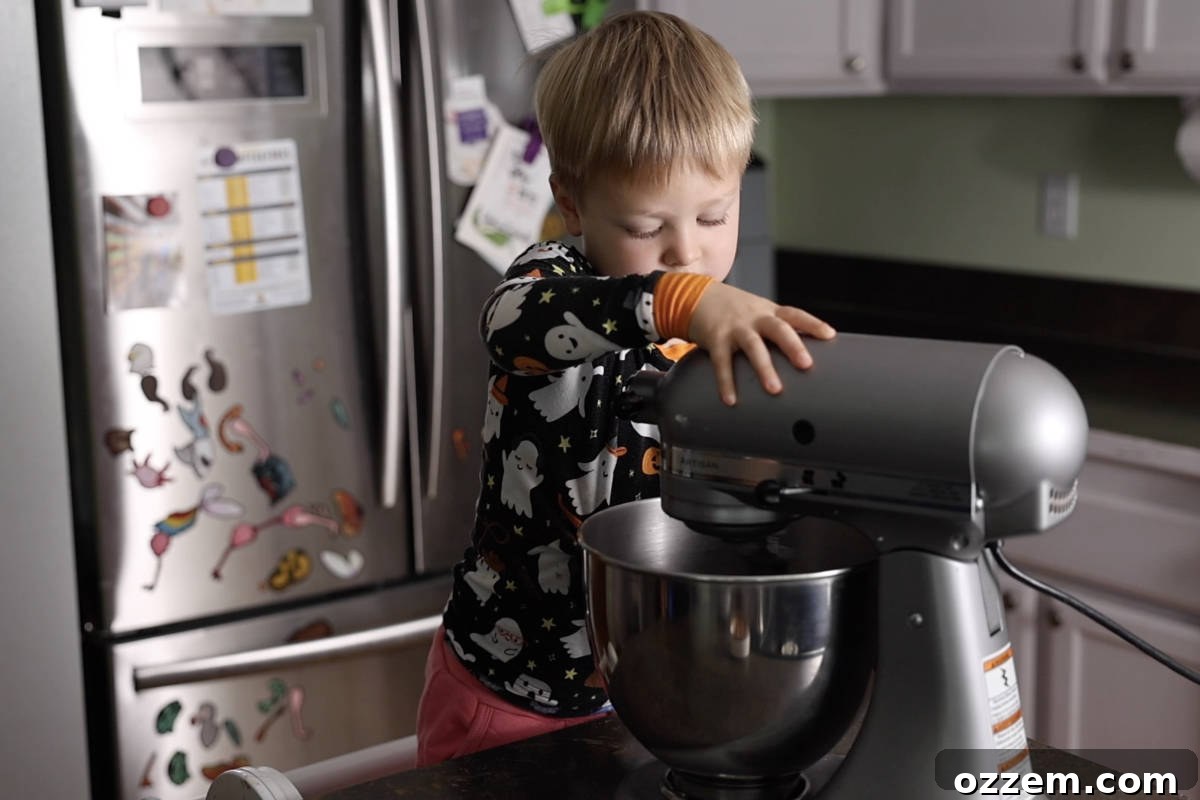
- Combine Wet Ingredients: In a large mixing bowl, thoroughly whisk together the unsweetened cocoa powder and hot water until the cocoa is completely dissolved and the mixture is smooth. Next, add the sugar, vegetable oil, milk, egg, and vanilla extract. Whisk vigorously until all these wet ingredients are well combined and homogenous.
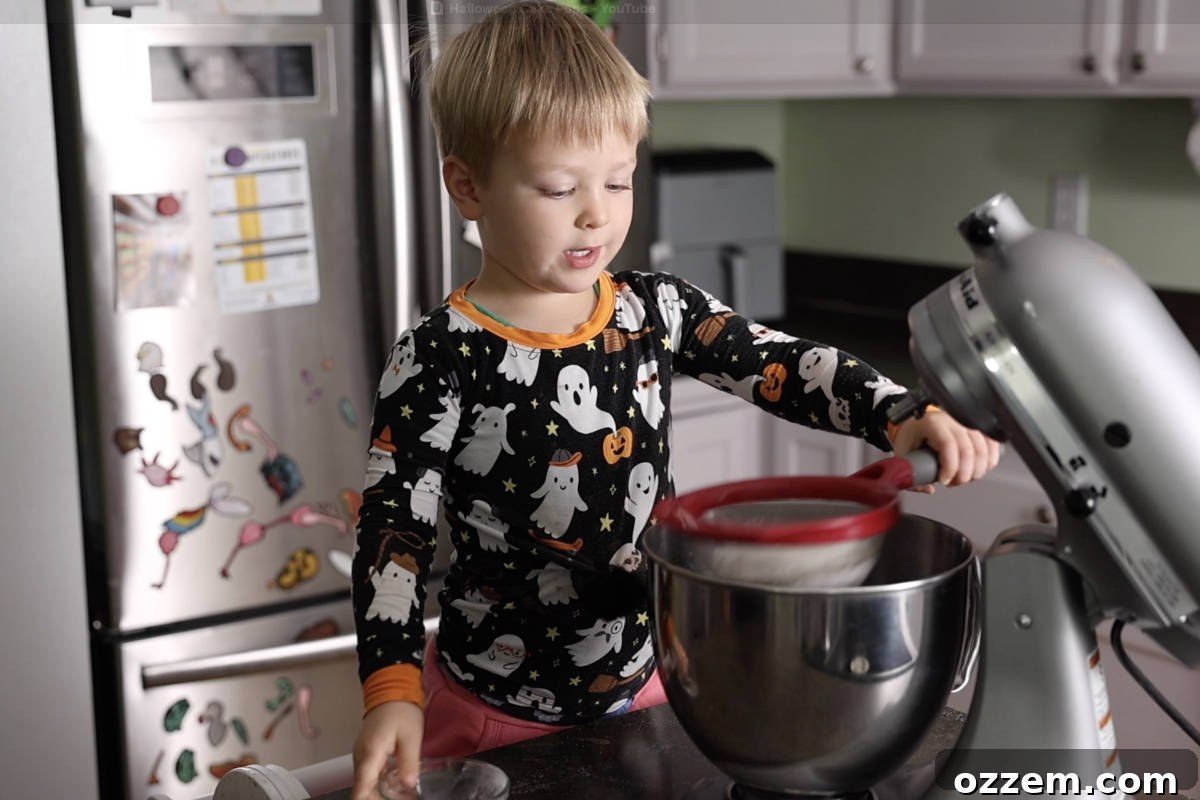
- Incorporate Dry Ingredients: Carefully sift the flour, baking powder, baking soda, and salt directly over your wet mixture. Gently fold or mix these dry ingredients into the wet ones until they are just combined. Be careful not to overmix, as this can lead to a tough cake.
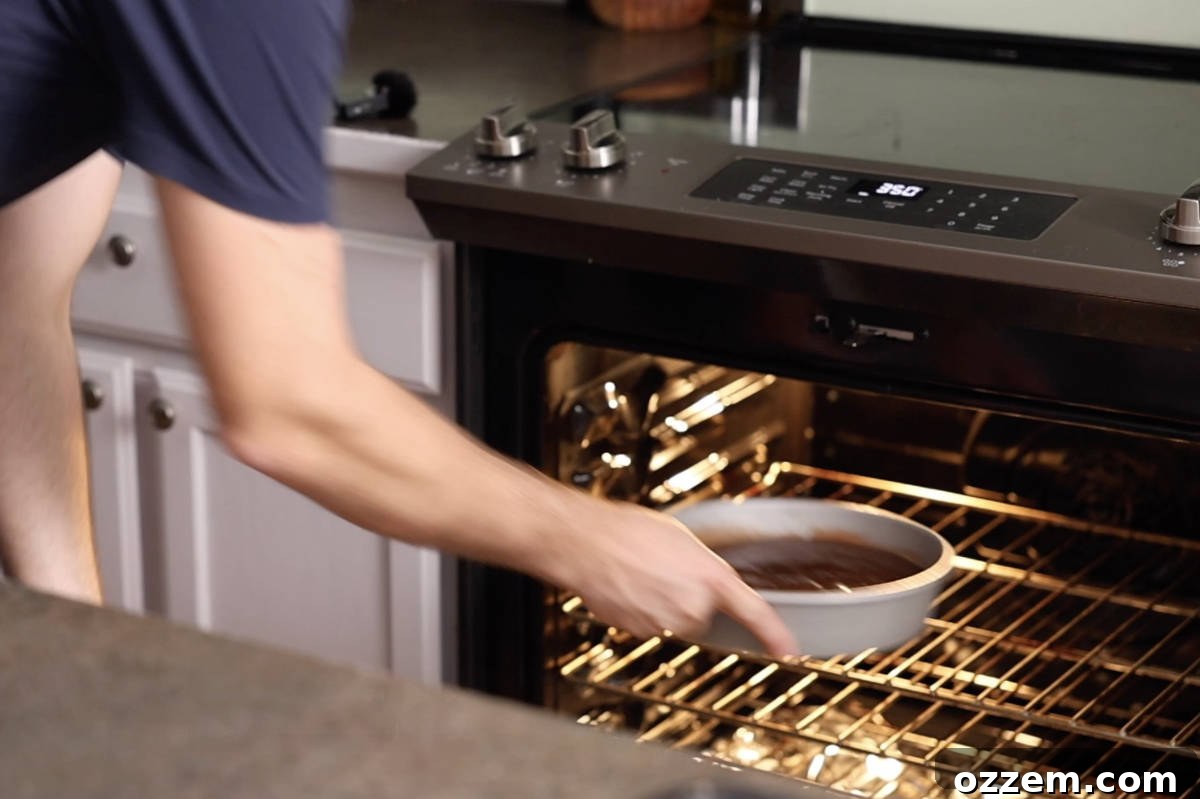
- Bake to Perfection: Pour the prepared cake batter into your greased and floured 9-inch cake pan. Transfer the pan to the preheated oven and bake for approximately 30 to 35 minutes, or until a toothpick inserted into the center of the cake comes out clean. Once baked, remove the cake from the oven and allow it to cool completely in the pan before proceeding.
Phase 2: Preparing the Decadent Chocolate Buttercream
The buttercream is what gives our cake pops their fudgy, moldable texture and an extra layer of chocolatey goodness.
- Cream the Butter: In a large mixing bowl, preferably using a stand mixer with the paddle attachment, beat the softened butter on medium speed until it becomes light, fluffy, and creamy. This aerates the butter, creating a superior texture.
- Incorporate Dry Sweeteners: Gradually add the powdered sugar and cocoa powder to the creamed butter. Start on low speed to avoid a cloud of sugar dust, then increase to medium until the sugar and cocoa are fully incorporated and the mixture is smooth.
- Finish with Flavor & Consistency: Add the pinch of salt and vanilla extract, beating them in until well combined. Slowly pour in the milk or cream, a tablespoon at a time, until the buttercream reaches your desired smooth, velvety consistency. It should be thick enough to hold its shape but pliable enough to mix with the cake. Scrape the finished buttercream into a separate bowl and set aside.
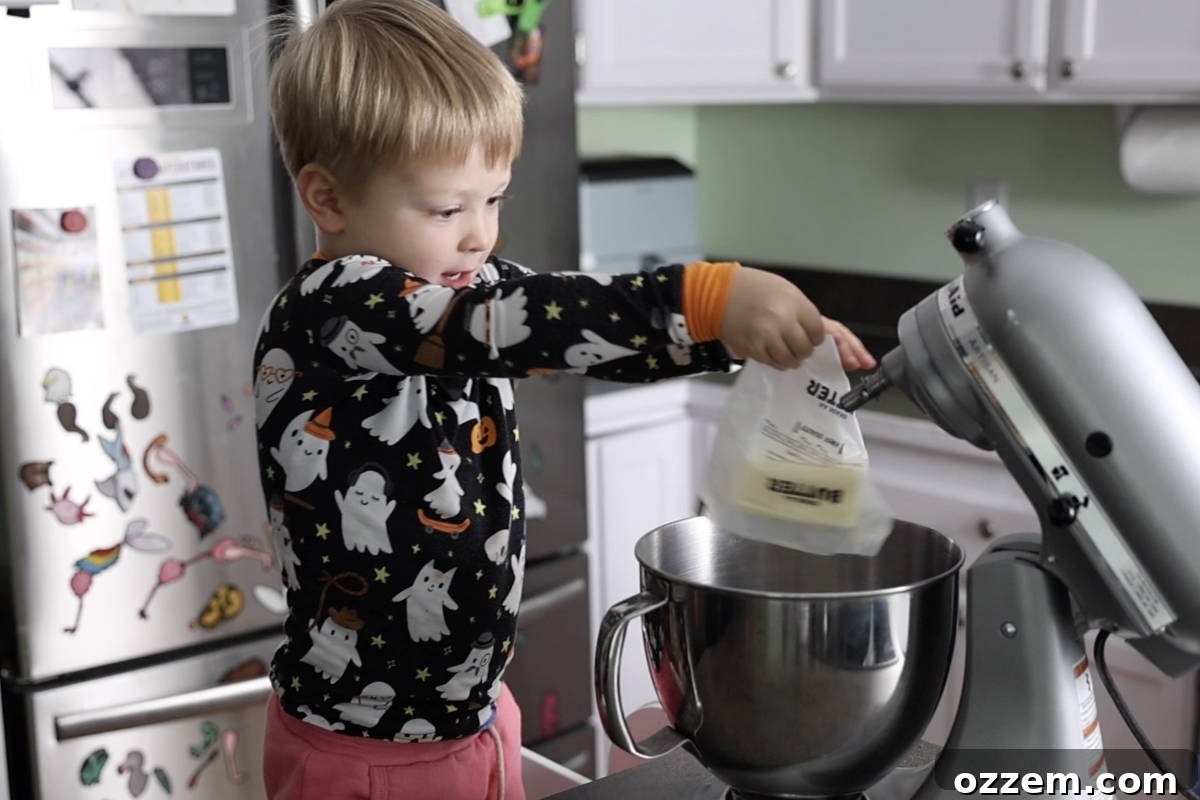
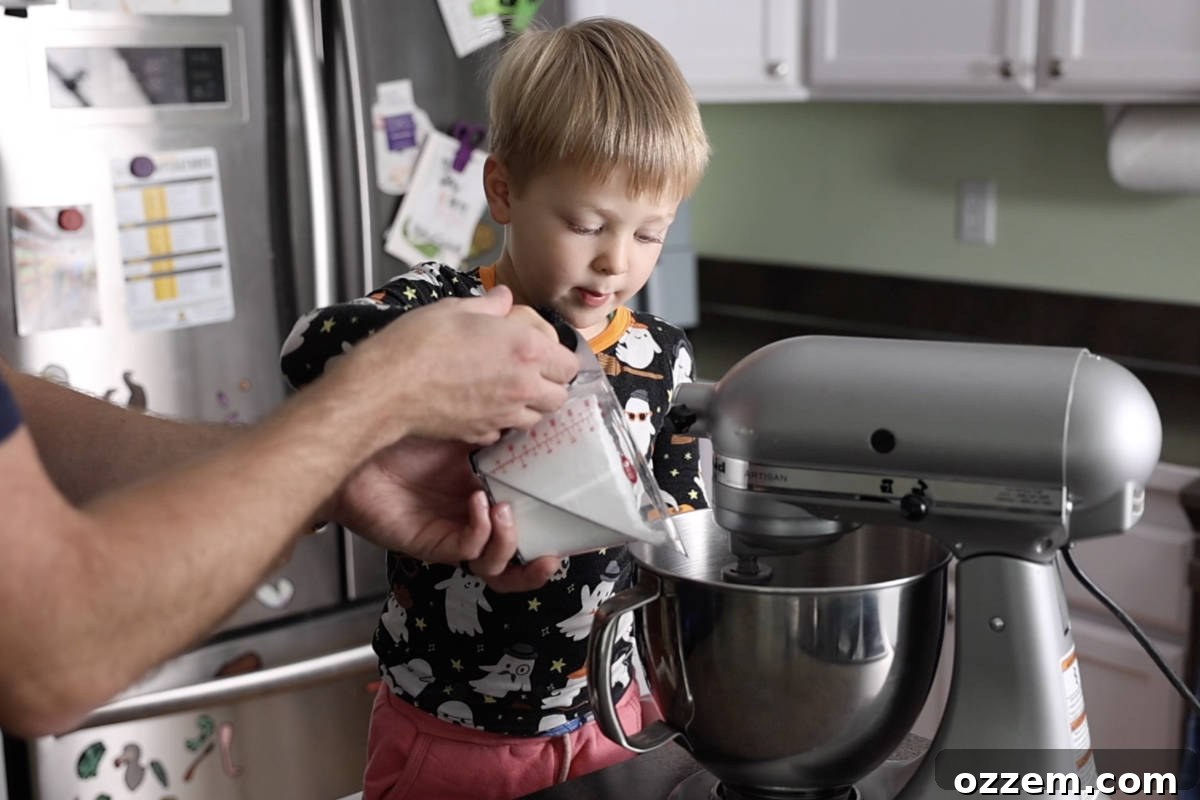
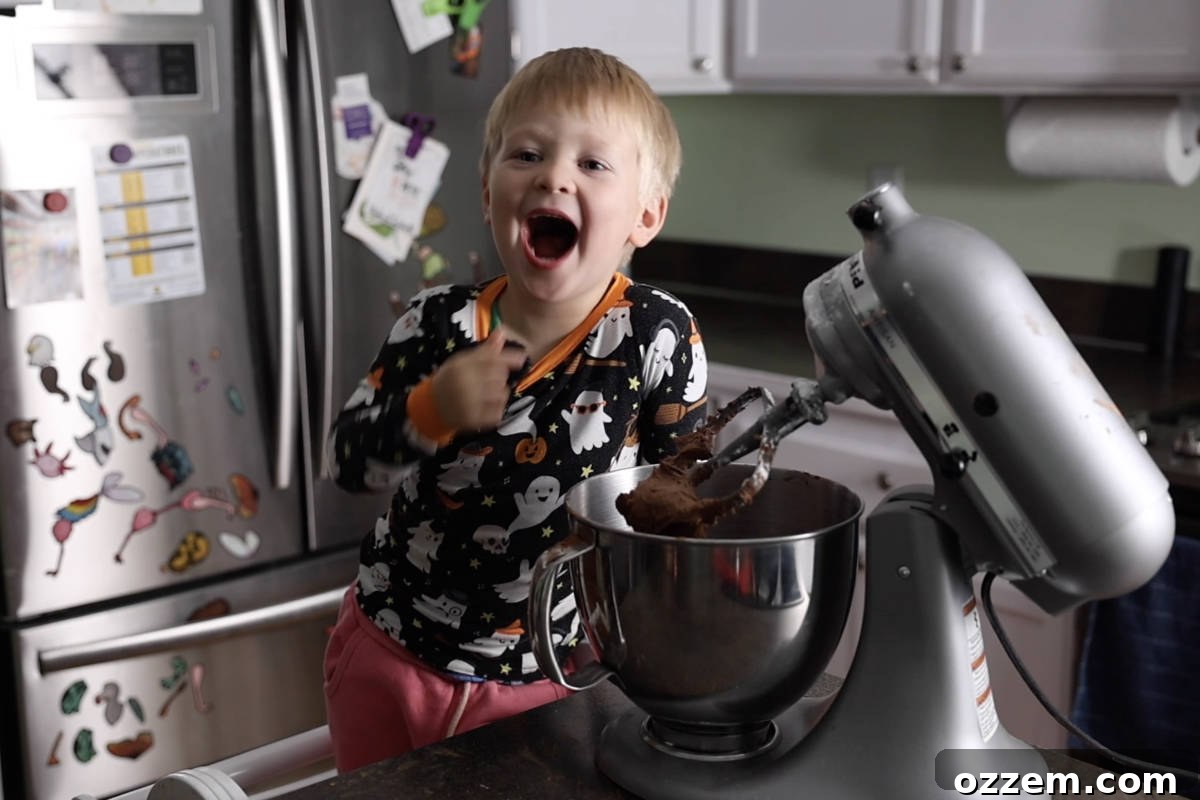
Phase 3: Assembling & Decorating Your Spooky Cake Pops
Now for the truly fun part – transforming your cake and buttercream into whimsical Halloween characters!
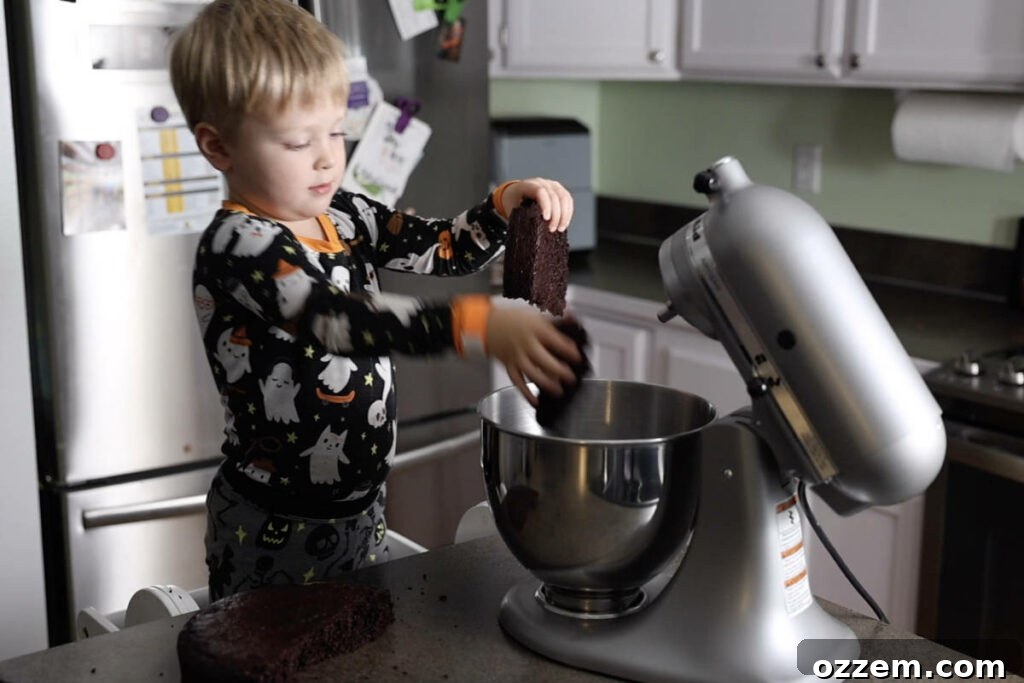
- Form the Cake Pop Dough: Once your cake is completely cooled, crumble it thoroughly into a large mixing bowl (or back into your stand mixer bowl). Add approximately 1 cup of the prepared chocolate buttercream to the crumbled cake. Mix on low to medium speed until the mixture comes together and has a smooth, play-dough-like consistency that holds its shape when squeezed. If it feels too dry, add a tiny bit more buttercream, one tablespoon at a time, until perfect.
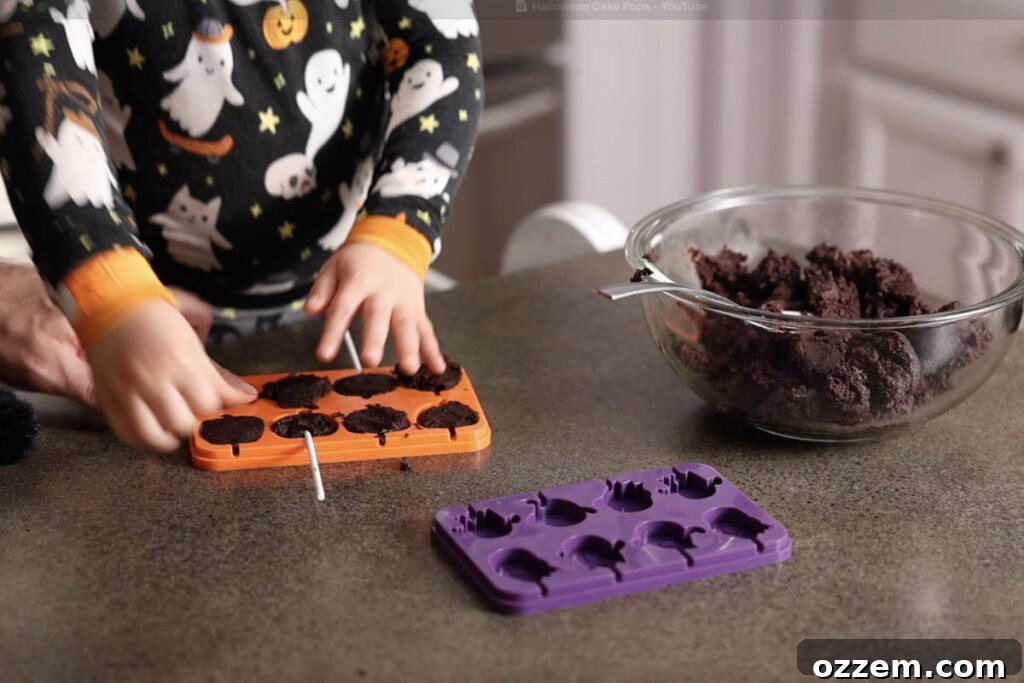
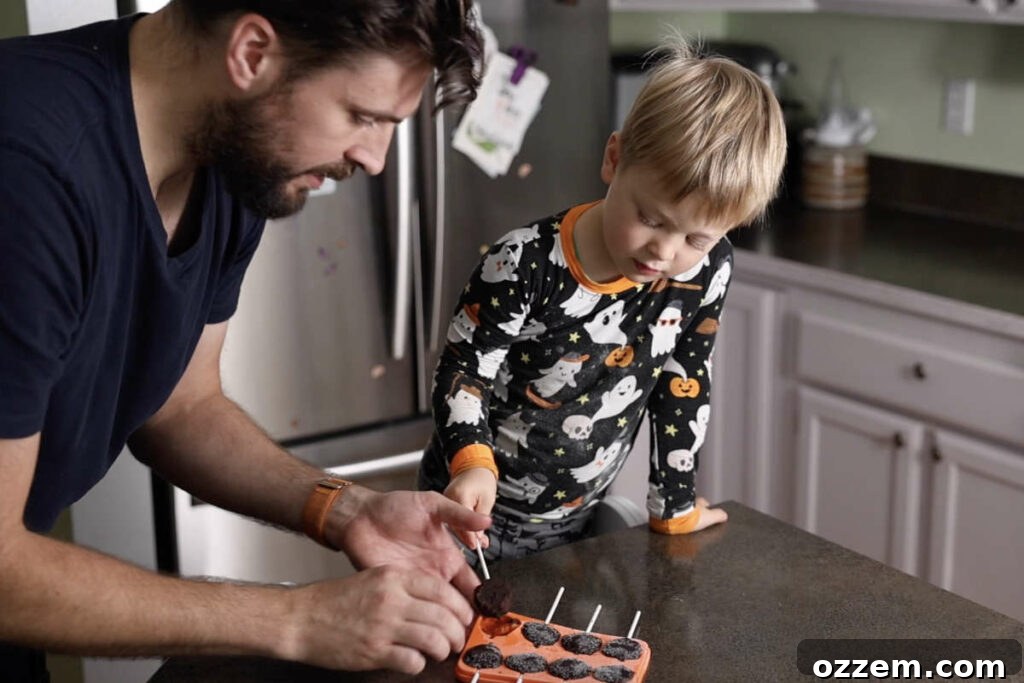
- Mold and Insert Sticks: Press the cake pop mixture firmly into your pumpkin and ghost silicone molds, ensuring there are no air pockets. If your molds have designated slots, insert the cake pop sticks into each shape. Smooth the back of each cake pop to create a neat, even surface.
- Chill to Firm: Place the filled molds into the freezer for about 15 minutes. This crucial step allows the cake pops to firm up, making them much easier to demold and dip without crumbling.
- Melt the Candy Wafers: While the cake pops are chilling, prepare your candy melts. Place the orange candy wafers in one microwave-safe bowl and the white candy wafers in another. Microwave them in short 15-30 second bursts, stirring well after each burst, until completely melted and smooth. Be careful not to overheat.
- Dip and Set: Once firm, carefully remove the cake pops from their silicone molds. Dip each pumpkin-shaped cake pop into the melted orange candy melts, allowing any excess to drip off. Similarly, dip the ghost-shaped cake pops into the white candy melts. Place the dipped cake pops upright in a cake pop stand, or lay them gently on a baking sheet lined with parchment paper to set.
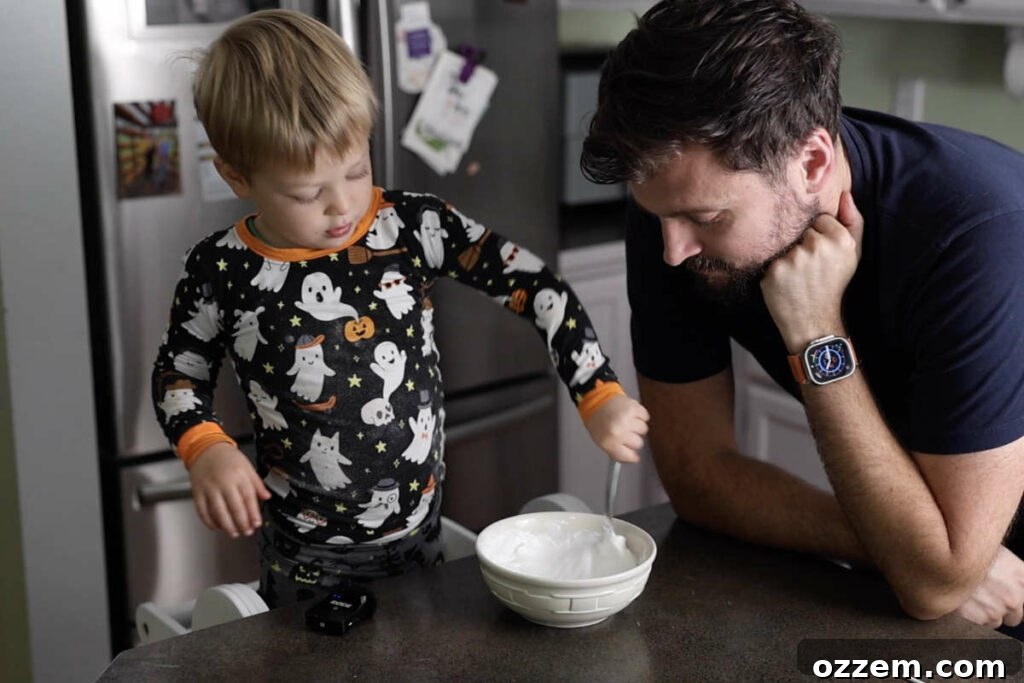
- Prepare Royal Icing: In a separate mixing bowl, combine the powdered sugar, meringue powder, and water. Mix until you achieve a smooth royal icing with a consistency suitable for piping – thick enough to hold its shape but thin enough to flow smoothly from a piping bag.
- Color and Bag Icing: Divide the royal icing into two smaller bowls. Add black food gel dye to one portion and green food gel dye to the other, mixing thoroughly until you reach your desired vibrant colors. Transfer each colored icing into separate piping bags fitted with small, fine tips (or use a Ziploc bag with a tiny corner snipped off).
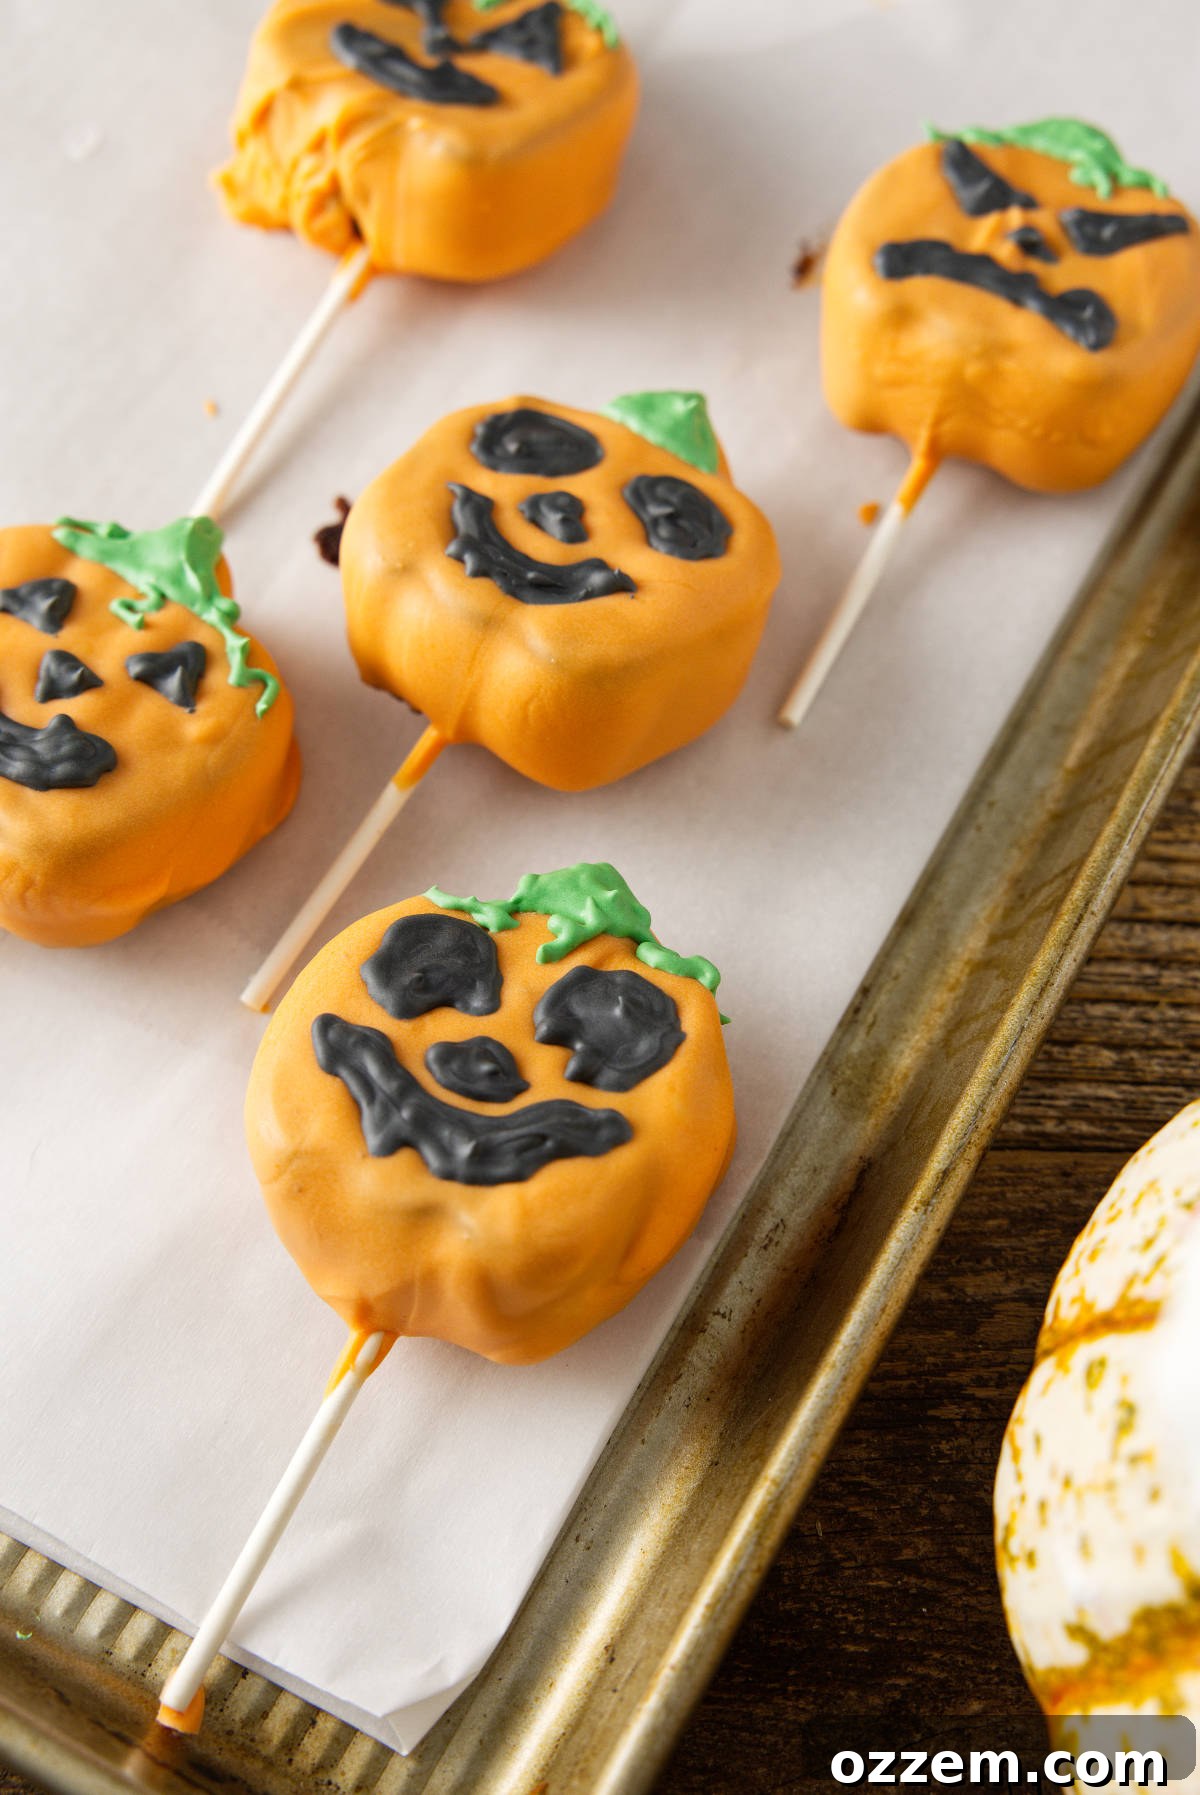
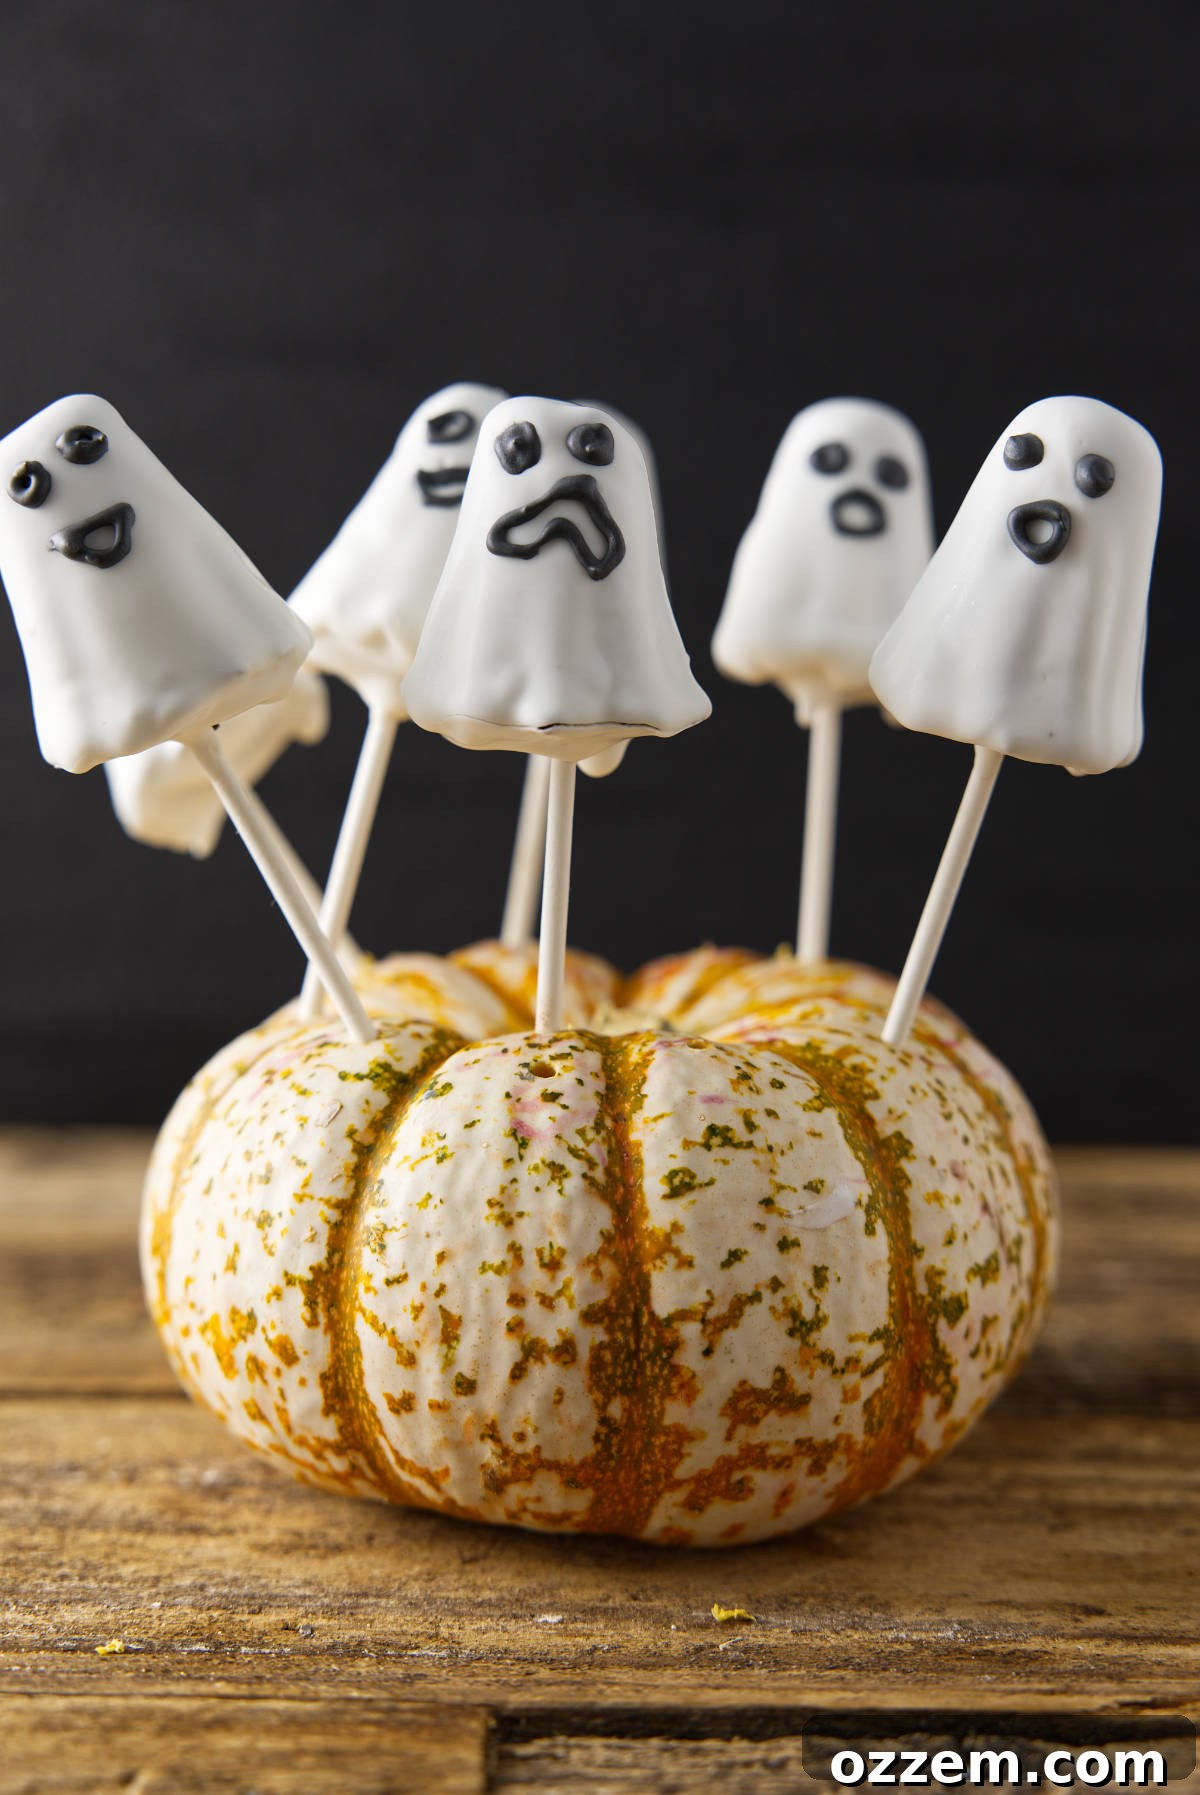
- Decorate with Details: Now for the artistic touch! Use the black icing to pipe spooky eyes and mouths onto your ghost cake pops, and grinning faces onto your pumpkin cake pops. Use the green icing for pumpkin stems or other creative accents.
- Allow Icing to Set: Let the decorated cake pops sit at room temperature for at least 30-60 minutes, or until the royal icing has fully hardened. Once set, your delightful Halloween cake pops are ready to be served and enjoyed!
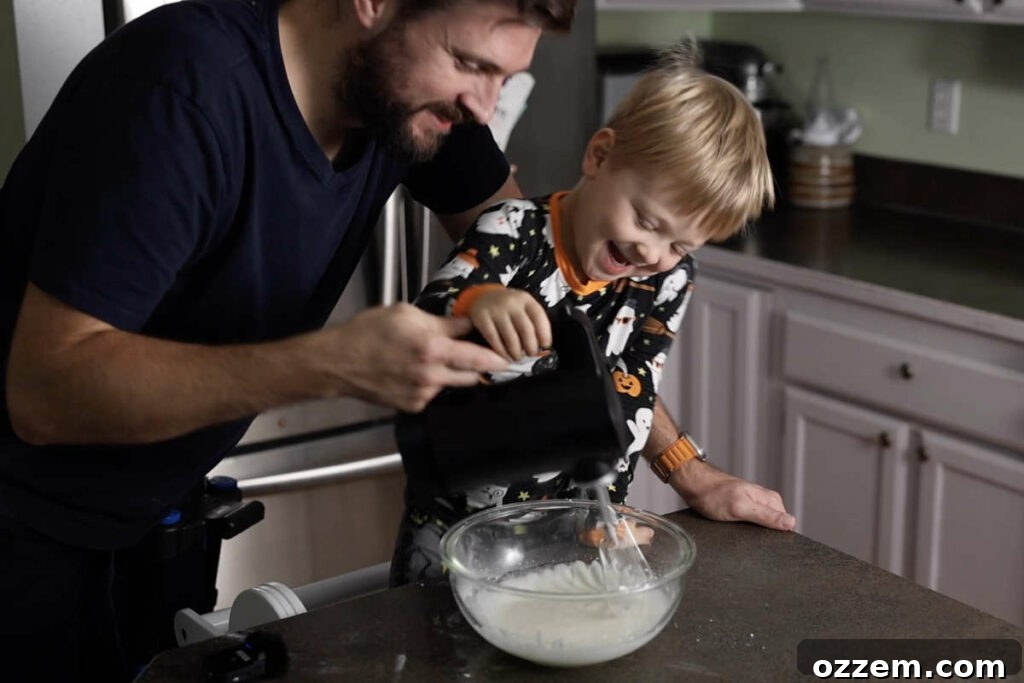
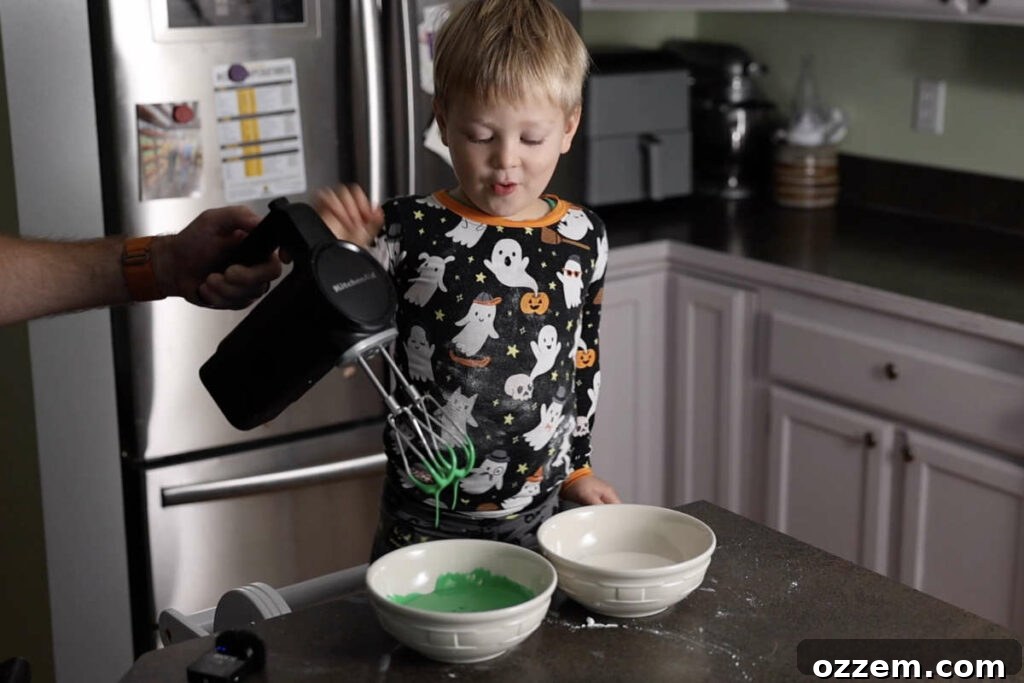
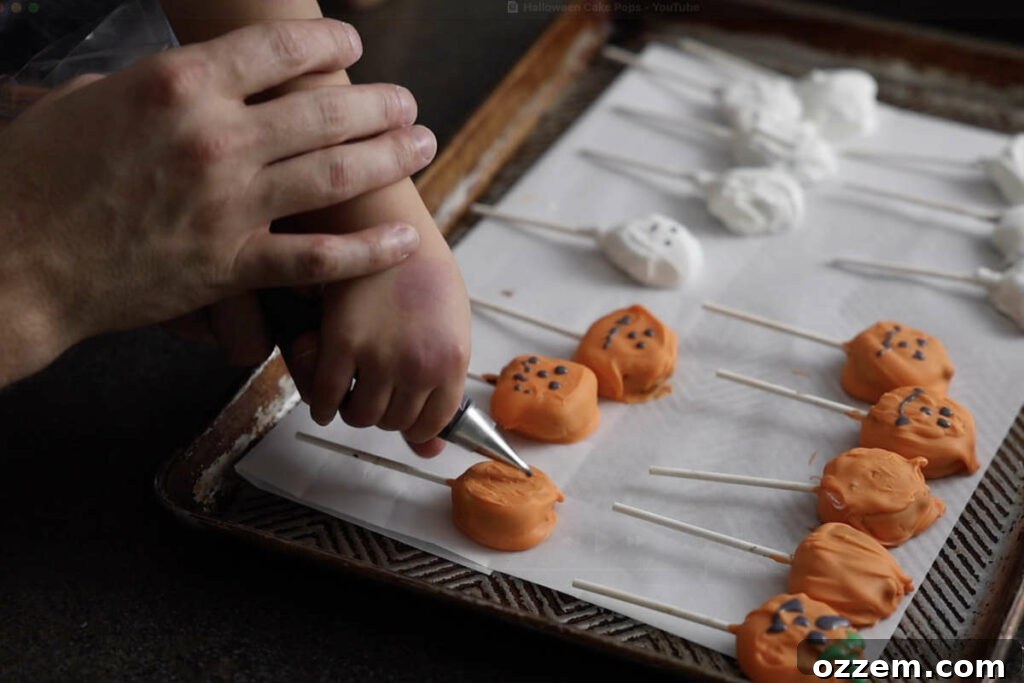
😉 Expert Tips for Crafting Spooktacular Halloween Cake Pops
Achieving perfectly smooth, delightful, and sturdy cake pops can be a breeze with a few insider tips. Follow these suggestions to ensure your Halloween cake pops are a howling success:
- Thoroughly Chill the Cake Pops in the Mold: This is a game-changer! Freezing the filled silicone molds for at least 15 minutes (or even slightly longer) is crucial. The firm cake mixture will allow you to cleanly remove the cake pops from the molds without breakage and provide a solid base for dipping, preventing crumbs from mingling with your candy coating.
- Ensure Smooth Candy Melts: When melting your candy wafers, patience is key. Microwave them in short bursts of 15-30 seconds, stirring diligently after each interval. This gentle approach prevents scorching and ensures a silky, smooth, and lump-free coating, which is essential for a professional finish on your Halloween treats.
- Strategically Thin the Candy Coating: If your melted candy coating appears too thick or gloopy, don’t despair! Add a teaspoon of refined coconut oil (or a dedicated candy melt thinning agent) at a time, stirring well after each addition. This will achieve a more fluid consistency, allowing for a thinner, smoother, and more even dip that won’t crack. Be cautious not to add too much, as it can affect setting and shine.
- Prevent Cracks by Tempering: Avoid dipping ice-cold cake pops directly into warm candy melts. If your cake pops have been in the freezer for an extended period, let them sit at room temperature for 5-10 minutes before dipping. This slight temperature adjustment helps prevent the candy coating from cracking as it sets due to temperature shock.
- Get Creative with Details: Don’t underestimate the power of simple tools! For intricate royal icing details like tiny, menacing eyes, spooky smiles, or even delicate spiderweb patterns, use a clean toothpick or a small decorator brush. This allows for precision and adds incredible character to your pumpkin and ghost cake pops.
- Secure the Sticks Firmly: A wobbly stick is a cake pop disaster waiting to happen! To ensure your lollipop sticks remain securely in place, dip the tip of each stick into a bit of melted candy coating before inserting it halfway into the cake pop. The candy melt acts as an edible glue, hardening and anchoring the stick firmly within the cake.
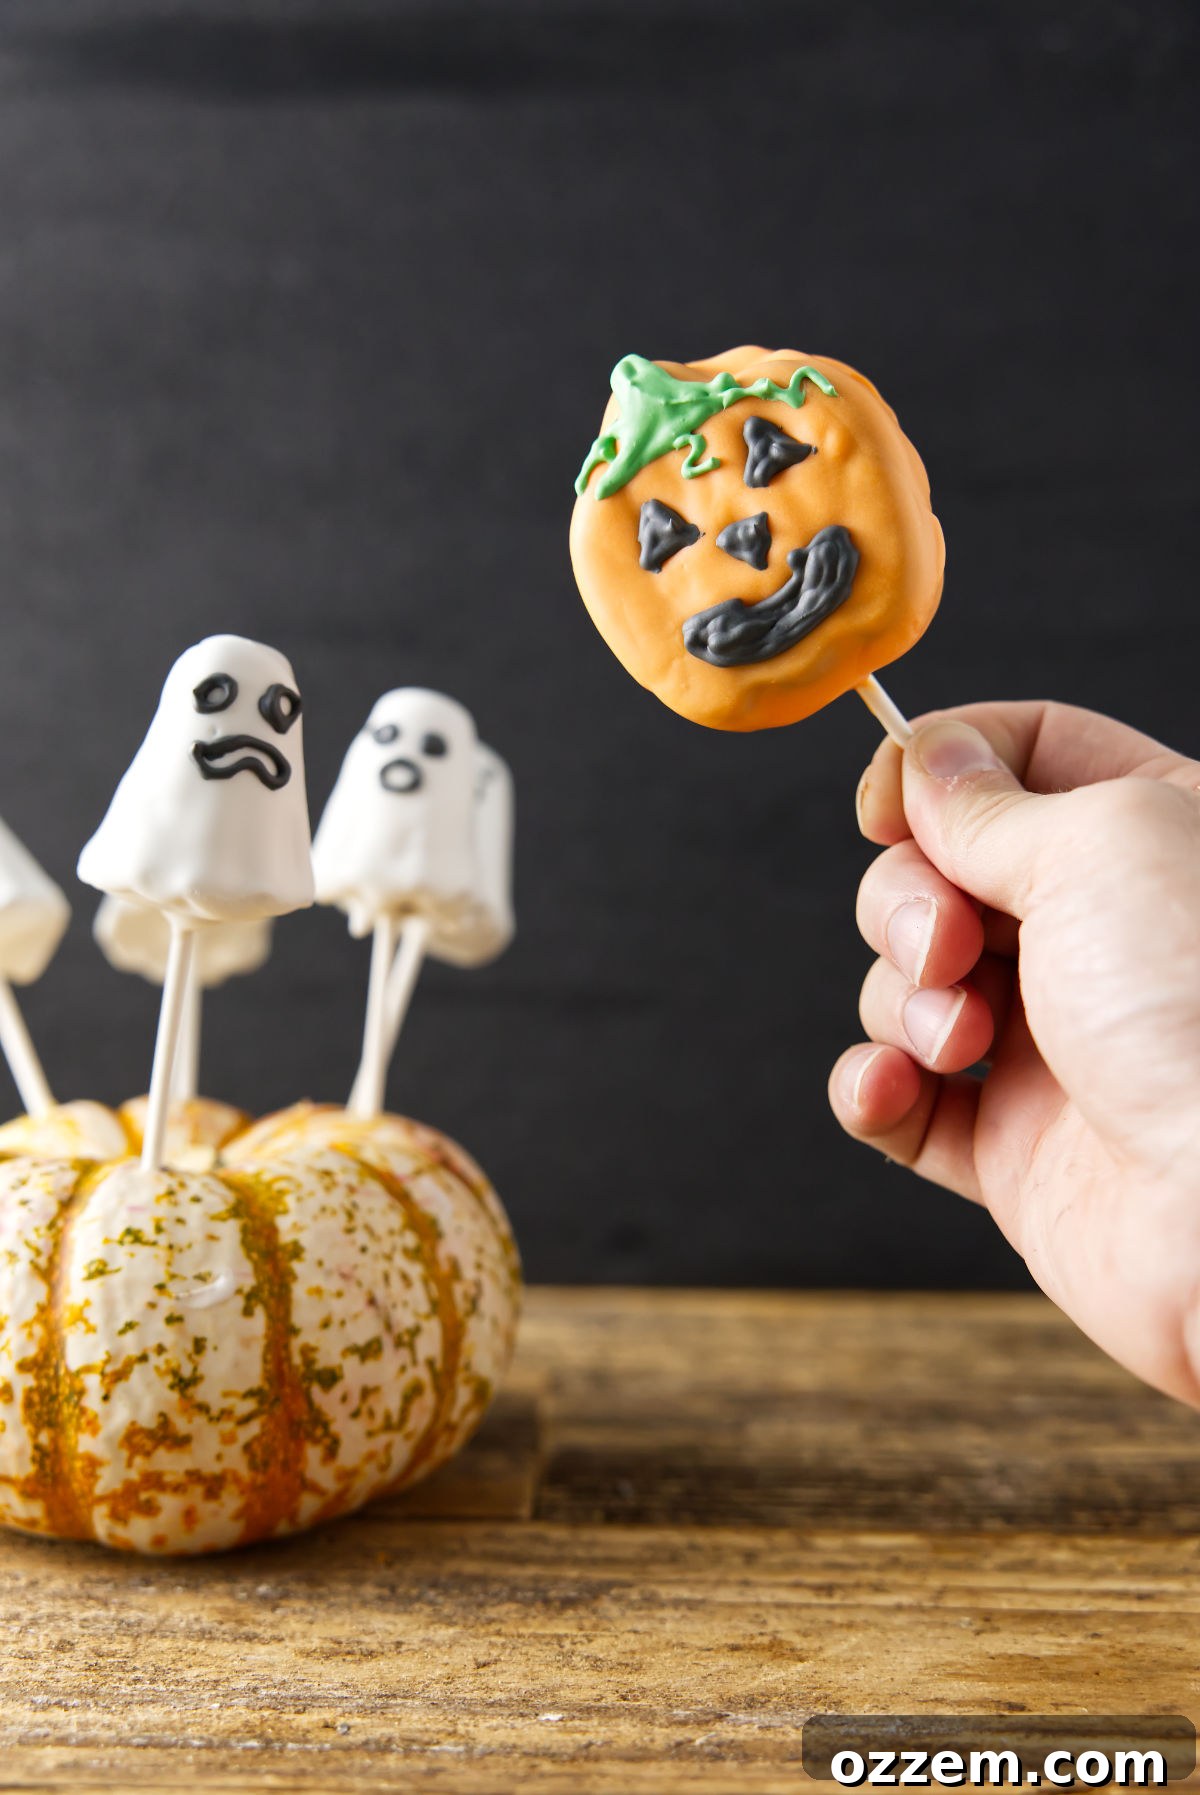
🤔 Creative Variations and Fun Substitutions for Your Halloween Cake Pops
While our classic chocolate pumpkin and ghost cake pops are undeniably delightful, this recipe offers a fantastic framework for endless creativity! Don’t hesitate to experiment with different flavors, colors, and decorating techniques to make your Halloween treats truly unique. Here are some inspiring ideas to get you started:
- Explore Different Candy Melts and Royal Icing Colors: The possibilities are vast! Instead of just orange and white, consider using purple candy melts for mysterious monster pops, black for a truly haunting aesthetic, or even lime green for slimy zombie-themed treats. You can also mix and match royal icing colors beyond black and green – think red for vampire drips, bright blue for alien creatures, or even metallic edible paints for a glamorous spooky touch.
- Get Playful with Hand-Shaped Cake Pops: If you don’t have silicone molds, or simply prefer a more traditional approach, shaping the cake pops by hand opens up new creative avenues. Roll the cake mixture into classic spheres for a timeless look, or get imaginative with free-formed shapes. Try crafting miniature bats with pointed ears, adorable witches’ hats with a brim, or even tiny mummies by wrapping white candy melts in thin lines around spherical cake pops.
- Elevate Your Decorating Techniques: Take your Halloween cake pops to the next level with a variety of exciting embellishments. After dipping, while the candy coating is still wet, sprinkle them with edible glitter for a shimmering effect, or press on colorful sugar sprinkles for added texture and visual appeal. Edible candy eyes are fantastic for instantly adding character to ghosts, monsters, and pumpkins. For an advanced touch, try marbling your candy melts: drip a contrasting color of melted candy onto your dipped pop and swirl gently with a toothpick for a cool, psychedelic effect.
- Flavor Swaps for the Cake Base: While chocolate is a classic, consider other cake flavors. A vanilla cake base can be dyed vibrant Halloween colors (like green or purple) before mixing with buttercream. Red velvet cake pops offer a spooky blood-red interior, perfect for a vampire theme. Carrot cake or pumpkin spice cake mixes can also add a delightful autumnal twist.
- Buttercream Alternatives: If chocolate buttercream isn’t your preference, a classic vanilla buttercream can be just as effective and allows the candy melt flavors to shine through more. You could also experiment with cream cheese frosting for a tangy counterpoint, or even a peanut butter frosting for a unique flavor combination.
🍰 Preserving Your Spooky Sweets: Storing Your Halloween Cake Pops
Ensuring your delicious Halloween cake pops stay fresh and delightful is key to enjoying them long after the crafting fun is over. Proper storage techniques will maintain their moist texture and vibrant appearance. Here’s how to best store your spooky treats:
Counter Storage (Short-Term Freshness):
If you anticipate devouring your Halloween cake pops within 1 to 2 days, they can be comfortably stored at room temperature. The candy coating acts as a protective barrier, sealing in the cake’s moisture. Place the cake pops in an airtight container to prevent them from drying out or absorbing ambient odors. Choose a cool, dry spot in your kitchen, away from direct sunlight or any heat sources, as excessive warmth can cause the candy coating to soften or melt, compromising their perfect finish.
Refrigerator Storage (Extended Freshness):
For a longer shelf life, especially if you’ve used a perishable buttercream or if your home is particularly warm, the refrigerator is your best friend. Place the cake pops gently into an airtight container and refrigerate them for up to 1 week. This cool environment helps keep the chocolate cake wonderfully moist and ensures the candy coating remains firm and intact. To combat potential dryness from the fridge air and to help maintain freshness, consider placing a slice of fresh bread in the container alongside the cake pops; the bread will absorb excess moisture and keep the cake pops from drying out. Before serving, allow the cake pops to come to room temperature for approximately 10-15 minutes. This brief period enhances their full flavor and restores their ideal soft texture.
Freezer Storage (Long-Term Preservation):
If you’re planning to enjoy your Halloween cake pops much later, the freezer is an excellent option for extended preservation. Carefully arrange the cake pops in a single layer within an airtight, freezer-safe container. To prevent them from sticking together or getting freezer burn, you might consider flash-freezing them on a baking sheet for 30 minutes before transferring them to the container, or layering them with parchment paper. For optimal results and to best preserve their quality, using a vacuum-sealed bag is highly recommended, as it removes air that can degrade food over time. Properly frozen, these cake pops can maintain their deliciousness for up to 3 months. When you’re ready for a spooky treat, transfer the frozen cake pops to the refrigerator to thaw overnight. Once thawed, bring them to room temperature for about 15-20 minutes before serving to ensure the best possible taste and texture.
❓Spooky Questions and Answers: Your Halloween Cake Pop FAQs
Absolutely! These Halloween cake pops are perfect for making ahead, which can be a huge time-saver, especially during busy holiday preparations. You can prepare them entirely and store them in an airtight container. For short-term storage (1-2 days), room temperature is fine. For longer periods (up to a week), the refrigerator is best. If you need to store them for several weeks or months, the freezer is ideal. Just remember to allow them to thaw completely in the fridge and then come to room temperature before serving to ensure the best flavor and texture.
Yes, candy melts are indeed the ideal coating for cake pops, and for several excellent reasons! They are specifically formulated to melt smoothly and evenly, providing a beautiful, glossy finish. They come in an incredible variety of colors, making them perfect for creating vibrant, festive Halloween designs. Furthermore, candy melts set very quickly once dipped, which significantly speeds up the cake pop-making process and helps prevent drips or smudges, making your decorating much easier and more efficient.
If your candy melts become too thick after melting, a common issue, there’s an easy solution! You can add a small amount of refined coconut oil (or a specialized candy melt thinning agent) to thin them out. Start with just half a teaspoon at a time, stirring thoroughly after each addition until you achieve a smooth, flowing consistency that’s perfect for dipping. It’s crucial not to add too much oil, as an excessive amount can prevent the candy coating from setting properly and may also diminish its beautiful glossy shine once it hardens.
This is a frustrating but common problem with an easy fix! The main reason cake pops fall off their sticks is usually insufficient adhesion between the stick and the cake mixture. To solve this, simply dip the tip of your cake pop stick into a bit of the melted candy coating before inserting it firmly into the cake pop. The melted candy acts as a strong edible “glue” that will harden as it cools, securely adhering the cake pop to its stick. Ensure your cake pops are well-chilled before inserting the sticks for extra stability.
Achieving that desirable smooth, professional-looking coating on your cake pops is all about technique and consistency. First, ensure your melted candy melts are at the perfect, fluid consistency by thinning them with a little coconut oil if needed (as described above). After dipping each cake pop, gently tap the stick against the side of the bowl. This helps shed any excess coating, preventing thick drips and ensuring an even layer. As the excess drips off, slowly rotate the cake pop. Finally, set them upright in a cake pop stand if you have one, or lay them flat on a baking sheet lined with parchment paper, allowing them to harden completely in a cool place or the refrigerator. This combination of proper candy consistency and careful handling will give you beautifully smooth results every time.
CONNECT WITH A LICENSE TO GRILL!
We love seeing your creations! Be sure to follow us on our social media accounts for more delicious recipes and kitchen inspiration.
Did you whip up a batch of these spooky Halloween Cake Pops? We’d love to hear about it! Tell us all about your experience and share your creations in the comments section below!

Halloween Cake Pops
But it’s not just about the fun! These cake pops are packed with incredible flavor. The rich chocolate cake and creamy buttercream make each bite a delicious treat that’s festive and indulgent. Whether you’re planning a Halloween party or just looking for a special family activity, these cake pops will make for some sweet memories!
Pin
Review Recipe
Ingredients
For the Cake
- ½ cup unsweetened cocoa powder
- ½ cup hot water
- 1 cup sugar
- ¼ cup vegetable oil
- ½ cup milk
- 1 egg, room temp
- 1 teaspoon vanilla extract
- 1 cup flour
- ¾ teaspoon baking powder
- ¾ teaspoon baking soda
- ½ teaspoon salt
For the Buttercream
- 8 tablespoons butter, softened
- 2 cups powdered sugar
- 3 tablespoons cocoa powder
- pinch of salt
- ¼ teaspoon vanilla extract
- 1 to 4 tablespoons milk or cream
For the Coating
- 12 ounces orange candy wafer melts
- 12 ounces white candy wafer melts
For the Icing
- 2 cups powdered sugar, sifted
- 5 teaspoons meringue powder
- 2 tablespoons water, room temp
- 1 ounce black food dye gel
- 1 ounce green food dye gel
Instructions
Make the Cake
-
Preheat the oven to 350°F (175°C). Line a 9-inch cake pan with parchment paper at the bottom, then grease and flour the sides of the pan.
-
In a large mixing bowl or the bowl of a stand mixer, whisk the cocoa powder and hot water together until the cocoa powder is completely dissolved and the mixture is smooth.
-
Add the sugar, vegetable oil, milk, egg, and vanilla extract to the cocoa mixture. Whisk thoroughly until all ingredients are well combined.
-
Sift the flour, baking powder, baking soda, and salt over the wet ingredients. Mix until just combined, being careful not to overmix.
-
Pour the cake batter into the prepared pan and place it in the center of the preheated oven. Bake for 30 to 35 minutes, or until a toothpick inserted into the center of the cake comes out clean.
-
Remove the cake from the oven and set it aside to cool completely on a wire rack.
Make the Buttercream Frosting
-
In a large mixing bowl or the bowl of a stand mixer, beat the softened butter on medium speed until it is light, soft, and creamy. Gradually add the powdered sugar and cocoa powder, beating until fully combined and smooth.
-
Add the salt and vanilla extract and beat well. Slowly add 1 to 4 tablespoons of milk or cream, one tablespoon at a time, until you achieve the desired smooth and spreadable consistency for your buttercream.
-
Scrape the finished buttercream out of the mixing bowl and set it aside.
Make the Cake Pops
-
Crumble the completely cooled chocolate cake into a large mixing bowl. Add approximately 1 cup of the prepared chocolate buttercream to the crumbled cake. Mix on low to medium speed until the mixture is uniform and has a smooth, moldable texture, resembling dense play dough. If the mixture appears too dry, add a tiny bit more buttercream, one tablespoon at a time, until it reaches the desired consistency.
-
Press the cake mixture firmly into your pumpkin and ghost silicone molds, ensuring there are no gaps. If your mold designs include a slot for a popsicle stick, insert it into the cake mixture at this stage. Smooth the top surface of the cake pops in the mold to create a flat, even back.
-
Place the filled silicone molds into the freezer for at least 15 minutes. This chilling time is essential to allow the cake pops to firm up, which will make them much easier to remove from the molds and dip without breaking.
-
Once the cake pops are firm, remove the molds from the freezer and carefully demold each cake pop.
-
Place the orange candy melts in one microwave-safe bowl and the white candy melts in another. Microwave them in short 30-second bursts, stirring well between each interval, until the candy melts are completely smooth and melted. Dip the pumpkin-shaped cake pops into the orange candy melts, allowing any excess to drip off. Dip the ghost-shaped cake pops into the white candy melts.
-
After dipping, gently tap the cake pop stick to let any excess candy coating drip back into the bowl. If you have a cake pop stand, insert the dipped pops into it to allow the candy melts to harden upright. Otherwise, carefully lay the dipped cake pops flat on a cookie sheet lined with parchment paper.
-
While the candy coating on the cake pops is setting (you can place them in the fridge for 10-20 minutes to speed this up), begin preparing your royal icing.
Decorate the Cake Pops
-
In a clean mixing bowl, combine the sifted powdered sugar, meringue powder, and water. Mix on low speed until combined, then increase to medium and beat until the icing reaches a smooth, pipeable consistency. It should be thick enough to hold its shape for details but fluid enough to pipe without breaking.
-
Divide the royal icing into two separate small bowls. Add black food gel coloring to one bowl and green food gel coloring to the other. Mix each thoroughly to achieve vibrant, even colors. Transfer the colored royal icing into individual piping bags fitted with small, fine tips (or use disposable piping bags with a tiny corner snipped off).
-
Unleash your creativity! Decorate your pumpkin cake pops with black icing for eyes and mouths, and green icing for stems. Add spooky eyes and expressions to your ghost cake pops with the black icing.
-
Allow the royal icing to set and harden completely at room temperature before serving your festive Halloween cake pops. Enjoy your delicious and artistic spooky treats!
Video Tutorial
Baker’s Notes for Perfect Halloween Cake Pops
- Baking the Cake to Perfection: When baking your chocolate cake, it’s crucial to ensure it’s fully cooked but not overbaked. The classic toothpick test is your best indicator: insert a toothpick into the center of the cake; if it comes out clean with no wet batter, your cake is done. Adjust your baking time accordingly, as oven temperatures can vary.
- Creating the Ideal Cake Pop Mixture: Before you even think about mixing your crumbled cake with buttercream, make absolutely sure the cake is completely cool. Mixing warm cake with buttercream is a recipe for disaster – the buttercream will melt, resulting in a greasy, unworkable mixture. Patience is a virtue here!
- Achieving a Flawless Cake Pop Coating: The key to a smooth, unblemished candy coating is the right consistency of your melted candy melts. If the melted candy seems too thick, it will result in a clumpy, uneven coating that’s prone to cracking. Incorporate a small amount of refined coconut oil (start with a teaspoon) to thin it out to a fluid, dip-able consistency. However, proceed with caution: adding too much coconut oil can prevent the candy melts from setting properly and will diminish their beautiful, glossy shine once hardened. Aim for a consistency where the candy drips smoothly but still coats the back of a spoon.
- Mastering Royal Icing Consistency: Royal icing is fantastic for intricate details because it dries hard, but its consistency is critical. If you add too much water, the icing will be too runny, making it impossible to pipe crisp lines or distinct details onto your cake pops – your designs will simply spread and blur. Aim for a consistency that is thick enough to hold its shape when piped, yet still flows smoothly from your piping bag. A good test is to lift your spoon; the icing should fall back into the bowl in a ribbon that holds its shape for a few seconds before blending back in.
Nutrition Information
Nutrition information is automatically calculated and should only be used as an approximation. Individual results may vary based on exact ingredients and preparation methods.