
Mastering the Art of BBQ Ribs: Your Ultimate Guide to Smoked Perfection
There’s an undeniable magic to perfectly cooked ribs – tender meat that pulls effortlessly from the bone, a rich, savory bark, and a succulent, flavorful interior bathed in just the right amount of sauce. For many, achieving this BBQ nirvana seems like a daunting task, but with the right knowledge and techniques, you can consistently create the Best BBQ Rib Recipes this summer and beyond. Having explored countless methods over the years, I’m excited to share a comprehensive guide covering everything from understanding different rib cuts to advanced smoking techniques.
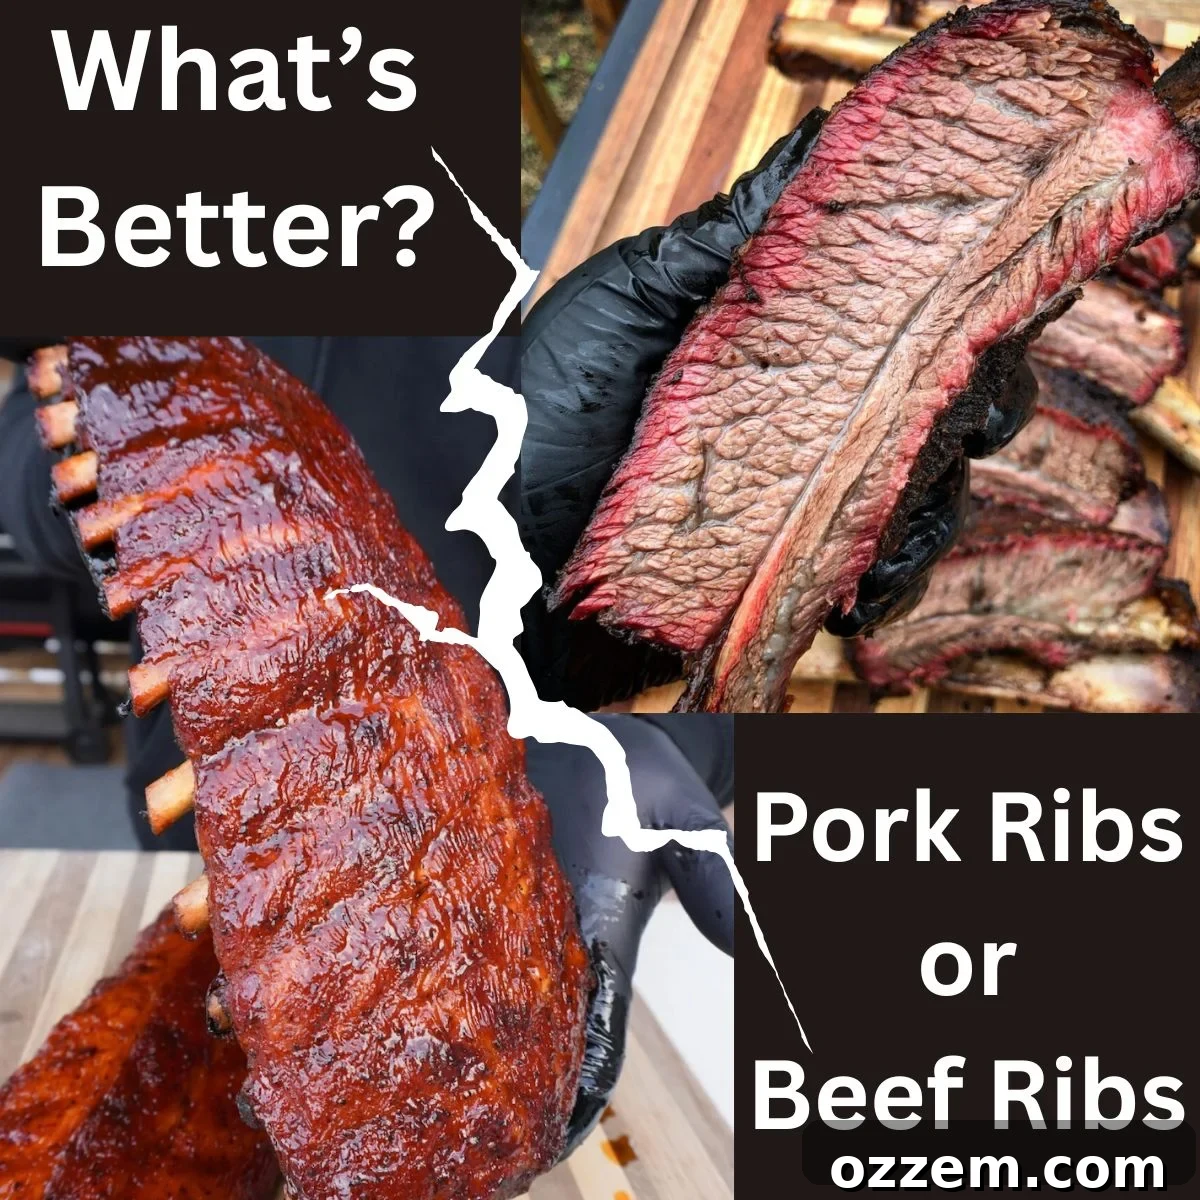
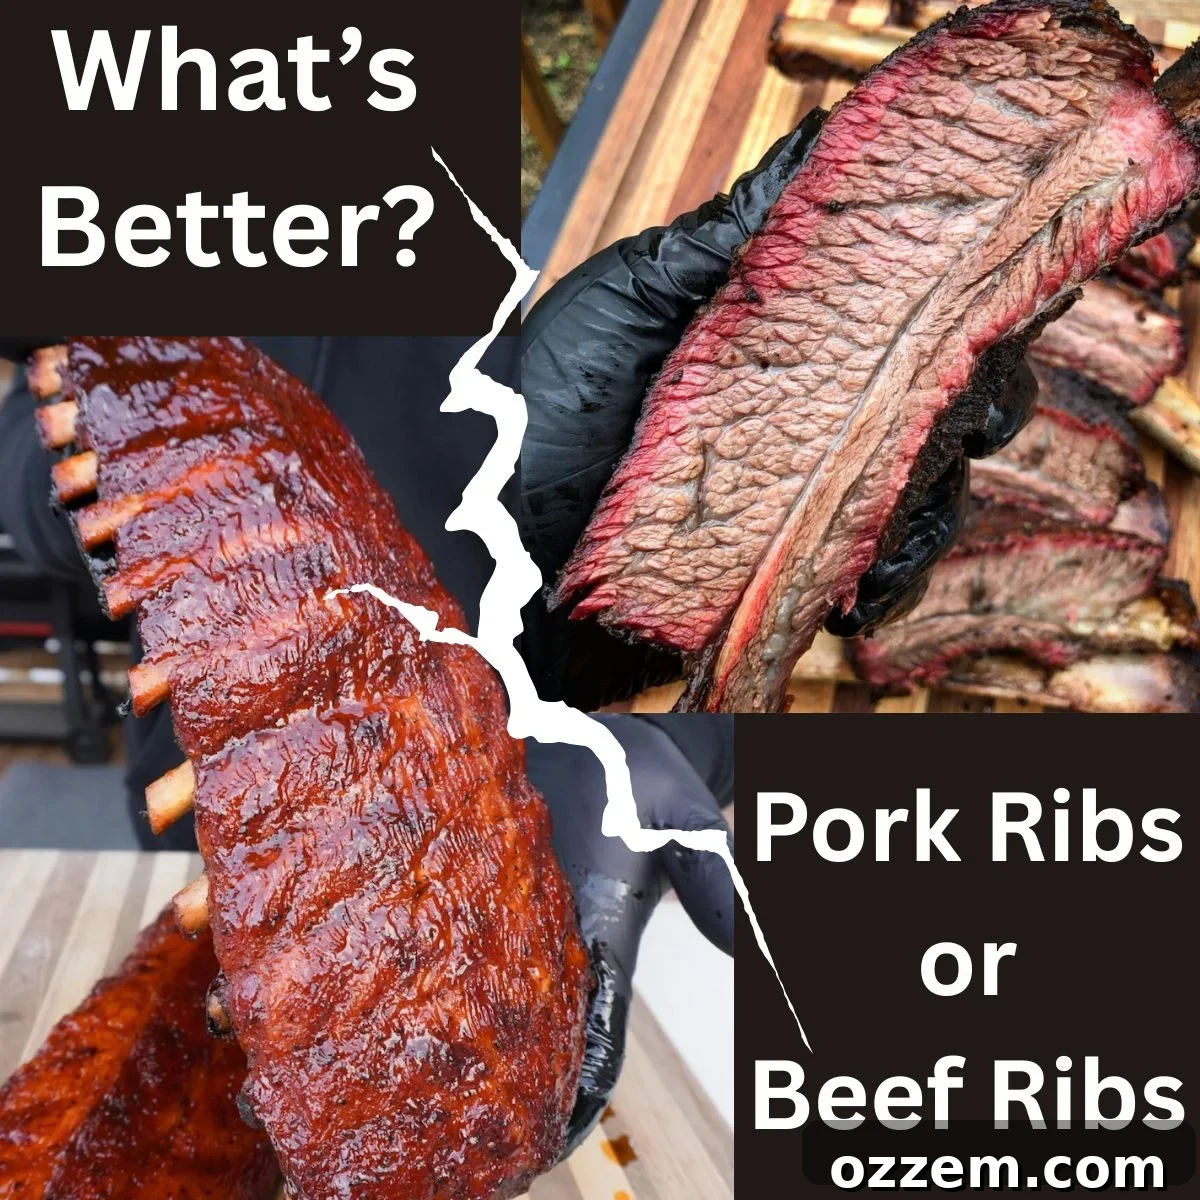
The only question that truly matters is… which do you prefer: the robust, beefy charm of beef ribs or the tender, classic appeal of pork ribs? Or perhaps, like me, you find joy in mastering both!
If you’re expanding your BBQ repertoire, be sure to explore other classics like The Best Pulled Pork Recipes for more grill-master inspiration.
Deciphering Rib Cuts: Spare Ribs vs. Baby Back Ribs
Before you even fire up the smoker, understanding the different types of pork ribs is crucial. The two most common cuts you’ll encounter are spare ribs and baby back ribs, each with unique characteristics that influence flavor, texture, and cooking time.
Spare ribs are a generous cut sourced from the lower section of the pig’s rib cage, specifically near the belly. This anatomical position means they are inherently fattier and boast a deeper, more pronounced pork flavor. While their robust fat content contributes to incredible juiciness and taste, spare ribs also contain more connective tissue and cartilage. This can sometimes make them a bit more challenging to cook perfectly, requiring a patient hand to render down those tissues into tender goodness.
In contrast, Baby Back ribs typically reign as the more popular and often sought-after choice for many home grillers. These leaner, meatier ribs are trimmed from the upper portion of the pig’s rib cage, closer to the spine. They get their “baby” moniker not because they come from young pigs, but because they are shorter and smaller in width compared to spare ribs. Their higher meat-to-bone ratio and naturally tender texture make them quicker to cook and generally easier to achieve that desirable fall-off-the-bone tenderness.
For those looking for a hybrid, the **St. Louis style spare rib** is a popular cut where the sternum bone and cartilage are removed from full spare ribs, squaring them up for a more uniform shape, easier cooking, and presentation. This cut effectively combines the rich flavor of spare ribs with a more manageable form.
Beef Ribs or Pork Ribs: A Head-to-Head Flavor Showdown?
Comparing beef ribs to pork ribs is akin to comparing apples and oranges – both are fantastic, but distinct in their essence. Each offers a unique experience in terms of flavor profile, size, and optimal cooking methods, making them equally enjoyable and deserving of a spot on your grill.
Beef ribs are, as expected, considerably larger and possess a more intense, robust flavor often described as profoundly “beefy.” This rich flavor profile, combined with their higher fat content, makes them an exceptional candidate for long, slow smoking or braising, though they demand more time and patience to reach their peak tenderness. Often affectionately dubbed “brisket on a stick,” beef plate ribs, in particular, deliver a concentrated beefiness with every bite, mimicking the profound flavor of a well-smoked brisket. Their impressive size and dense meat make them a truly show-stopping centerpiece for any BBQ spread.
Pork ribs, on the other hand, are celebrated for their inherent tenderness. They generally require less cooking time than their beef counterparts, making them a more accessible option for many backyard cooks. Beyond their relative ease of preparation, pork ribs are typically more affordable than beef ribs, contributing to their widespread popularity. Their milder flavor acts as a perfect canvas for a variety of rubs and sauces, allowing for diverse culinary creativity.
Smoking the Best Pork Ribs: A Detailed Guide
Smoking pork ribs is a craft, a blend of science and patience that culminates in incredibly tender, juicy, and flavorful results. While various methods exist, understanding the core principles will elevate your rib game significantly. Let’s delve into the techniques that consistently produce exceptional pork ribs.
Understanding the 3-2-1 Method and Its Variations
The 3-2-1 method for cooking ribs is perhaps the most widely recognized and followed process in the BBQ community, particularly for spare ribs. It’s a straightforward, three-phase approach designed to achieve extremely tender, “fall-off-the-bone” ribs:
- 3 hours: The ribs are smoked directly on the grates of a smoker or grill, allowing them to absorb deep smoky flavor and develop a delicious bark.
- 2 hours: The ribs are then wrapped tightly in foil (often with a liquid, like apple juice or butter) and returned to the smoker or grill. This phase steams the ribs, breaking down connective tissues and making them incredibly tender.
- 1 hour: Finally, the ribs are unwrapped, brushed with BBQ sauce, and placed back on the smoker or grill to allow the sauce to set and caramelize, and for the bark to firm up slightly.
This method is fantastic if your goal is ribs that are exceptionally tender and truly “fall off the bone.” However, it does require a significant time commitment – a full six hours. Personally, while I appreciate the tenderness, I often prefer my ribs to have a bit more textural integrity – tender, yes, but with a satisfying bite and chew. I don’t want the rack to disintegrate the moment I pick it up.
The technique I employ for smoking my classic BBQ baby back ribs is a streamlined variation of the 3-2-1 method. It delivers equally tender and delicious results, but in about half the time! This modified approach focuses on maximizing tenderness and flavor efficiently. Trust me, it’s a game-changer!
The Critical Step: How to Remove the Membrane
The debate over removing the membrane (or silverskin) from the bone side of ribs is a popular one in BBQ circles. This thin, fibrous layer can, if left intact, create a tough, chewy texture that prevents seasonings and smoke from fully penetrating the meat. While some experienced pitmasters might leave it on for certain high-heat applications, for most home cooks aiming for tender ribs, removing it is highly recommended.
My approach varies based on the grilling method. When smoking ribs on a pellet grill, which typically provides a milder, more consistent heat and smoke, I always remove the membrane. If left on, it can become unpleasantly chewy. However, if I’m grilling ribs over the more intense, direct heat of a charcoal grill, I might simply score the membrane deeply with a knife and leave it on, as the higher heat can crisp it up nicely, almost like crackling.
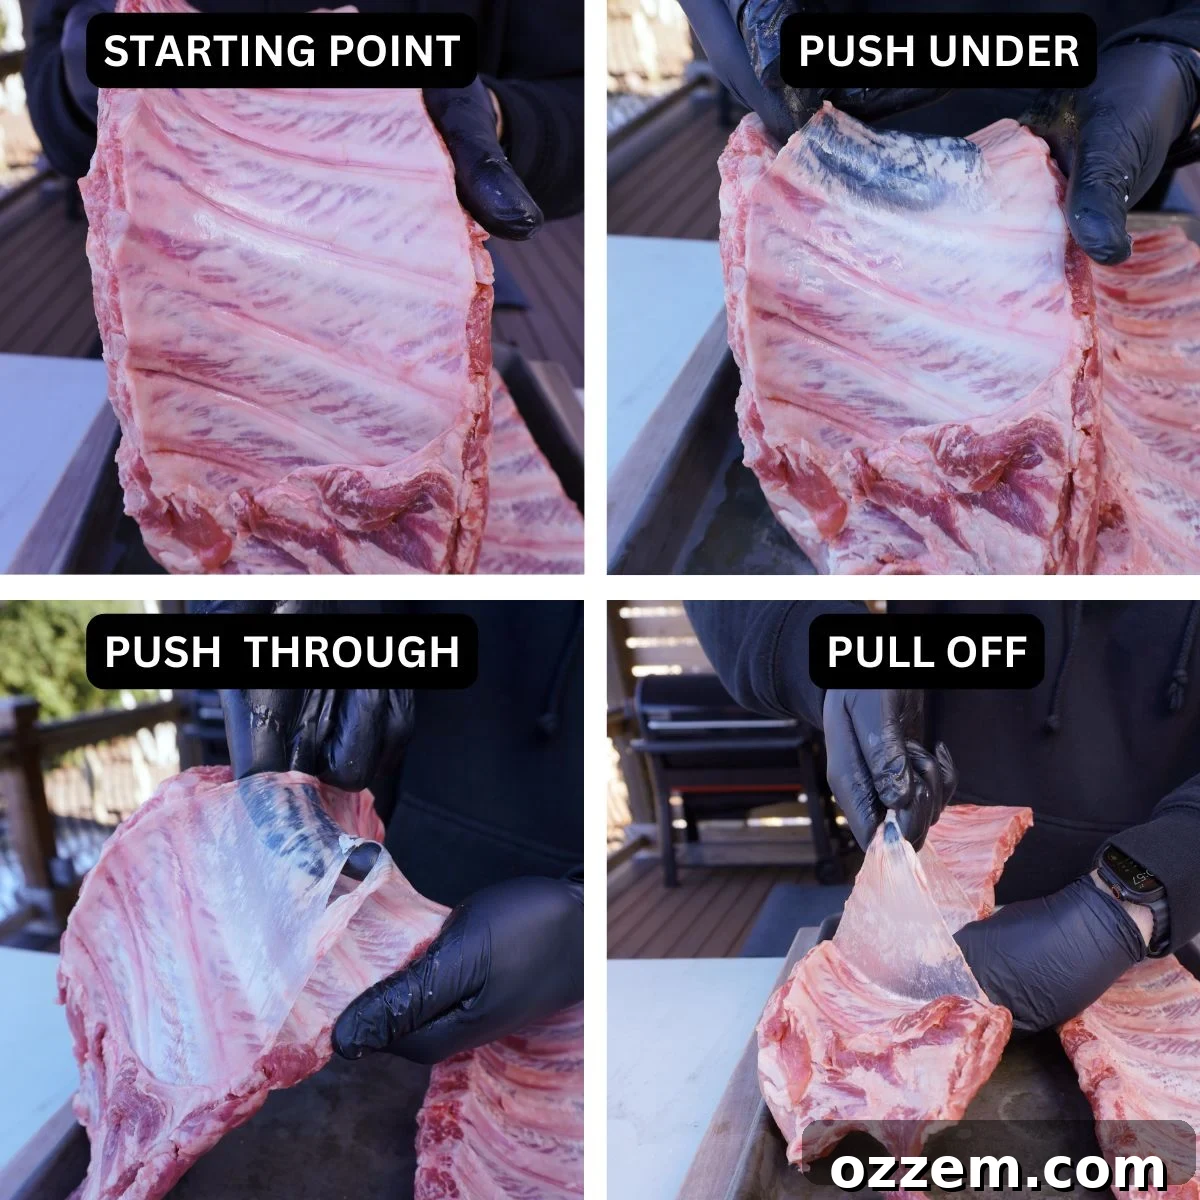
Removing the membrane is a simple process:
- Start by locating one corner of the membrane, usually at the smaller end of the rack.
- Use a butter knife, a spoon handle, or even your finger to gently pry up a corner of the membrane, working it between the membrane and the bone.
- Once you have enough membrane lifted to get a good grip, use a paper towel to grab hold of it firmly. The paper towel provides excellent traction.
- With a steady, even pull, slowly peel the membrane off the entire rack. It should come off in one piece. If it tears, simply repeat the process for any remaining sections.
Once the membrane is successfully removed, take a moment to trim off any excessively fatty or loose pieces of meat from the rack. This not only promotes more even cooking but also contributes to a cleaner, more appealing presentation of your finished ribs.
The Art of Seasoning for the Best BBQ Ribs
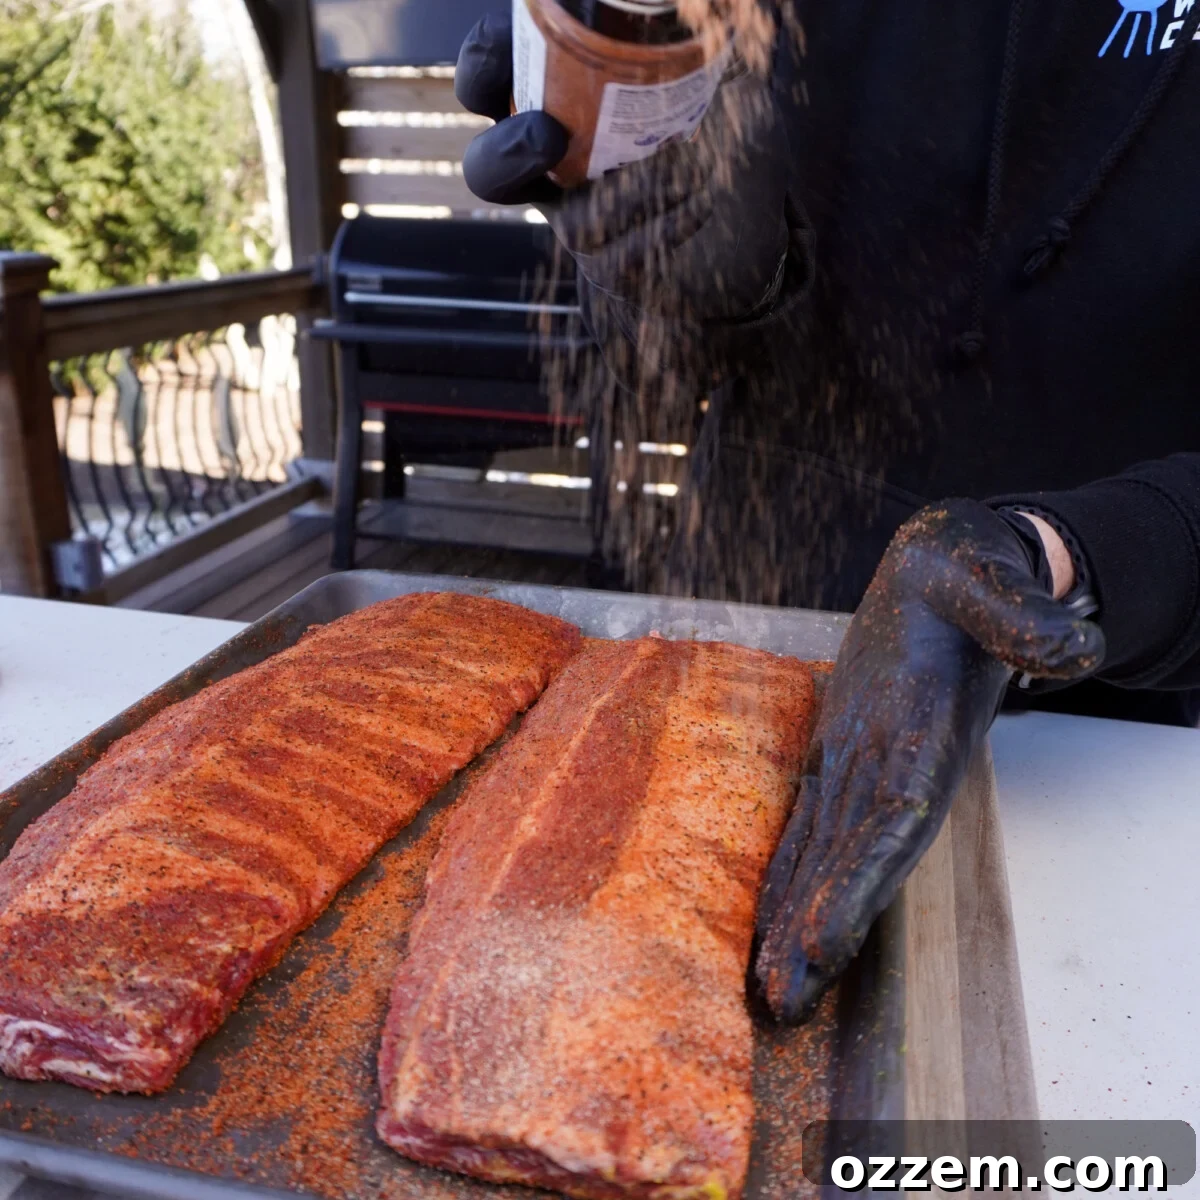
Proper seasoning is foundational to incredible BBQ ribs. Since ribs undergo a long cooking process, a binder is essential to ensure that your carefully applied seasonings adhere to the meat, creating that crucial flavorful bark.
For my binder, I traditionally opt for classic yellow mustard. Don’t worry about the taste – the pungent mustard flavor completely dissipates during the long cooking process, leaving behind only its adhesive properties. Other popular binders include hot sauce (for a subtle kick), olive oil, or even plain water, but mustard remains a reliable favorite.
When it comes to the seasoning blend itself, I aim for a harmonious balance of savory and sweet notes. I begin by generously coating all sides of the ribs with Dad’s All Purpose Rub. This blend provides a robust savory foundation with key flavors like salt, pepper, paprika, and garlic. Following this, I apply Dad’s Sweet BBQ Rub, which introduces delightful undertones of honey and brown sugar, contributing to a rich, caramelized crust.
Don’t be timid with your seasoning application. A significant portion of the rub can fall off or burn away during the extensive smoking process. Instead of rubbing the seasoning in, which can cause clumping and smearing, gently pat it onto the meat to help it adhere effectively. Ensure both sides of the rack are thoroughly seasoned for maximum flavor development.
Recipe Tip: The Order of Seasoning
Always season the bone side of the ribs first. Once complete, flip the rack and apply seasoning to the meaty, presentation side. This ensures that the side guests will see looks pristine and perfectly seasoned when the ribs are served. Remember, we eat with our eyes first, and beautiful ribs are truly irresistible!
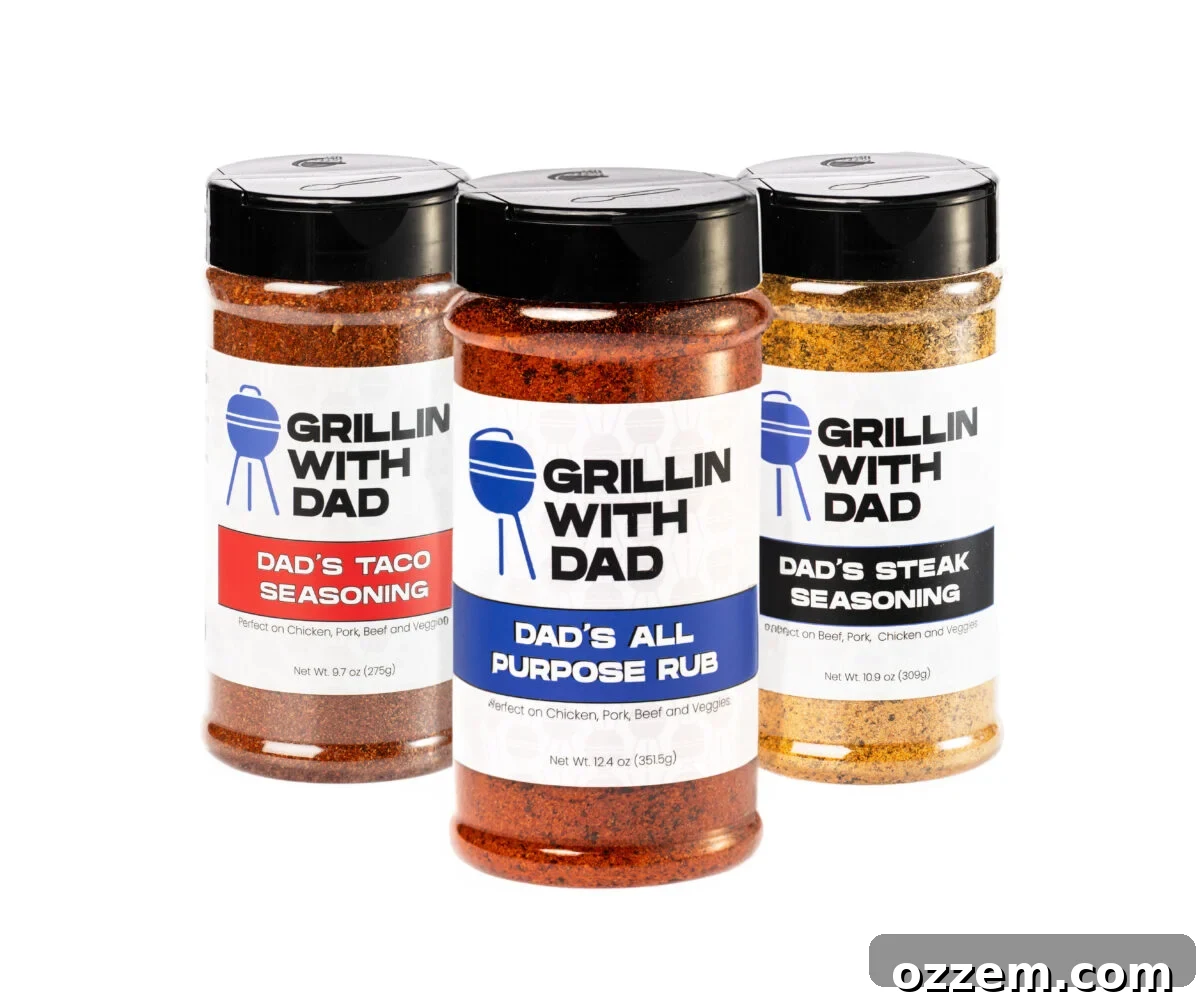
Elevate Your Flavor with Dad’s Seasonings!
Discover the must-have grilling seasonings that will transform your BBQ from good to unforgettable. Our expertly crafted rubs are designed to deliver maximum flavor to all your favorite meats.
The Process: Smoking the Perfect Classic BBQ Baby Back Ribs
Achieving perfectly smoked ribs involves careful temperature control and distinct phases that build flavor and tenderness. For this cook, we’ll aim for a consistent temperature of 275 degrees Fahrenheit. I utilized my Weber Searwood Pellet Grill, which excels at maintaining steady temperatures and producing excellent smoke. If you’re using a different type of smoker, an offset, or even your oven for the wrapped phase, these timings and temperatures will still guide you to success.
Phase 1: The Initial Smoke and Bark Development (2 Hours)
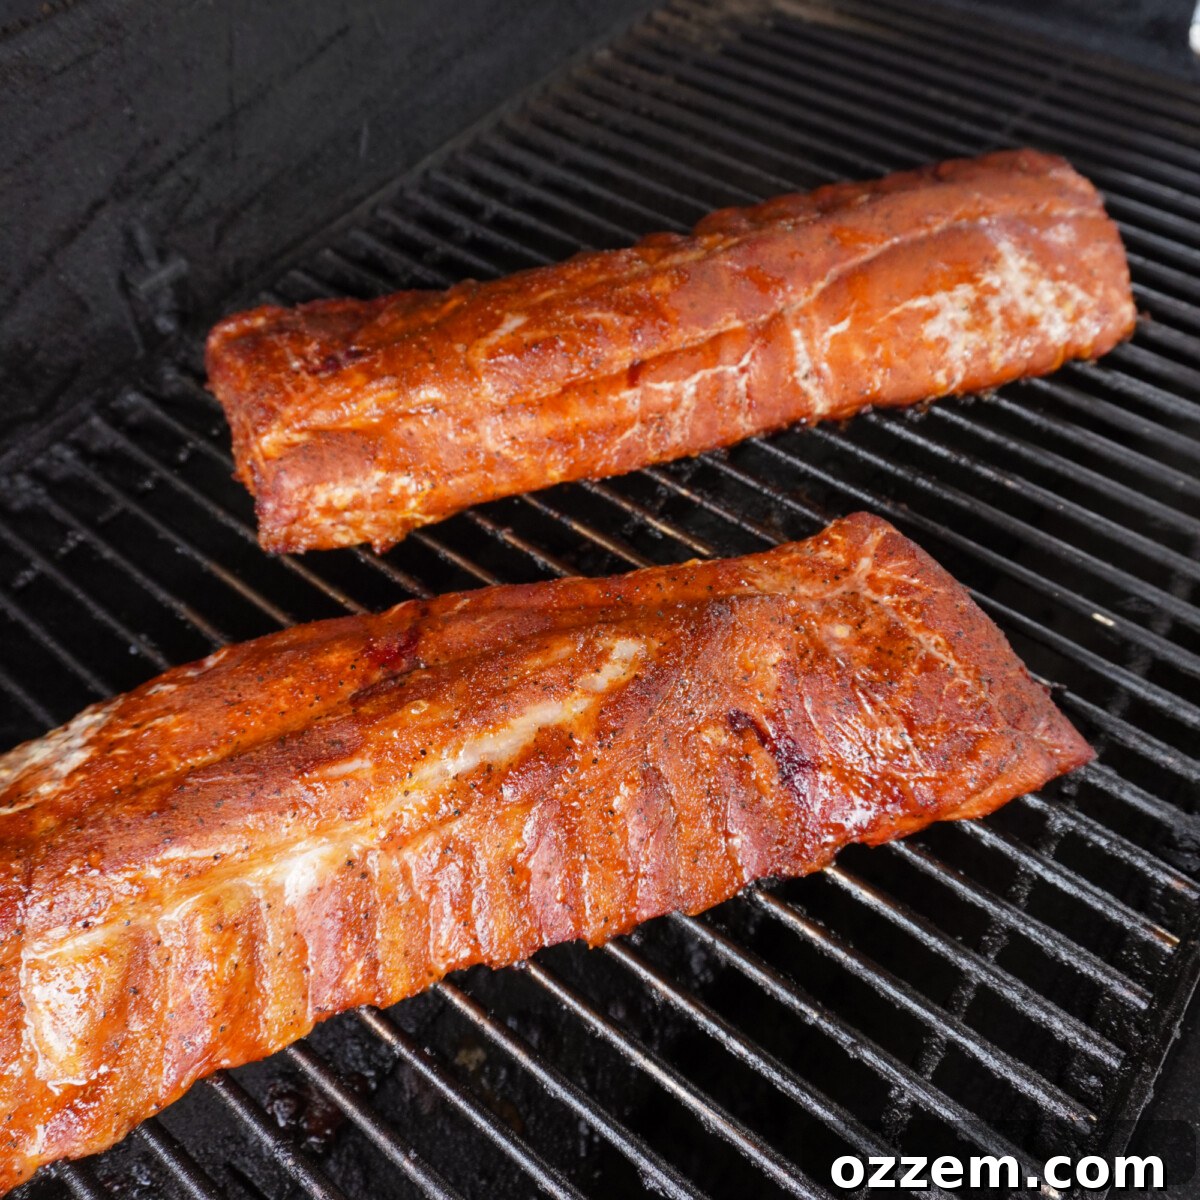
Begin by preheating your smoker to a stable 275°F. Place the seasoned baby back ribs directly on the grates, meat side up, ensuring good air circulation around each rack. This initial phase is all about infusing the ribs with rich smoke flavor and developing that coveted dark, crusty “bark” on the surface.
Allow the ribs to smoke for approximately 2 hours, or until their internal temperature reaches around 175°F. You’ll notice the meat starting to pull back from the bone tips, a clear visual cue that they are progressing beautifully.
Recipe Tip: The Spritz
Around the 1-hour mark, take a quick peek at your ribs. If the surface appears to be drying out, a gentle spritz with apple cider vinegar (or a 50/50 mix of apple cider vinegar and apple juice) can work wonders. This step is entirely optional and depends on factors like the size and quality of your ribs, as well as the humidity level within your smoker. Spritzing helps keep the surface moist, allowing more smoke flavor to adhere and preventing the bark from becoming too dry or tough.
Phase 2: The Foil Wrap for Ultimate Tenderness (1 Hour)
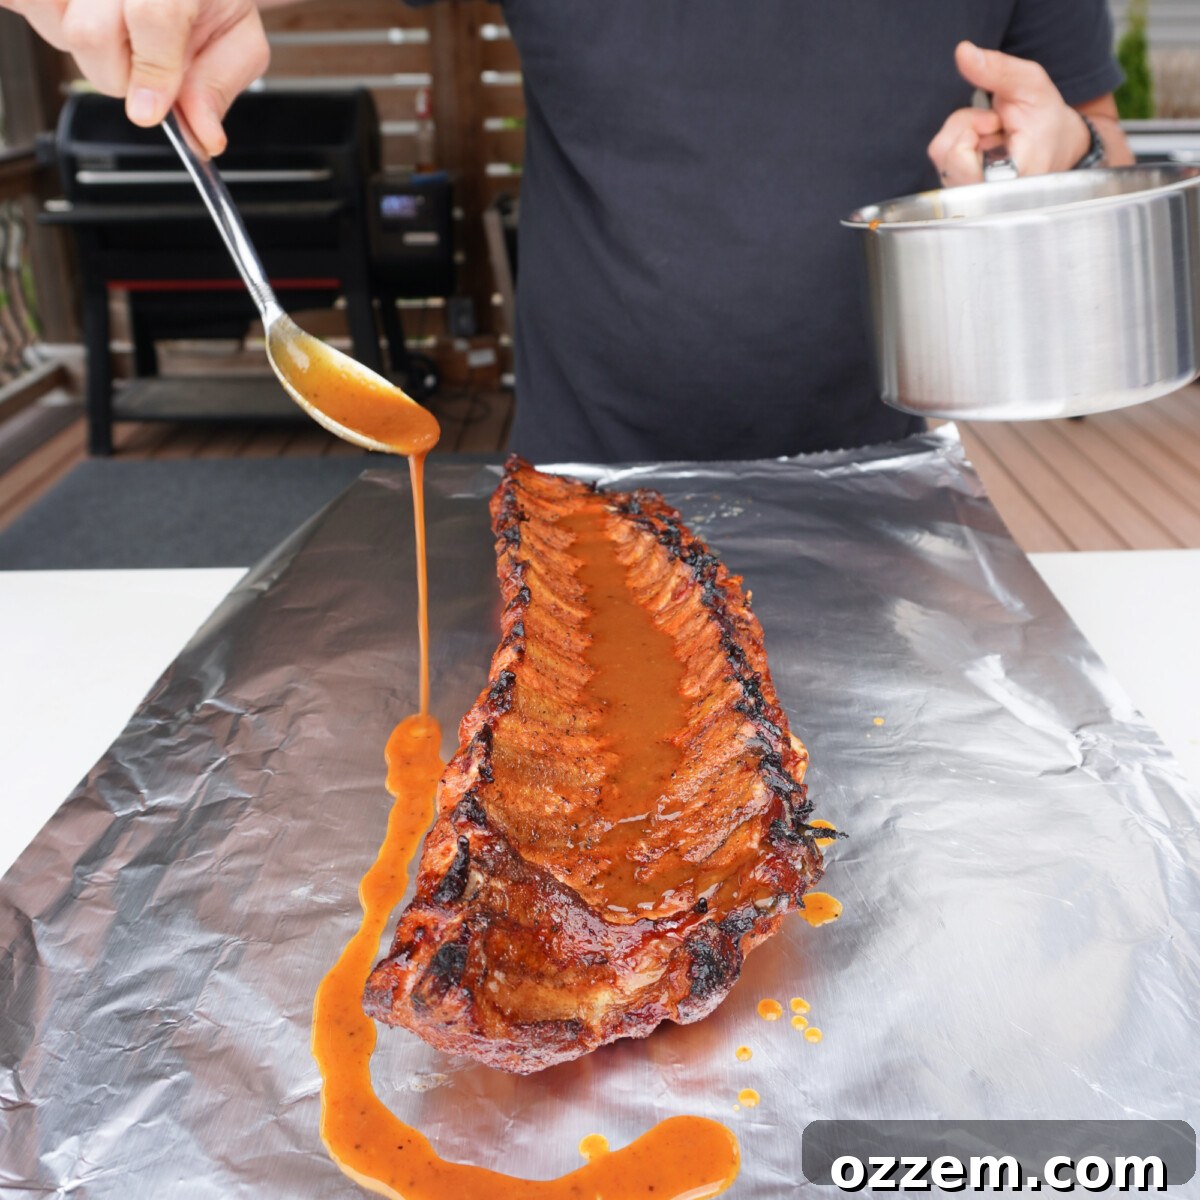
Once the initial smoking phase is complete, carefully remove the ribs from the grill. Prepare a large sheet of heavy-duty aluminum foil, ensuring it’s large enough to create an airtight pouch. Place the ribs meat side down onto the foil. Now for the secret ingredient to extra moisture: melt a stick of unsalted butter and gently pour it over and around the ribs on the foil. This creates a delicious, steamy environment for the meat.
Wrap the ribs tightly, creating an airtight pouch. It’s crucial that the foil is sealed well to trap all the moisture, which is key to tenderizing the meat further. Be mindful of any sharp bone edges that might pierce the foil. If necessary, double-wrap to prevent any leaks.
Recipe Tip: Competition-Style Flavor Boost
For an extra layer of flavor, especially if you’re aiming for competition-level ribs, consider adding brown sugar and honey along with the melted butter inside the foil wrap. You can also experiment with other liquids like apple juice, beer, or even a touch of your favorite BBQ sauce to infuse different flavor profiles during this crucial steaming phase.
Return the wrapped ribs to the smoker, placing them meat side down, and continue cooking for an additional hour. At this stage, since the ribs are fully enclosed, they won’t absorb any more smoke flavor. Therefore, if your smoker space is limited or you simply prefer, you can transfer the wrapped ribs to a preheated oven (set to the same temperature) to complete this phase.
Phase 3: Saucing and Setting the Classic BBQ Baby Back Ribs (15-20 Minutes)
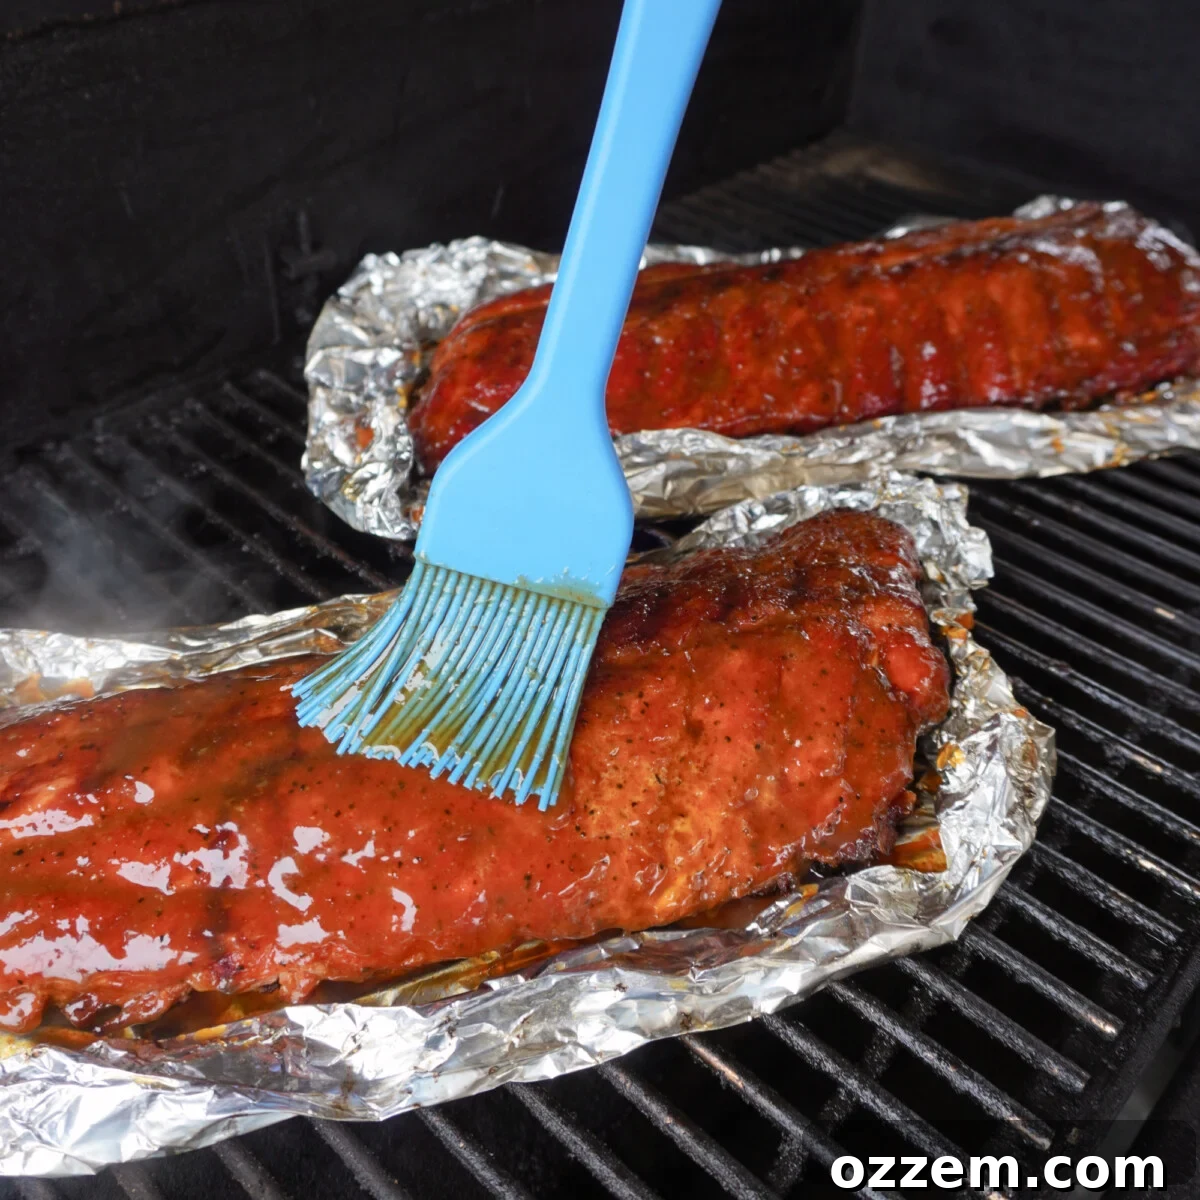
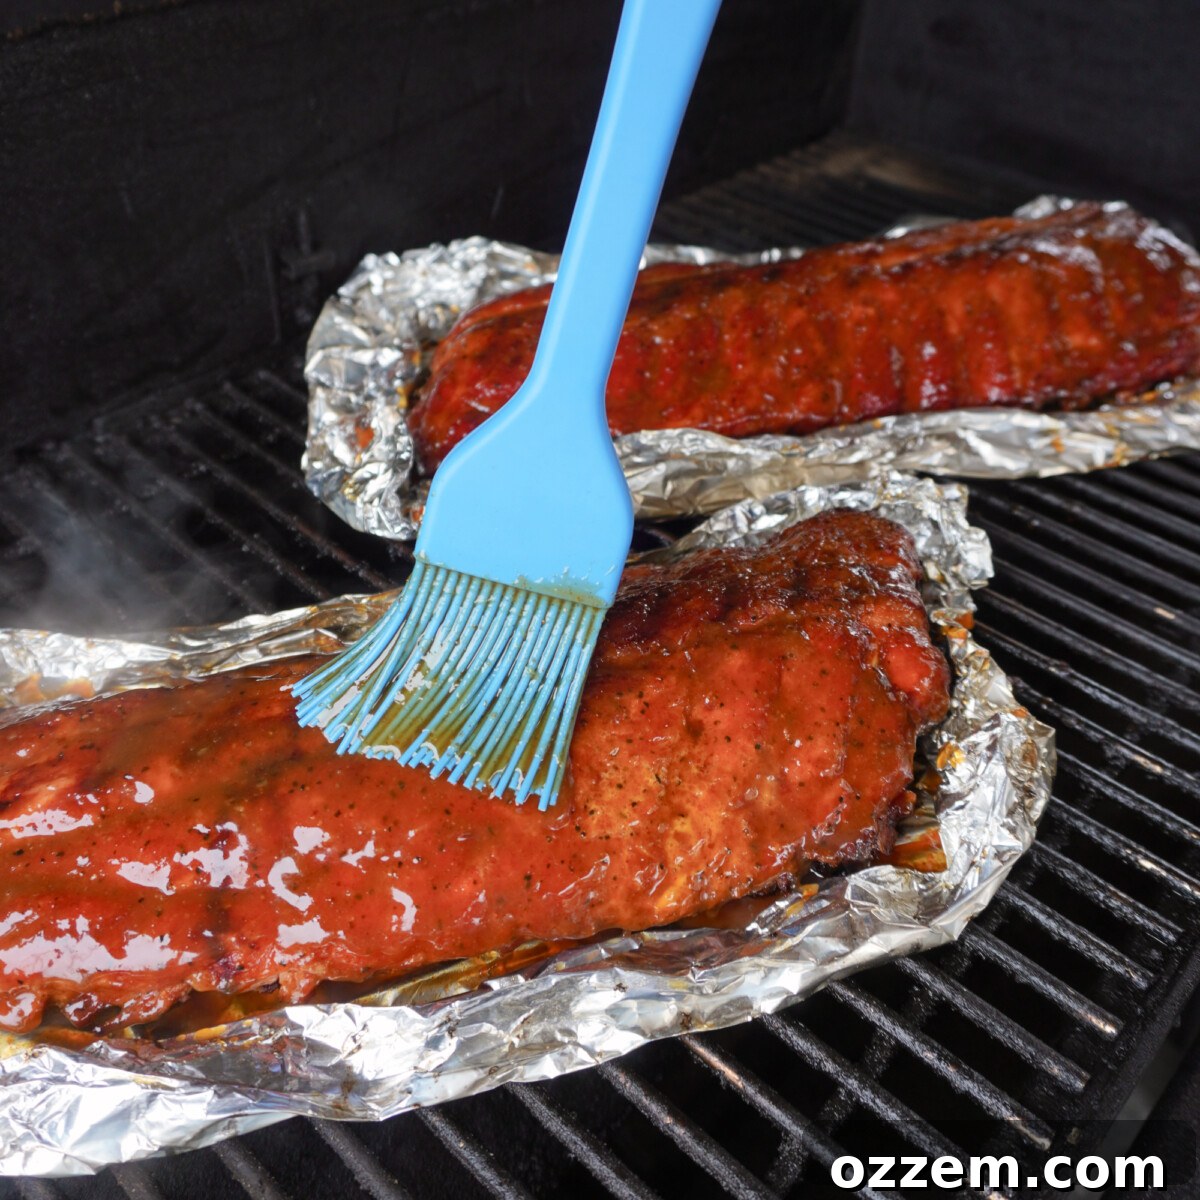
Once the ribs reach an internal temperature of 190°F, it’s time for the final flourish. Carefully open the foil wrap and gently flip the ribs so they are meat side up. Roll up the sides of the foil to create a makeshift “boat” – this clever trick helps contain any delicious liquids and prevents them from dripping onto your smoker grates, keeping your equipment cleaner.
Now, generously brush your classic BBQ baby back ribs with your favorite BBQ sauce. You can opt for a high-quality store-bought sauce or, for an extra layer of pride, make your own. I highly recommend trying some of my homemade favorites, such as a rich and complex Savory Bourbon BBQ Sauce or a timeless Classic Sweet and Tangy BBQ Sauce. You truly can’t go wrong with any of these choices.
Close the smoker lid and continue cooking for another 15-20 minutes. This allows the BBQ sauce to set, thicken, and caramelize slightly, creating a beautiful glaze and sealing in all those fantastic flavors.
When the sauce is perfectly set, remove the ribs from the grill. Just like any other protein, it is absolutely essential to let the cooked meat rest. Resting halts the cooking process, allowing the muscle fibers to relax and reabsorb all the delicious juices that have migrated to the surface. This critical step ensures a much juicier and more flavorful final product.
After a good rest (typically 10-15 minutes for baby backs), slice the ribs carefully between the bones, arrange them on a platter, and serve immediately. Don’t forget to have extra BBQ sauce on the side for dipping and a generous stack of napkins – because perfectly sauced ribs are delightfully messy!
Explore More: The Best Smoked Pork Ribs Recipes
Pork
Maple Bourbon Ribs
Pork
Memphis Style Ribs
Pork
Ribs in Dr. Pepper BBQ Sauce
Pork
Kansas City Style Ribs
How to Smoke the Best Beef Ribs: A Pitmaster’s Secrets
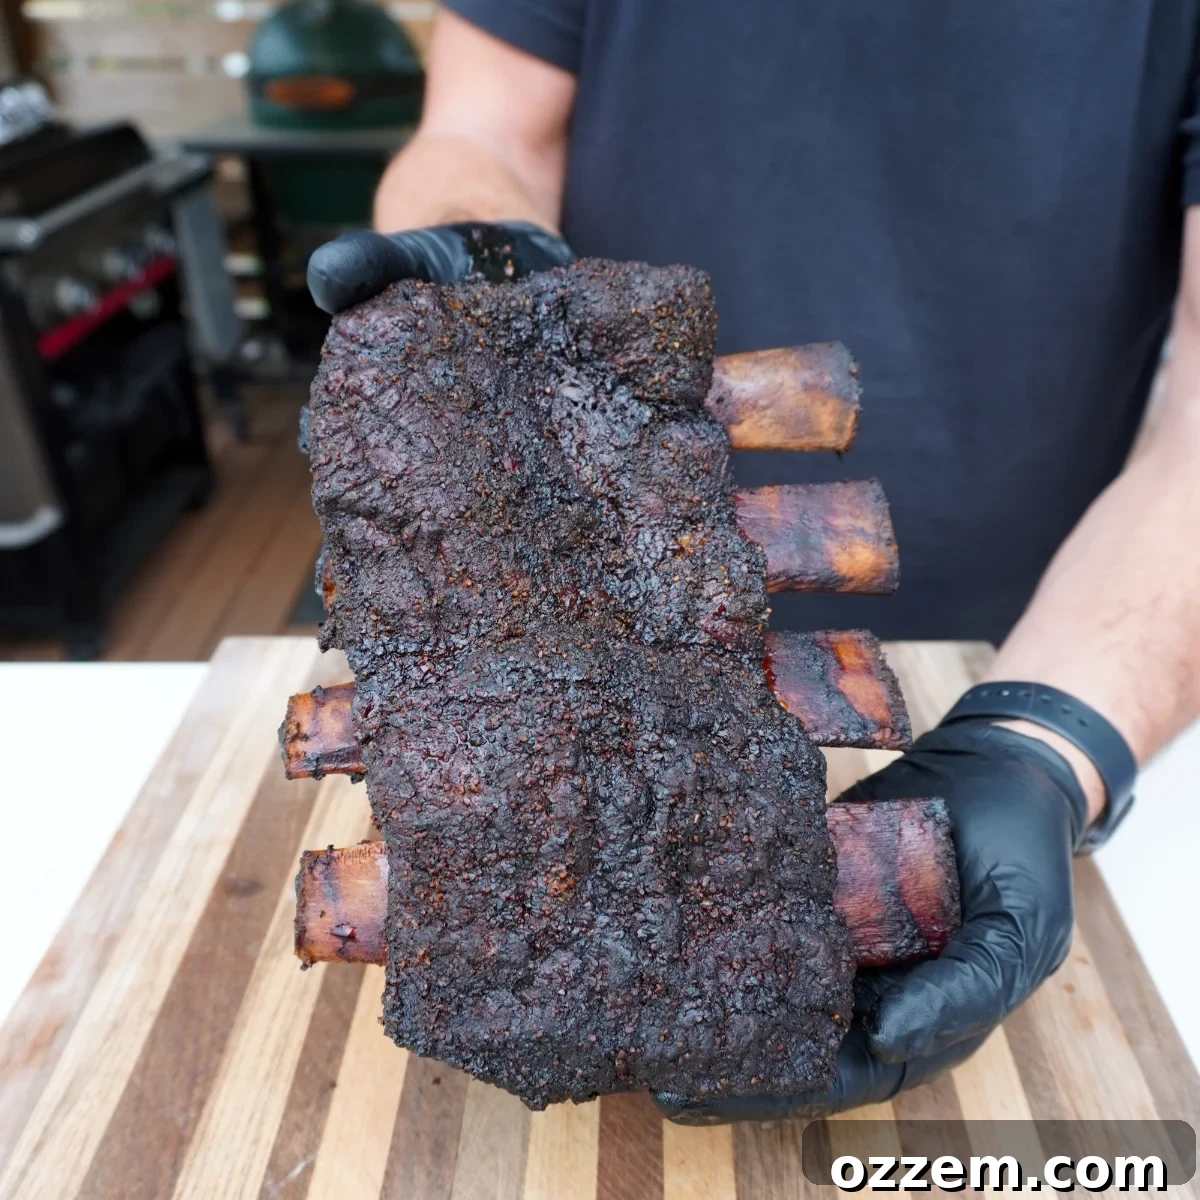
Smoking beef ribs is a different beast altogether, a glorious pursuit of rich, savory perfection often compared to prime brisket. These “dino bones,” as they’re affectionately called, offer a unique and deeply satisfying BBQ experience. While pork ribs are fantastic, beef ribs deliver a profound, unadulterated beefy flavor that stands on its own.
Sourcing and Selecting Full Beef Ribs
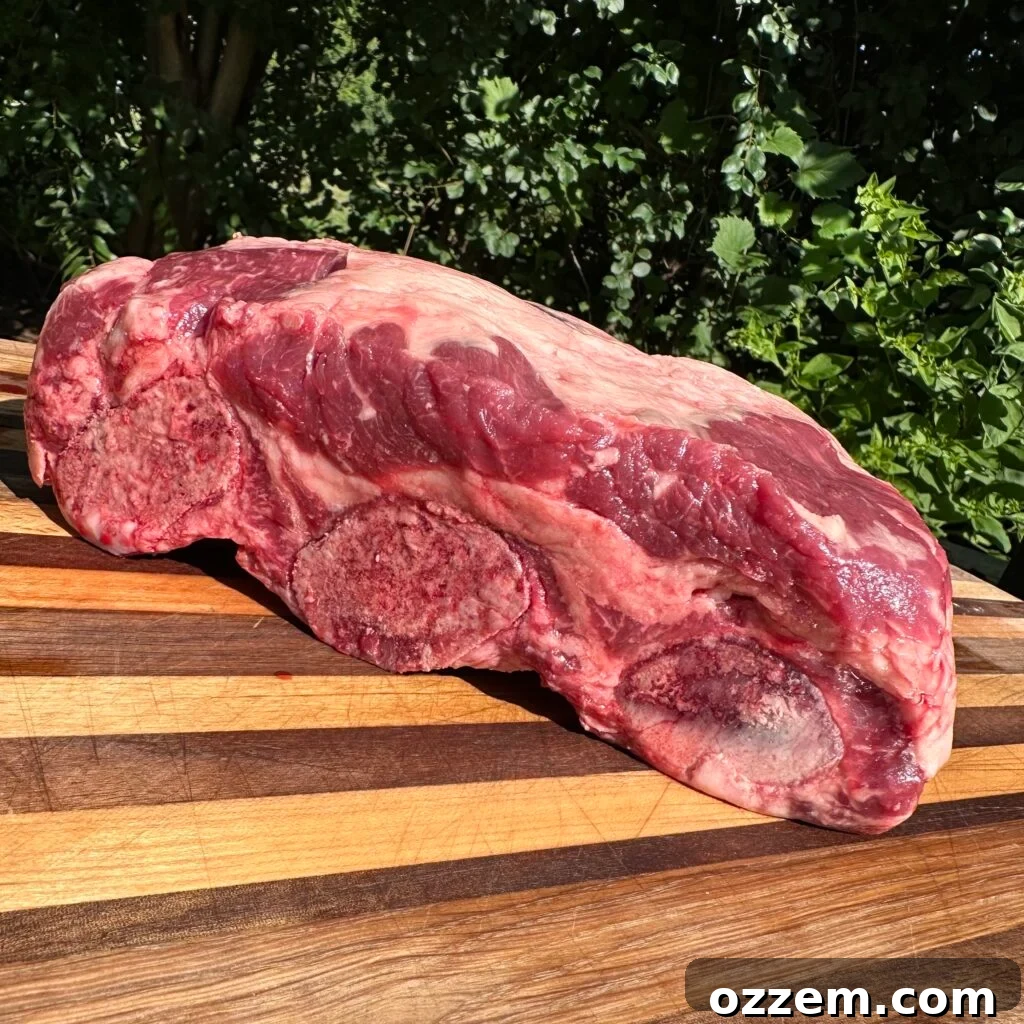
Finding a full rack of beef plate ribs can sometimes be a quest. Often, what you’ll find readily available are beef short ribs, which are typically cut into thinner, individual strips. While these are delicious for braising, for true Texas-style smoked beef ribs, we’re after the glorious, uncut full rack of plate ribs!
Your best bet is to reach out to local butcher shops. Call ahead and inquire if they stock beef plate ribs or if they can special order a full, uncut rack of short ribs for you. A standard rack usually consists of three substantial bones, and believe me, just one bone is often more than enough to satisfy a hungry individual. These cuts are generously marbled and packed with flavor, making the hunt well worth the effort.
Essential Prep Work for Beef Ribs
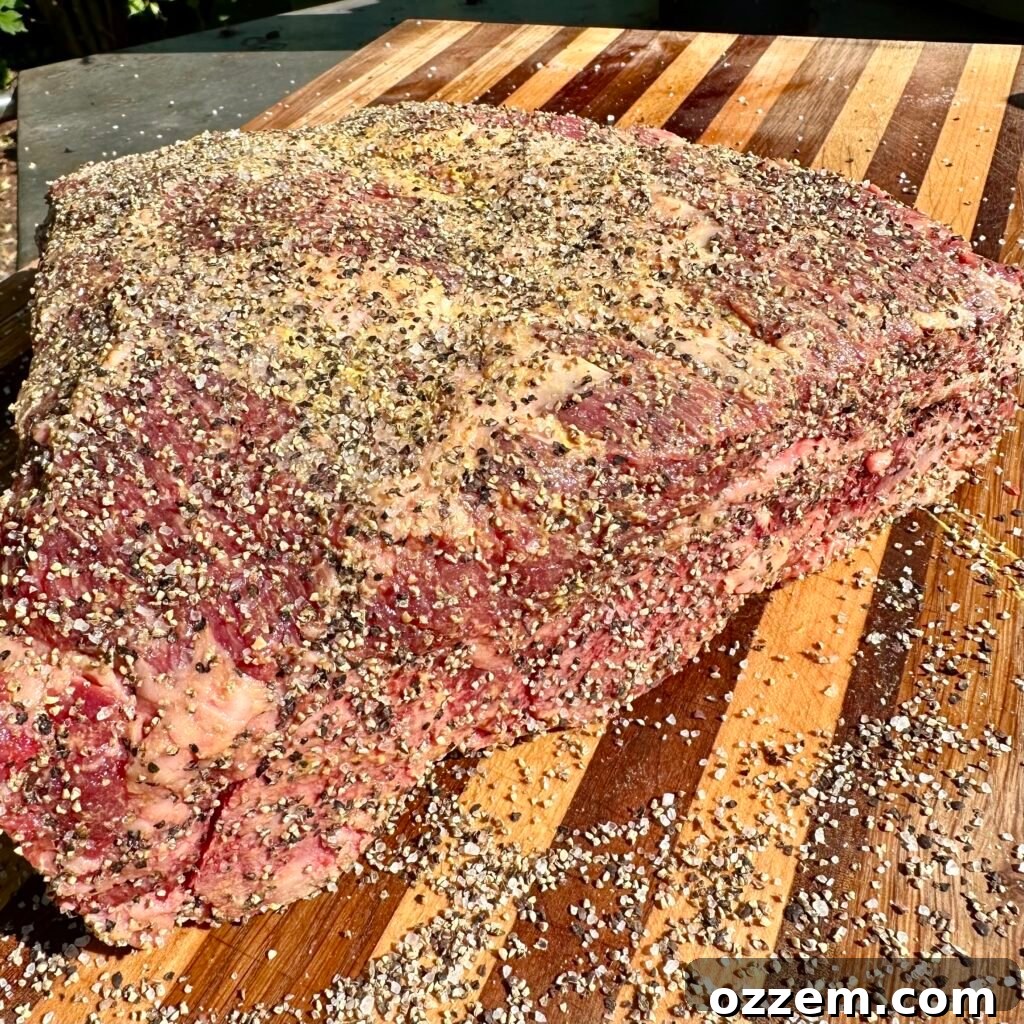
Proper preparation is key to unlocking the full potential of beef ribs. Much like pork ribs, there’s a meaty side and a bone side, each requiring specific attention.
On the meaty side, I meticulously remove any excess hard fat or silver skin to expose as much of the underlying meat as possible. This isn’t just about reducing unnecessary fat; it’s about maximizing the surface area where that coveted “BBQ bark” will form during the smoking process. For those new to BBQ, bark is the wonderfully flavorful, dark, and crusty exterior that develops on smoked meats, a hallmark of expertly cooked BBQ.
Flipping to the bone side, you’ll find a thick membrane, similar to pork ribs, but often more robust. While some pitmasters may choose to leave it, I advocate for its removal. Peeling this membrane off allows your seasonings to penetrate deeper into the meat and contributes to a more uniform, tender texture. Use the same technique as with pork ribs: lift a corner, grab with a paper towel, and pull firmly.
Seasoning Beef Ribs: The Texas Way
For an authentic Texas-style BBQ experience, simplicity reigns supreme for beef ribs. My go-to seasoning is a straightforward 50/50 mix of coarse kosher salt and freshly cracked black pepper. This classic combination, mirroring the brisket seasoning method, allows the inherent rich, beefy flavor of the ribs to shine through brilliantly, while also contributing significantly to the formation of that gorgeous, tasty bark on the exterior.
Before applying the rub, a binder is crucial to ensure the seasoning adheres well to the meat. For beef ribs, I often use yellow mustard or hot sauce. The hot sauce adds a very subtle, almost imperceptible “kick” to the flavor, enhancing the overall profile without overwhelming the beef. Once the binder is applied, generously coat the entire rack with the salt and pepper mix. Given the substantial size of this cut, don’t be shy – the ribs can handle a hearty application of seasoning.
After seasoning, allow the ribs to rest at room temperature for 30-45 minutes. This important step helps to raise the meat’s temperature slightly, promoting more even cooking, and gives the salt and pepper time to begin penetrating the muscle fibers, building flavor from within.
The Smoking Process: Low and Slow for Beef Ribs
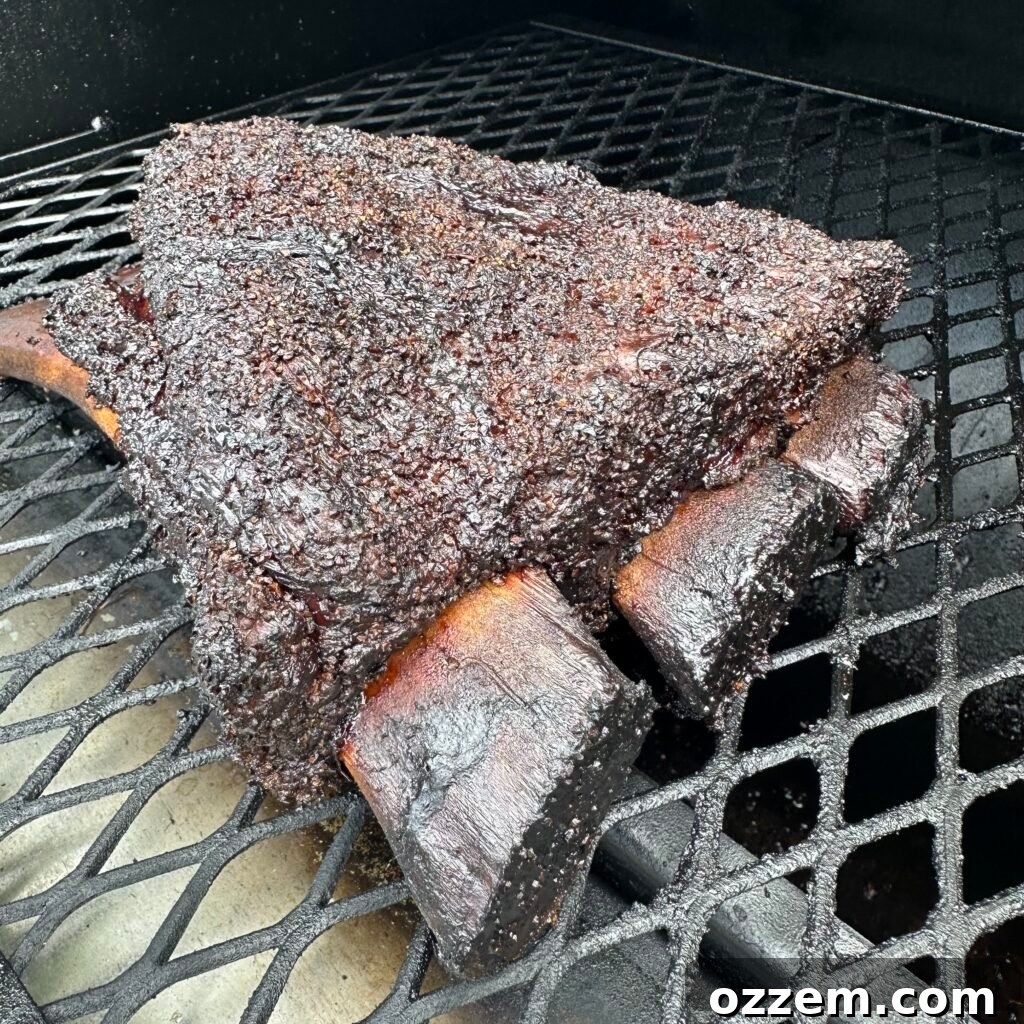
Preheat your smoker and stabilize the temperature within the range of 250-275 degrees Fahrenheit. This is the sweet spot for smoking beef ribs – low enough to slowly render the fat and connective tissue, and hot enough to develop a robust bark.
Carefully place the beef ribs on the smoker grates, meat side up. Insert a reliable temperature probe into the thickest part of the meat, avoiding direct contact with the bone. Remember, cooking proteins to an internal temperature, rather than strictly by time, is the golden rule for perfectly cooked BBQ, ensuring your ribs are neither undercooked nor dried out.
For accurate temperature monitoring, I highly recommend Thermoworks products. Their tools are exceptionally high quality and offer unparalleled accuracy. My two preferred leave-in thermometers are the Thermoworks Smoke, a reliable 2-channel alarm thermometer, and the Thermoworks Signals, a versatile 4-channel alarm unit. Both are durable, incredibly accurate, and represent a worthy investment for any serious pitmaster.
The Long Waiting Game: Patience is a Virtue
Smoking beef ribs demands patience, a defining characteristic of exceptional BBQ. For an average 3-bone rack of beef plate ribs, expect a cooking duration anywhere from 6 to 8 hours, and sometimes even longer, depending on the meat’s thickness and consistency of your smoker. Your primary role during this extended cook is simply to maintain the smoker’s temperature steadily within the 250-275°F range. A key difference from many pork rib methods is that we typically won’t be wrapping beef ribs during the cook. This “no-wrap” approach helps achieve that deeply textured, crusty bark that beef ribs are famous for.
The ideal finished internal temperature for beef ribs typically falls between 205-210 degrees Fahrenheit. However, temperature is only part of the story; tenderness is paramount. Once the ribs hit 205°F, begin checking for tenderness using the “probe test.” This involves inserting your temperature probe into various parts of the meat; it should slide in with minimal to no resistance, feeling like it’s entering warm butter. Check several spots to ensure uniform tenderness throughout the rack.
Once the ribs pass the tenderness test, carefully remove them from the smoker. Immediately wrap them tightly in pink butcher paper. This specialized paper allows the meat to breathe while still retaining heat, crucial for preventing that beautiful bark from softening into mush. Then, place the wrapped ribs in an insulated cooler (one that is at room temperature) and let them rest for approximately one hour. This resting period is critical – it allows the cooking process to gently halt and, more importantly, gives the internal juices time to redistribute throughout the meat, resulting in an incredibly moist and flavorful finished product. You’ve invested this much time and effort; another hour of resting will truly make all the difference!
Finally: Enjoy the Labor of Love
After the well-deserved rest, carefully unwrap the beef ribs from the butcher paper. The aroma alone will be intoxicating! Slice the ribs precisely between the bones, and prepare to be amazed. Remember, these are called “dino bones” for a reason – one bone is typically a hearty and satisfying portion for a single person.
The best moment is undoubtedly that first bite of beefy deliciousness. The meat should be incredibly tender, practically falling apart in your mouth, yet still retaining a satisfying texture. It will be super juicy, a testament to the low and slow cook and the essential resting phase. Savor every mouthful of this labor of love – you’ve earned it!
More Smoked Beef Ribs Recipes
Beef
Beef Rib Lollipops
Recipes
Smoked Beef Plate Ribs
Beef
Smoked Beef Short Ribs
Beef
Smoked Beef Ribs
Frequently Asked Questions About BBQ Ribs
The ultimate secret lies in combining a low-and-slow smoking technique with strategic wrapping. Start by smoking your ribs directly on the grates for several hours to build a flavorful bark and absorb smoke. Then, wrap them tightly in foil (often with a little liquid like apple cider vinegar or butter) for another phase of cooking. This ‘wrap’ stage creates a steamy environment that breaks down tough connective tissues, making the ribs incredibly tender and juicy. Finally, unwrap and glaze with your favorite BBQ sauce to set the flavors.
The “best” BBQ ribs often come down to personal preference, as both pork and beef ribs offer distinct culinary experiences. However, pork spare ribs (especially the St. Louis style cut) are widely popular among BBQ enthusiasts. Their larger size, ample meatiness, and rich fat content contribute to a more profound pork flavor and a generous serving. Baby back ribs are also highly favored for their consistent tenderness and quicker cooking time.
Baby Back ribs are generally considered the most inherently tender due to their cut from the upper rib cage and leaner meat structure. When smoked low and slow, the moderate fat content renders beautifully, resulting in meat that can become exceptionally “fall-off-the-bone” tender. Spare ribs, while fattier and flavorful, often require a slightly longer cook time to achieve a similar level of tenderness due to more connective tissue.
To prevent dry ribs, manage your smoker temperature carefully (keeping it consistent and not too high), and consider spritzing the ribs every 45-60 minutes during the initial smoking phase with apple cider vinegar, apple juice, or water. The wrapping phase (Phase 2 for pork ribs) is also crucial as it steams the ribs in their own juices, locking in moisture and ensuring tenderness. Lastly, a proper resting period after cooking allows juices to redistribute, leading to a much moister product.
For pork ribs, popular choices include fruit woods like apple and cherry, which impart a mild, sweet, and fruity smoke. Pecan is another excellent option, offering a subtle, nutty flavor. For beef ribs, stronger woods like oak and hickory are often favored as they complement the robust beefy flavor without overpowering it. Mesquite can also be used, but sparingly, as its intense flavor can quickly become dominant.